I am super pumped to have my partner in crime and Gold Coast food photographer, Jo Anderson from the Luminous Kitchen on the blog for this guest post.Jo’s been creating some amazing images with incredible lighting, and she’s here today to share her humble set up with you guys.Get ready because her lighting is phenomenal! You’ll love it.
Have you ever gone to do a food shoot only to find no matter how delicious the food looks or how well you’ve styled the set, it just doesn’t work?
Chances are your food photography lighting is letting you down.
I believe food photography lighting to be singlehandedly the most important component to creating beautiful food photographs. It’s the way you use light in your images that can really define your signature style.
In the beginning it took me a while to really understand light because I was so taken with using props to create a food story. I completely overlooked the impact that light can have on an image and the emotions I was trying to convey.
Then the penny dropped! I began to study light and I noticed how it changed in colour, direction and intensity not only during the course of the day, but across the different seasons as well. Slowly my images began to improve and I started to really understand how light behaves and how it can be tamed and sculpted.
If you’ve been trying out different food photography lighting techniques for a while you’ll know that not all light is created equal.
When we built our house I made sure I put a south facing window into the garage which I use as a “studio” because although it is blue toned shaded light for most of the year, it is always indirect. All I need to do is diffuse it with some netting material and it works as a really good “I don’t have to think about it” set up.
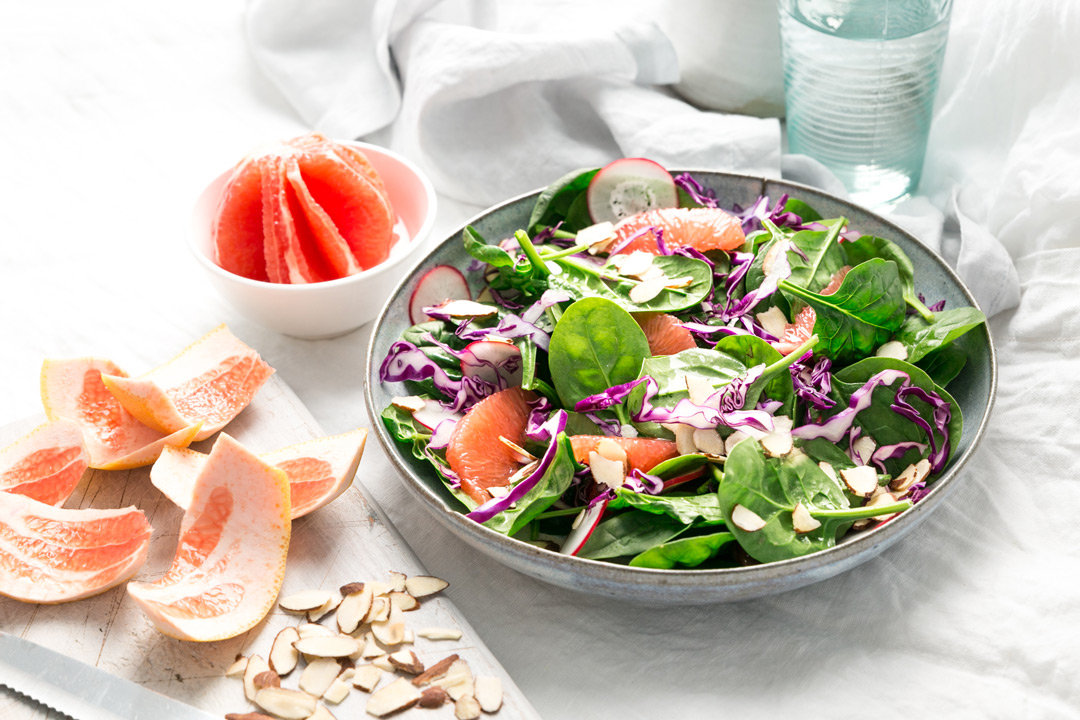
My favourite light to work with however is the soft, glowing light that comes from really diffusing hard direct sunlight.
I was so excited when we moved in and I realised that I have a 2 hour gap in the morning when the direct morning light hits the frosted glass of our back door and creates some spectacular glowing light. Again in the afternoon it appears when it hits the frosted glass on our front door. So I constantly move around the house and shoot wherever the light is best.
4 Must Haves For Beautiful Natural Food Photography Lighting
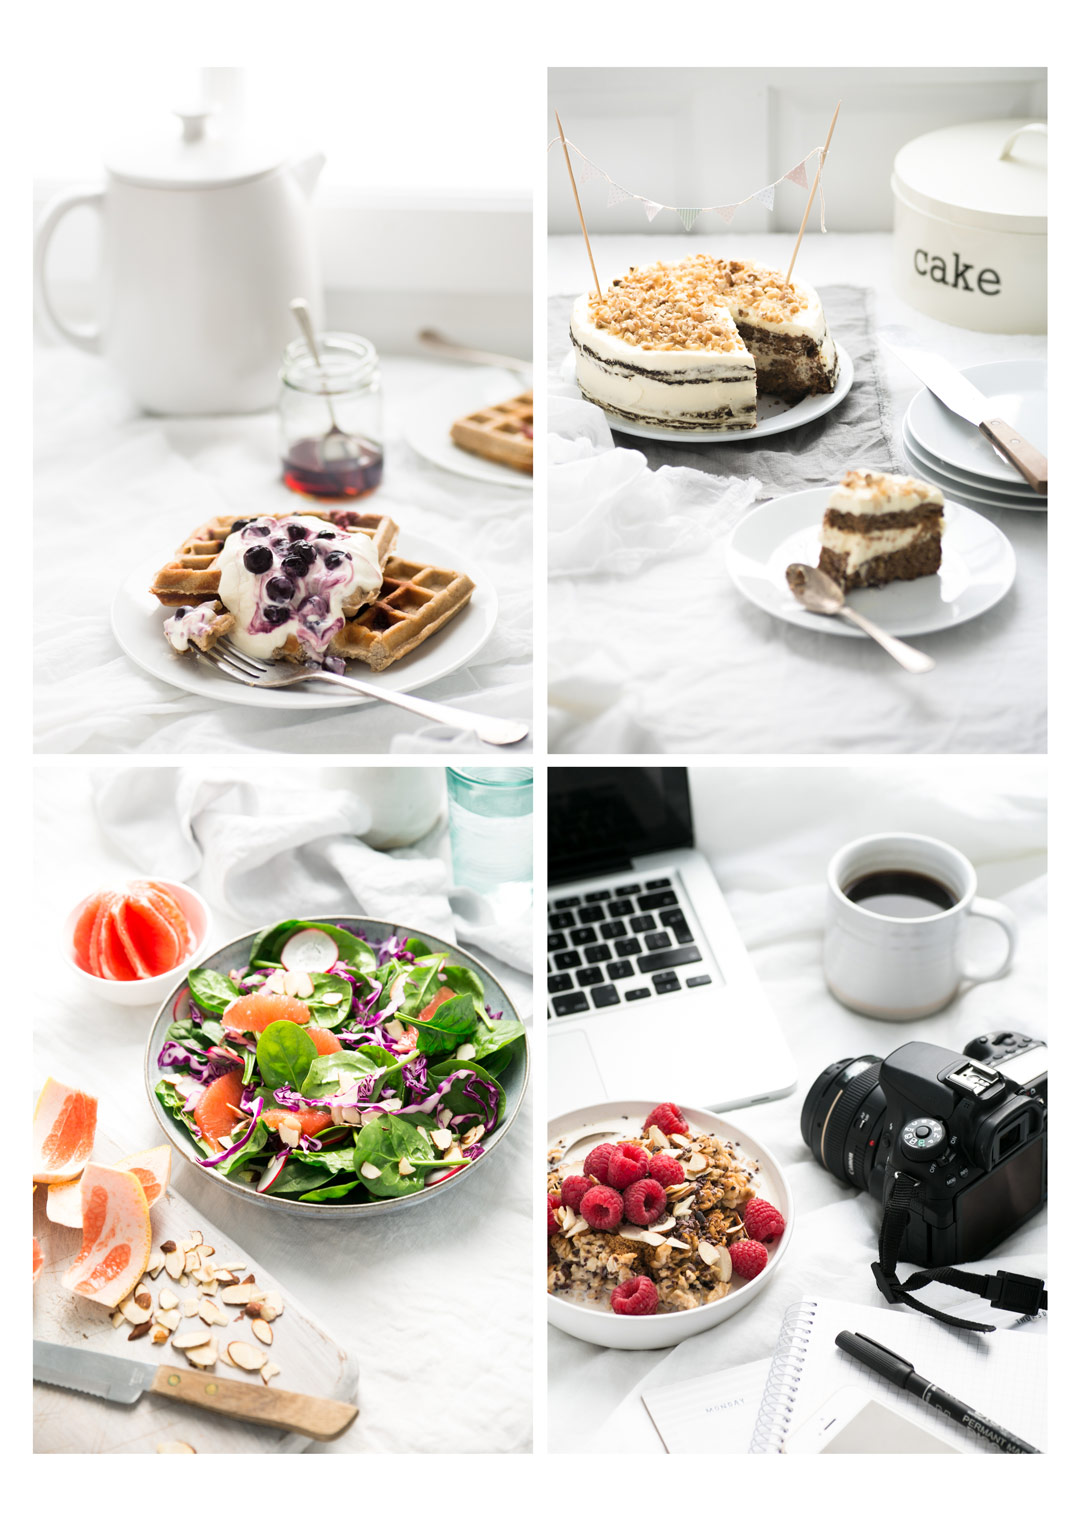
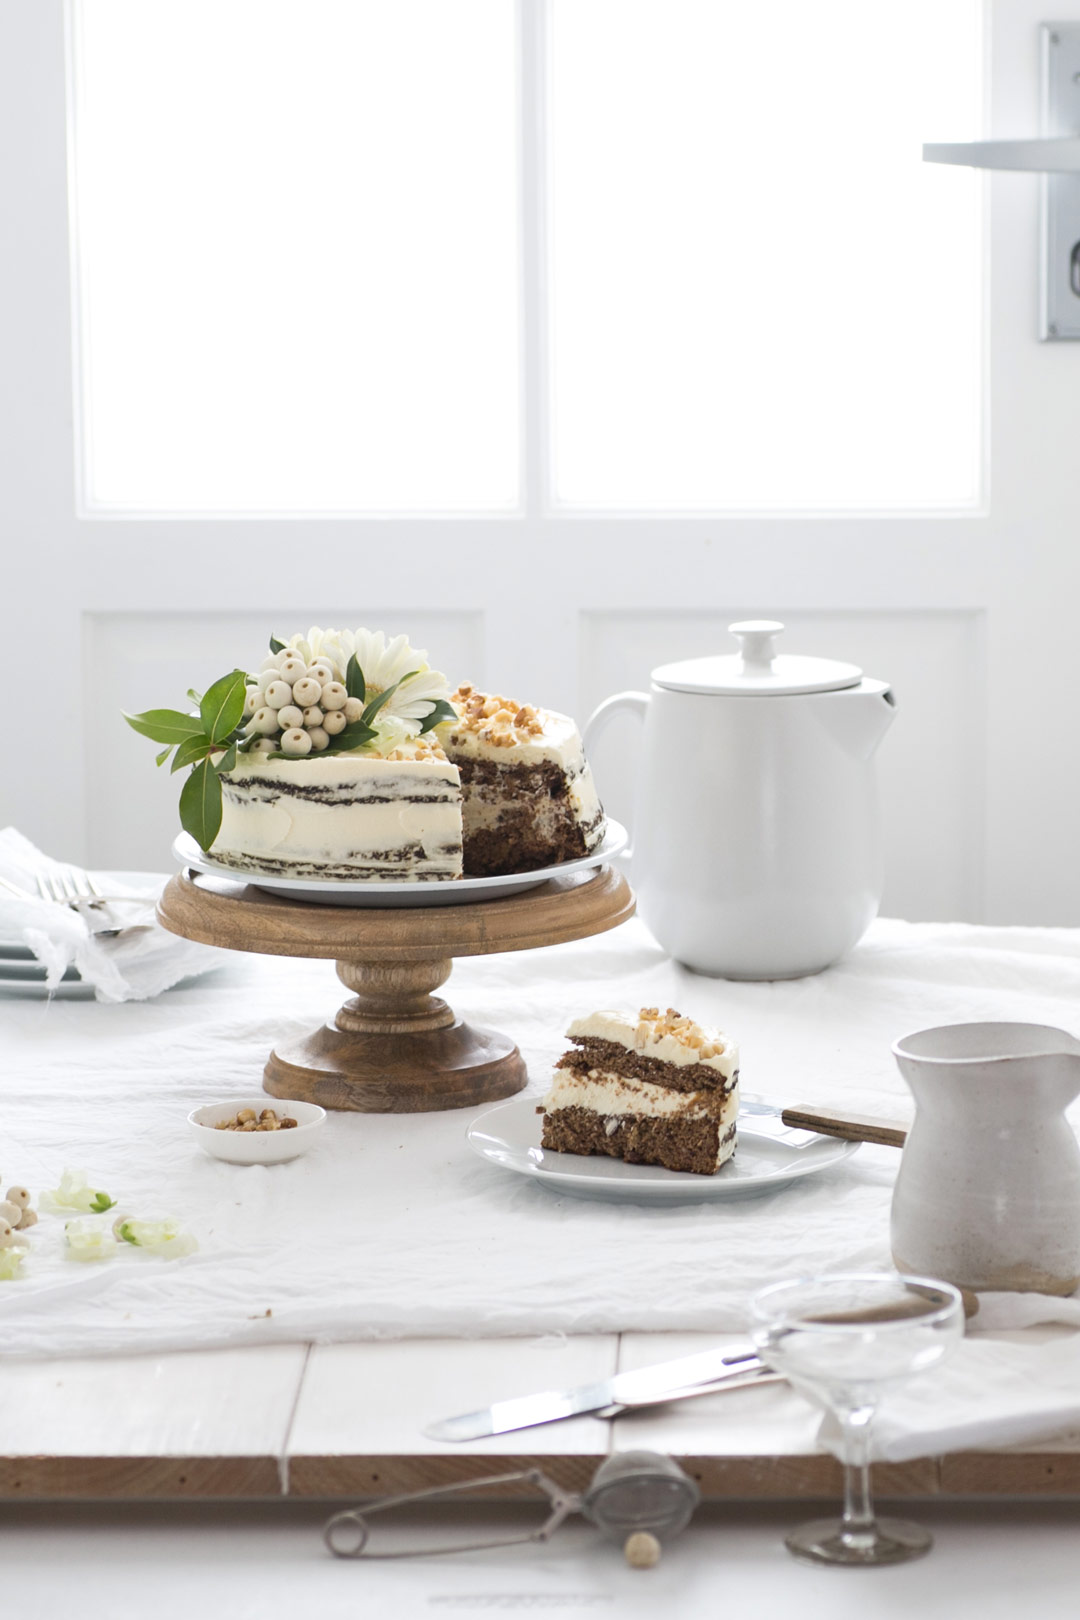
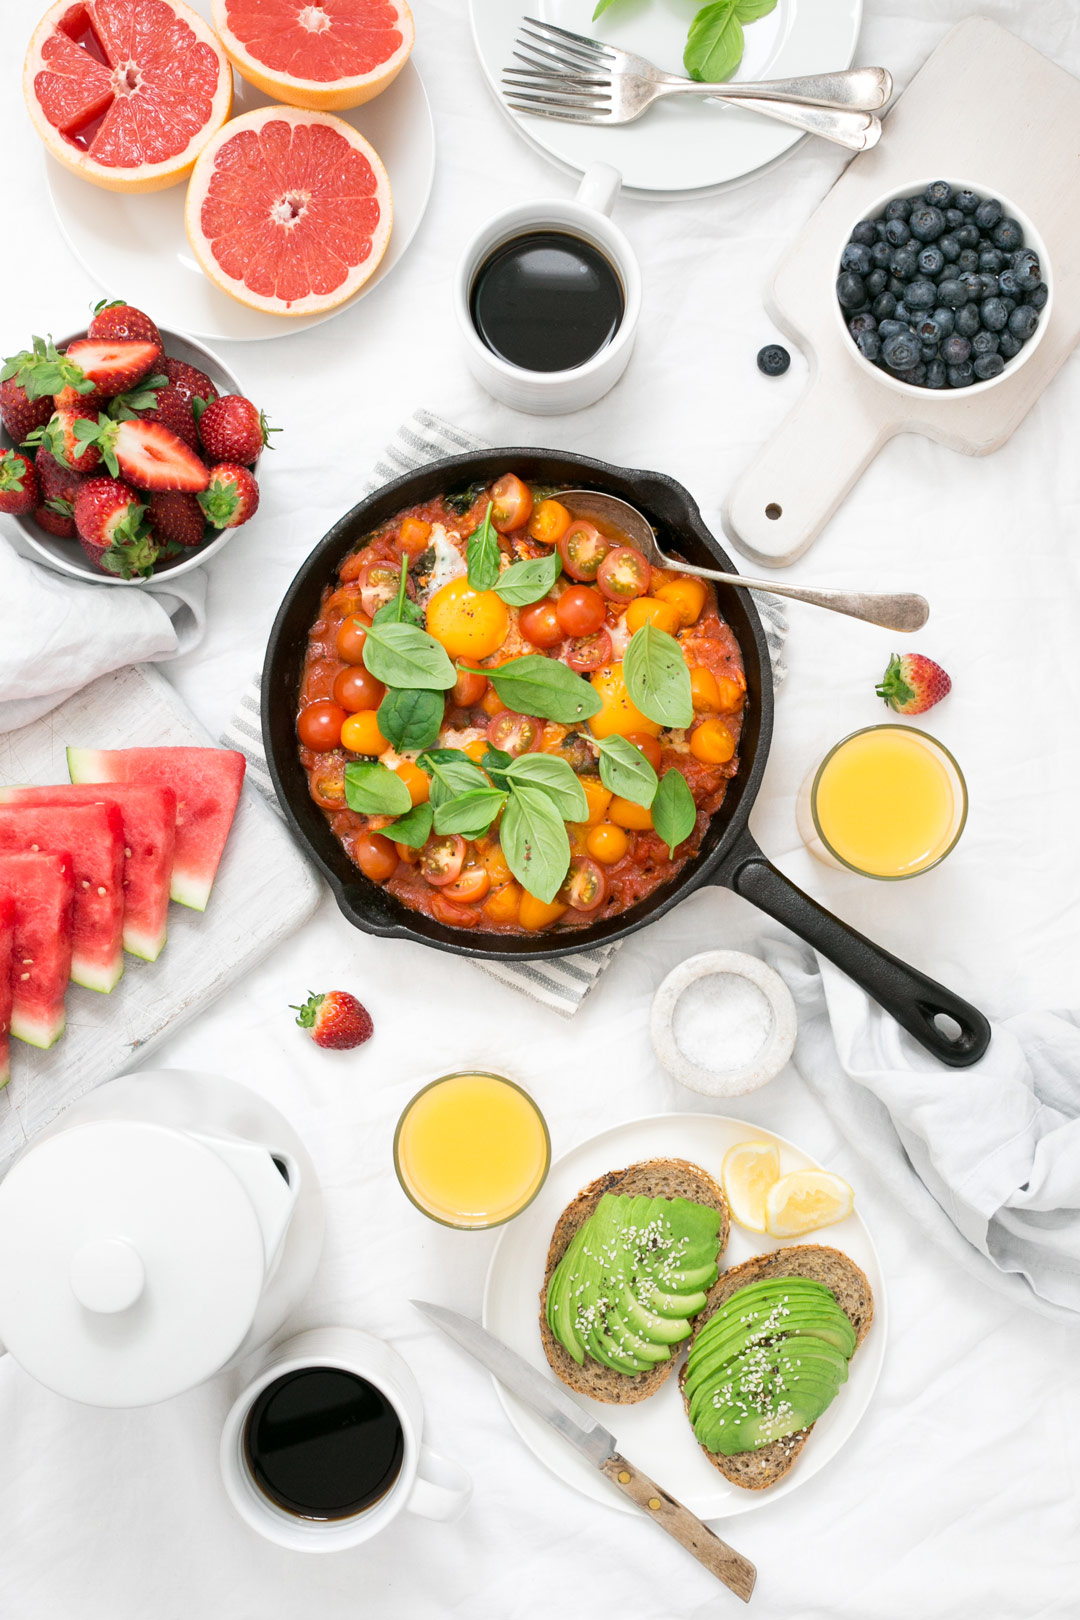
You too can create this beautiful, soft and glowing light you see in my images with just 4 simple things:
1. Window through which direct sunlight shines2. Muslin Cloth or Baking Paper to diffuse the light
3. White Foam Core to reflect the light
4. Black Foam Core to create depth in your shadows
1. Window With Direct Sunlight
In order to create soft and glowing light you need to have a window through which direct sunlight shines. When the direct light shines through the window it’ll create strongly defined shadows. To tackle this and create the beautiful soft, glowing food photography lighting you will want to diffuse the light.
2. Muslin Cloth or Baking Paper to diffuse the light
To diffuse the light I tape baking paper to the glass or use clamps to secure some thin muslin material across the window. These will both cause the light to be scattered as it shines through and you will have soft beautiful light to work with.
3. White Foam Core Reflector
You might find that you still need to use a reflector to bounce some light back onto the set. Now the shadows in the image will be really soft and feathered, the highlights will be light and bright but not blown out. All you need is a bit of white foam core which you can pick up for a couple of dollars at your local craft or stationery store.
4. Black Foam Core for Negative Fill
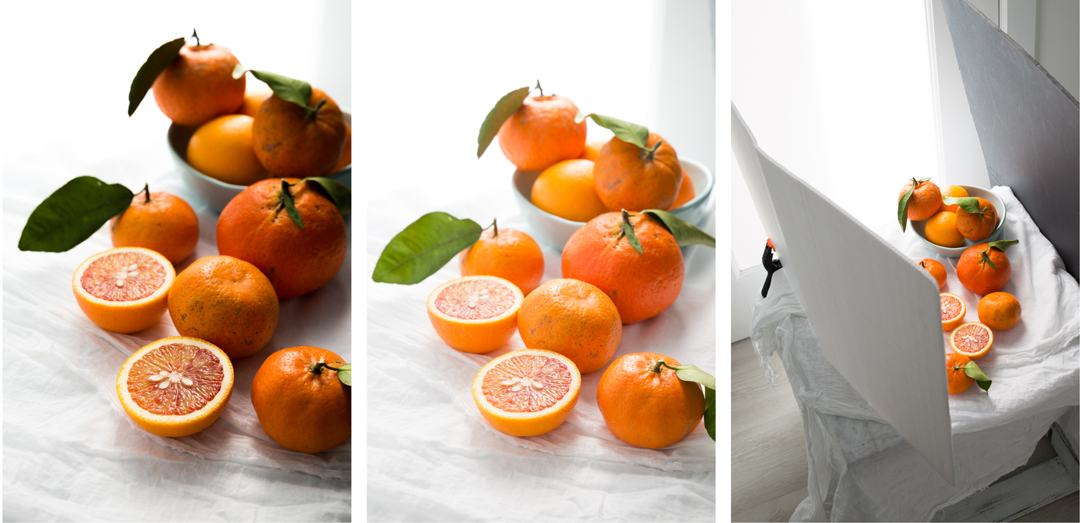
If you find you want to add more contrast and depth of shadows to an image using glowing light just use black foam core. The black board (which you can pick from any craft shop) will absorb light and take some light away from the set enhancing the shadows.
You can see the difference negative fill makes when you compare the two shots below.
Look at the difference between the 2 mandarin shots where I used the black fill and where I just used the reflector. The two images tell very different stories.
Bright Light Can Decrease The Saturation of Your Subject.
One thing to note when using this type of light is that the colours of the food can get washed out with strong directional light. In order to really make the image pop I always bump up the vibrancy of the colours and increase the clarity slightly in Lightroom during post processing.
If you don’t have a window in your house that gets direct sunlight don’t fret you can still create a bright image. Using indirect light with a reflector to add and bounce light back onto your set and use your camera settings to make sure you are getting a really good exposure.
Who else loves this soft, glowing light?
I hope you guys found this helpful! Please leave me a comment below.

Jo Anderson is a food stylist, photography, passionate foodie and creator of The Luminous Kitchen.Originally from Cape Town, South Africa , she now resides on the Gold Coast. After many years working as a cook on yachts around the world, Jo’s styling and photography talents are sought after for ebooks, cookbooks and recipe apps. Jo is passionate about teaching all that she has learned along her jounrye and helping others develop faith of their own foodie talents. Something she focuses on in her in-person workshops and online food photogrpahy courses.
RELATED: Recreate Mood Natural Light Using A Speed Light



Karené
This is such a wonderful reminder of how simple it can be! Such stunning soft clear tones in your images! I’ve never used the black foam core, but seeing your examples shows the benefits beautifully – I can imagine it working wonderfully when using a dark grey background, for a more moody effect. I’ve also planned a big window in my new studio – which will have some direct and some indirect light. I cannot wait! Thank you for sharing this!
Debs
Love your style Jo! I’ve been following you on Insta for ages and always wondered how you got your look.
Thanks for the tips and info. Really useful! x
Jess @Nourished by Nutrition
This was such an great reminder/tutorial and simply put! I haven’t had the time to work focus on my photography but now I am starting to have more time since I’m out of school. I’m so glad I’ve subscribed to Rachel’s site and was able to read your tips Jo. Thank you. You both are such an inspiration!
Rachel
So glad to have you Jess!
Marisa Franca @ All Our Way
This is really helpful, Jo! I love the light bright look. It looks clean with the food being the star. I’ve been fretting about having too much light in our dining room. We have huge south and east facing windows. With winter coming on here, my south window will be bright since our huge tree will shed all of its leaves. I truly appreciate you and Rachel sharing your setups. It helps in my learning process. Thank you!
Rachel
You are so very welcome as always Marisa.
Jonathan Thompson
Hi Jo,
That is truly some beautiful, silky light. I’m not at all envious that you have such great locations around your home to shoot all day. In fact I love the graphic that the door, window light has on a lower shot. It’s an element we don’t have but I look for it out on location. It’s funny how me and Debs talk about buying our next home (or building it come to that), how our photography and home will be part of our studio too. The living studio I guess I’d call it. I’ve looked at getting a roll down defuser blind for our south facing window, instead of wedging a big defuser in the window. Simplifying the set up mean you can better concentrate on the creating process.
I’m so glad you mentioned the washed out colours too and how you tackle that. I find it gets left out of many posts and tutorials.
Your work is simply stunning from every aspect. Thanks for sharing and inspiring my wife and I. You ladies are awesome.
Jo || The Luminous Kitchen
Thanks for having me on TLS Rach! Such an honor.
Jonathan – what a great word to describe it – silky light and thank you so much for the kind words.
Marisa – Having too much light is never a problem as it can always be modified and blocked. Having too little light is a problem because without artificial light its very hard to add light to your set. Winter is a great time for food photography especially with overcast days that produce some beautiful white light.
Jess – Its such a pleasure. I’m looking forward to seeing some of your creations!
Debs – how wonderful to hear I’ll have to find you on Insta!
Karen – You’ll be amazed at the depth that a black foam core board can add to an image. Thank you for reading.
Angelica
This is amazing! As a beginner food photographer I’m still strugling to find the right light. I don’t have any south facing Windows in my house, but I will be trying with every window in every room and I will find it! Thanks for the tips 🙂
Michele Garcia
Hi Jo, thank you for sharing this tutorial! I have a south-east facing front door with a window that I covered with a frosted privacy film when we moved in a few years ago, and since I started working on my photography skills through a 365 challenge this year, I finally noticed the lovely glowing light that comes through it, especially during certain times of the morning. The light can be strong, so your tip about covering the window with baking paper was helpful and not something I’d thought of since it was already covered with the frosted privacy film. I’ve got a big box of half-size sheet pan parchment paper that I bought at a local restaurant supply store, so I’ll tape a few sheets together and tape it over the window to see how it softens the harsher aspects of the light the next time I use the front window as a light source. Thanks again for the tips, thank you Rachel for sharing your knowledge through your site and Instagram account, and thank you both for your beautiful images!
Life Images by Jill
thank you for this post Rachel. I’ve always loved natural light, and chase it around my house. I’ve just discovered your site, and I’m delving through it . Thanks Rachel.
Rachel
Hey Jill! Lovely to meet you. Natural light sure is a wonderful thing. Jo Anderson is such a great photographers and love that she was able to share this with us. Keep in touch!
Victoria
I loved this post! Learned so much!!!!! Thank you so much! I will be trying out this light settings next time! Have a lovely week!
Rachel
That’s great Victoria! Have a blast with it. x
Kiki
I’ve always wanted to try a luminous curtain for diffusion but haven’t even got curtain rails at my windows – your baking paper tip is great, I’ll try that!
Rachel
It really is genius isn’t it. Jo is great at thinking out of the box.
Andrea
Thank you, Jo and Rachel, for the wonderful advice. I always struggle with lighting and these tips are super helpful!
Rachel
You are so welcome Andrea! Glad you found something that could assist you! Let us know how you go and send in some images – we’d love to see them. Happy shooting.
Tammy
Thank you for your information here. I’m currently working on my Photography degree at AAU and this was very helpful. I’m doing my final for my Still Life class on Food. Thanks again for the tips.
Rachel
That’s super awesome to hear Tammy! Jo definitely has a way of capturing luminous light 🙂 Best of luck with your final.
Andraz
Great tips. Light is really one of most important part of the picture. Thanks for sharing.
Rachel Korinek
So glad you liked the tips! thanks for reading 🙂
Emily
Thank you for these helpful hints! I am trying to work on my photography these days and this helps a lot! You didn’t over complicate the subject. Easy to read, follow, and understand! Thank you!
Rachel Korinek
So glad to hear that Emily! Light can be a complex topic, right.
Sally Humeniuk
I have a question about the main (huge) window in my kitchen that I’d like to use as my main window for food photography. The previous owners put windows in our home that are a bit tinted to help keep the heat of the summer out. If I’m looking out my window, the tint isn’t noticeable to change the view/colors of the scenery so it’s not tinted like you might see on car windows. My question is, since this doesn’t fully let the sunlight in, is this less than ideal? I know that a diffuser is needed on sunny days and I still use one even with the window tint. But have you worked with windows that I’m describing and have any thoughts to if they’re a negative factor? Yes, I’m even open/considering replacing this one pane with a non-tinted window since it’s not visible from the front of our house. It’s a south-facing window. Thank you for any insight!
p.s. Most of my food photography up to this point has been done on my covered deck, outside. As I’m learning more about food photography, I realize that is not a great option as indirect light is coming from three areas on the deck.
Rachel Korinek
What a fascinating place you live in Sally! And love that you are thinking about this. The short answer is yes I have experienced that. It can be a good or bad thing and it all depends on the amount of light that you need for your concept. I’ve also shot with frosted windows and windows with patterns which were cool. However, I would say given the choice I would want the option of no tinting/frosting on my window. So the half-half solution would work. Since you are in the Northern Hemisphere and it’s a South-facing window, you might be able to get away with it. A north-facing I’d say would have more issues as the light isn’t direct. (It’s actually the opposite in the Southern Hemisphere). There are lots of studios that would do a nice light frosted window, but tinting is different and might cause a colour cast on your shots. If you do take shot with the tinted windows feel free to DM me on Instagram and share the pic. I’m interested to see how much (if at all) it’s affecting it.
AN777 APP
I love these tips on natural lighting for food photography! I never realized how much the time of day could impact the look of my dishes. Can’t wait to try diffusing my window light for a softer effect. Thanks for sharing!