Getting straight lines in your photos can be difficult. But if you tether, Capture One has a little hack that allows me to get perfectly straight lines every time. For those interested in learning more, there are many Capture One guides available.
Watch this video, or read on to learn more!
It’s called Capture One Guides If you’re not using them, this is a tool you’re going to want to use. Let me share how you can set up guides and give you some examples of how I use them in my food photography.
Why would we use guides when we are taking photos? Well, the simplest reason is sometimes we need to make sure that we’re getting straight lines and that subjects are straight. But we also might want to use them to help us guide the scene that we’re setting up.
First of all, let’s take a look at how we can set up guides in Capture One.
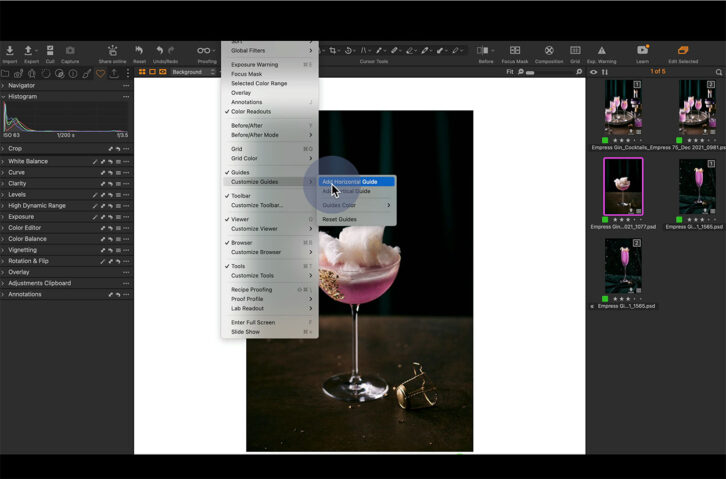
How to Set Up Capture One Guides
To set up our guides in Capture One we need to head to View on the top menu bar and click On or Off on Guides to show our guides on screen. Next, you can customize your guides and add as many horizontal and vertical guides as needed.
All those guides will show in that particular photo session or selected photos you’re working on.
Would you like to watch a tutorial on how to set these up? Make sure to watch the YouTube tutorial here.
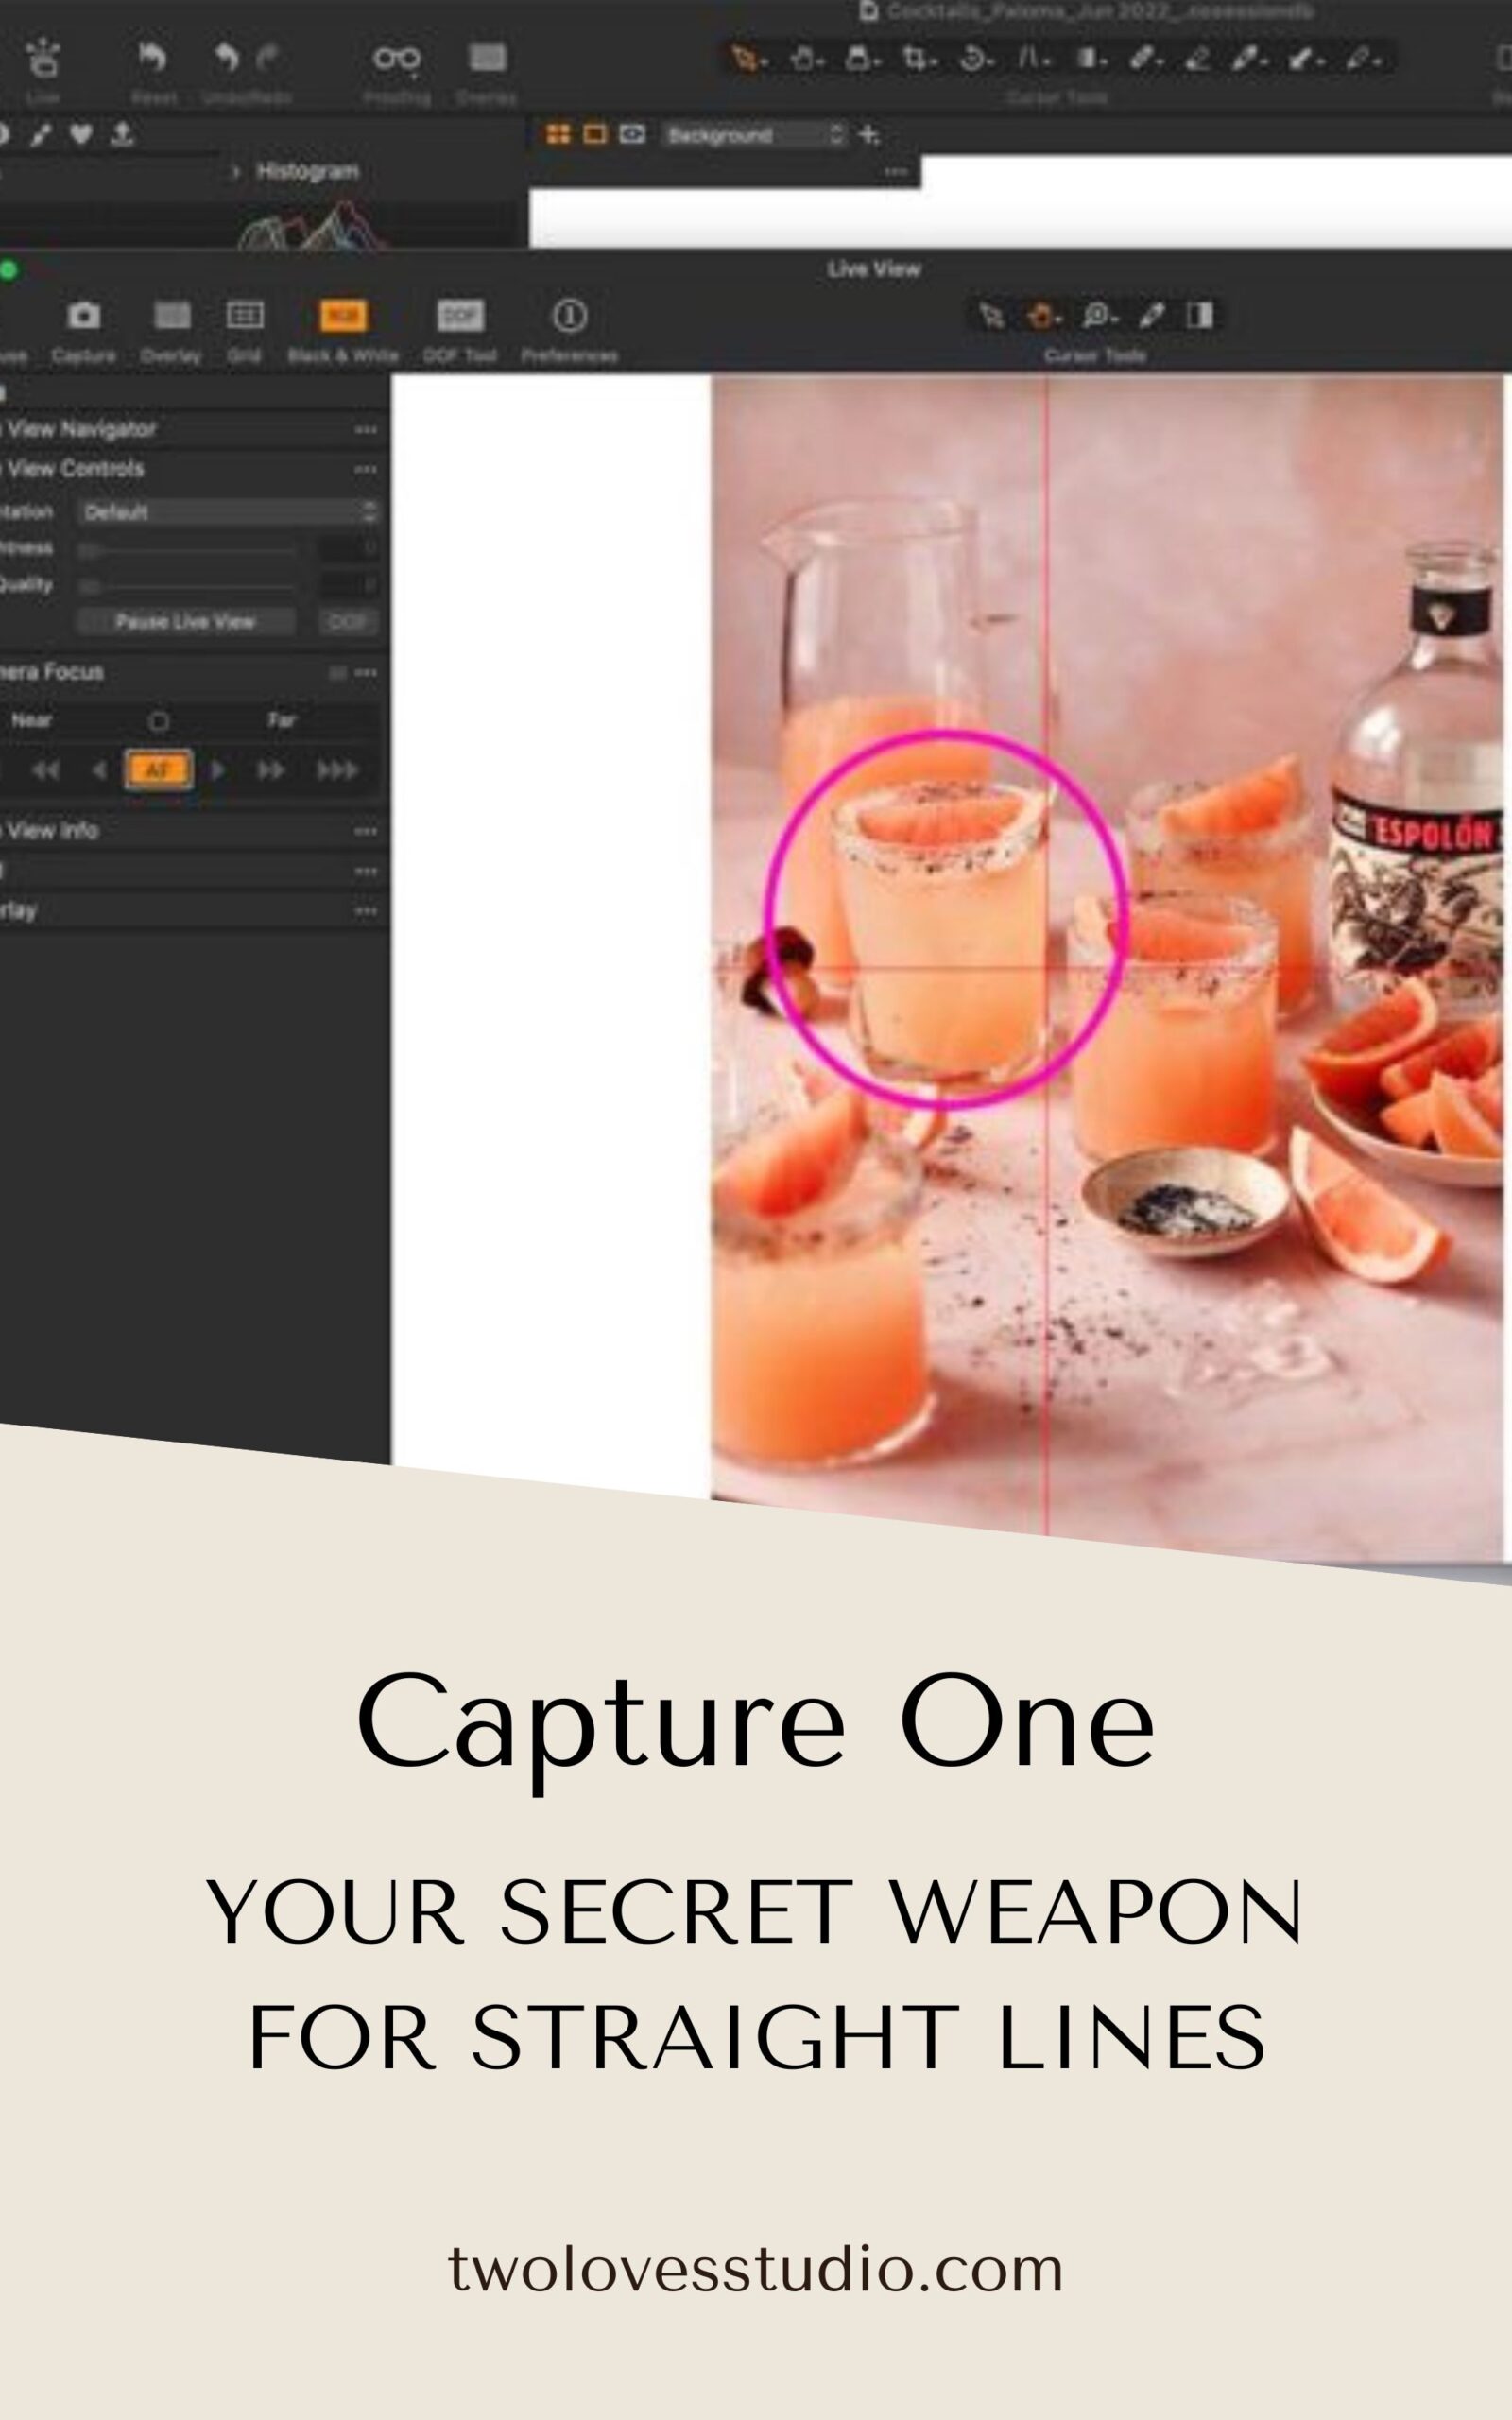
For glassware, adding a vertical line can be particularly helpful. This is handy, especially for those who like to use vintage glassware. You will find that there are deviations between glassware and sometimes the stems are not always straight. This can help us get those straight lines within our photo.
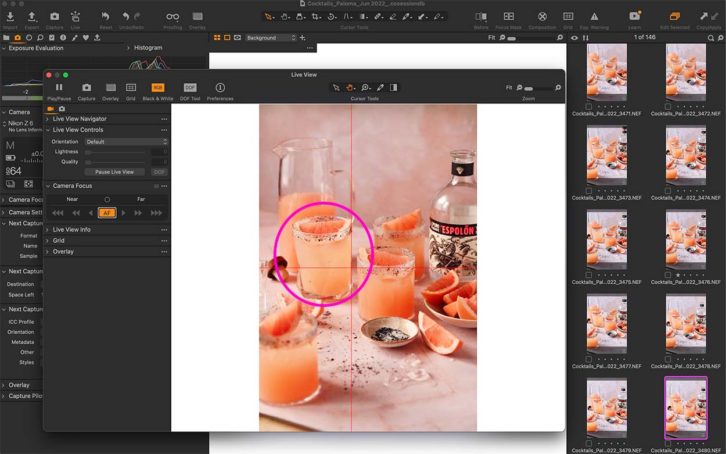
To remove any guides, you simply just grab them and drag them in and out of the photo.
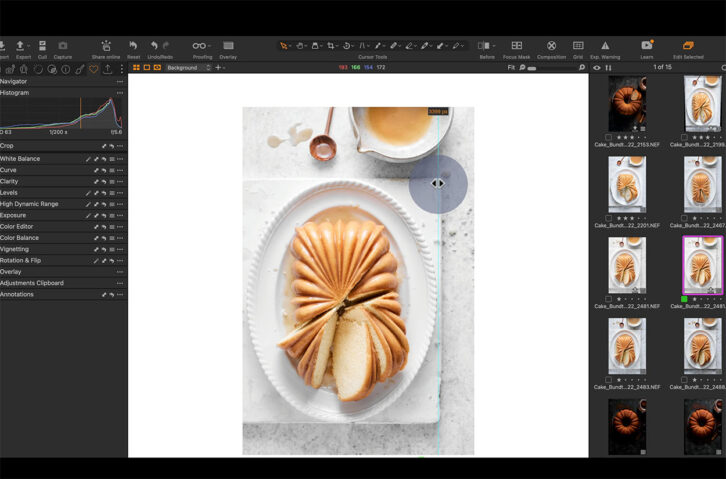
Use Guides to Align Props
Another reason that we want straight lines in our photography is if you’re doing still life or food photography and have props. And want to make sure those lines are perfectly straight when needed.
So with this bundt cake shot above, I have this beautiful ceramic tile that I’ve used at the bottom. And I’ve added a vertical guide and a horizontal guide. You can even do this while tethering as well and make adjustments as you shoot.
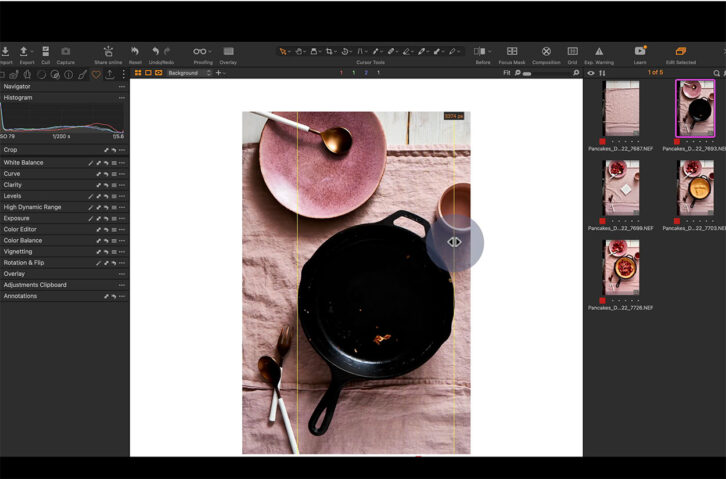
Use Guides as Prop Placeholders
The next example of how I use guides in Capture One is really important in my food photography. When I’m setting up a scene I’ll compose the layout with all my props, but not my hero dish that I need to make the recipe.
In the image above, I am making a Dutch pancake. So I’ve set up the scene exactly how I want the composition. Then I simply take the cast iron skillet that I need to remove from the scene to make the Dutch pancake.
When the hero food item is cooked and ready, everything else in my image is set up and ready to go.
To make sure this is done accurately I follow the below steps.
- I set up the props and scene as I like while tethered to my computer and snap a photo.
- I go into my editing software and add two horizontal lines on each side of the cast iron skillet so I can get the correct placement.
- After I cook the hero item and place the cast iron skillet back into the scene, I can make sure it aligns with the horizontal guides and I know I’ve placed it back in the correct area.
- I can then go ahead and plate the rest of the food to capture that final hero shot!
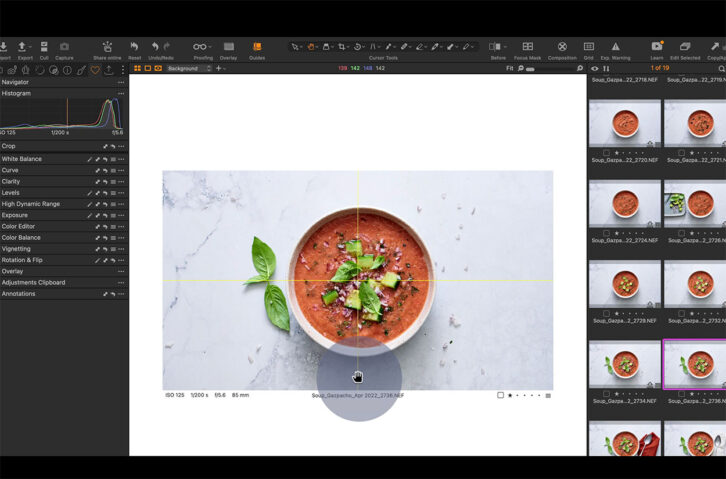
Use Capture One Guides to Centre Your Food
Another way you can use guides is to help you place subjects smack bang in the middle of your photo. This will require us to add a vertical and a horizontal guide to help us place subjects in the middle.
Simply add a horizontal and vertical guide to the centre of the image.
Multiple Aspect Ratios
The other way we can use guides is if we need to shoot multiple aspect ratios for clients, we can use those guides to help us place subjects so that they’re going to work for multiple aspect ratios.
So, if you are shooting the aspect ratio straight out of the camera, which is 2:3, and you need something as well that’s going to work for Instagram at 8:10. You can go into Capture One, while tethered, and place an 8:10 crop.
I’m going to turn on our annotations here and just mark the edges of those crops so I know where to place my guides. Then, you want to go back to the original crop (2:3) and add in those guides to mark that area off for yourself.
After adding in those guides, line them up where you marked it with the annotations so that you can now shoot and those guides will outline the frame while you’re tethering and getting the shot.
And we know that everything up here might not show up in an 8:10 for Instagram. So this is gonna help us guide our composition to make sure it works for both aspect ratios.
Capture One Masterclass
Now, if you’re ready to take your photos to the next level in Capture One and unlock the secret to the industry’s most powerful editing tool, then make sure to check out my masterclass, Capture One Magic.
FAQs
You’ll have access to Guides under ‘View’ > ‘Guides’ in the top menu. Alternatively, you can add a ‘Guides Icon’ to the quick toolbar if preferred.
Guides are used in photo editing to ensure that lines and subjects appear straight in each image.
Using Capture One Guides, you can ensure lines are in your photo are straight by rotating your image to align with the guides.

