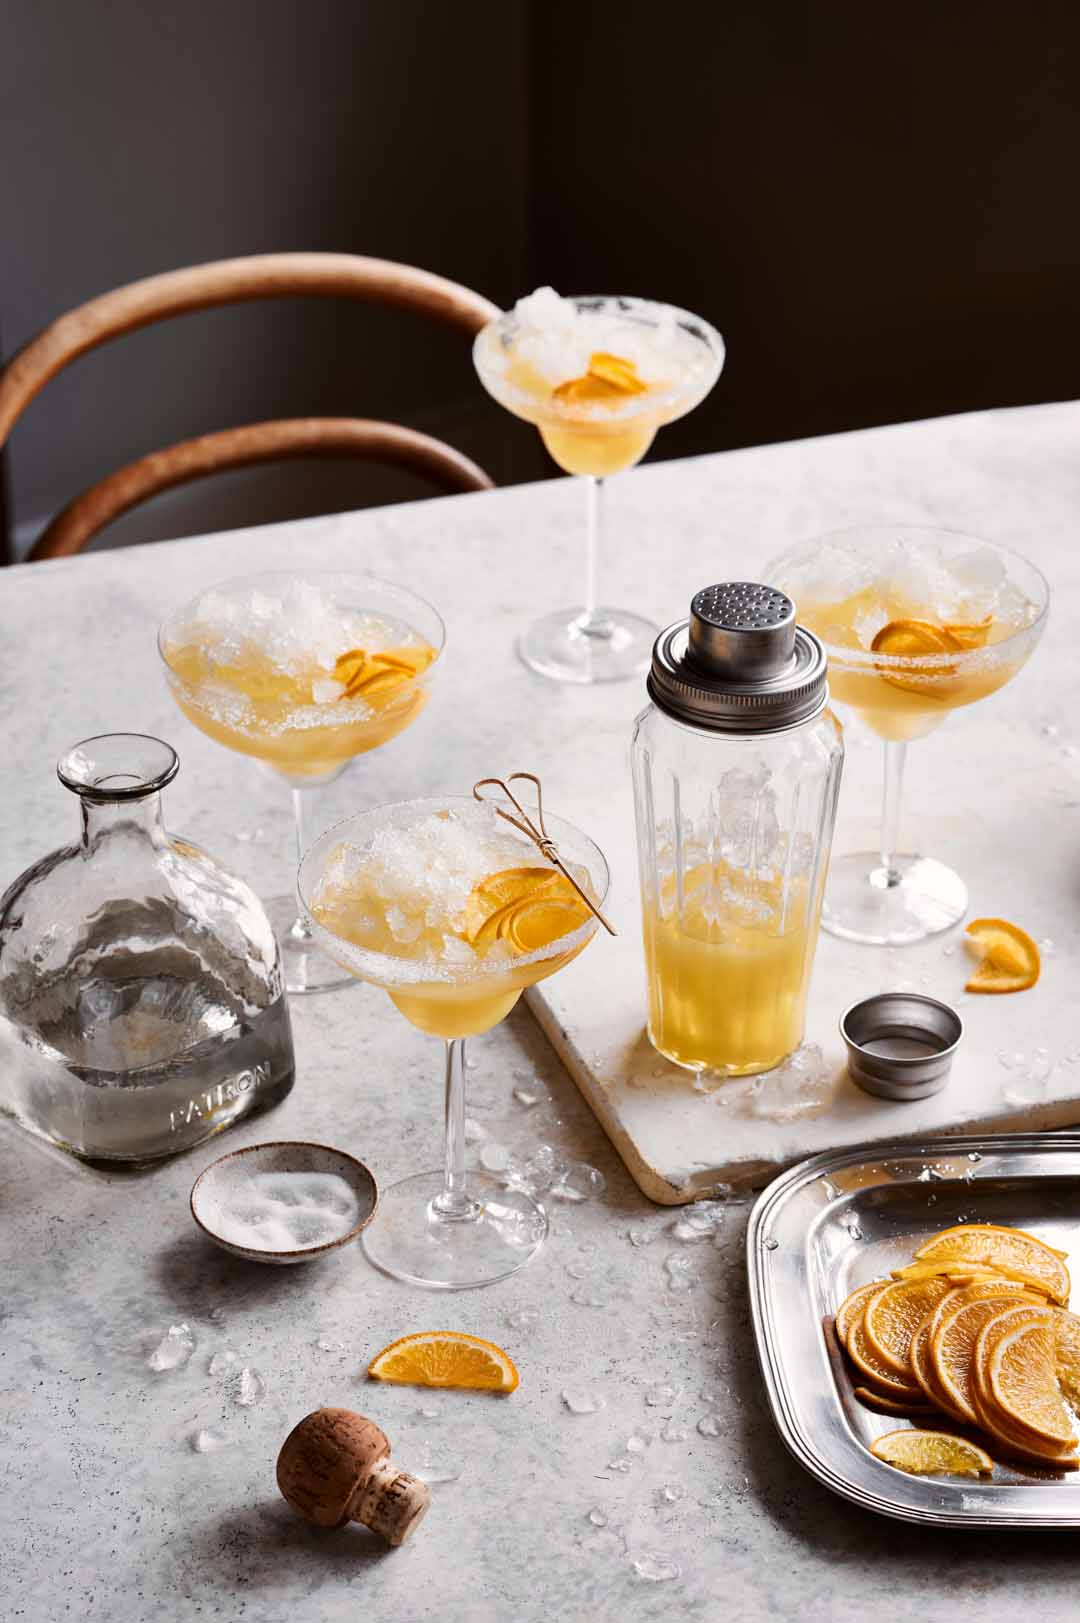
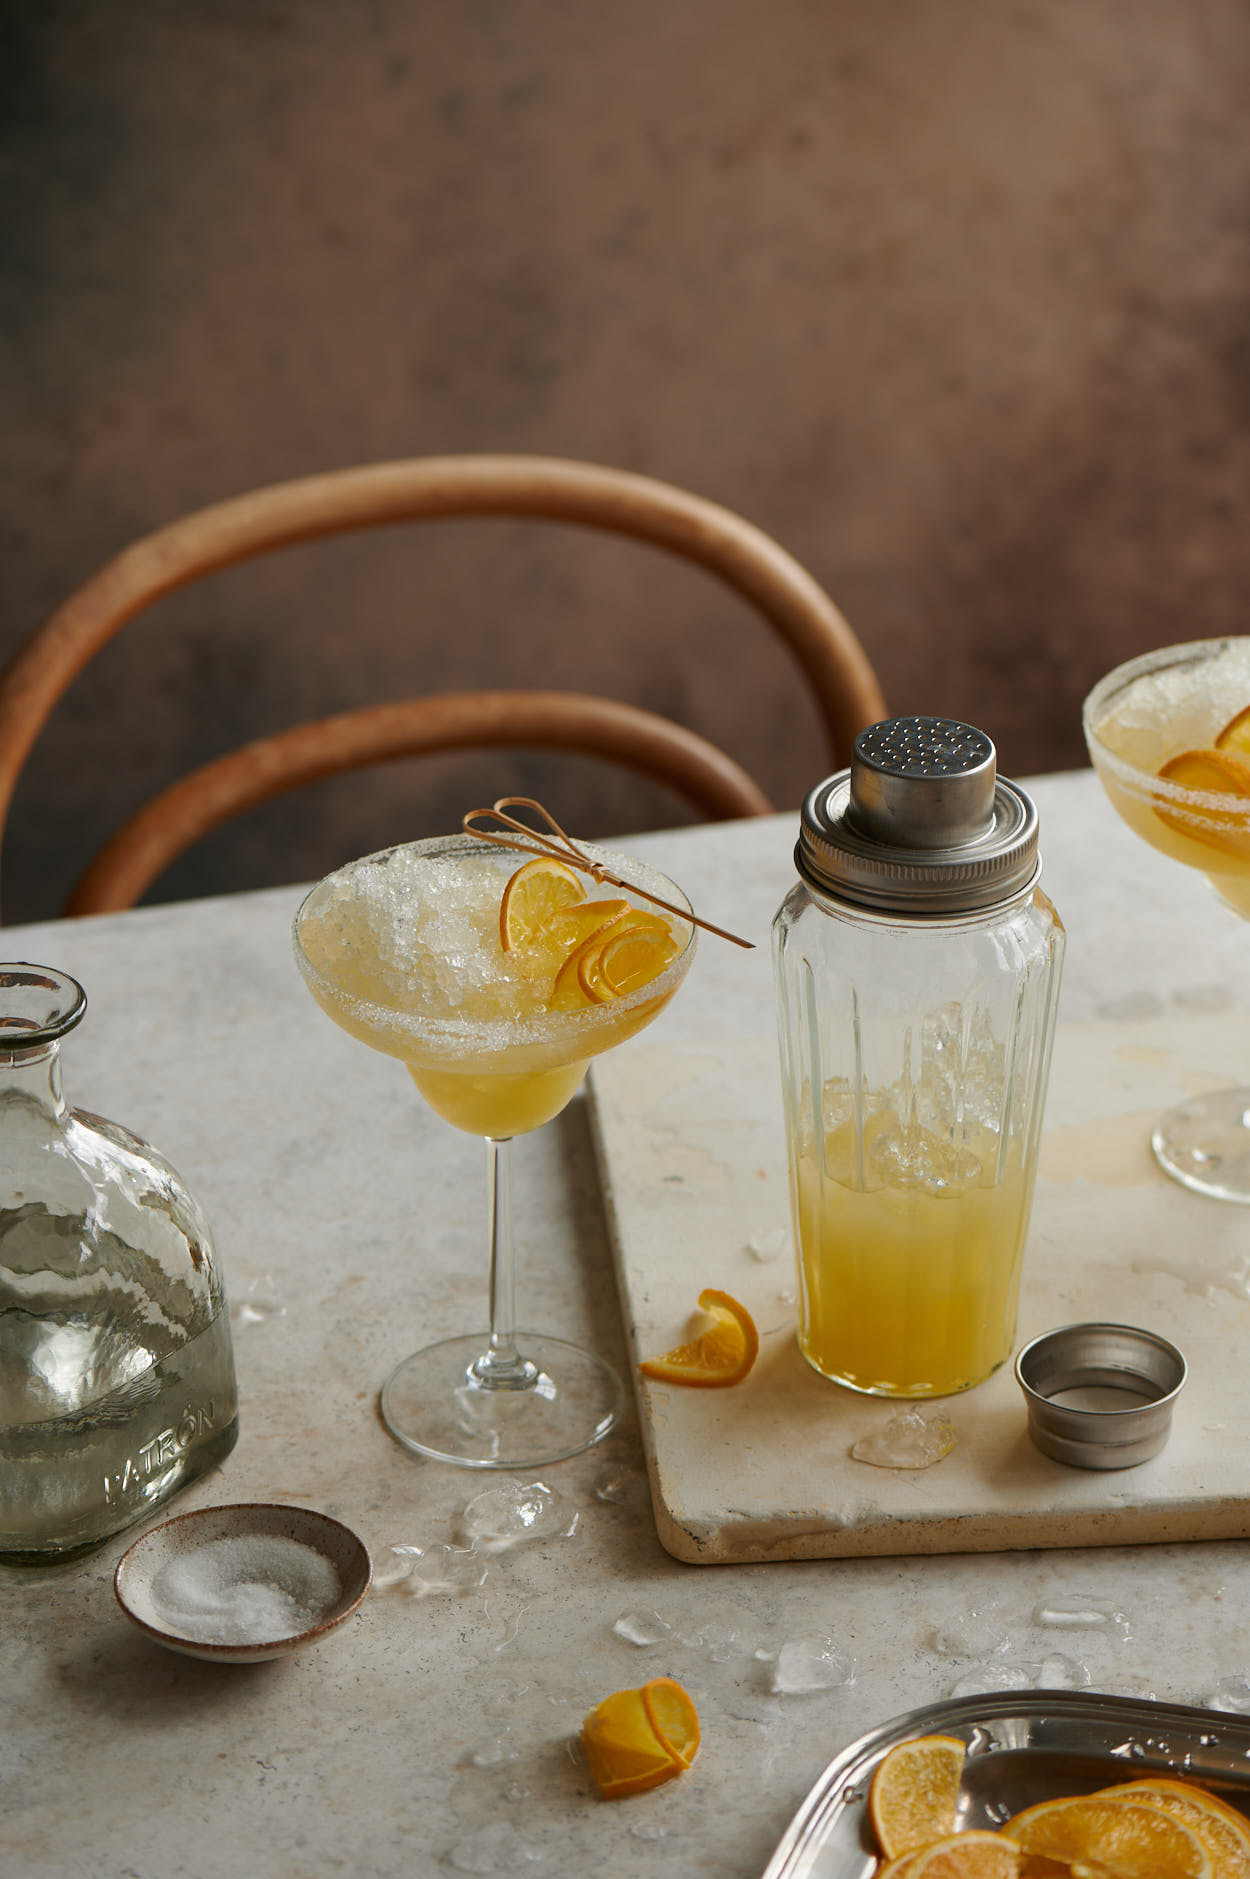
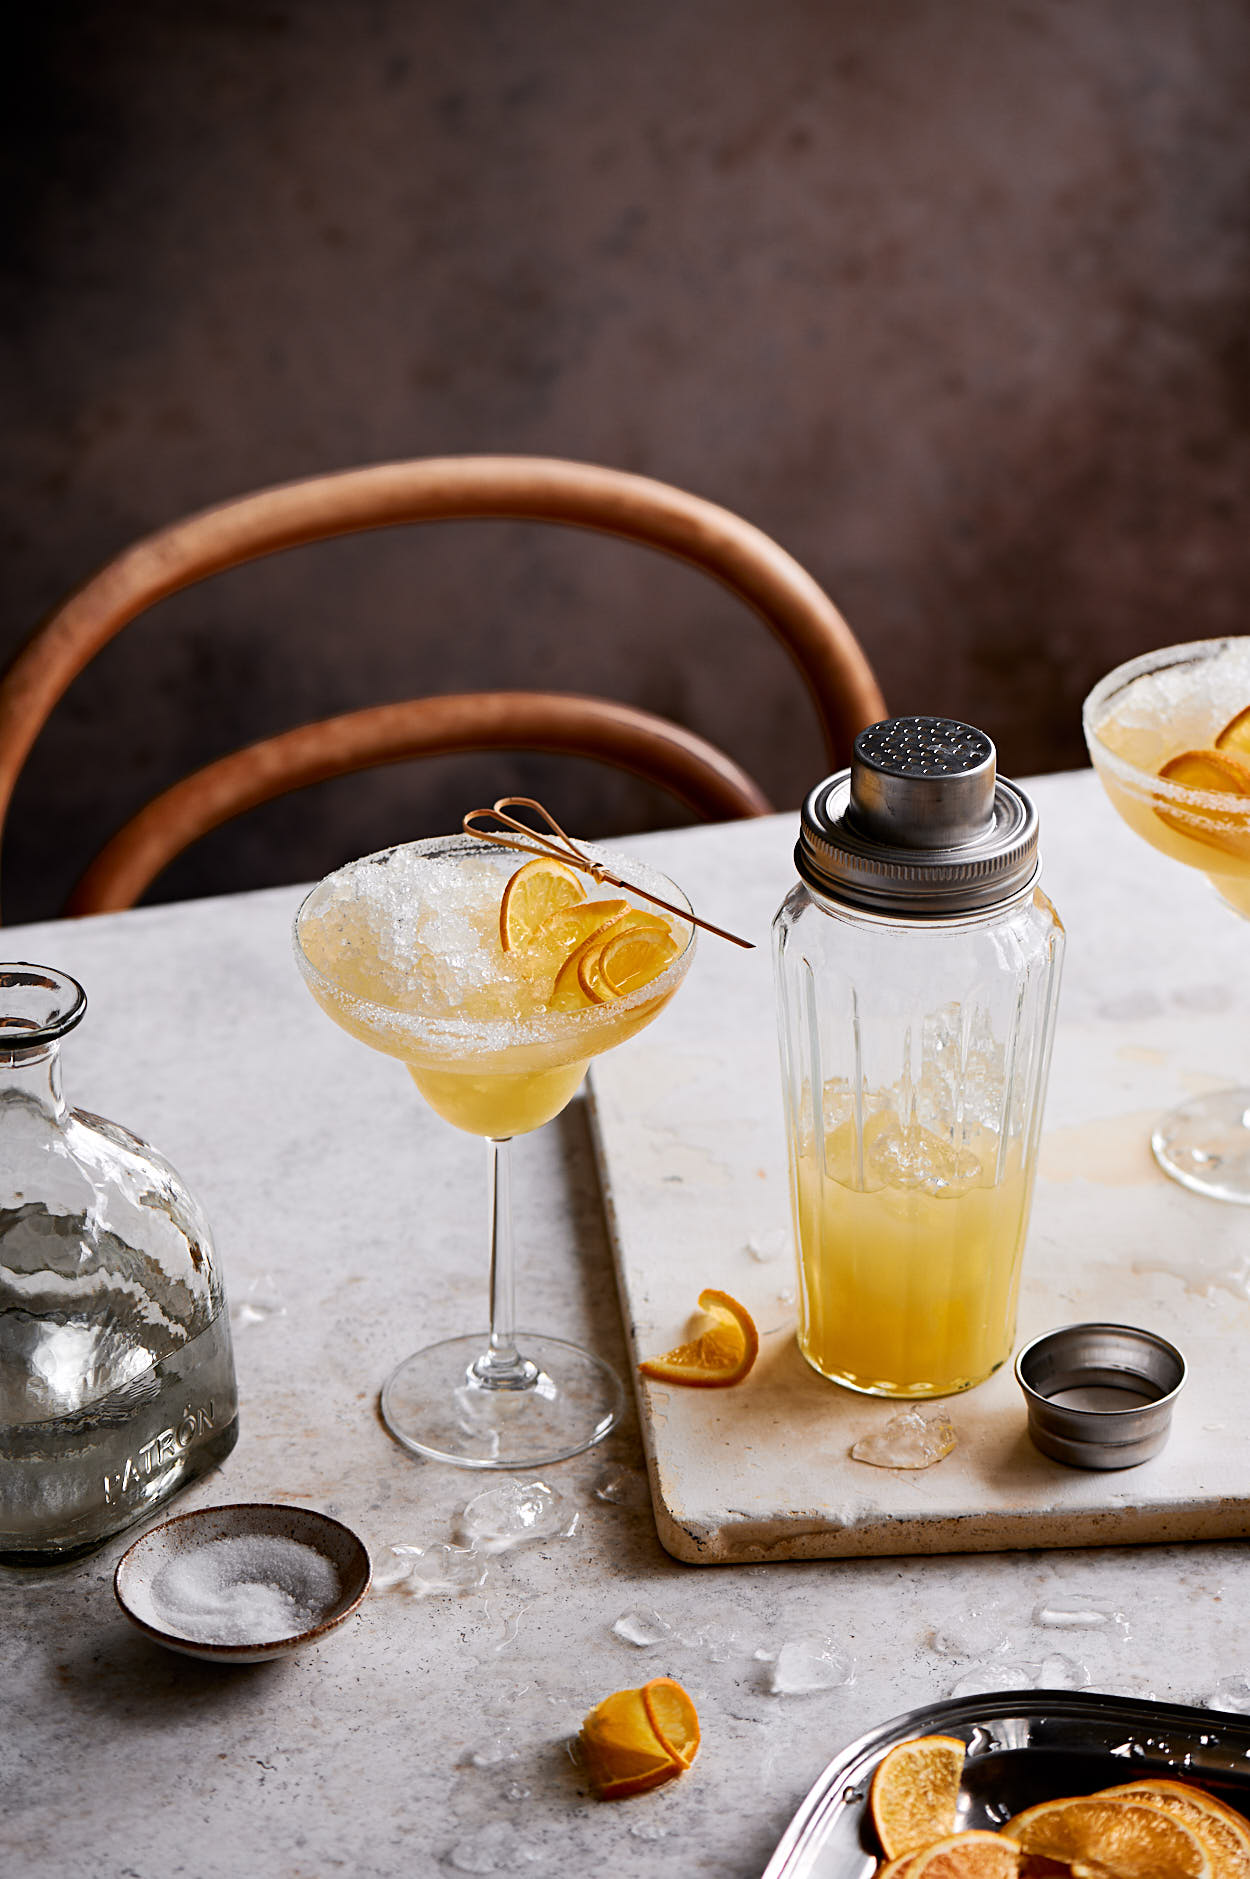
Editing drink photography can be tricky — balancing colour, texture, and light to bring out the refreshing, vibrant look that makes viewers want to reach for the glass. In this video, I’ll show you exactly how I edited a photo of an orange margarita to achieve a warm, vintage-inspired vibe using Capture One.
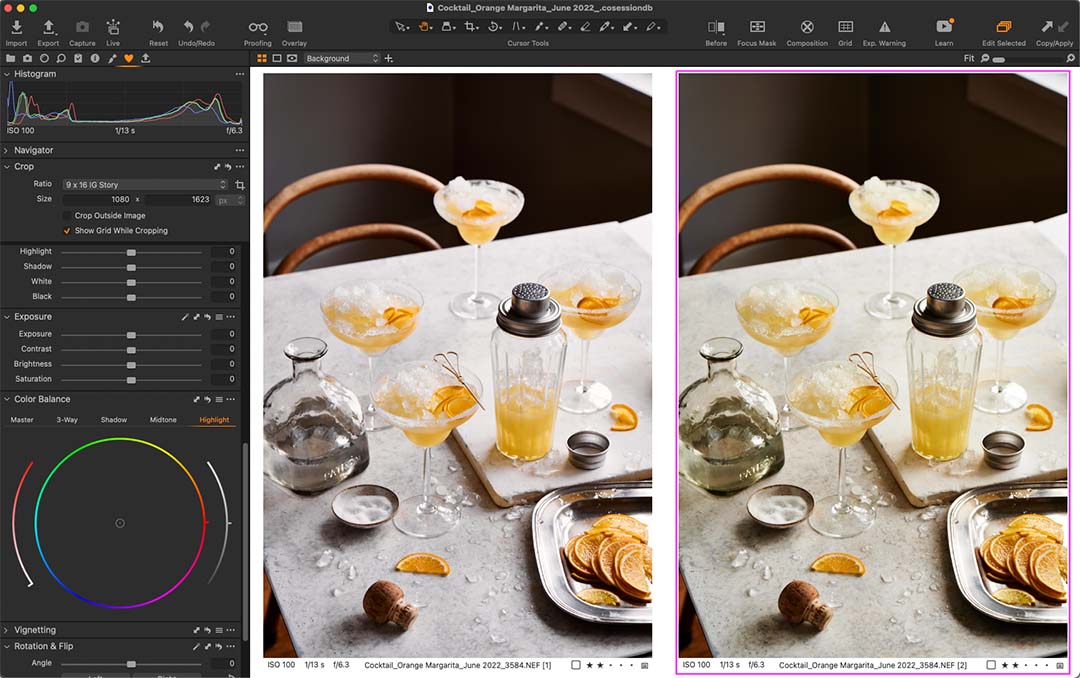
If you’re looking to edit cocktail photos with professional polish, this step-by-step guide breaks down my workflow — from colour adjustments to masking and texture enhancements. You apply these techniques to your own drink and food photography.
Edit Cocktail Photos: Starting with White Balance and Colour Correction
Getting your colours right is essential before making any major edits. For this margarita image, I began by adjusting the white balance to add a subtle magenta cast and cool the image slightly. This set a balanced base to build warmth without oversaturating the cocktail’s appearance that you are editing.
Next, I used the colour editor in Capture One to desaturate blues and purples while enhancing the oranges and yellows. This helped the drink’s vibrant hues really pop without distracting colour casts elsewhere.
Using Levels and Curves for Contrast and Mood
A key part of the vintage look is controlling contrast without crushing detail. I set the exposure levels and then applied a luma curve to subtly soften saturation while adding depth. This approach keeps the photo feeling rich and punchy but not harsh, effectively editing cocktail details.
Enhancing Texture with Clarity and Structure
Cocktail photos benefit from texture — think of the sparkle in ice, the sugar rim, or the frosty glass. I added soft clarity with the “classic” option in Capture One and boosted structure selectively to enhance these details without making the image feel too heavy while editing cocktail photos.
Fine-Tuning Exposure and Shadows
Balancing midtones, shadows, and highlights helps maintain dimension, especially with glassware and transparent elements. I used the brightness slider to lift midtones and lowered shadows slightly to keep depth. Highlights were gently reduced to avoid blown-out areas, crucial when editing cocktail images.

Masking for Background and Foreground Control
To add mood, I masked the background separately, deepening shadows and increasing saturation for richness. Using gradient tools, I brightened the front part of the image slightly and added punch for subtle contrast. Finally, a feathered vignette helped draw the eye toward the margarita, enhancing the cocktail editing process.
Colour Grading for Warmth and Mood
I finished the look by selectively saturating the oranges and yellows and shifting green hues toward yellow for harmony. Using Capture One’s colour balance tool, I added warm orange tones to shadows and highlights and countered with cool blues in midtones, giving the photo a balanced vintage feel.
Adding Grain for a Vintage Touch
If you want to push the vintage vibe further, a soft grain layer can add texture reminiscent of film. I added just a touch of grain here to keep the photo feeling natural and clean, but with a subtle nostalgic texture.
Final Thoughts on How to Edit Cocktail Photos in Capture One
Editing cocktail photos takes practice and patience, but a structured workflow like this helps you refine your look and bring out the unique character of each drink. Whether you’re working with vibrant margaritas or moody cocktails, controlling colour, contrast, and texture is key.
If you want to see the full editing process in action, check out the original video where I walk through every step in Capture One:
How I Edited This Orange Margarita Photo for a Vintage Look
If you have any questions about editing cocktail photos or want to share your results, drop a comment below — I’d love to hear from you!