Do you struggle to photograph and edit brown foods? You’re not alone, my friend. In this post, I’m going to share my top three tips for editing brown food.
Check out this quick tutorial on the edits you need to make your brown food go from boring to drool-worthy!
Top 3 Tips For Editing Brown Foods
In a nutshell, here are the three things I recommend thinking about when editing brown foods:
- Color-correct every hues of your browns
- Use clarity to enhance and reveal brown texture
- Add a warm color grade to match the comfort of brown foods
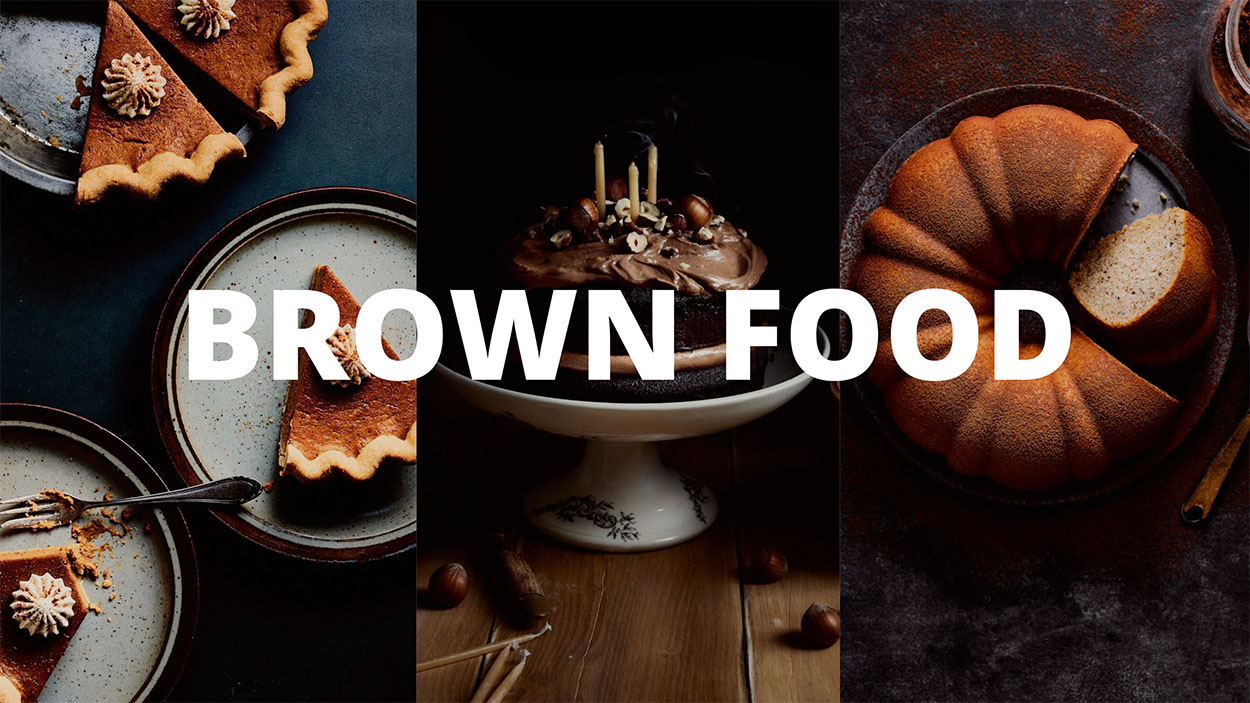
For reference, we will be looking at two images today. A gorgeous, moist chocolate cake, and a refreshing, cold iced coffee — yum!
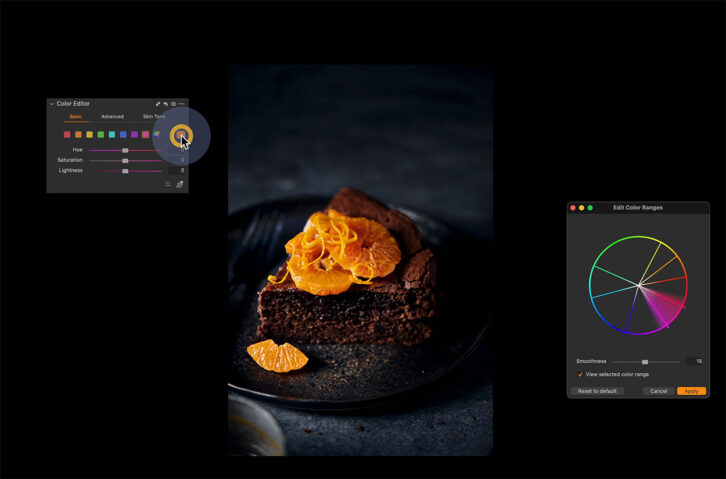
Color Correcting Browns is Key
Now, our first tip has to do with colour correction. We need to make sure that we’re colour-correcting our browns, so they’re getting the most luscious, mouthwatering brown possible for the specific recipe that we’re shooting. When editing brown foods, attention to detail is crucial.
Looking at the color range tool you can see that brown is mostly made up of orange, but also has red, yellow, and even sometimes a hint of green as well. Because of this, we need to make sure that our reds and our oranges are really on point.
So the first thing that I always do when I am playing with any brown foods is make sure that I am playing in the colour editor, (which is the Color Mixer in Lightroom). So the basic colour editor, we adjust those colours and hues until it feels around the right type of brown for the specific food I’m editing.
Chocolate cake may be more red/orange while the iced coffee leans more towards the yellow/orange. You may need to adjust all, however, depending on how they appear.
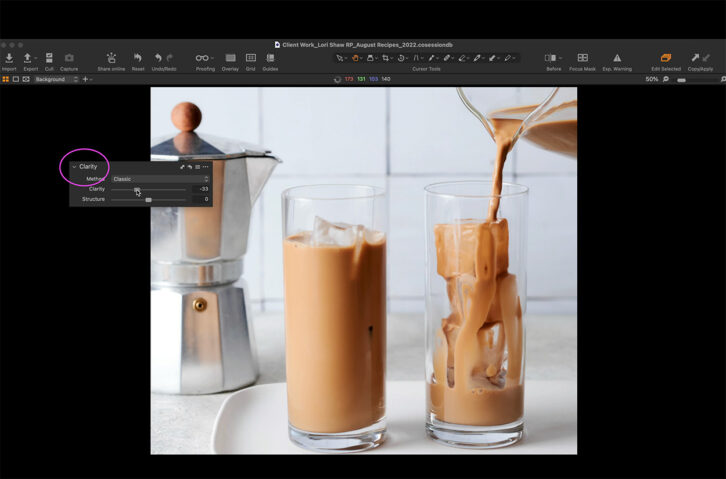
Use Clarity to Enhance the Texture of Chocolate
The next thing we want to think about is the texture of the food and use the Clarity adjustment.
Like a chocolate cake for example. It needs to be full of texture. It needs to be a little bit crunchy on the outside, and moist on the inside. In the image above I bumped the Clarity tool to 100 so you can see what the tool does. Clarity is essential when editing brown foods to highlight texture.
Enhancing the texture, the cracks and fluffiness allows the viewer to get a sense of what it would be like to take a bite.
With something like an iced coffee, it’s a beautiful, smooth, cold liquid. So we’re going to approach clarity differently. You want it to be a bit more natural, so we can reduce the clarity, but going into negative numbers, it feels a little bit smoother.
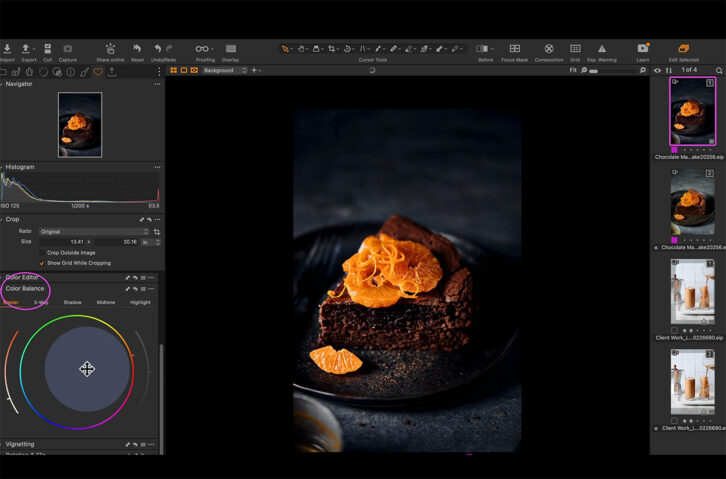
Color Grading Gives a Warm Feeling
My last tip is when it comes to brown foods, they have a really warm feeling. So I recommend when we’re color grading to use something on the warm side.
Looking at the chocolate cake photo again, we can look at Color Balance in Capture One or Color Grading in Lightroom. When editing brown foods, you can adjust an overall color grade with a slight, very subtle tone in the oranges or the reds. And then you can go ahead and saturate it or desaturate it to help bring out the warmth of that beautiful chocolate.
The next time brown food lands on your table, you can go ahead and use these tips to make sure that brown is the most perfect colour it can be.
Capture One Magic
If you’re ready to take your photos to the next level, get savvy in Capture One and unlock the secrets to the industry’s most powerful editing tool. Editing brown foods can be challenging, so make sure you check out my masterclass Capture One Magic.
If you have any questions or comments about editing brown food, just let me know in the comments below!
FAQs
Color adjustments in Capture One can be found in the Color Editor Basic Tool or the Color Editor Advanced Tool. These will be located in the Color Tool Tab and can be customised to be added to any tool tab you desire.
In the Color Editor Tool in Capture One, you have the ability to adjust the hue, saturation and lightness of any color. Both in the Basic and Advanced panels of this tool. In Lightroom, you can adjust the hue of a color in the Color Mixer Tool.


