The exposure triangle concept in photography is actually quite simple but may take some time to get your head around.
Photography is light and to understand how to capture more or less light is crucial.
Knowing the exposure triangle is the first step to shooting on manual mode.
The Exposure triangle is a relationship.
It’s a relationship between exposure, shutter speed and aperture.
At the simplest level, the settings you have for each of these aspects will determine the exposure of your image.
So let’s take a look at some of these concepts.
What is Exposure?
Exposure is the amount of light per unit area that reaches our camera’s sensor. The settings we chose will impact how much light gets into our camera.
Some photographers will tell you there is such thing as ‘correct exposure’. Yet, really, correct exposure is the right exposure for your mood, concept or story.
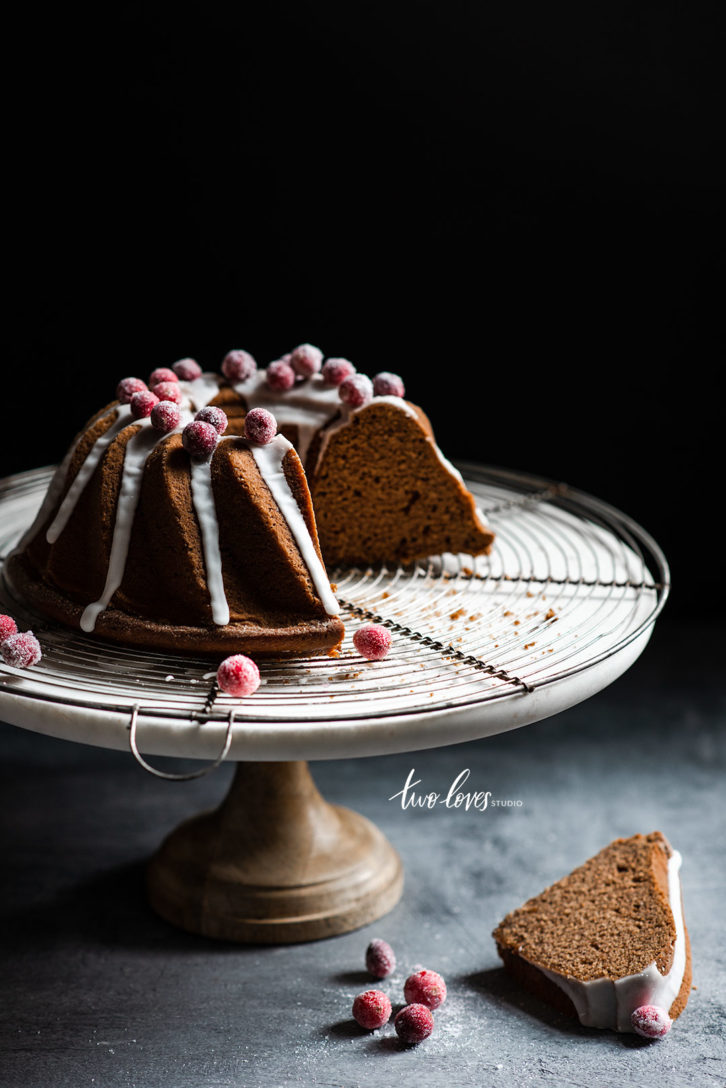
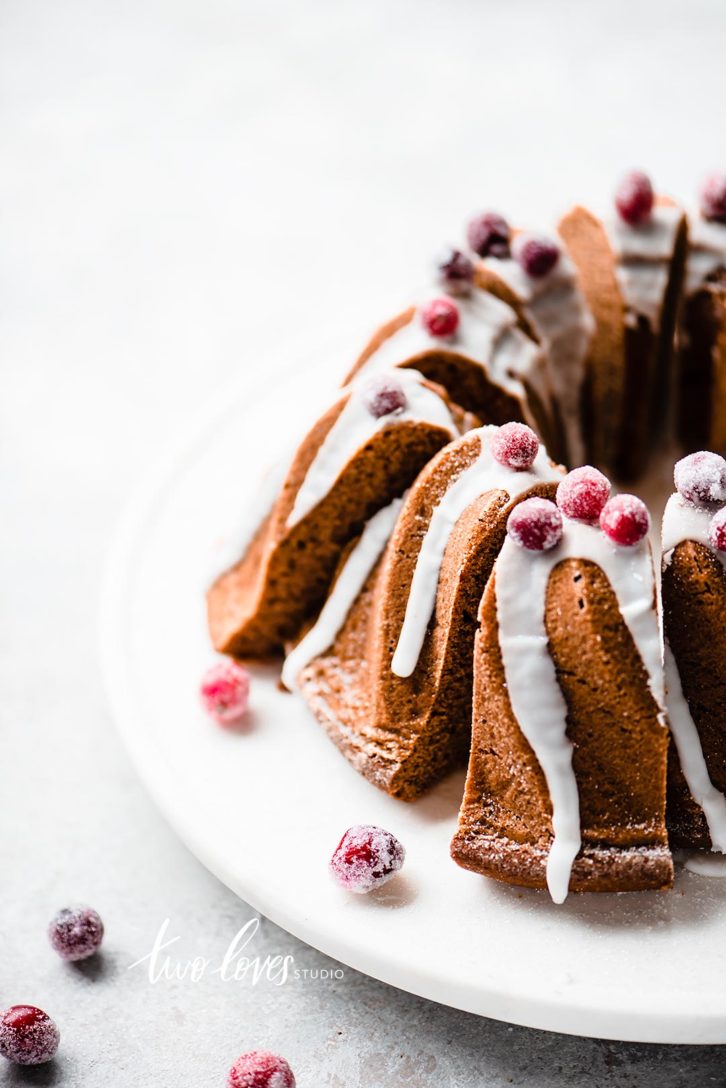
Overexposure: is therefor results in a brighter image than you wanted, or is so bright that we lose detail in our image.
Underexposure: results in a darker image than you wanted, or is so dark that we lose detail in our image.
For me, the correct exposure is one where the image is bright enough to reveal what’s important.
Now that we know what exposure is, let’s look at what each part of the exposure triangle is.
About Aperture
Aperture is the hole in your lens that allows light onto the camera’s sensor. It controls two things.
The amount of light that is let onto the sensor, and the depth of field (which is that nice blurry background that gets us into photography).
If aperture is the hole in which light is let into our camera, how do we control more or less light?
Can you imagine that a larger hole would let more light in? And that a smaller one would let in less light? That makes sense right?
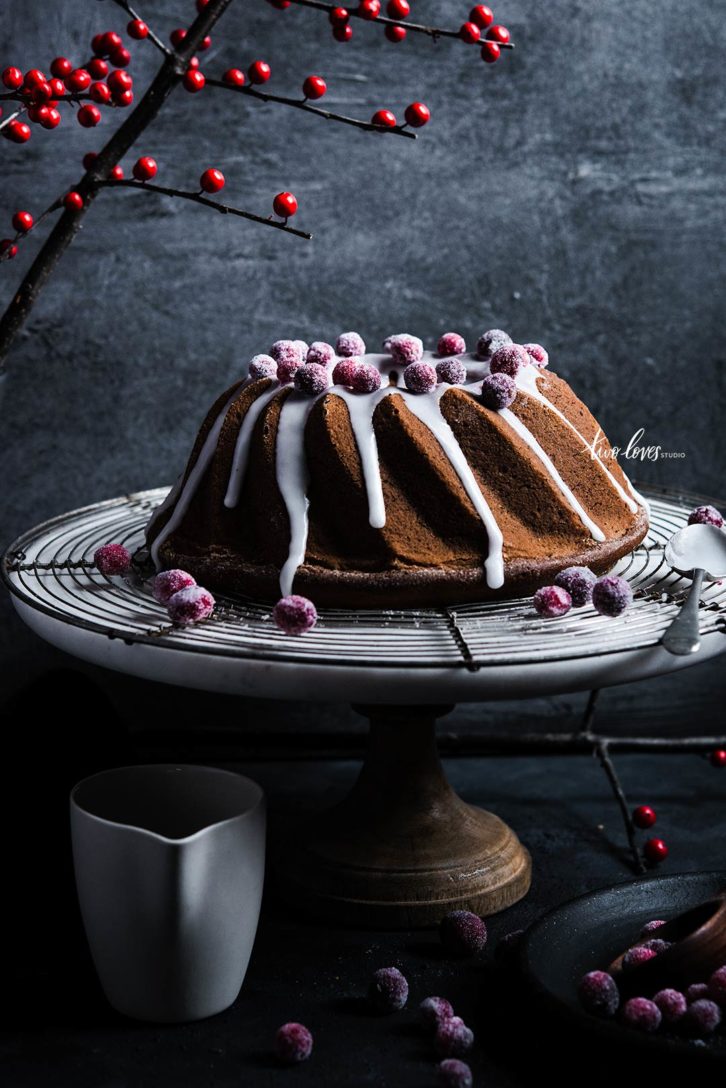
A large aperture (a small number like f/2.8, big hole in the lens). Will let a lot of light onto your camera’s sensor and produce a shallow depth of field (blurry background).
A small aperture (a large number like f/8, small hole in the lens). Will let less light onto the camera’s sensor and produce a lot of depth in an image (more of the background in focus).

Aperture is only one part of the exposure triangle. Let’s take a look at the next.
About Shutter Speed
The camera has a shutter, which is sometimes referred to as a ‘curtain’. It opens and closes to let light onto the camera’s sensor.
Imagine it just like a curtain. You wake up in the morning and it’s dark in your bedroom until you open the curtains and light comes in.
Now, the speed of our shutter is the length of time that the camera’s shutter will be open for. To allow light into the sensor.
It’s measured in fractions of a second. So it’s super quick.
The faster the shutter speed, the less light that will be exposed onto the sensor. Conversely, the slower the shutter speed the more light will be exposed onto the camera’s sensor.
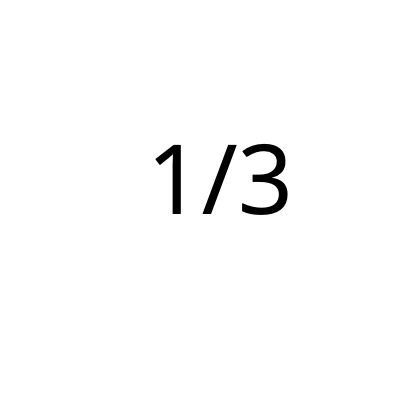
Faster shutter speed, e.g. 1/500 > Smaller fraction > Less light onto the sensor
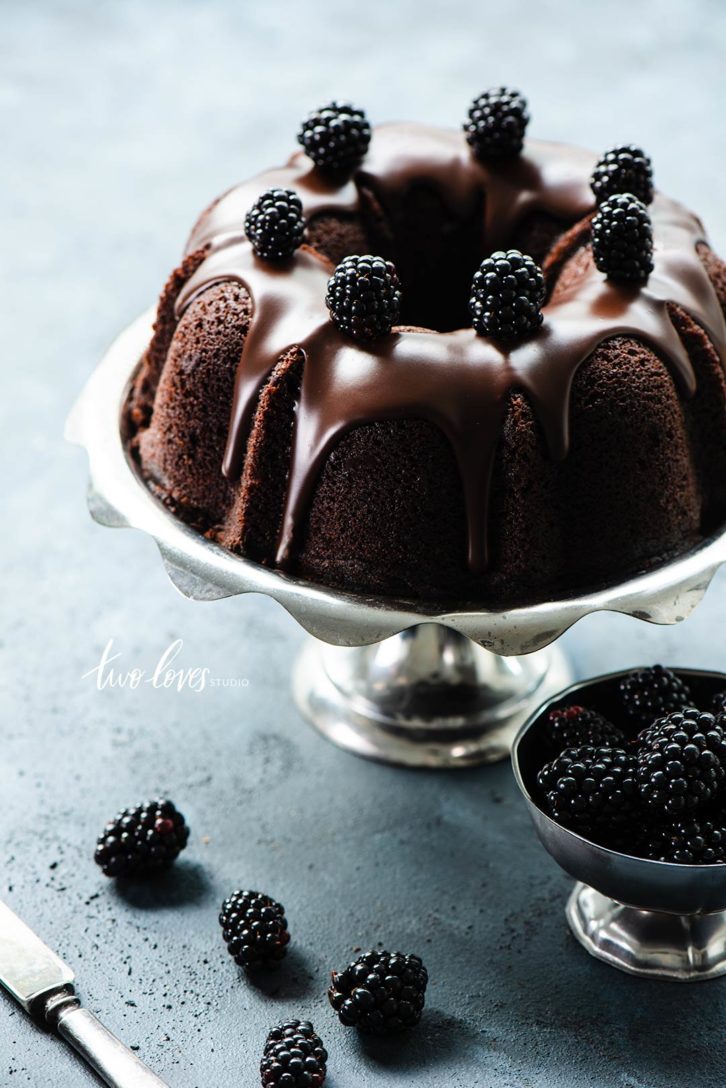
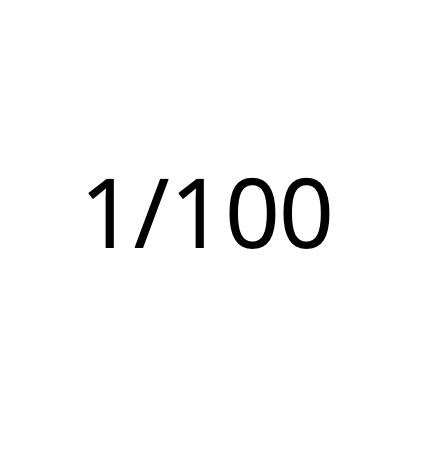
Slower shutter speed, e.g. 1/100 > Larger fraction > More light onto the sensor
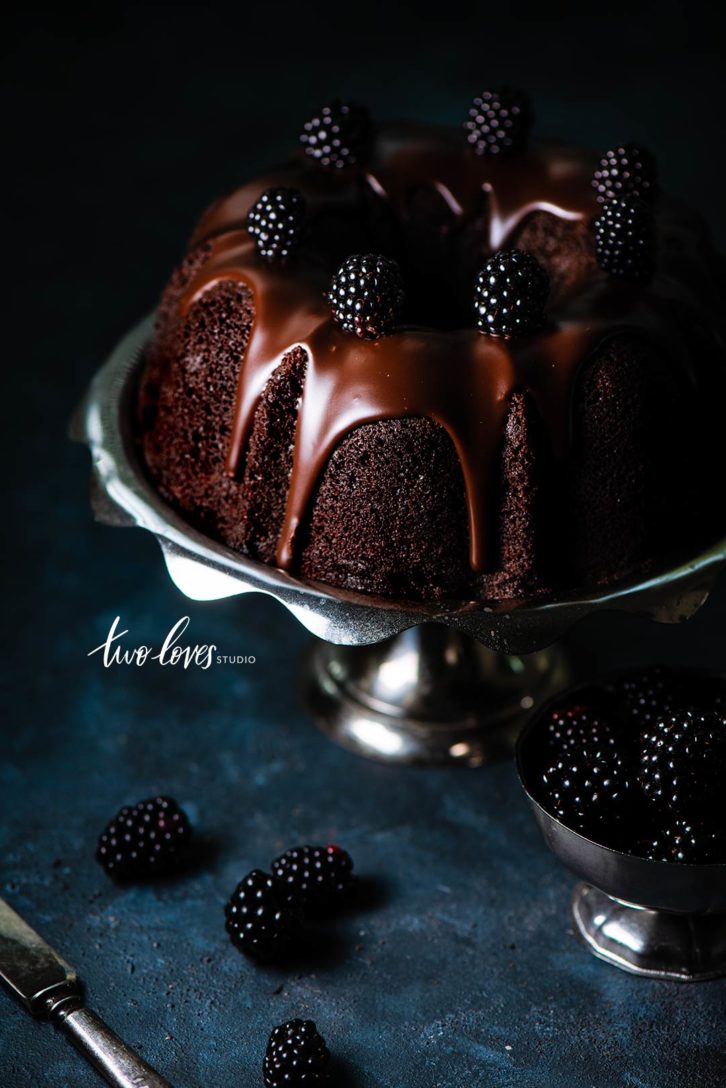
So in a nutshell, shutter speed works in the exposure triangle to let more or less light in. Depending on how long the ‘curtain’ is open for.
About ISO
ISO is a setting that we can use to help us capture a bright or dark image with available light.
The level of this setting will also impact ‘grain’ or ‘noise’ in our images. The higher the ISO the more grain will be introduced into our image.
Lower ISO, e.g. ISO 100 > Lower sensitivity > Darker > Less grain/noise.
Higher ISO, e.g. ISO 1600 > High sensitivity > Brighter > More grain/noise.
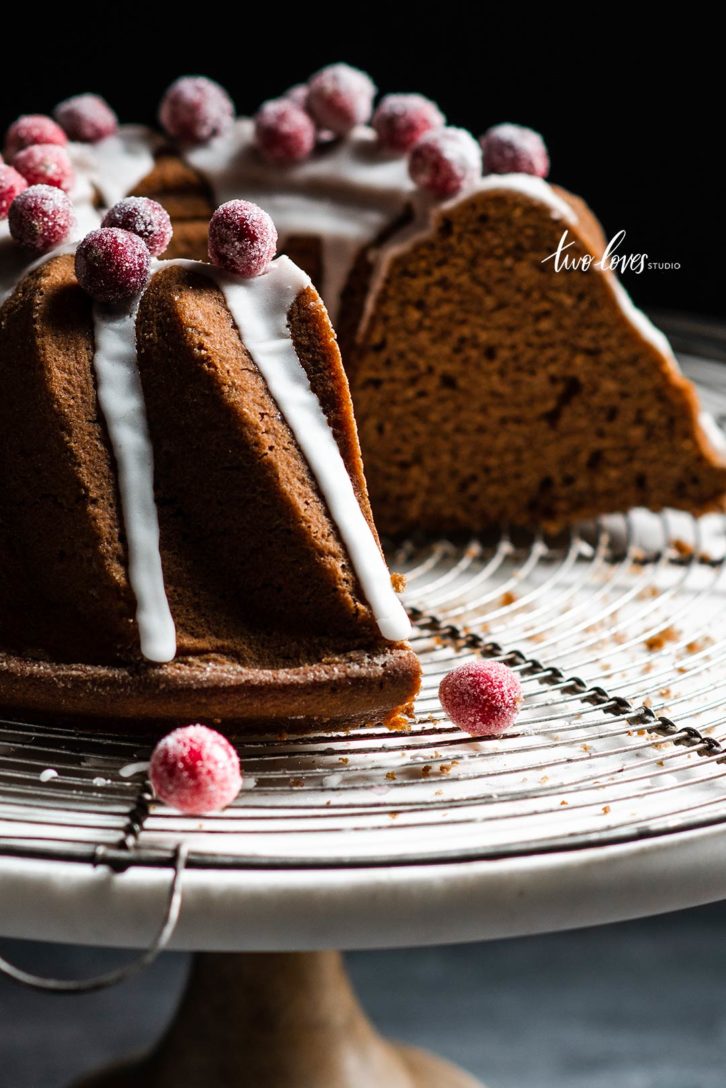
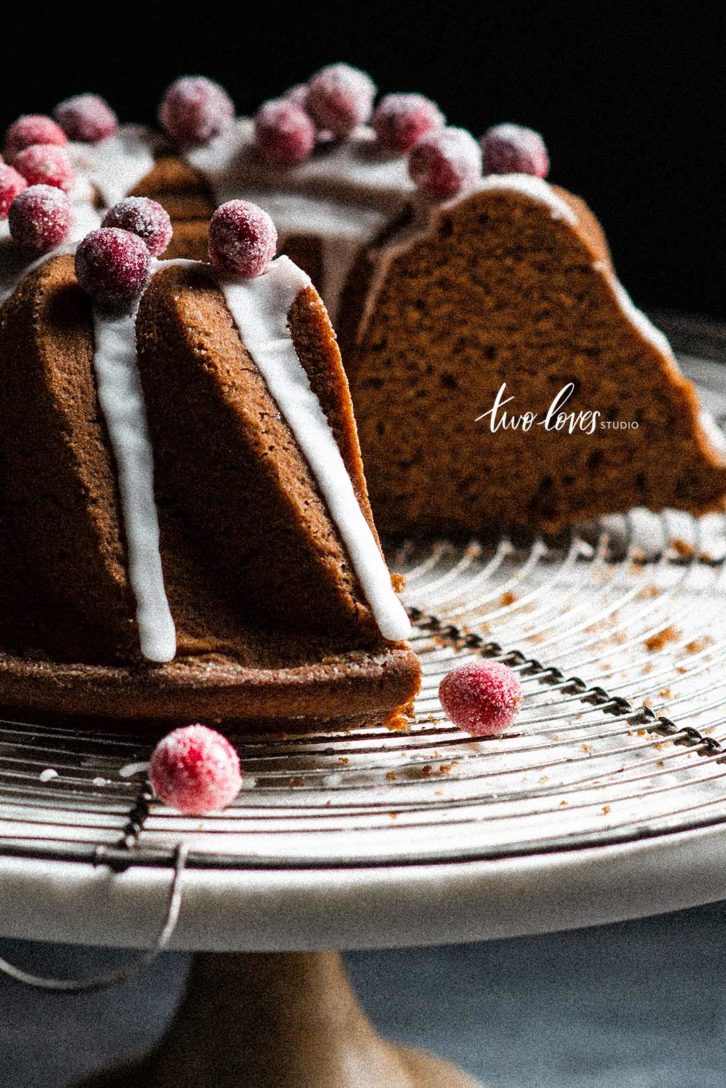
You can reduce grain in post production, and it’s something I show you how to do in my masterclass Lightroom Magic.
Our Settings Work Together in The Exposure Triangle
So it’s called the exposure triangle because we are controlling aperture, shutter speed and ISO together to let light into our cameras.
And because it’s a relationship, changing one setting results in us having to change another. That’s kinda why it’s called the exposure triangle.
That’s what new photographers find the most confusing. But just think of each part of the exposure triangle as relating to our settings.
Three points of the triangle, each equal one type of setting.
They aren’t sure which setting to change first.
Why Knowing My Settings Won’t Help You
So if you’re not sure which setting to change or even what to have your settings at, where do you start?
I get it!
That’s why I think a lot of the time people are interested to know what other photographers have their settings at.
But that’s a mistake. Because it can’t actually help you.
Our settings are based on our exposure goals and the available light we have.
So the light I have is different from the light you have.
Unless we are in the same room at the same time, my settings won’t help you.
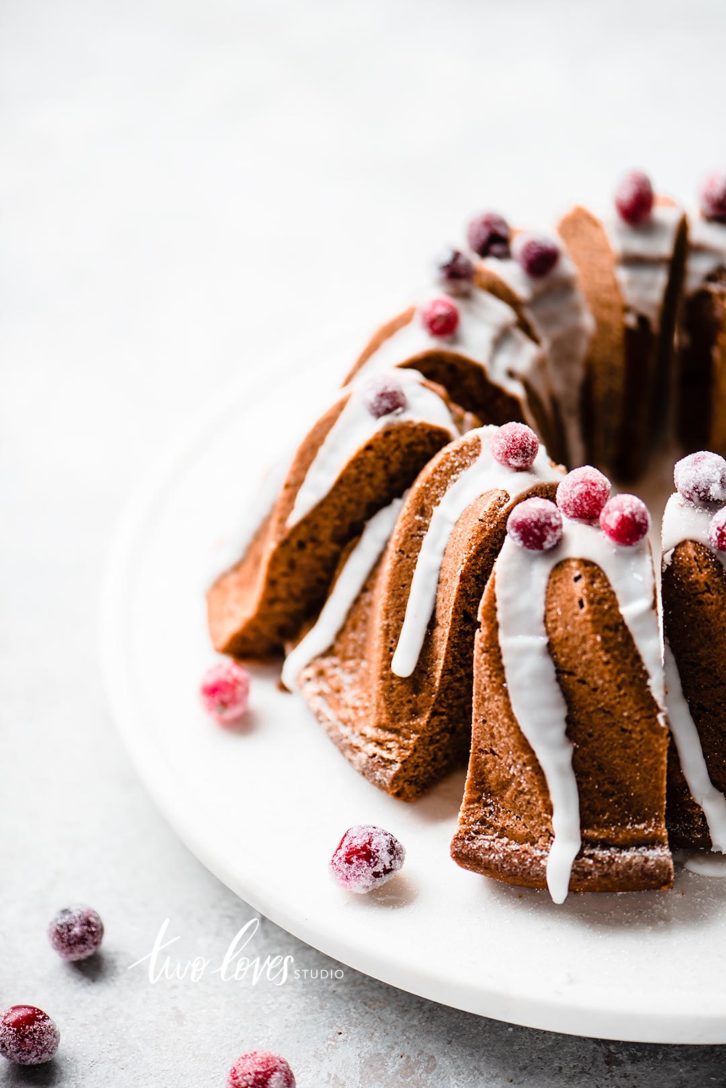
Further to that, different cameras and lenses let light onto the sensor differently, providing even less help.
It always comes back to how can I change my settings to still get me the concept I’m after and let enough light in.
How to Shoot Manual
Manual can be scary at first! I know I was terrified of shooting manual. Mostly because I’d heard that other people were scared.
But when I spent some time to understand it, I was kicking myself I hadn’t done it sooner.
After a while, it becomes second nature.
The more different situations you shoot in, the more you will be exposed to creating different setting combinations.
Now, as we have three different settings to change, where do you start?
I find aperture the easiest setting to start with.
We want to keep our ISO low, 100-400 ideally for food photography. (ISO 100 if you’re shooting artificial light, and up to ISO400 with natural if there isn’t much light).
So ISO is kinda taken care of for us. Not always, but generally.
I find it’s shutter speed that varies greatly. And is really dependant on the light.
If you can use a tripod, then we can adjust our shutter speed to be whatever we need it to be to let enough light in.
Step #1 Set Your Aperture For the Concept
I like to think what aperture is going to match the concept I am shooting.
Do I need a shallow depth of field (super blurry background), or do I need more depth?
Set your aperture for the concept.
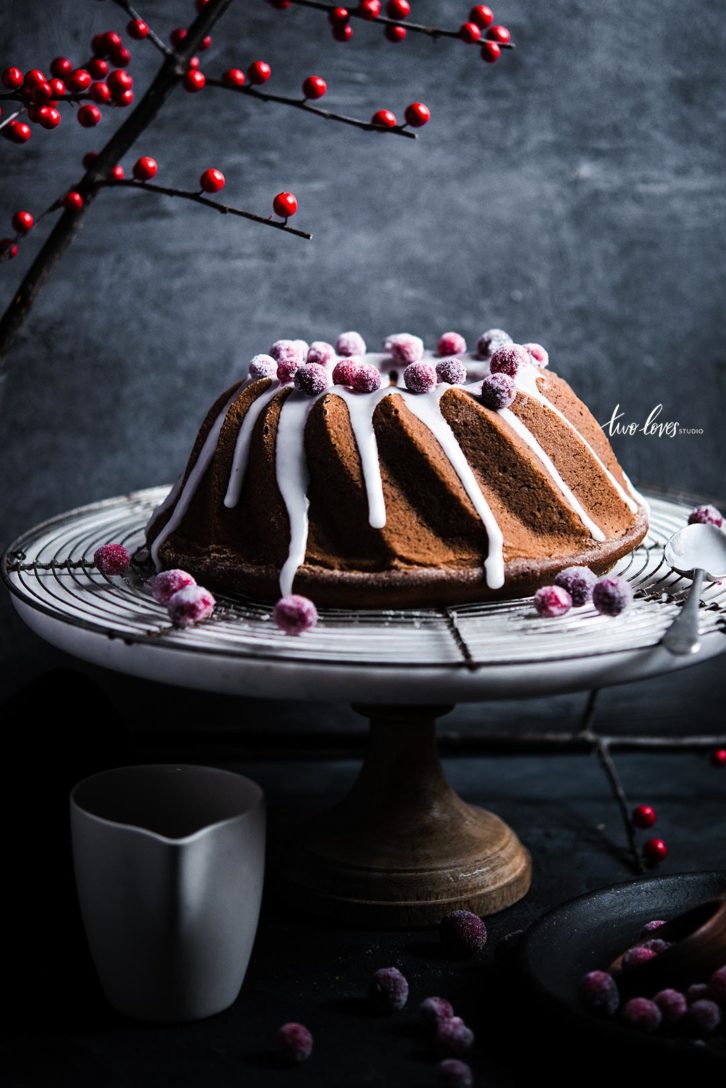
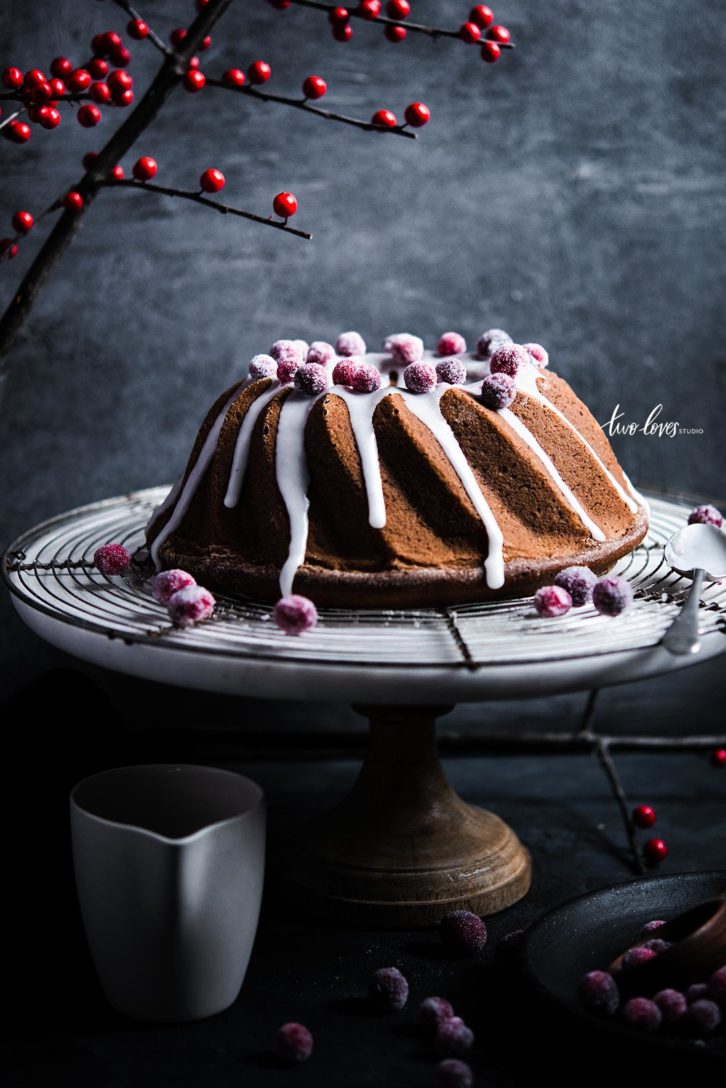
I wanted to have a shallow depth of so I set aperture for this shot to f3.2.

Step #2 Set Your ISO Keeping in Mind Lower ISO Equals Less Grain

We know that ISO is a setting that helps us take brighter or darker images.
But we also don’t want to add noise to our image.
For a sharp, luxurious image, try to have an ISO below 400 where you can.
A tripod can help you do this.
Step #3 Set Shutter Speed to Let in Light
If we are on a tripod, we can play with how long that ‘curtain’ stays open for.
A slow shutter speed, a larger fraction, will mean the curtain stays open for longer. Letting in more light.
A fast shutter speed, a smaller fraction, will mean the curtain doesn’t stay open for as long. Letting in less light.
And just play around with your settings. For the purpose of this exercise, don’t worry if it’s in focus, or blurry.
The goal here is to change settings to achieve your desired exposure.
Focus on changing your shutter speed to get the brightness you want.

Focus on changing your shutter speed to get the brightness you want.
Related: Everything you need to know about tripods in food photography.
The Recap
In a nutshell, here are the takeaways from this post:
- Exposure is how much light falls onto our camera’s sensor.
- The correct exposure is what’s right for your story, concept or mood.
- Overexposed is brighter than you wanted.
- Underexposed is darker than you wanted.
- For me, correct exposure matches my story but also reveals the important subjects with enough light.
- The Exposure Triangle is a relationship between aperture, shutter speed and ISO.
- Aperture is the hole in the lens that lets light in. The larger the hole the more light. A smaller hole, less light.
- Shutter speed is how long the shutter or ‘curtain’ is open for. The longer it’s open, the more light gets in.
- ISO is a setting that helps us brighten an image. It also introduces noise, so we want to keep it low when we can.
Lesson Activity
The best way to learn manual is to see in real time. So playing with your settings.
- Set yourself up on a tripod. Shoot anything, it doesn’t matter.
- Set your ISO to 200 and your aperture to f4.5.
- The play around with different shutter speeds until you get a bright image you’re happy with.
- The change your ISO to 400 and your aperture to f5.6.
- Play around with different shutter speeds until you get an image that is the same brightness as the previous settings.
- Compare the shutter speeds.
What you will notice is that we are trying to get the same level of brightness for two images with different settings. That’s what manual is about.
As natural light changes, so do our settings.
And don’t worry if this doesn’t click for you right this minute. Sit with it, cause I know it will.
If you’re taking Photography Fundamentals 101, click here for your next lesson.





Julie Menghini
Hi Rachel! I love everything you do! Is there any way to buy an e-book or pdf of the 12 lessons? I’m a visual person and like to take notes. I love your Art of Light ebook and your Lightroom Magic course was a life changer for me.
Rachel
Hey Julie! So nice to see you stop by. Always a pleasure. That’s a good question. Currently, I just have the blog posts, but I am sure it’s something I can facilitate. Great idea 🙂
Colleen
Thank you for this website lesson.
So helpful, informative with wonderful examples.
You’ve definitely earned an excellent a gold star from me.
Have you got a book out?