It’s no secret to those who know me or are familiar with my work, but I am a self-proclaimed editing nerd!
Editing or post-production for me is part of the creative process that is just as important as composition and styling.
I love thinking about how to bring a concept to life by problem-solving in Photoshop.
Now I love a good breakdown of images and concepts so I thought I would share the editing process of retouching in Photoshop by going over a few of my favourite images.
This is how I use Photoshop for perfect food photos!
If you’re interested in joining me to learn any of these skills in Photoshop, check out my online Photoshop course.
Let’s dive in!
Chocolate Cobler – The Perfect Ice Cream Scoop
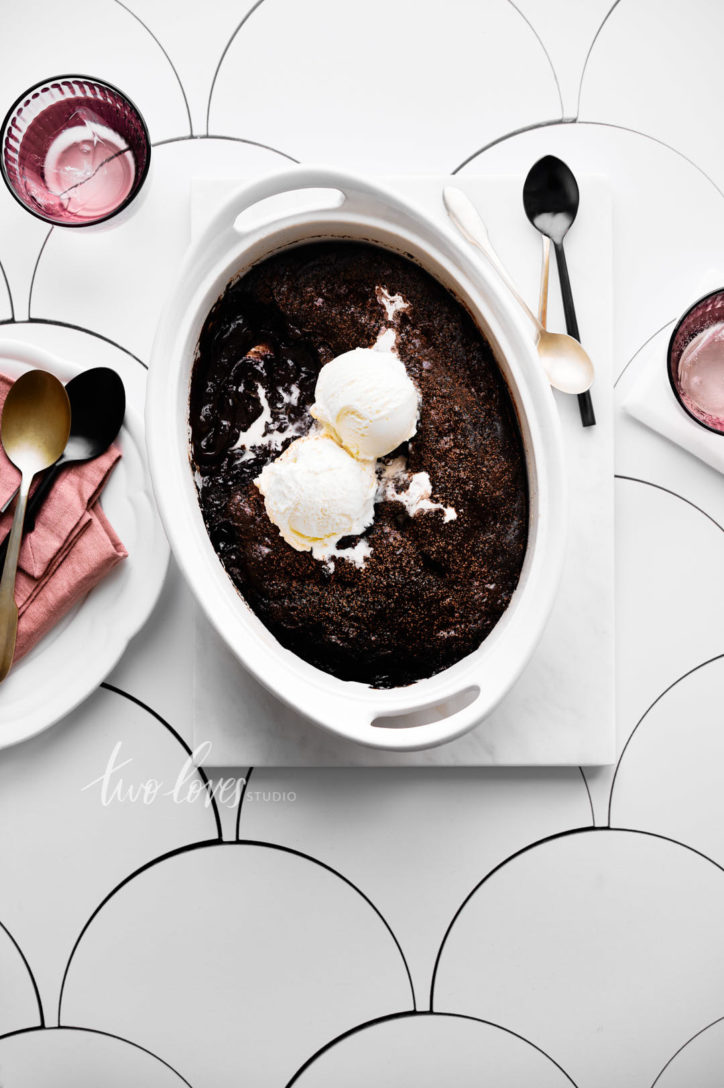
How do you get that perfect ice cream scoop AND those beautiful melted lines?
From working with other food photographers and stylist, everyone has their go-to method. Here is the process I usually start with:
- Scoop out 1-2 scoops (and most likely praying they are somewhat perfect)
- Add them to the hero food and take a couple of snaps.
- Being quick, making any last-minute adjustments. Let them naturally melt to see where the lines lead.
- Somes I will help the lines along to exaggerate them.
- Remove the melted scoop, add new ones and take a few more snaps.
Then I go through the series of shots and pick the heroes. Using a Photoshop composite technique to combine the heroes together to form the perfect shot.
Thrift Store Glassware – Removing Distractions

I love shopping at thrift stores for glassware, but the problem is that a lot of the glasses are scratch! Like there is no hiding it. Especially when shooting backlight.
Typically I would try to find a glass that doesn’t have scratches but when you’ve found a pretty one at $0.99. I figure I can spend an extra 15 mins in Photoshop to retouch!
Here’s how I approached dealing with scratches in this image:
- I first tested the scene with an empty glass for lighting. Exploring angles and what would pick up the light the best and highlight the garnishes.
- Rotating the glass with the ice until I found a side that showed the least amount of scratches (aka distractions).
- Place in the garnish and arrange.
- Take a few shots with different apertures for DoF to work with in Photoshop if I need.
- Clean up the scratches in Photoshop to remove those distractions and enhance the beauty of the cocktail, while preserving detail where it’s necessary.
It’s important to have a few different tools and approaches when it comes to removal and cleaning in Photoshop as different textures will work better with certain tools. This is a topic we cover in Retouching Food Photography.
For me removing distraction is a way to perfect my food photos.
Red Cabbage Leaves – Cleaning & Shaping
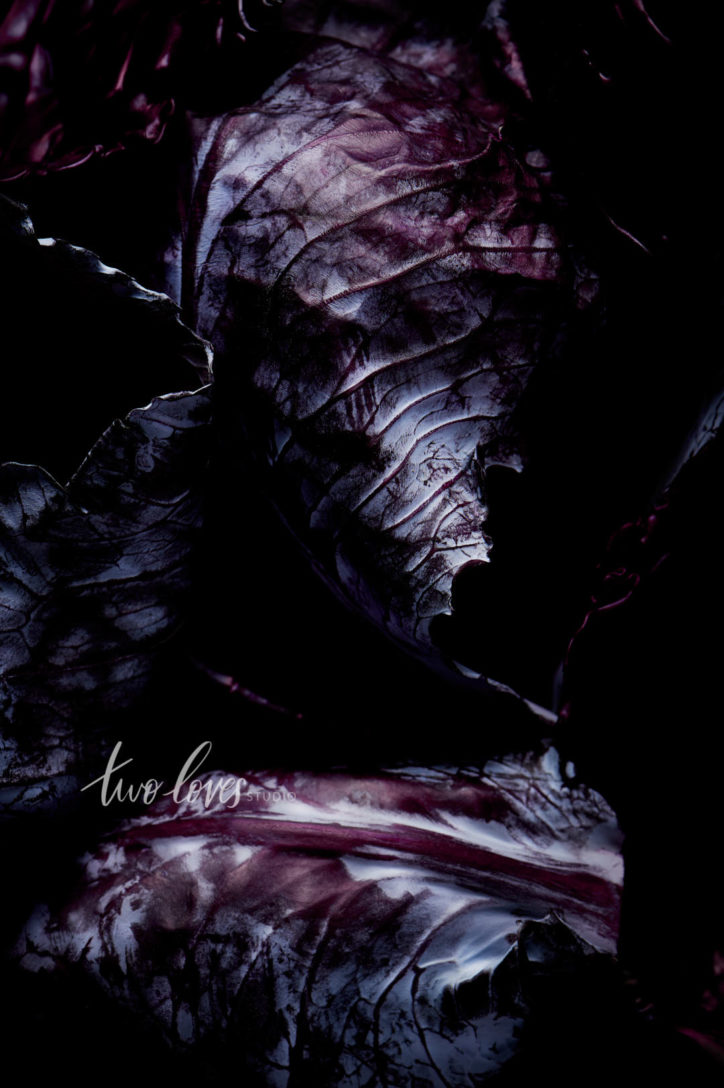
Would you believe me if I told you that these cabbage leaves were wilted and a little lifeless?
No! I hear you say…how did you do that?
Edge detail was really important here when I shot this subject to give it the illusion that it was so crisp you could snap it in two.
Even the best produce has blemishes. Cleaning up the leaves help me to remove those distractions and instead allow the viewer to focus on the colours and the lines.
Here’s the process I took for this shot:
- On a dark surface, I arrange the wilted leaves and propped them up whole oranges underneath to give the leaves shape.
- I removed any parts of the orange that was peeking out in Photoshop.
- Then used tools to remove blemishes and dush.
- Using light enhance tools in Photoshop to sculpt light.
I’m not sure what you think of this image but it’s one of my favourites! Photoshop helps me perfect my food photos (aka…make minimal powerful!)
Whiskey Colour Theory – From Blue to Green.
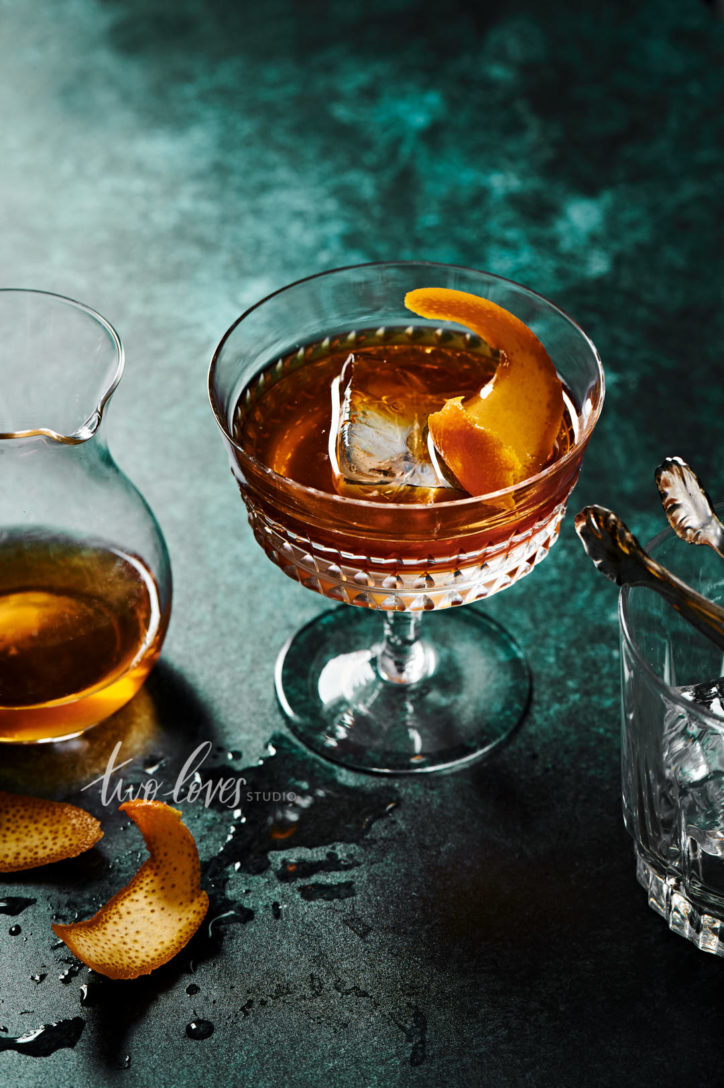
This background is blue! A rich and deep royal type blue.
If you know your colour theory well, you’ll know that orange and blue are beautiful complementary colours that I have often leaned on in my work.
See I’ve always been a little afraid of green and I don’t often use it. But with this shot, I felt that changing the background to green would really help it stand out to be different.
There is a basic technique to changing colour in Photoshop, but the problem often arises (and maybe you’re encountered this) is that changing just one colour can be tricky. Therefore your selection method is crucial.
We teach a few ways to retouch colour in Photoshop in our online course.
Whisky On Ice – Ice Cube Perfection
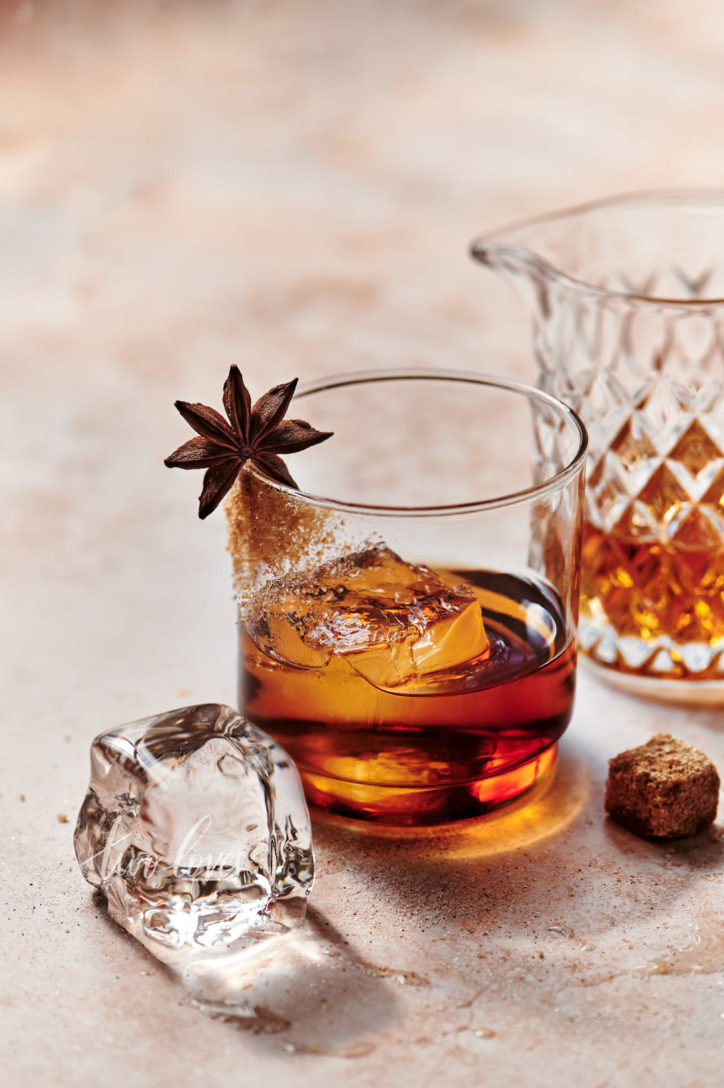
I hope you’re not sick of Whiskey yet because clearly I’m obsessed!
What I love about shooting clear ice is that it is constantly changing. When I first use it it’s a cube with sharp and rigid edges. As it melts, different shapes form and I feel like every time I shoot it, it looks different.
I’m drooling as I type!
Depending on what I’ve shot during the week, it will depend on how many ice cubes I have (I also have a tiny freezer!). Here is my process for this shot:
- Once the shot is set up for composition and lighting, I will add the ice cube and take shots as it melts. Moving it around the glass and taking more shots for variety.
- If I feel the shot is missing something, I will try to get creative.
- I think clear ice is so beautiful so I took the ice cube out of the glass and played with it on the surface.
- I choose the images I think had the most interest and composited them together.
Being able to combine images in Photoshop helped me here because at this point I was down to one cube! Ideally, I would have more. But I am not one to quit.
I use Photoshop to help me problem solve and create concepts that might otherwise be possible! It allows me to think about new ways to perfect my food photos.
I hope you’ve enjoyed going through the process I used to create these shots. If you’re interested in going from overwhelmed to confident in Photoshop, you can join our online Photoshop training.


