This post may contain affiliate links from products and services we love and trust.
One of the biggest challenges with shooting natural light is that it is ever-changing. If you need to redo a shoot or continue a shoot another day and the natural light is completely different, how do you go about recreating the light you had before?
As I am sure you are aware, artificial lighting is a huge and kinda complex topic, (like seriously!) There are so many options out there and things to consider, like budget, storage, set up, power and accessories, the list goes on.
In my camera bag, I carry around a Nikon SB 910 Speedlight. It’s a really small unit that I can use remotely as a lighting source, that isn’t too expensive or bulky to carry around. Primarily I take it with me as a backup when I am shooting restaurants and cafes for example. I have, however, recently discovered that the Nikon SB 910 Speedlight has been discontinued, its replacement is the Nikon SB-5000 AF Speedlight.
In this post, I wanted to share how I recreated a moody natural food photography lighting set-up using my Speedlight.
I am going to chat you through:
The set-up I used to create moody light using natural light (at home) The gear I used to recreate moody artificial light The set-up I used to recreate moody artificial light Things to consider when playing around with your set up
Can you guess which one is natural light and which one is artificial light?
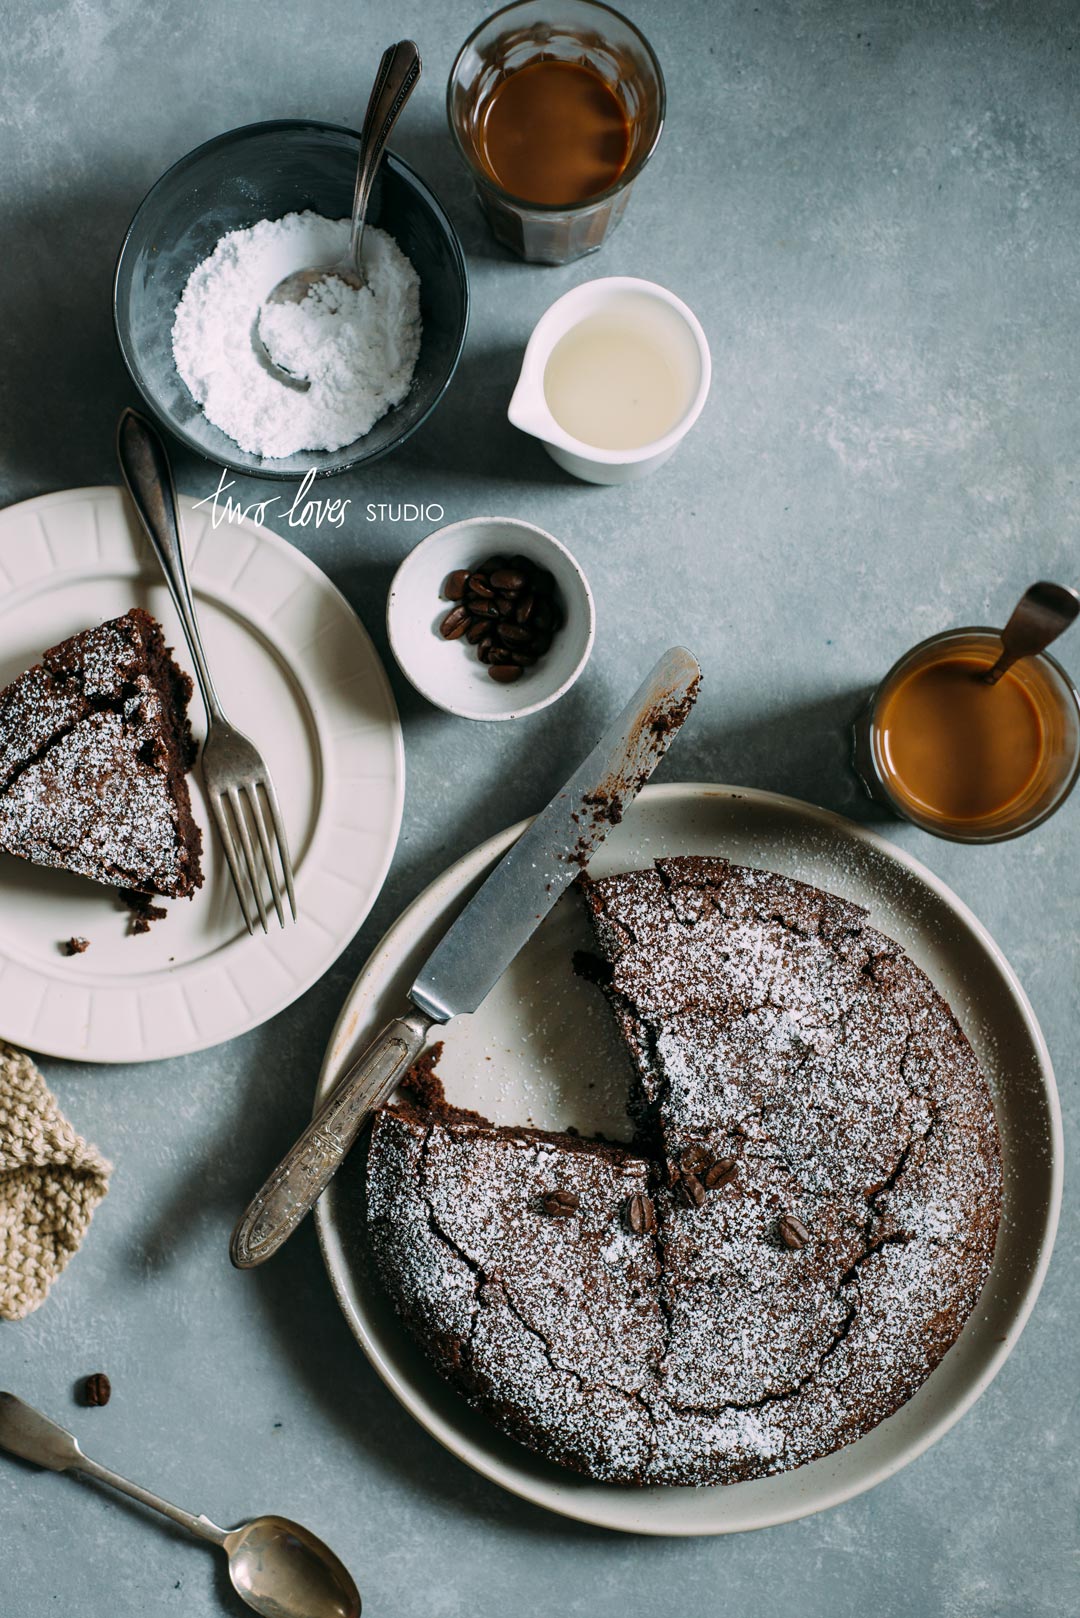
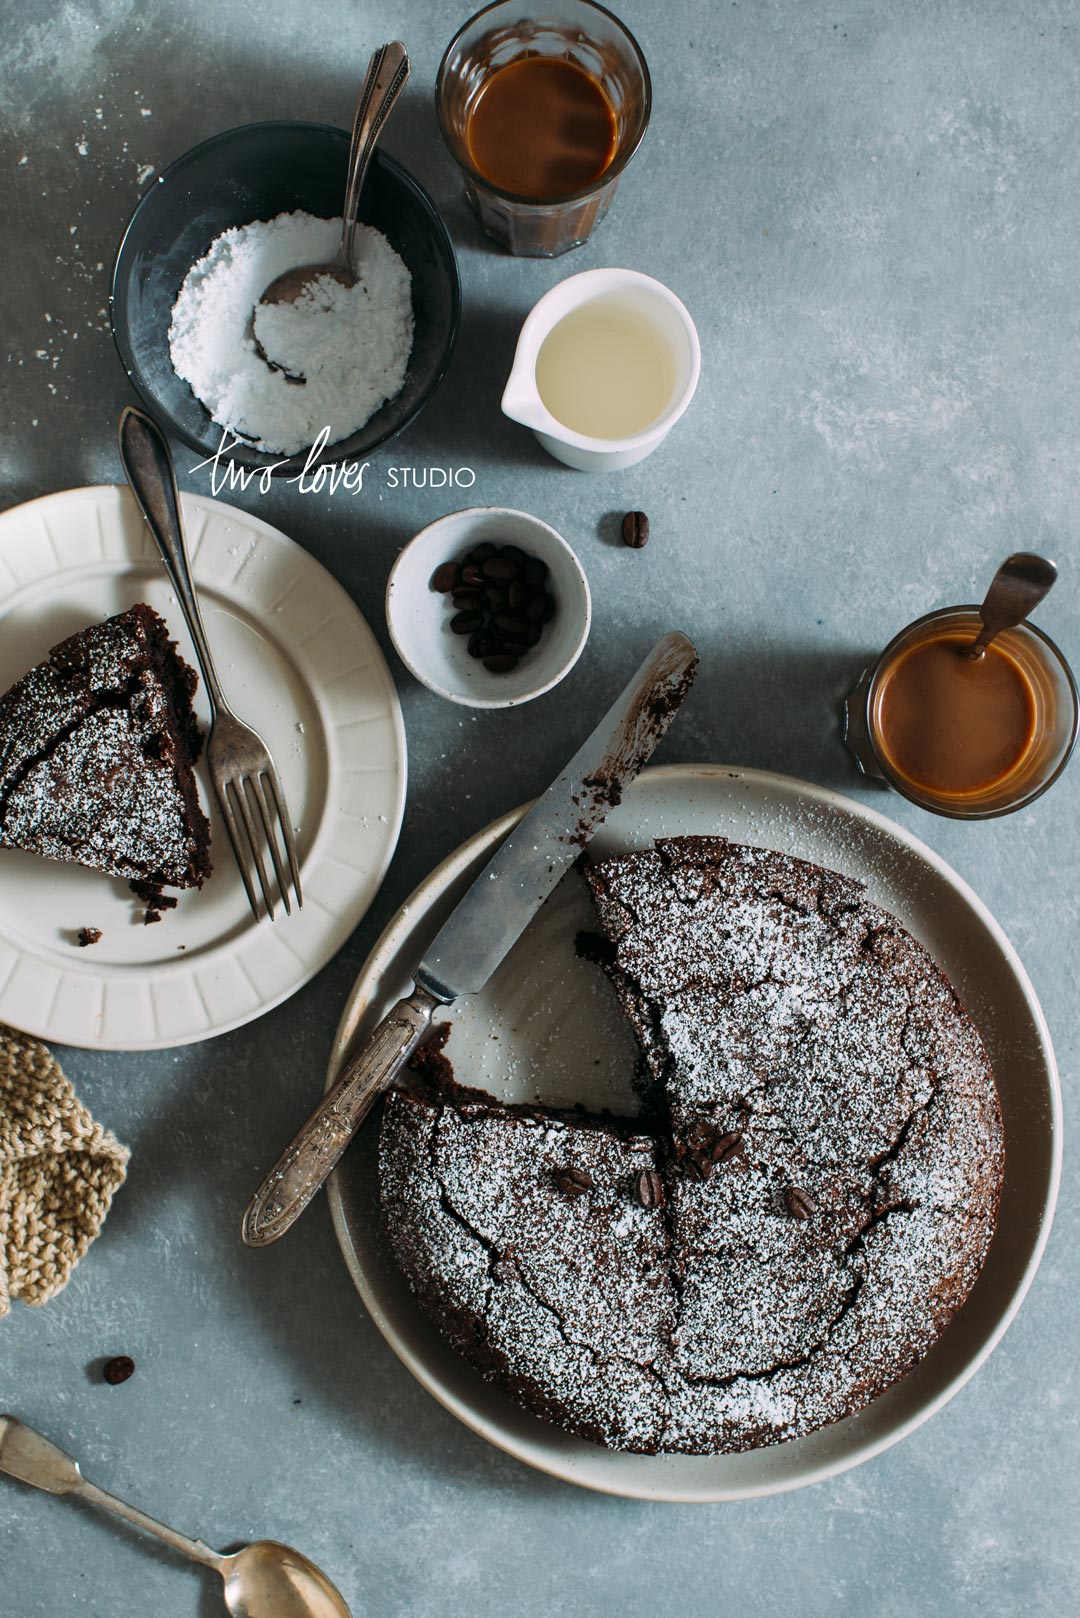
How’d you go? Did you guess it correctly? Let me know!
Create Directional Moody Natural Light at Home
Directional Light simply refers to lighting that appears in an image as coming from a certain direction and light light source. The shadows will emphasise where the light is coming from.
GEAR I USED:
I have a large North-facing window that spans edge to edge across my living room. Accompanied with white walls, the space is very bright and airy.

To capture moody, directional light for a shoot I’d had to block some of the light streaming through the windows. I did this using large black foam core to block out 2/3 of the light.
Cutting out 2/3 of the natural light
I used negative fill (black foam core) to block out the left most 1/3 of the window, and the right most 1/3 of the window. This allowed the remaining 1/3 of the window in the middle, (directly behind my subject) to let light onto my set. Here I am essentially cutting out 2/3 of the light.
Using Negative Fill to reduce light reflection
I set up a black fill card on the edges of my set (the table in which the subject is on) to cut out any light bouncing off the white walls and filling in my shadows.
My subject was roughly between 1-2m from the light source, (close edge was 1m away, far edge was 2m away).
Replicate Moody Natural Food Photography Lighting With a Speedlight
Once I had captured a shot that I liked with natural light, I then used my Speedlight, (Nikon SB910 as the only light source), to recreate the same lighting.
GEAR I USED:
Black Foam Core (for negative fill)
Circular MultiDisk Reflector/Diffuser (to diffuse the light from the Speedlight)
PocketWizard Transceiver (to remotely control the Speedlight)
Speedlight Placement
I placed the Speed Light in the same spot as the natural light was coming from. At the same height as the window, (around 1.5m above the floor) and the same angle, (straight on).
Diffuser Placement
I placed a diffuser straight on, half way in between the light source and my subject.
Negative Fill
The same negative fill card placed in the roughly the same place to cut the bounce of the light off the white walls.
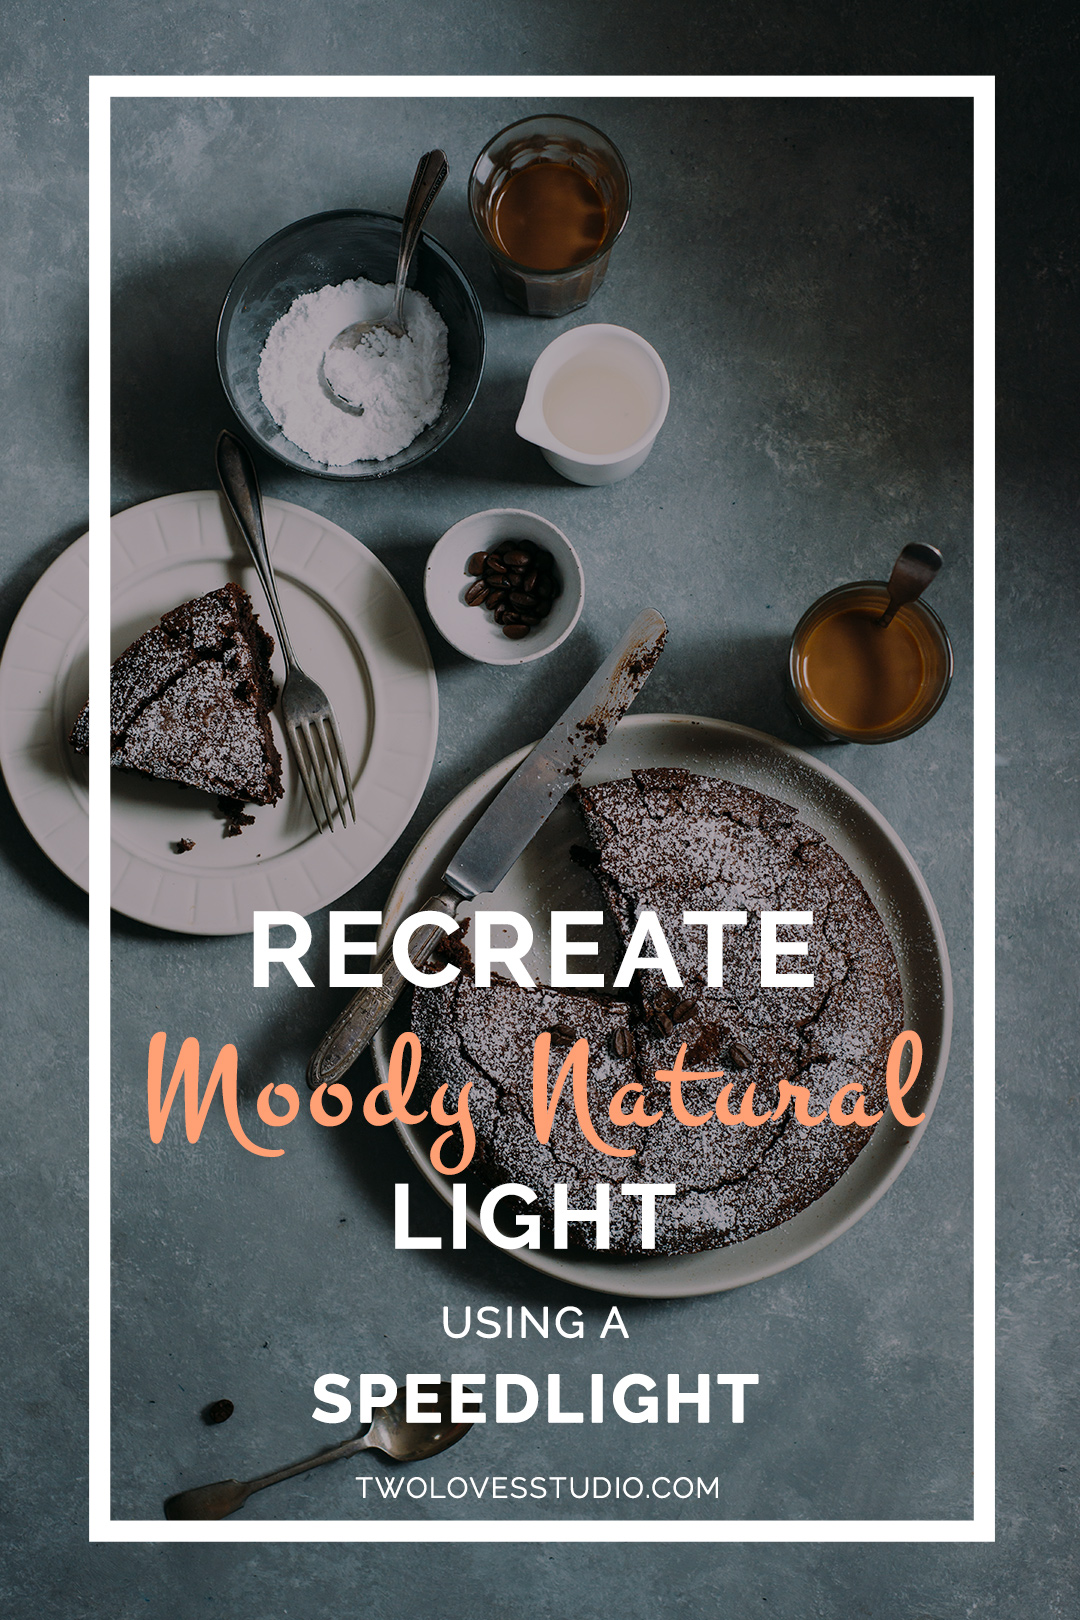
Food Photography Lighting with a Speedlight– Things to Know
I played around with 50 shots, changing the height and angle of the Speedlight to my subject, the distance and angle of the diffuser.
This changed the:
Direction of the shadows
Intensity of the shadows
Type of light
The Height and Angle of Your Speedlight Will Change the Results
As the Speedlight is now your light source, the direction of where the light is coming from will change the results of your lighting. Distance is also a factor to consider however you can change the intensity of the unit’s flash.
Placing the Speedlight on the floor will give you a different result, than if you placed the unit at the height of your window.
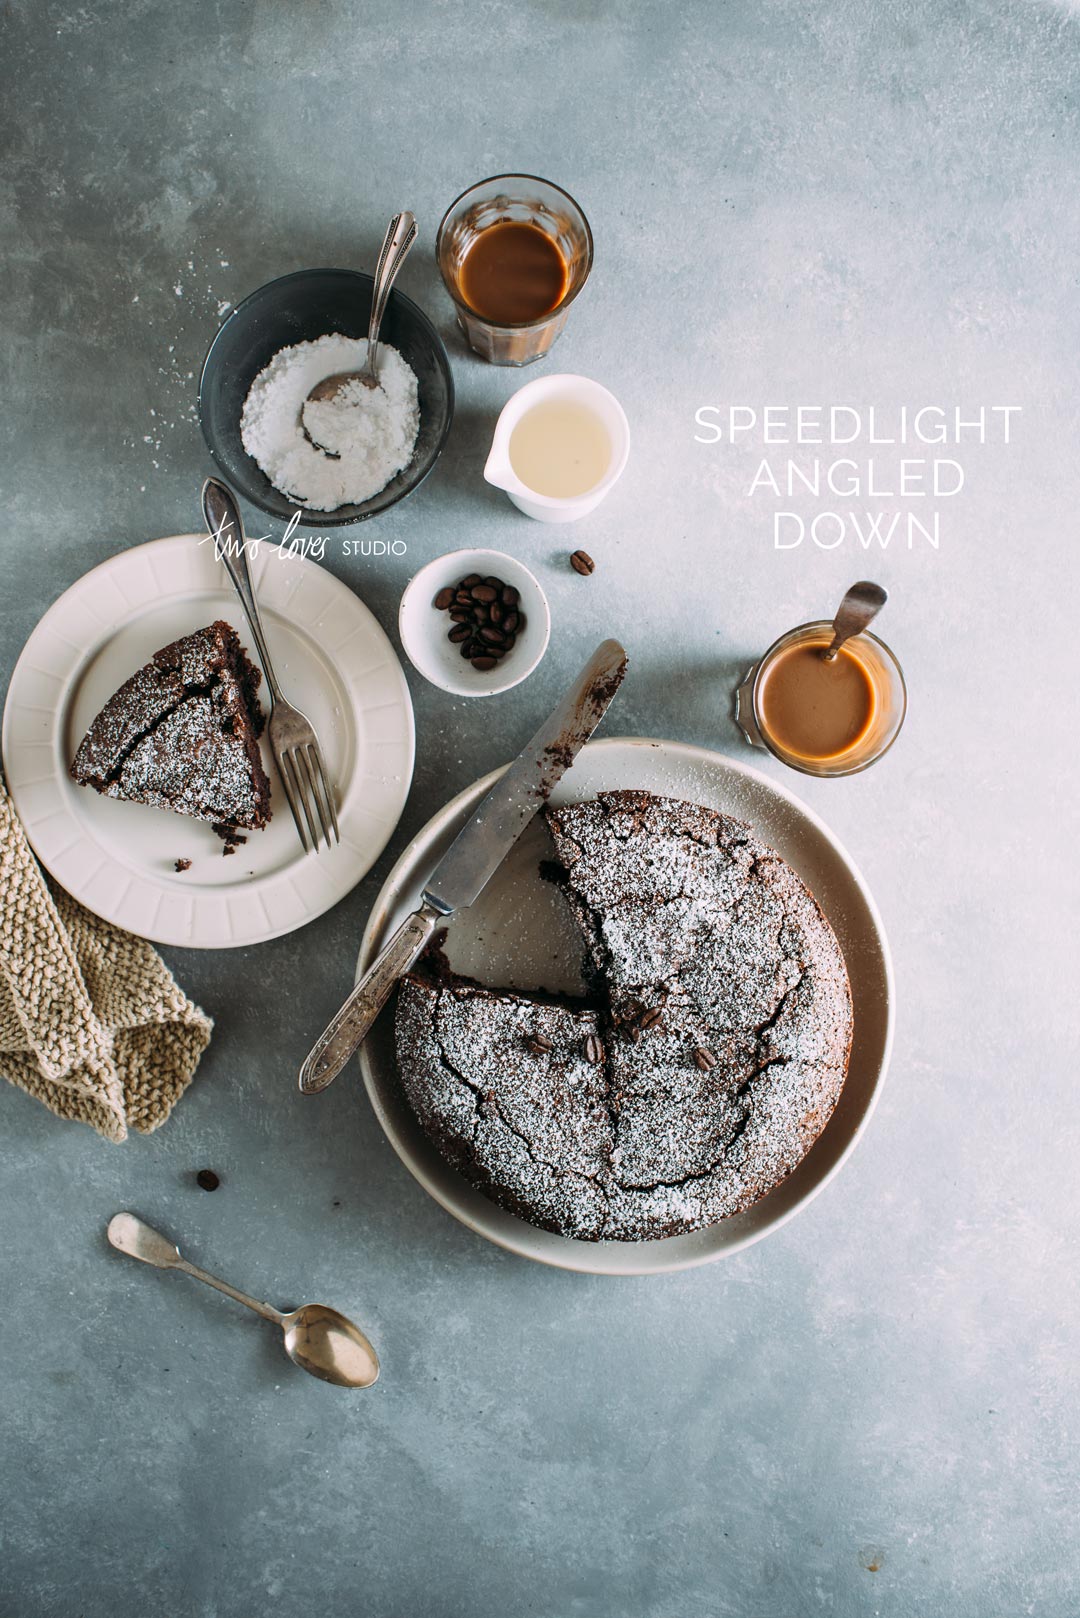
Angling the Speedlight towards the subject will simulate as if your light was essentially coming from above, creating ‘less defined’ shadows.
Angling the Speedlight at a diagonal to the subject will change the direction of the shadows.
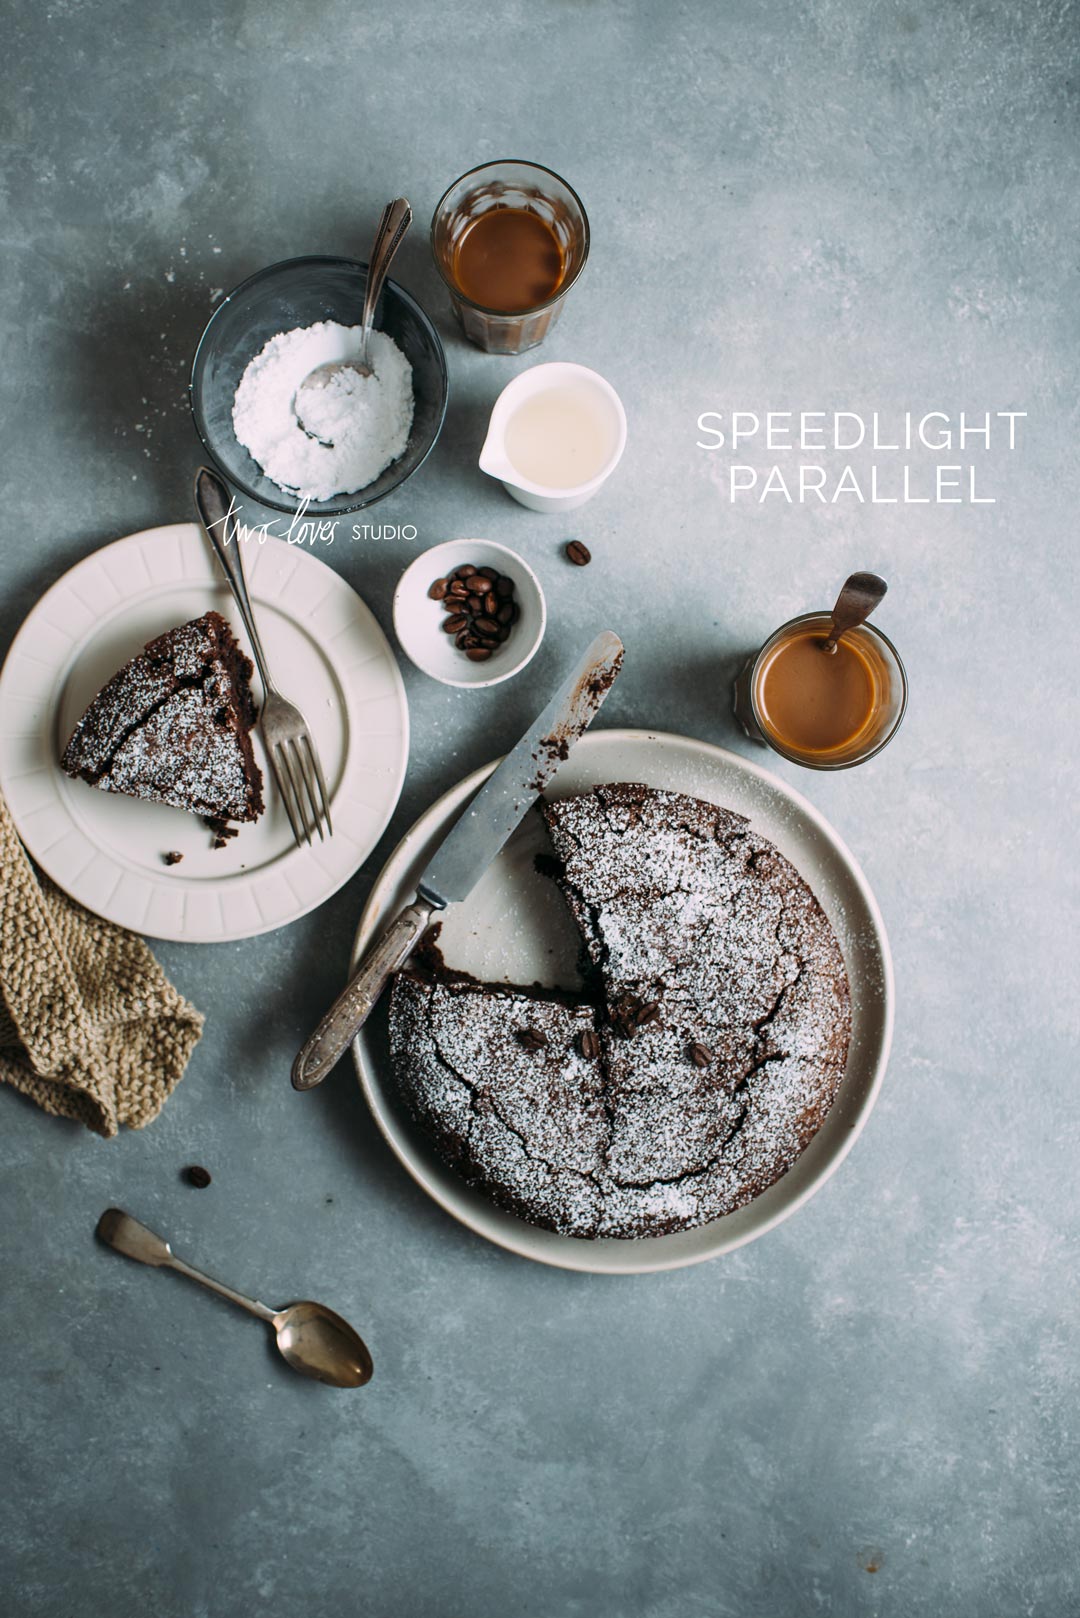
Just compare the images below.
In the image on the left the Speedlight was pointing straight on, (or parallel to the subject) to simulate the way the light would come through the window.
In the image on the right the Speedight was angled down towards the subject.
All other factors were constant. See the difference in the light and in the shadows?
The Distance and Angle of Your Diffuser Will Change the Results
When you use a diffuser, it essentially acts as your light source. The size, the distance and angle from your subject will change the results of your lighting.
The closer the diffuser to the subject, the softer the light will appear, and your shadows will be ‘less defined’.
The closer the diffuser to the light source, the harder the light will appear, and your shadows will be ‘more defined’.
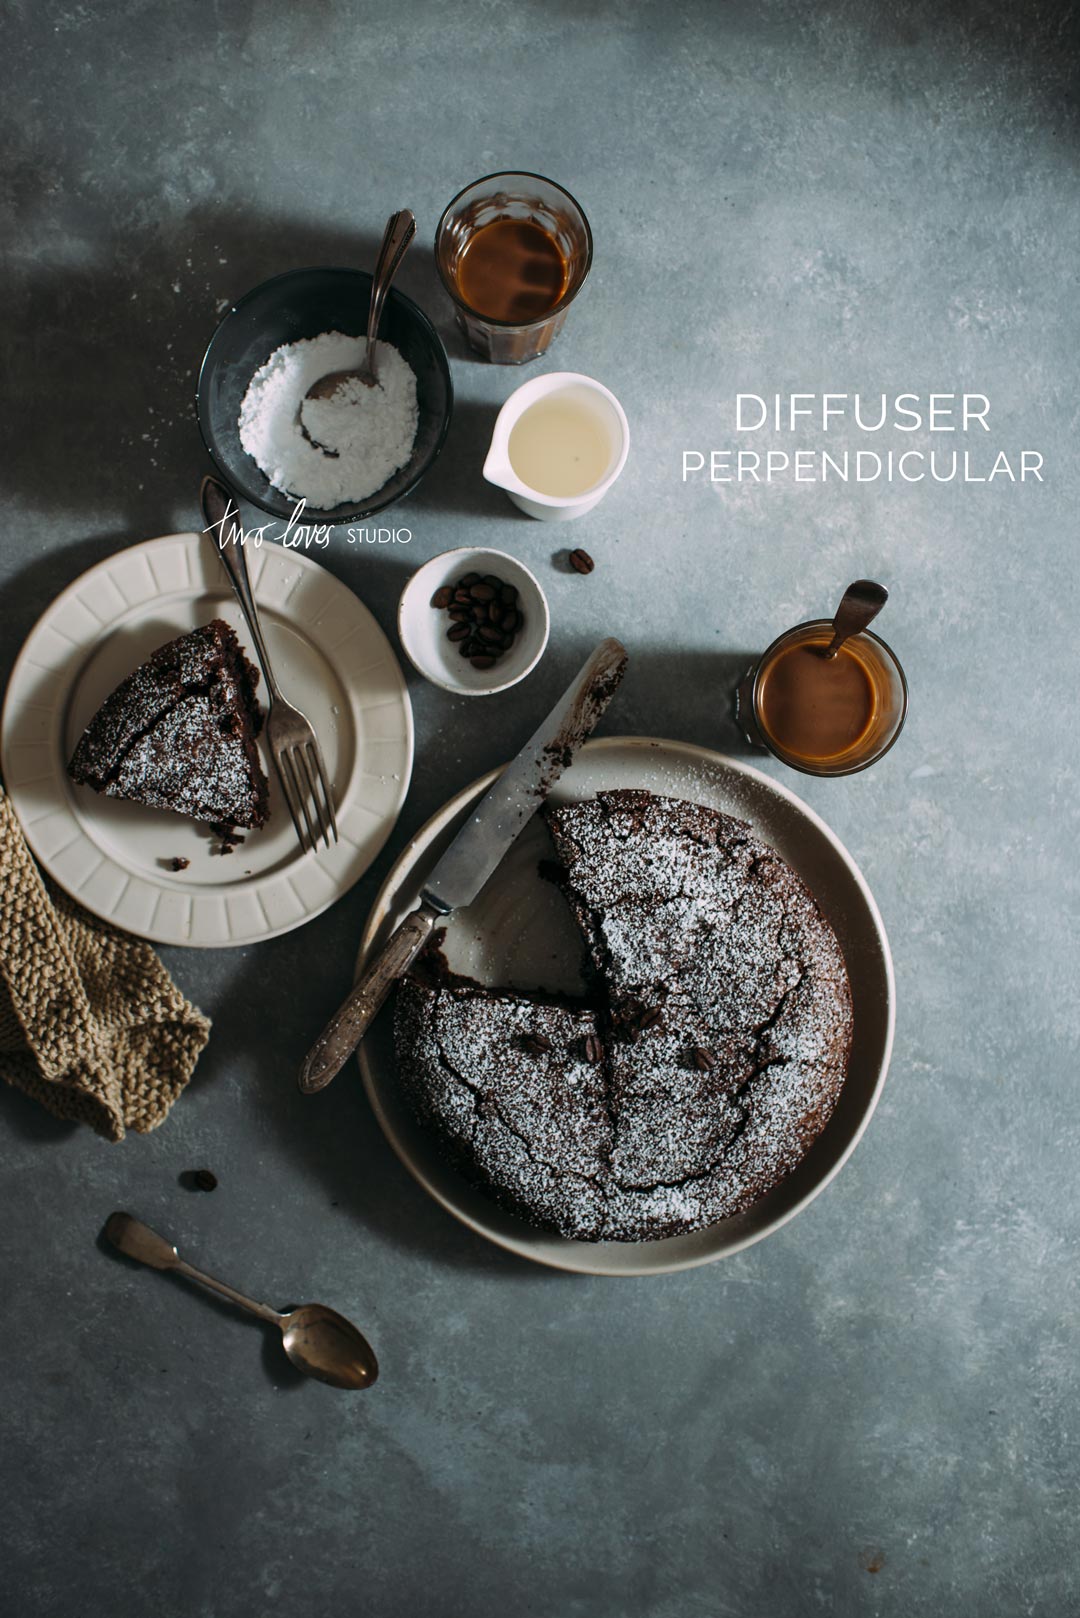
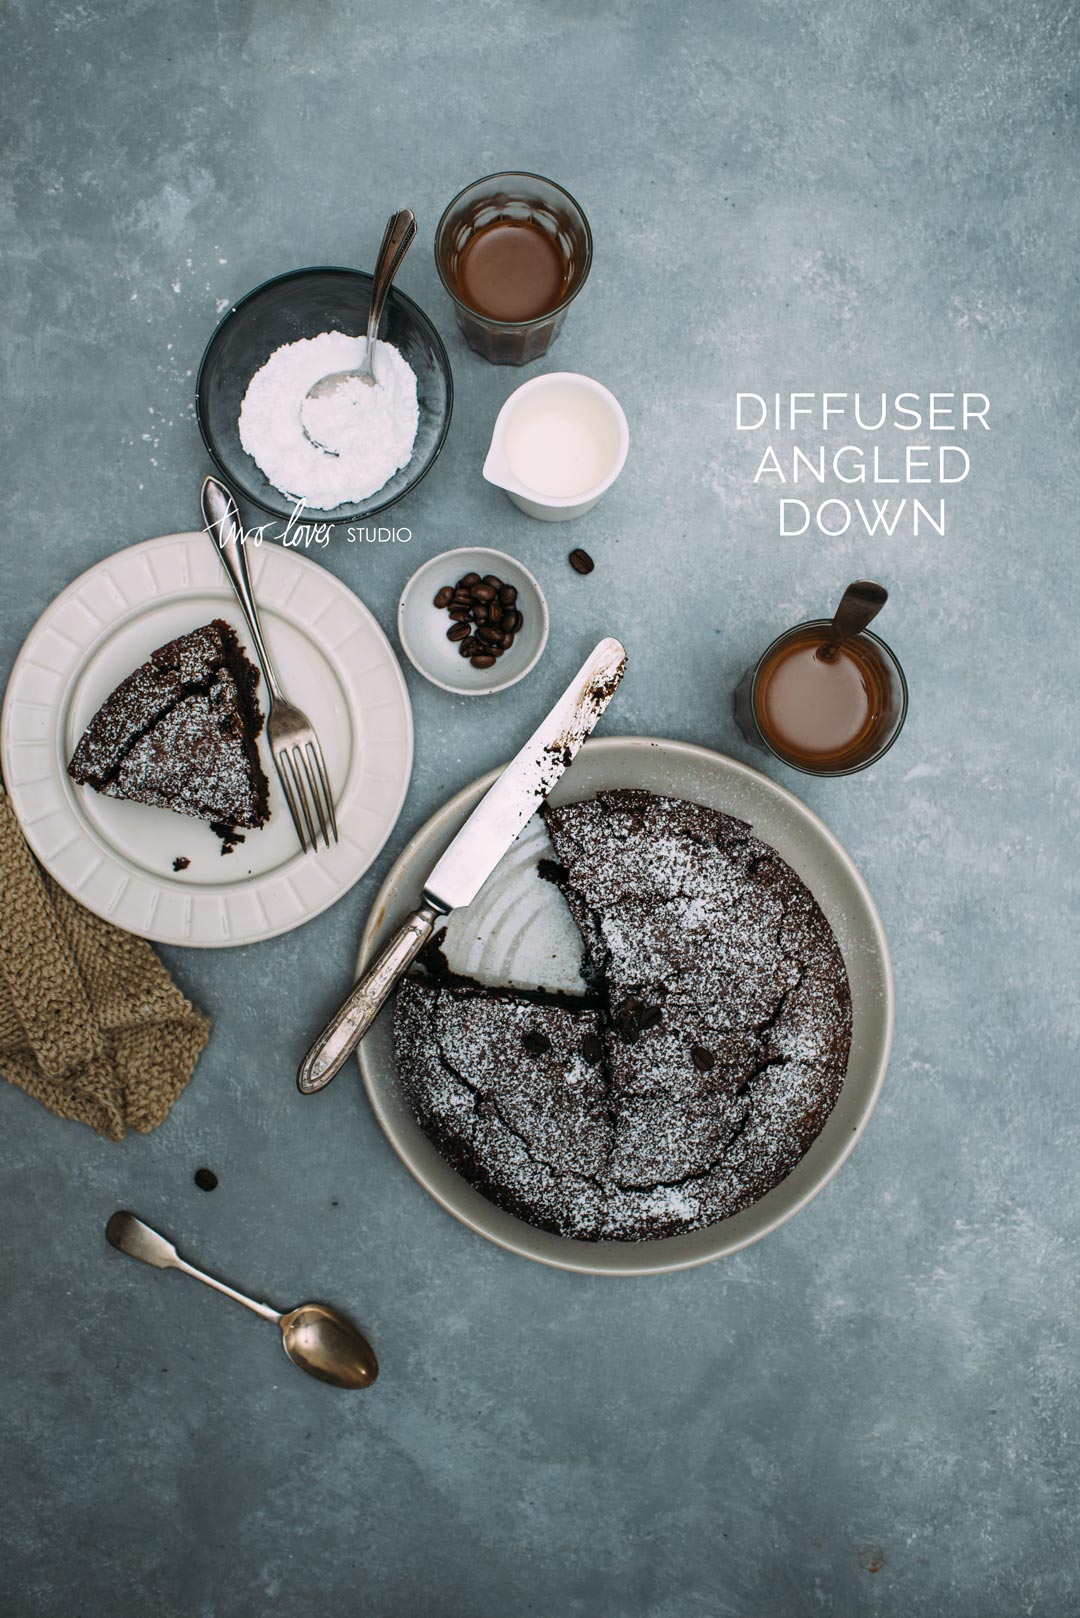
If you angle your diffuser towards your subject, you are essentially mimicking a light source from above, resulting in a flat image.
Just compare the images below.
In the image on the left the diffuser was straight on, (or perpendicular to the table the subject was on), and close to the Speedlight.
In the image on the right the diffuser was angled down towards the subject, (essentially acting like the light source pointing down), and remained close to the Speedlight.
All other factors were constant. See the difference in the hardness of the light and in the shadows, (or lack of shadows)?
I’d love to hear that was the biggest take-away for you in this post. Please share with me below!
Two Loves Studio was not paid to write this post, however, it may contain affiliate links. If you purchase an item from an affiliate link, we do get a commission on the sale which helps us run this site. Only affiliates for products/services we believe in appear on this site.


Carlos Leo
Thank you!
You are awesome!
This post is very clear and very helpful. I’m looking forward to starting practicing. I admire the moody photos and the drama. Thank you!
Rachel
Hey Carlos! I know, weren’t we just speaking of this over email? Glad you found it helpful. I know not everyone will have a speed light, but they are such a valuable part of one’s photography bag. Yes, something different for me too.
Marisa Franca @ All Our Way
I always get something from your posts. It really helps to see how a food shoot was set up. Can I assume that in some of the shots the food was on the floor? Thank you, Rachel for sharing this.
Rachel
Hey Marisa, this shoot was on a small table, which you’ll be able to see in the diagrams I drew in the worksheets. But still very close to the floor indeed. The light was above it for sure.
Tim Walter
A couple times a month I will stop by a reclaimed building materials warehouse. Sometimes they have some great old flooring, paneling, doors, or tin ceiling tiles. They all make great backgrounds. Watch out, though. That junk (junque) accumulates in your studio!
Rachel
Oh that is fabulous Tim! I would love to be able to do that more. It’s so magical to find those one of a kind pieces. For sure, also a good problem to have. hehe.
Layla
Thank you so much for this great post! It was really helpful. What kind of material/background are you using for these photos?
Rachel
Hey Layla, this particular background was a painted board. An effect to look like a concrete/stone. So glad you found this helpful!
Justin @ SaltPepperSkillet
Another fantastic tutorial. Moody light is one thing that is difficult to figure out, and this helps so much.
I have tried to do it using a soft box on my speedlight, but I never thought of using a diffuser in between the speedlight and the subject. This will give it an even more natural light look. Also, what a fantastic tip showing how angling the diffuser changes the light so much.
Thank you!!!
Rachel
Yay Justin! Great to see you around here.
I guess it depends on the size of the soft box you used right? The reflector was a large 42″ disk which was double the size of my subject. It is easy to forget that the reflector takes on being the lightsource rather than the light itself.
Yes those images aren’t the final of course, but it is very useful to see how a slight change can change everything. Lighting is so fascinating and infuriating at the same time.
Claudia
Whew! What an amazing post! Moody light is definitely one of my favourites – and while I think I can handle natural light quite well, I’m always afraid to start working with artificial light. But seeing your results got me totally pumped to just.try.it.out! Thank you so much for all the work you put into your blog posts! <3
Rachel
Hey Claudia, lovely to see you here on the blog. Yes, your moody images are incredible. Love them! Artificial light is challenging and I always feel out of my comfort zone still. So many options right. It challenges how I think about light and it is often backwards to how I think it would be. If you do take a leap of faith, please let me know how you go!
jake
Hi Rachel, I love your blog. So helpful and full of awesome images. Beautiful images. I’m doing a project tomorrow with an Amazon Art Director, we are shooting lifestyle food shots to help me build my portfolio. I was wondering, could you share a little about these images, in particular, what settings did you have your strobe on? What intensity level? Also, what were your exposure settings, in particular the fstop you used for the images. i absolutely love your images. thanks for your help.
Rachel
Hey Jake! Thanks for stopping by and the kind words. I hope your project went well! Ah you know, I don’t remember what my settings were on. I tried so many on the Speedlight that day. I remember much easier with my Profoto B1 as the display is much simpler than the Speedlight. I would say it was medium-high intensity ball park. Happy to share the camera settings though. Just keep in mind that distance and angle will play a huge role in the combination of settings, so don’t get stuck using my settings as you’ll want to explore all of your options.
f/4.5, ISO 200, 1/320. Shot with my 50mm.
dona holmes
thank you rachel i think this is will help me a lot i am so thankful
Rachel
Great! I am so pleased to hear that. Enjoy.
Lauren Miller
Hi Rachel,
This literally has saved my life with a number of upcoming shoots – I’m based in Toronto and winter light is sometimes non-existent, and this is fabulous.
One question – the Diagrams and Worksheet button takes me to sign up for the Resource Hub – but doesn’t send me the resource once I’ve registered. How can I access the Diagram PDF?
Thanks so much,
Lauren Miller
Rachel
Hey Lauren! So pleased to hear that this is a life saver for you. Let me know how it goes for you. Thanks for letting me know you were having issues. I just sorted this out for you in my mail provider.
Jeremy Cooper
Hi Rachel,
Thank you for you great posts. This is the type of photography we are looking for, for our website. Just like the previous post I was unable to get the worksheet and diagrams once I registered. Would it be possible to email these to me. It would be greatly appreciated. Thank you.
Jeremy Cooper
Rachel
Hey Jeremy, I will have a look into this lead to see if there is an issue. I can see that my mail service says you’ve received the link and password to the resource hub. Please let me know you’ve received it! Happy reading.
Mohamed Abdel-Hady
love your insights
Rachel
Thanks Mohamed! Comments like this make it all worth while.
David G.
Hey Rachel,
What do you use to keep your black foam sturdy and standing?
Tim
David, I like to use one of those pressed metal bookends and a couple of strong magnets. Improvisation is always the best solution. ?
Rachel
Great suggestions Tim! I totally agree that improvisation leads to things we’d never think of! I love the idea of magnets.
Rachel
Hey David! There are so many options…I sometimes use L brackets from the hardware store with bull dog clips, other times clamps. Even sometimes I will just use my light stand to hold it, but making the length the exact to hold the foam core into place. Other times I just go a lazier route and use whatever I can find.
Gaby
I just started experimenting with my Speedlite, I’m glad I found your post!
Rachel
Awesome Gaby! Enjoy exploring.
Theresa
Hi,
I’ve signed up for the diagrams but they don’t seem to be coming through. I checked my spam and they aren’t there either. Hope we can figure this out.
Rachel
Oh to hear that Teresa. I will send you the links via email. Keep an eye out.
Saskia Schepers
Hi Rachel, great post. I wanted to see the worksheets too, but the link doesn’t work anymore.
lili schaap
Hi rachel:
I just found you few days ago and downloaded your 50 ways guide, and already have learned lots!
Can’t wait to read all and more,
Thank you
Rachel
So pleased to hear that Lili! Enjoy xx