What are transparent backgrounds?
Transparent backgrounds are parts of an image where the pixels are “clear” and let anything below/behind them show through. They are often used by graphic designers for things like logos and other website elements.
Food photographers can make use of images with transparent backgrounds as well to both help in composition when you’re tethering or during retouching.
Here’s why:
Why use transparent backgrounds in food photography?
There are a variety of reasons why you might wish to use Photoshop to create a translucent background for food photography:
- Placing your food photo onto a different background. You’ll need to keep an eye on lighting, colour and perspective.
- Sometimes ecommerce clients will require transparent backgrounds or pure white backgrounds after the fact. So cutting out the product from the backgrounds means you can place it on whatever background colour you want.
- Often product packaging makes use of transparent backgrounds to layer together the food photographs and other graphic and text elements.
- When you’re compositing two images together, you’ll use it to layer different elements together.
- When you need to multiply an element in your frame.
- If you want your food photo to interact with a background element on your website in a responsive way.
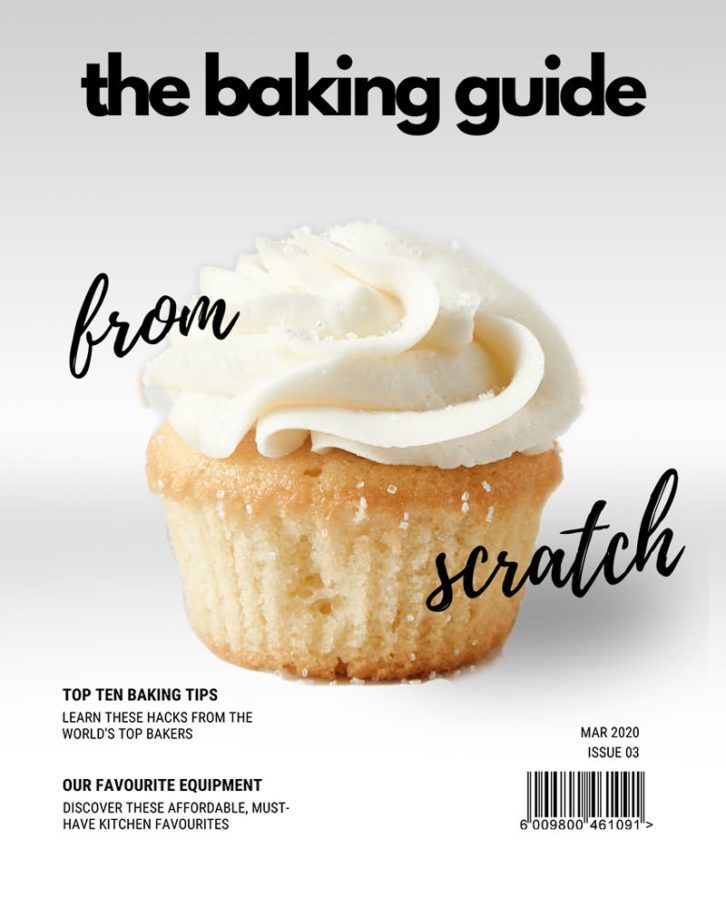
- Creating and using compositional guides, magazine layouts and mock-ups in both Lightroom and Capture One is a great way of getting the best composition for your clients.

Making transparent backgrounds in Photoshop:
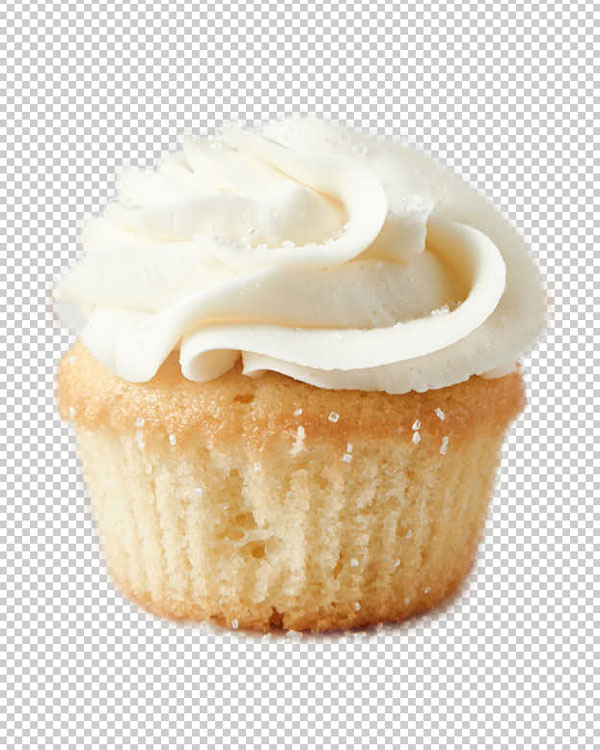
When in photoshop, transparent elements are made visible with a small grey and white checkerboard pattern.

If you’re starting a new document from scratch, you can make the background any colour you want, or make it transparent. This is great for creating compositional guides or mock magazine layouts.
New blank layers added to a Photoshop document are going to be transparent by default. These layers are often used for cleaning and healing your image during the retouching process. But they can also be used to paste elements when compositing.
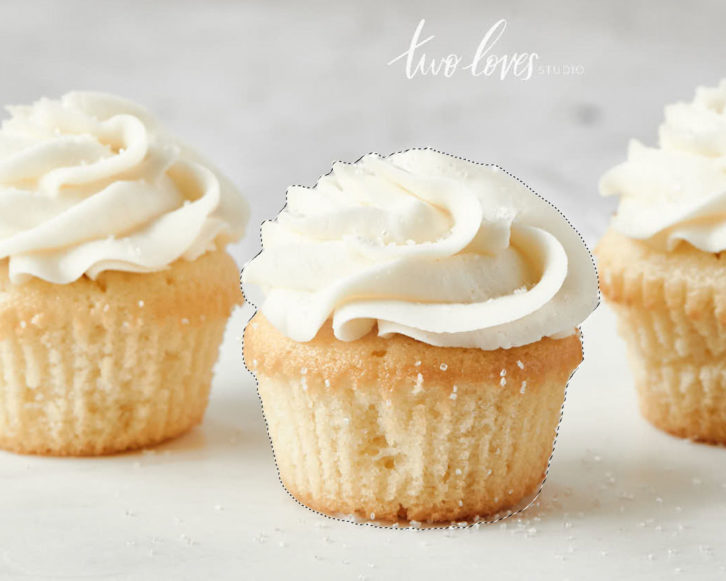
You can also cut out your subject from a background in an existing image you have in Photoshop. This is a process that graphic designers often refer to as “punching out the background.”

Sometimes, it can be quick and easy. Especially if you plan ahead.
However, depending on the subject you’re seeking to isolate, it can be time-consuming and difficult. It all boils down to how much detail between the foreground and background overlaps.
There are many tools in Photoshop to help food photographers make the best selection of the subject to punch out the background.

Sometimes you can use a single tool like the Object Selection, Quick Selection or Magic Wand tools. If you need more precision, the Pen tool can be great.
For more complex selection, you’ll likely use a combination of tools and techniques to get the best results.
That’s something we cover in our Retouching Course for Food Photographers.
Best file format export transparent backgrounds
In Photoshop, your layered PSD or TIFF will support transparency. But how do you export this?
When you export your image, not all file types support transparency. For example JPEGs, which are the most popular image type, do not support transparency. If you export an image with transparency as a JPEG, the transparent area will turn solid white.
GIFs allow transparency, but only of one colour. That means you can sometimes get weird effects along the edges of gradients if you use transparent GIFs. They also only support 256 (8-bit) colours which can impact the quality. The only time we use GIFs is when we want to make a lightweight web-animation.
To get the best quality for transparent images then PNGs are your best export option. This is because they have a high quality, up to 16.7 million (24-bit) colours and allow for variable levels of transparency. That means that you can include transparent gradients.
Transparent Backgrounds in Food Photography
Now you know some of the different ways you can use transparency in food photography. How do you plan to use it? Let us know in the comments below.
If you want to learn how to take better photos, read the Two Loves Studio Blog, or take one of our courses on food photography.


