This post may contain affiliate links from products and services we love and trust.
Rather than solely relying on the existing windows in my home and natural light. By using an artificial lighted faux window, I can create something more rustic at any time of the day.
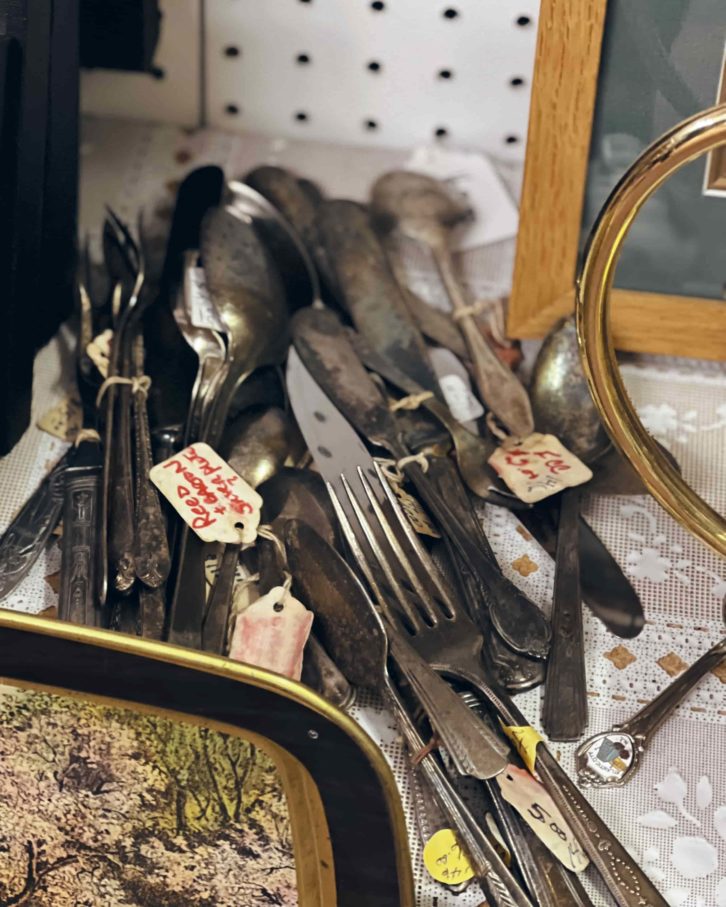
Shopping for props is one of my favorite things to do (aside from taking pictures). Browsing local antique stores is a great way to find hidden treasures. Thoughtfully chosen props create depth and visual interest that can help strengthen the story you are trying to convey.
I am going to walk you through how I’ve used this window as a tool for storytelling when styling this scene of fresh-baked mini cherry pies.
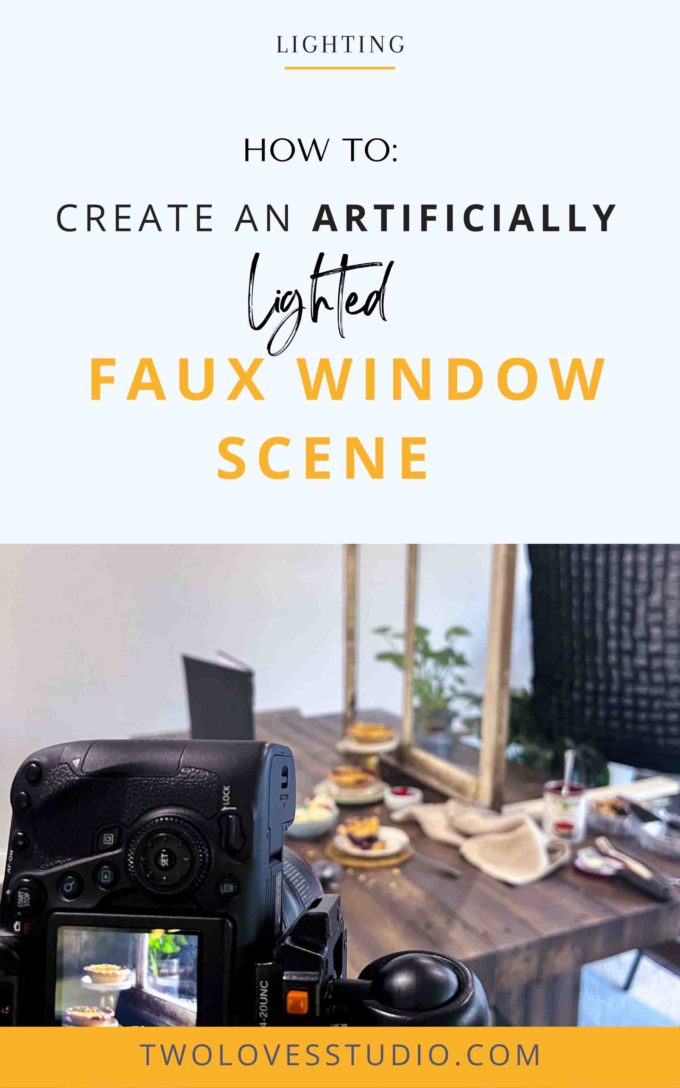
Gear List:
- Canon 6D Mark II
- 100mm f/2.8L Macro IS USM Lens
- Vanguard Alta Pro Tripod
- Godox AD200 Pro Pocket Flash at Full Power
- Large Soft Box Modifier with Diffusion & Grid
- Tabletop V-Fat
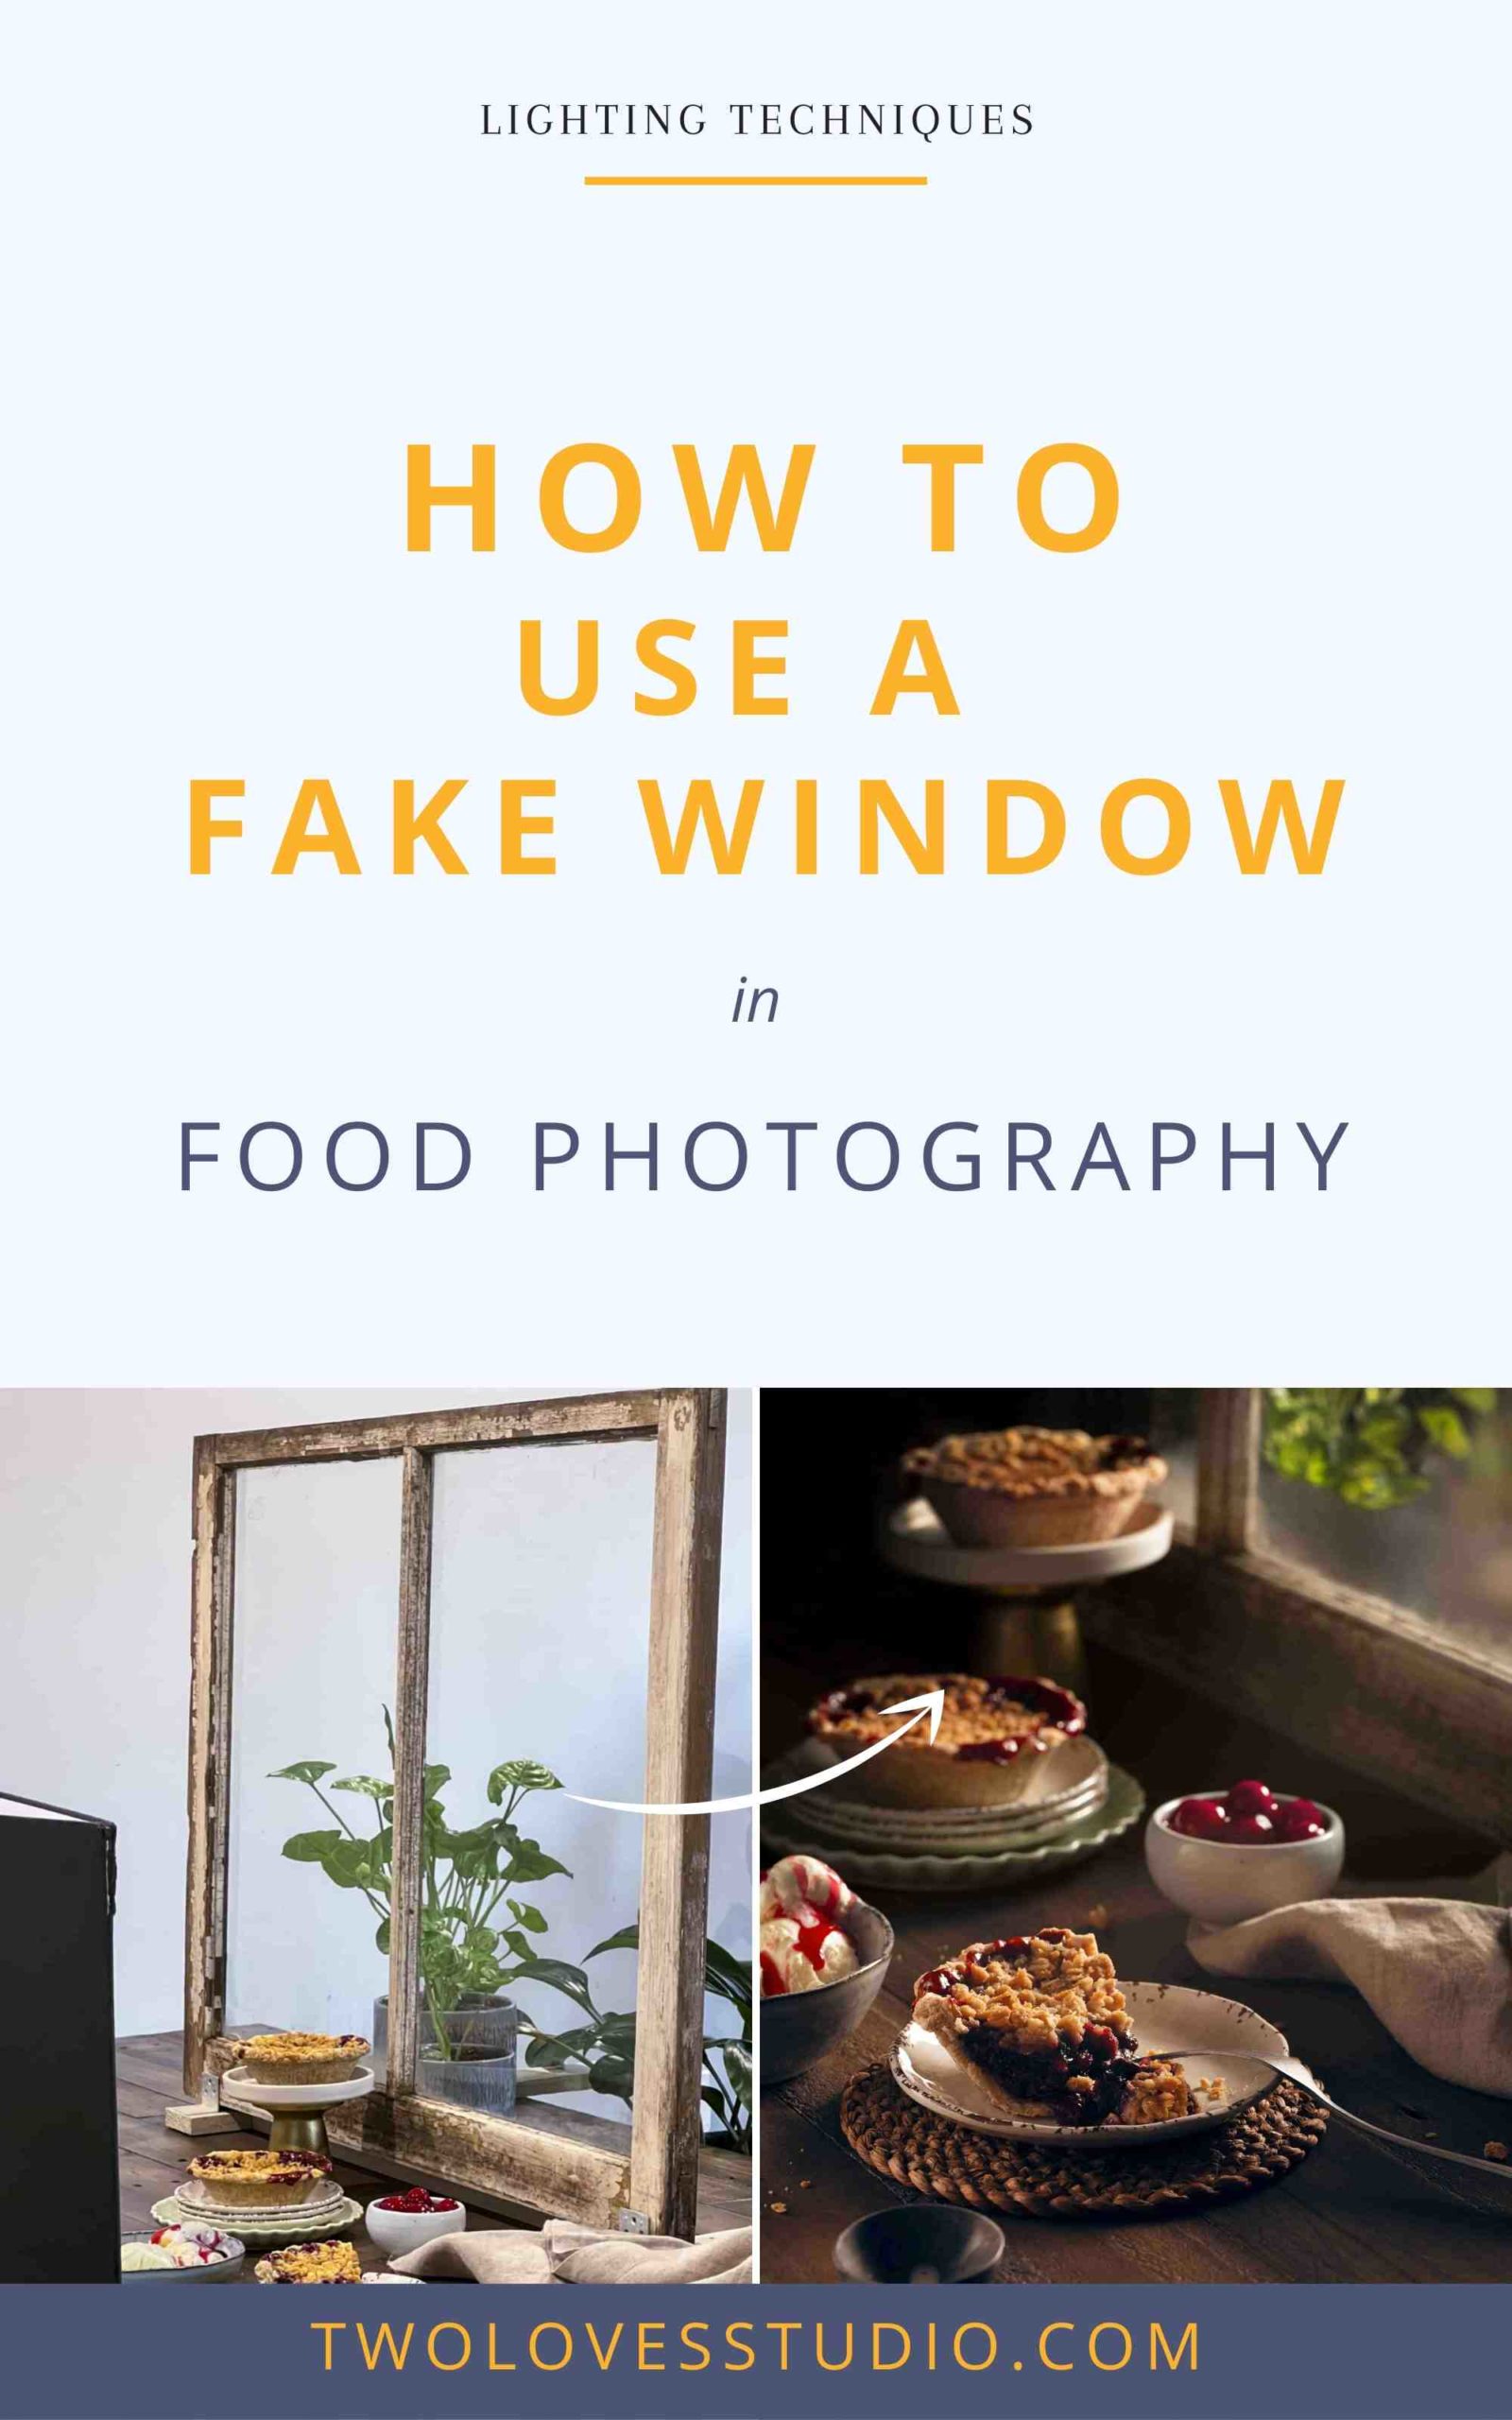
One treasure I found while antiquing was an old rustic window with peeling dirty white paint and intact glass panels…. simply perfection!
Adding this window to my prop collection allows for more versatility in the types of scenes I can create.
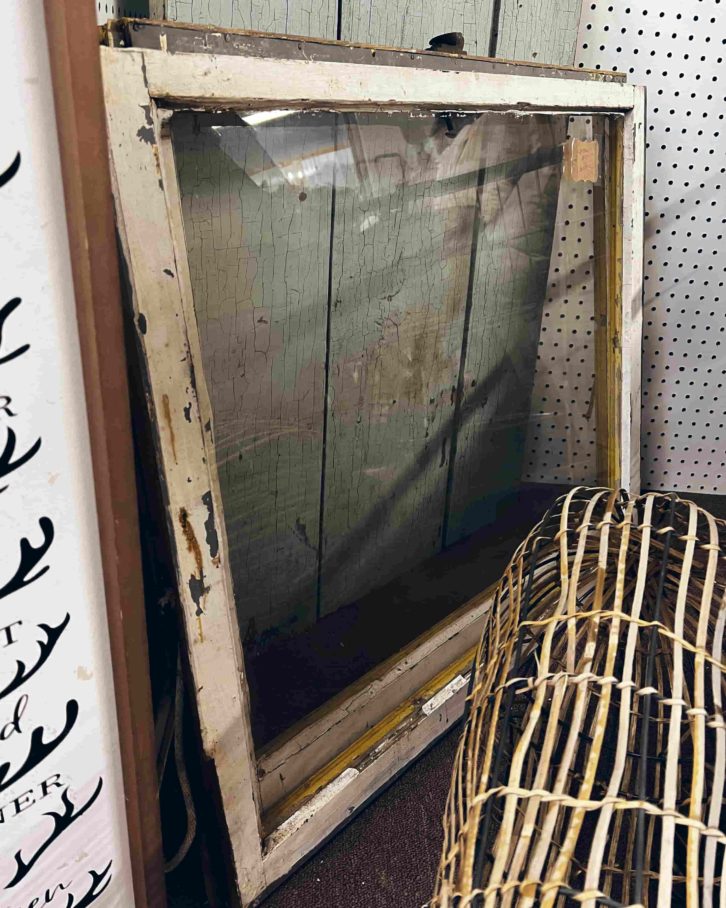
Step 1: Secure The Window Before Artificially Lighting
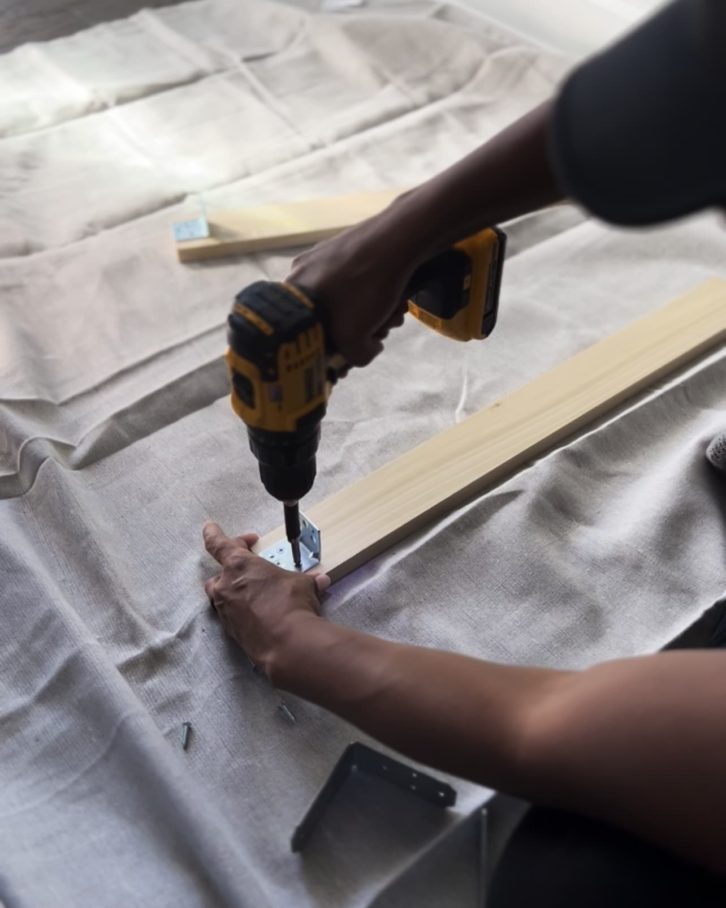
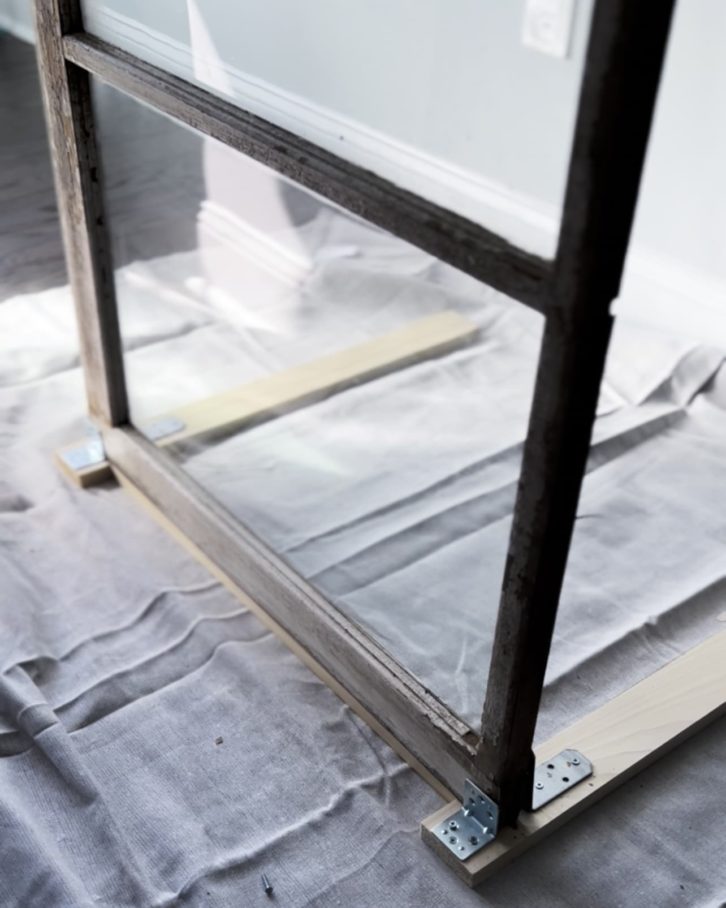
Usually, I will either prop the window up against something sturdy or will physically hold it in place while shooting with a remote. This time, however, I wanted to make life easier, so I put together a quick DIY stand to hold the window securely in place.
To make this DIY stand:
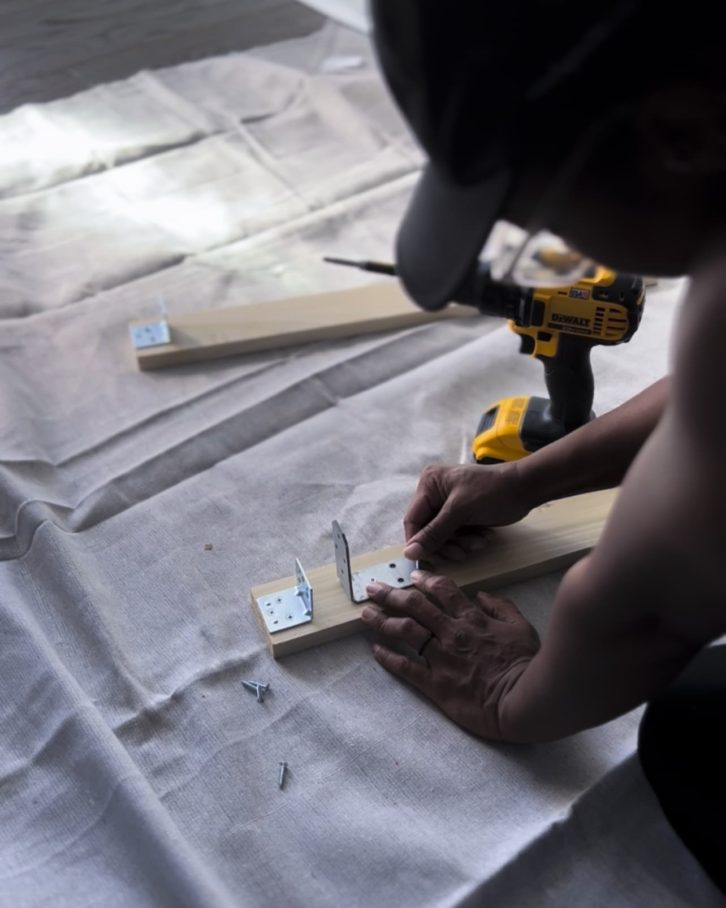
- I grabbed precut wood and a few brackets from a home improvement store and screwed them in place.
- Choosing this bracketing method creates ease of storage and the option of standing the window vertically, or horizontally.
- Depending on the window you use and its weight you may be able to secure it using different methods or even hang it from a c-stand using clamps.
Step 2: Artificially Light the Faux Window and the Scene
Let’s set our scene starting with our lighted faux window!
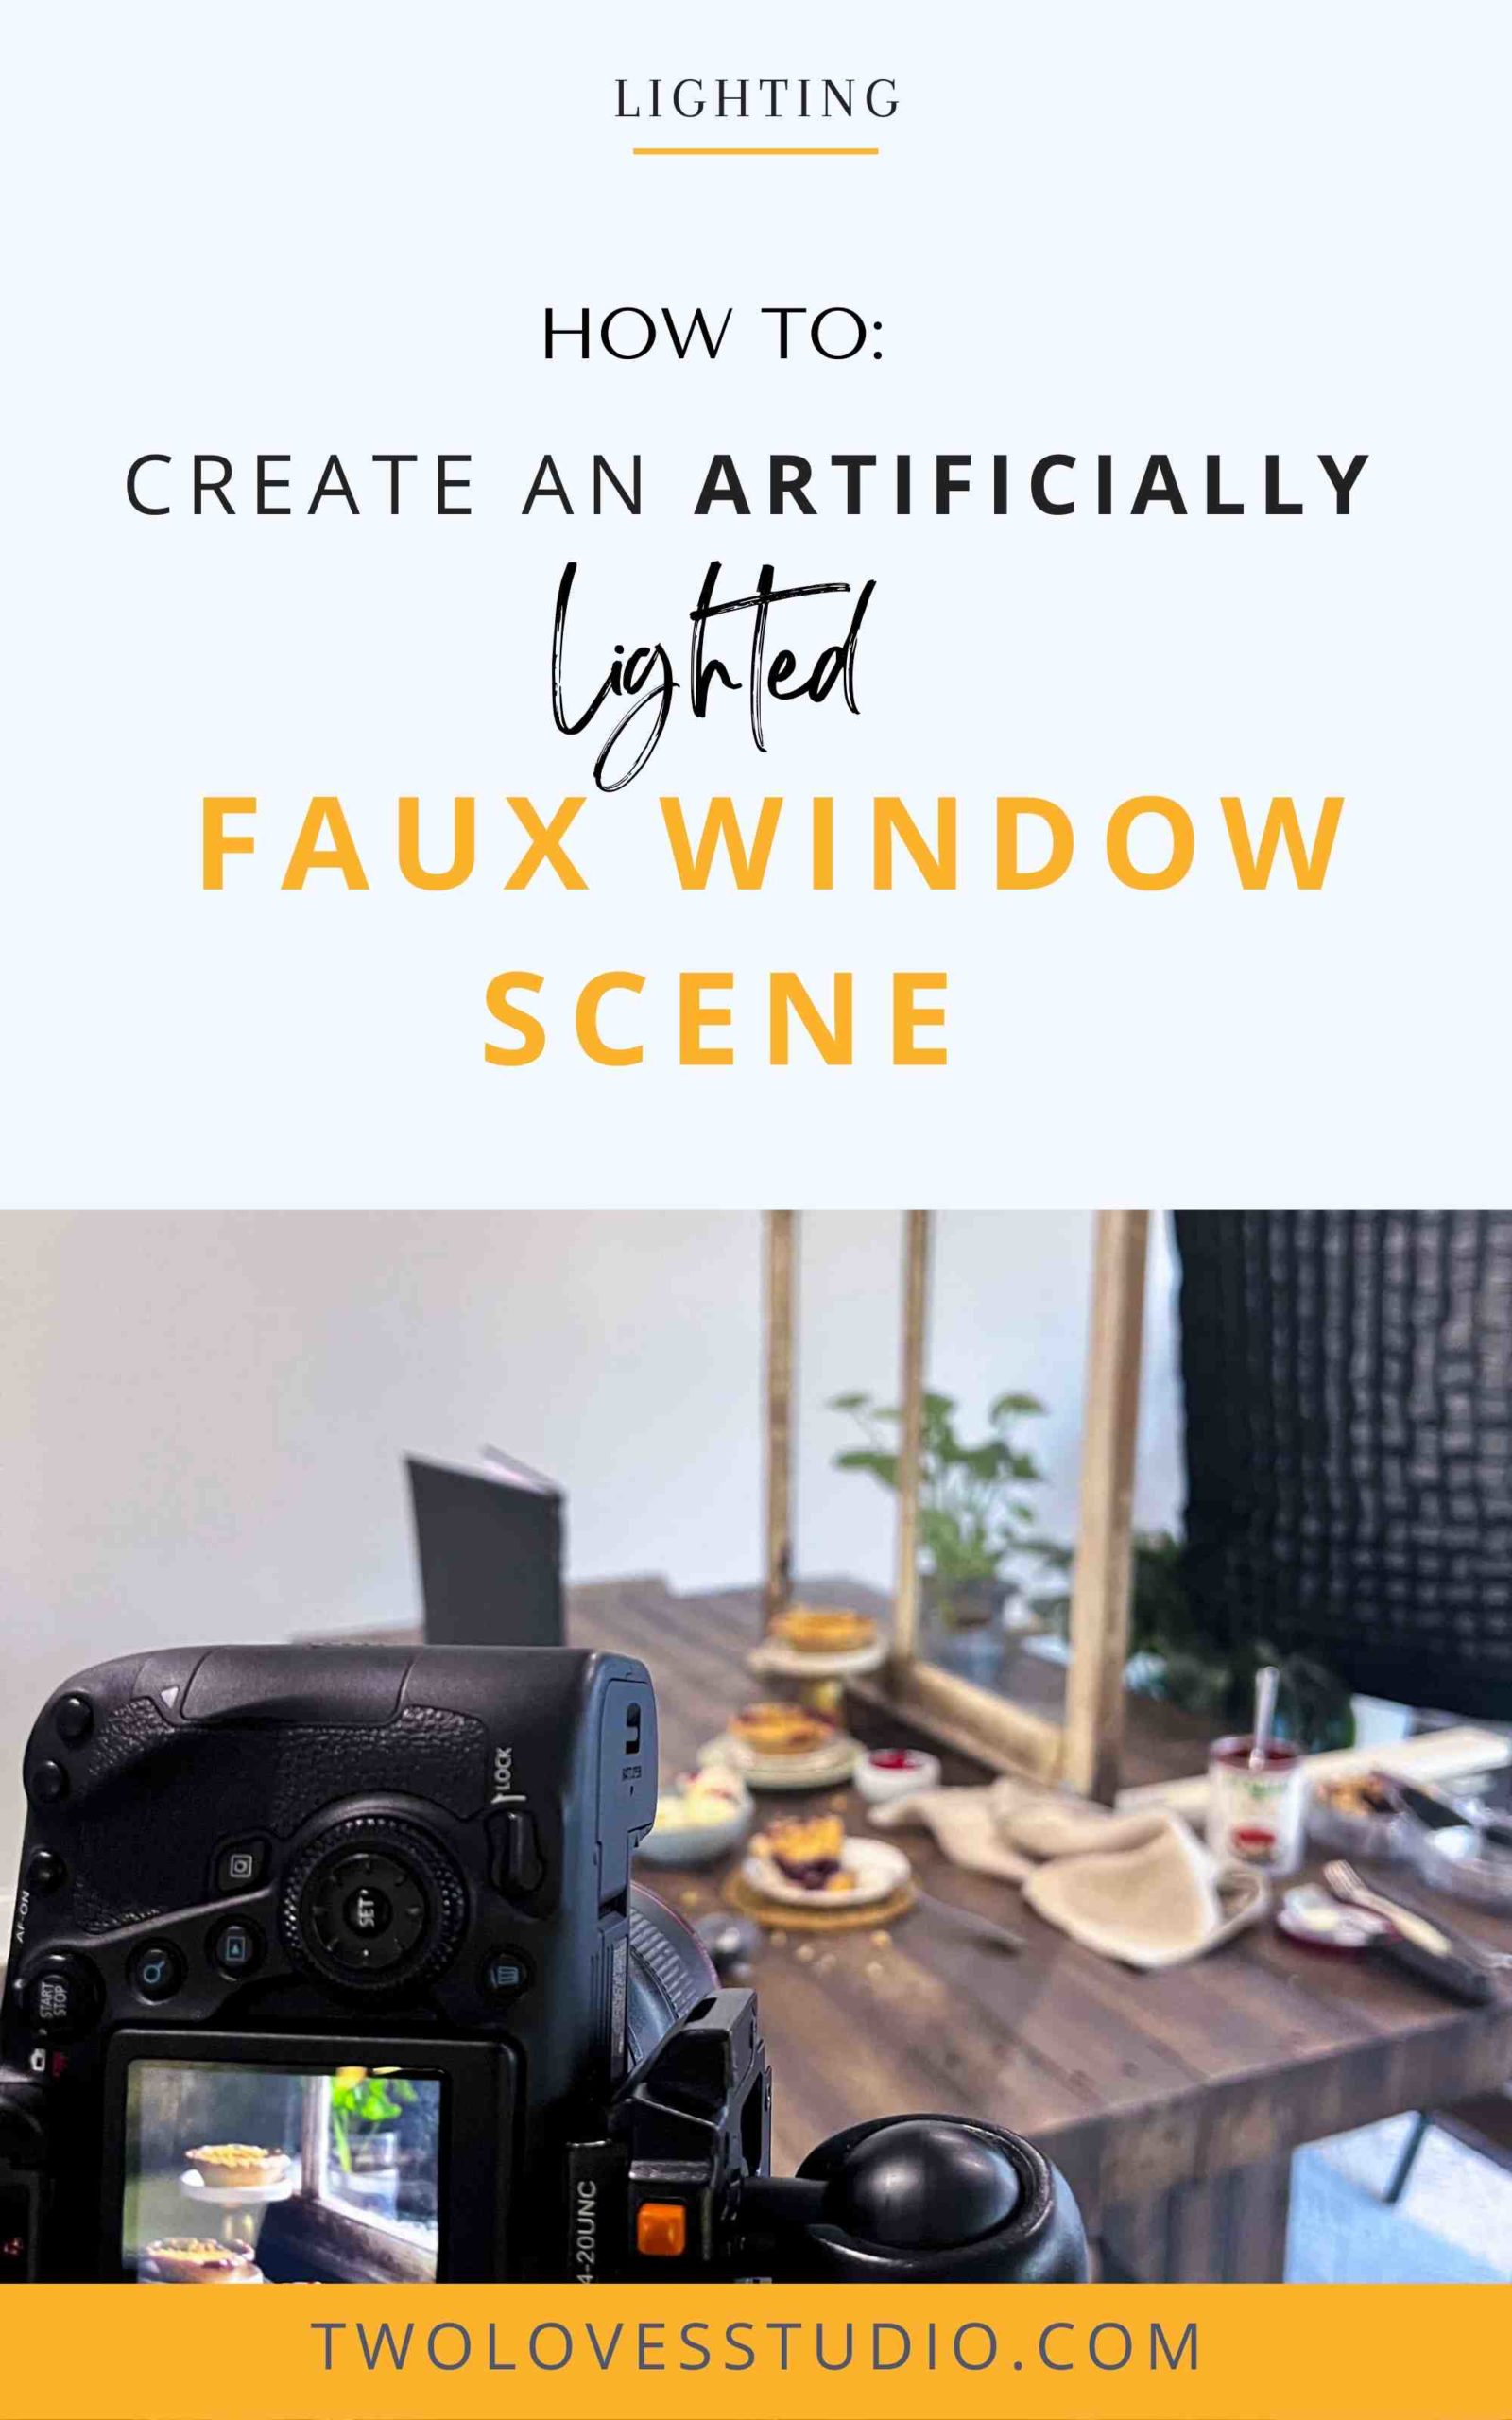
To light this scene, I used a Godox AD200 Pro Pocket Flash at full power paired. A large 28” x 39” softbox, double diffused and gridded to soften and direct the light through the window and to prevent extra light from spilling outside of the window.
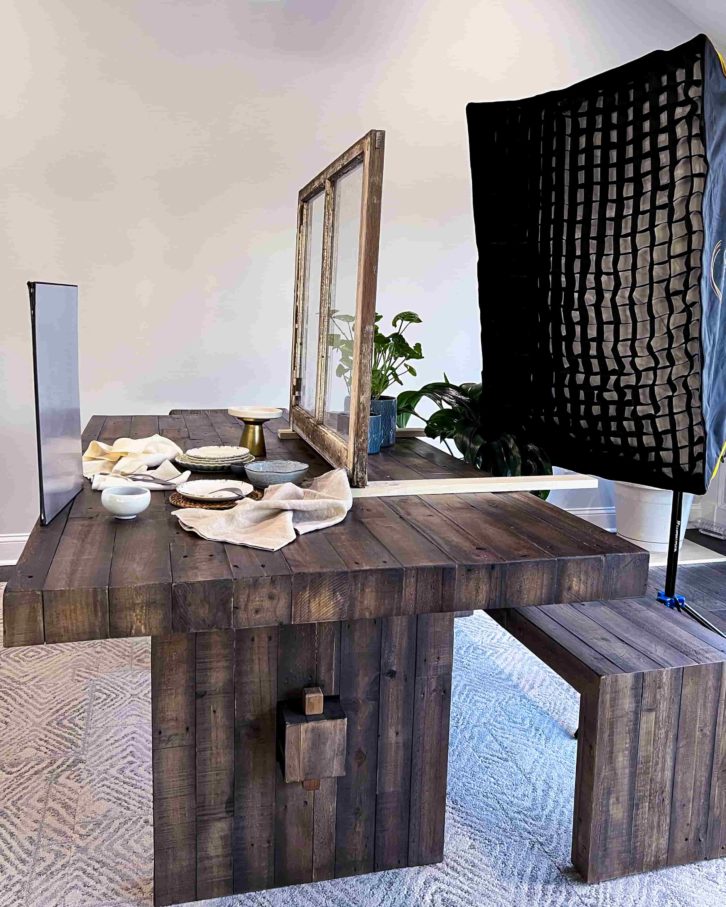
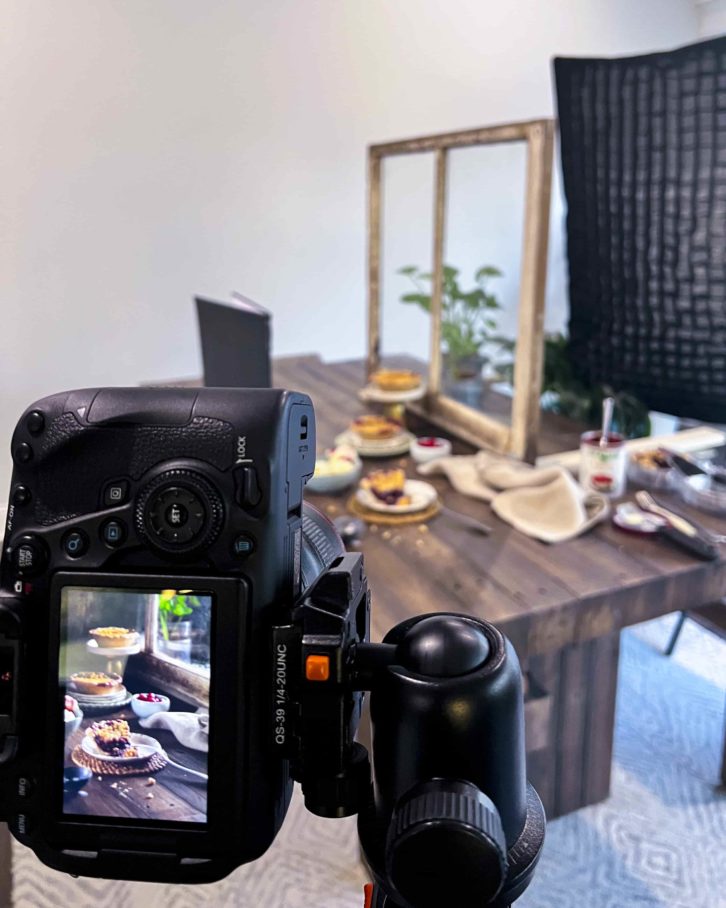
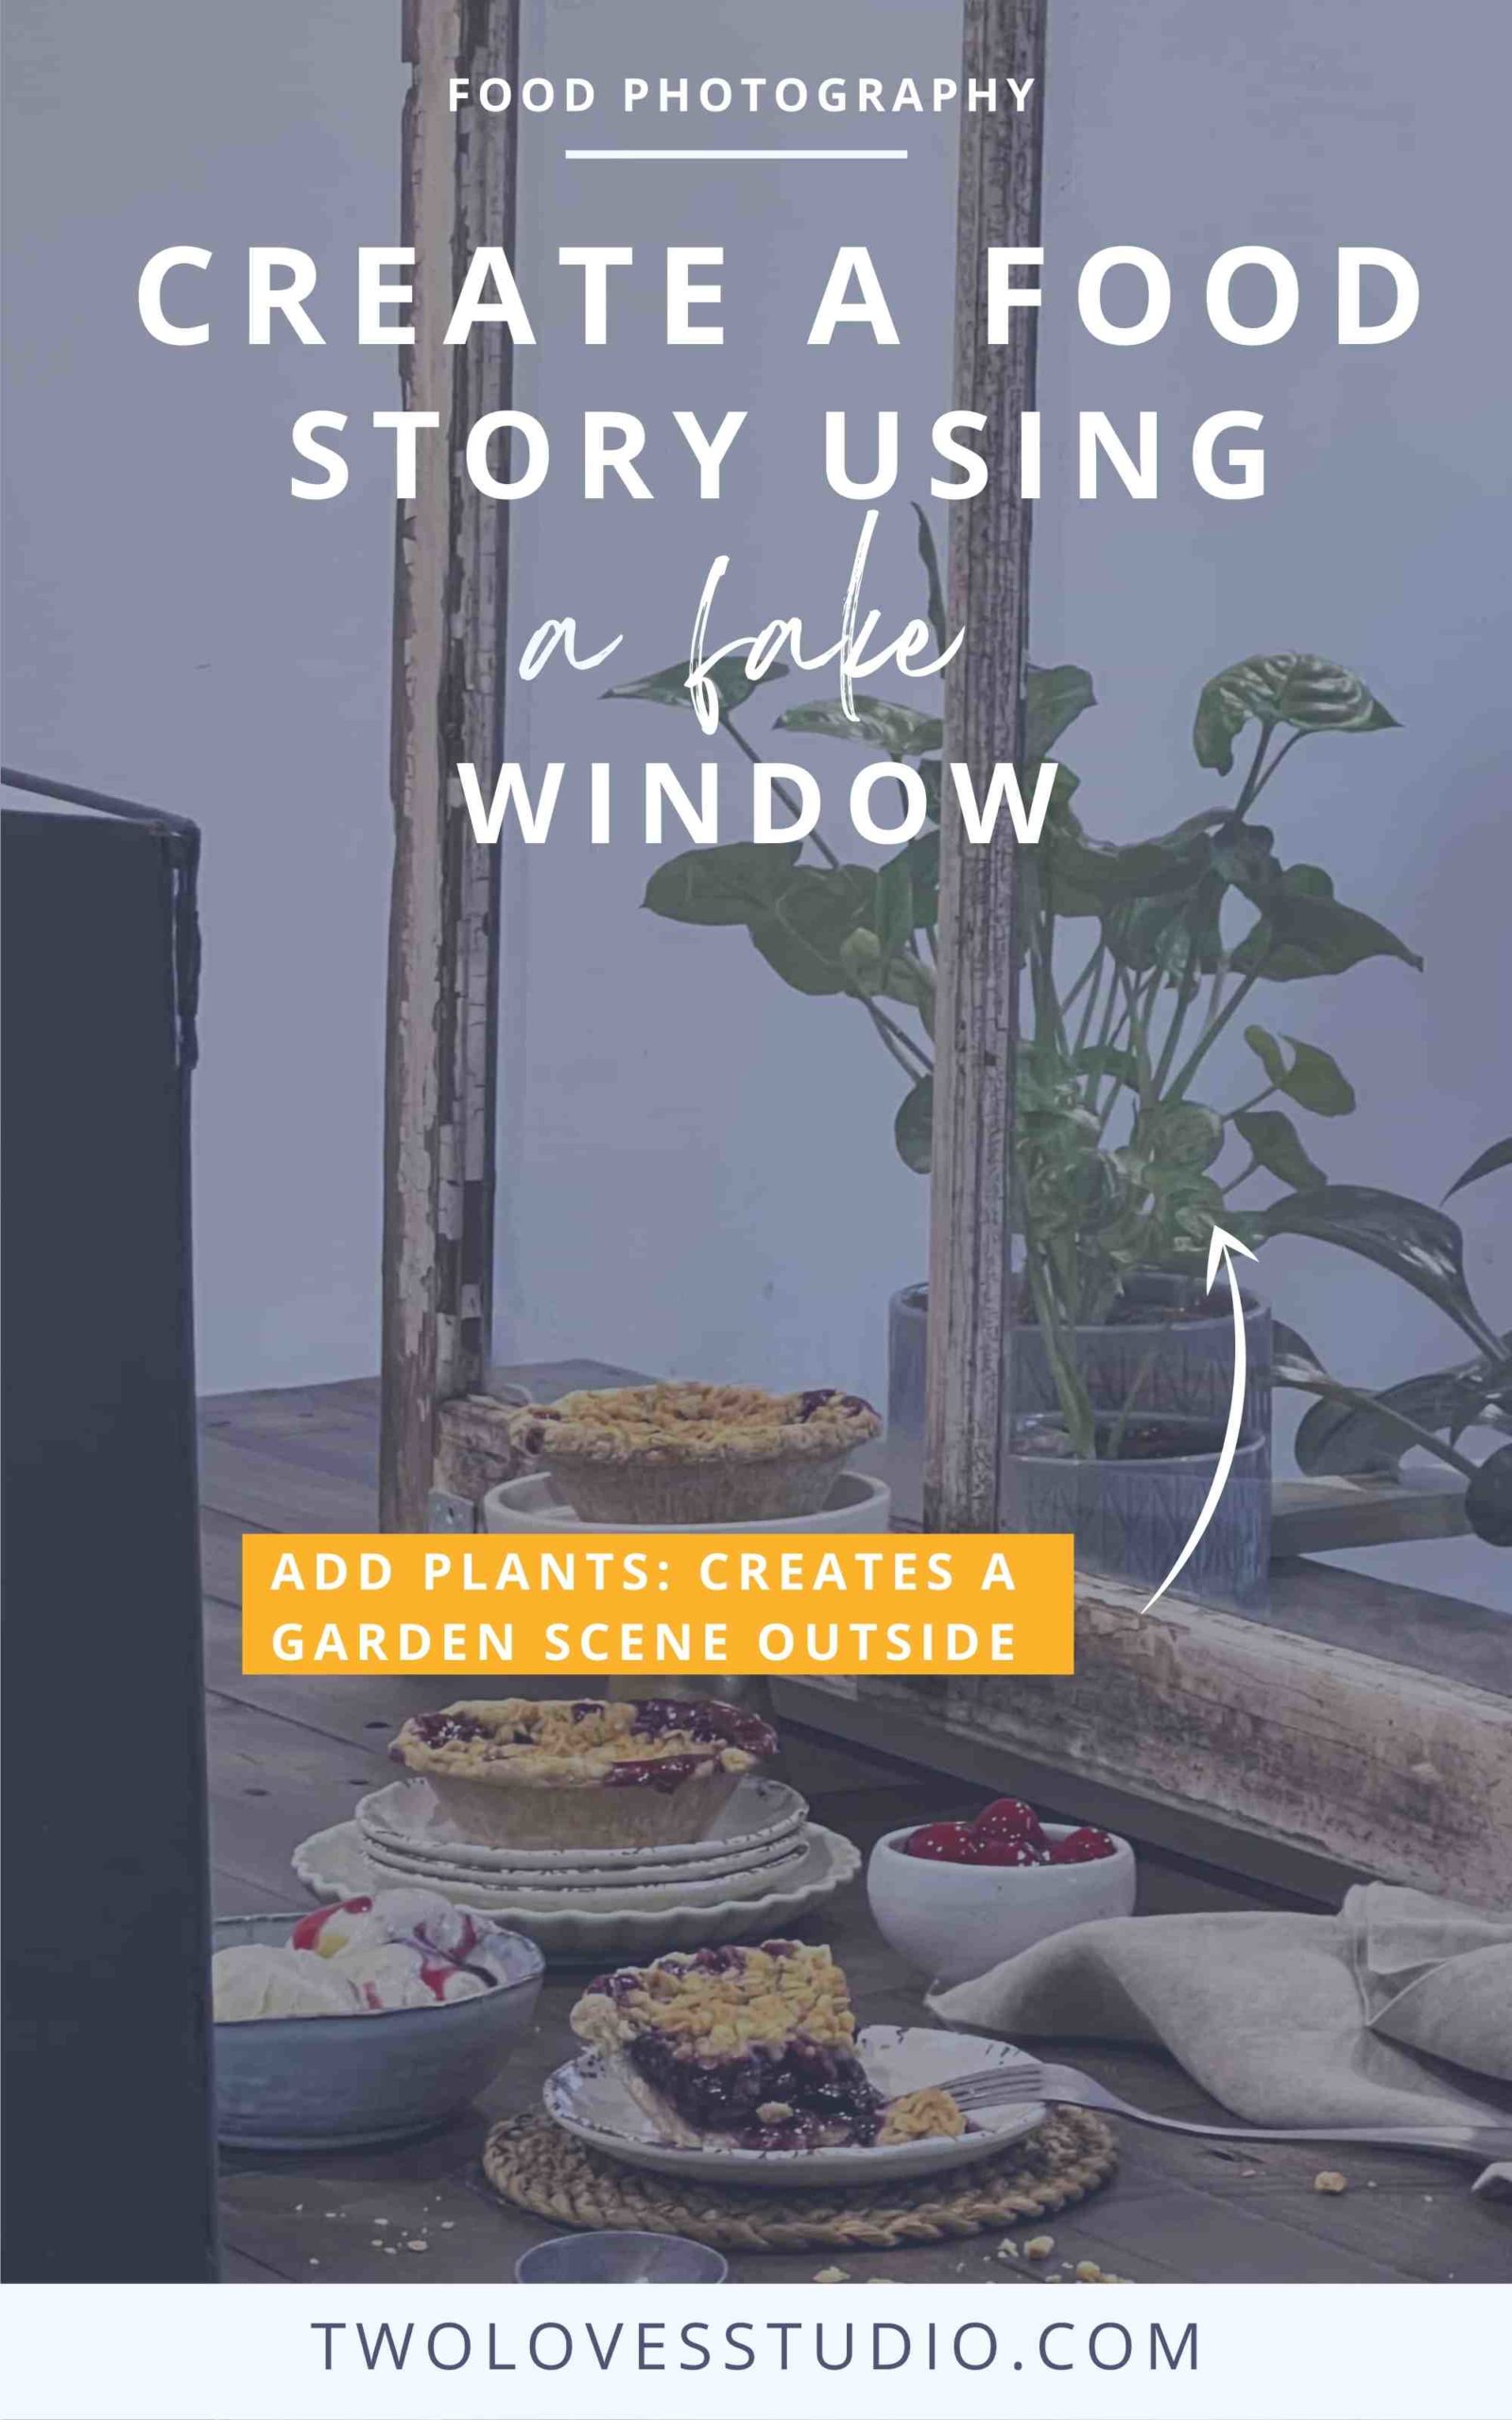
Then I placed a few plants between the window and the light to simulate a yard or garden scene outside. Finally, I worked on the main composition with the pies.
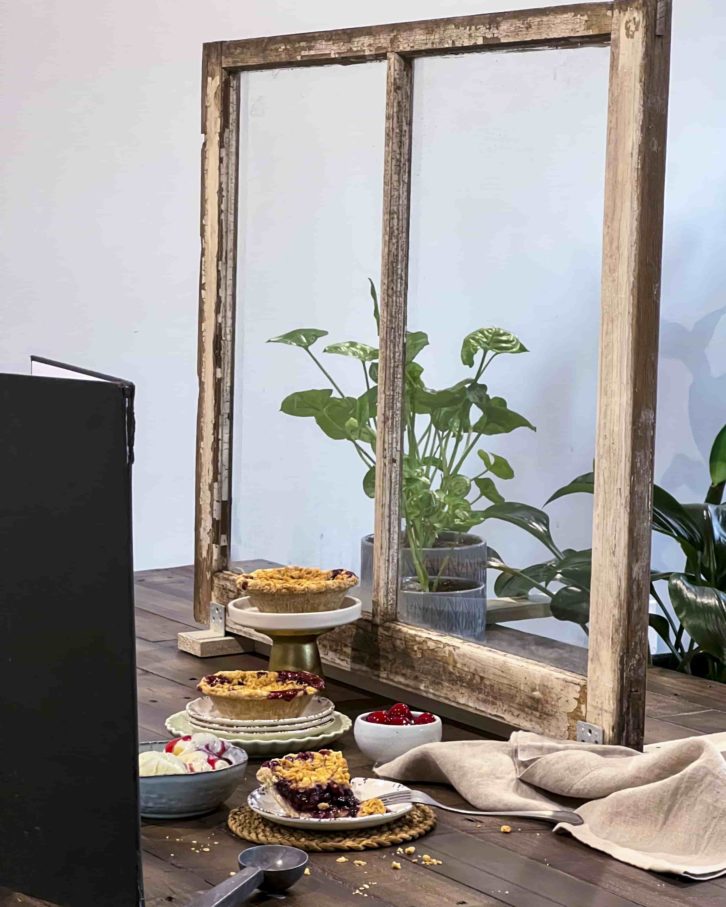
in a variety of layers.
I had 3 mini pies and knew I wanted to vary the heights of each. I used a pedestal, a stack of 4 small plates as well as one plate to hold one slice of pie. Including a bowl of cherry pie filling and a bowl of ice cream was essential to add visual interest. I also included utensils, a linen napkin, and crumbs to help the viewer imagine themselves in the scene.
Quick tip: The larger the light source, the softer the quality of light.
I added the tabletop v-flat, with the silver side placed opposite the window and light to reflect light back into the scene to ensure the pie slice was well lit as that was the hero of the image.
Once I was happy with the arrangement of all the elements, I then added a few scoops of vanilla ice cream and drizzled some cherry sauce on top!
Step 3: You’ve Lighted the Faux Window – Take the shot!
My camera settings were, ISO 100, Shutter Speed 1/125, Aperture F/7.1; I did vary the aperture and shutter speed a bit before landing on these settings but kept ISO at 100 and the light at full power.
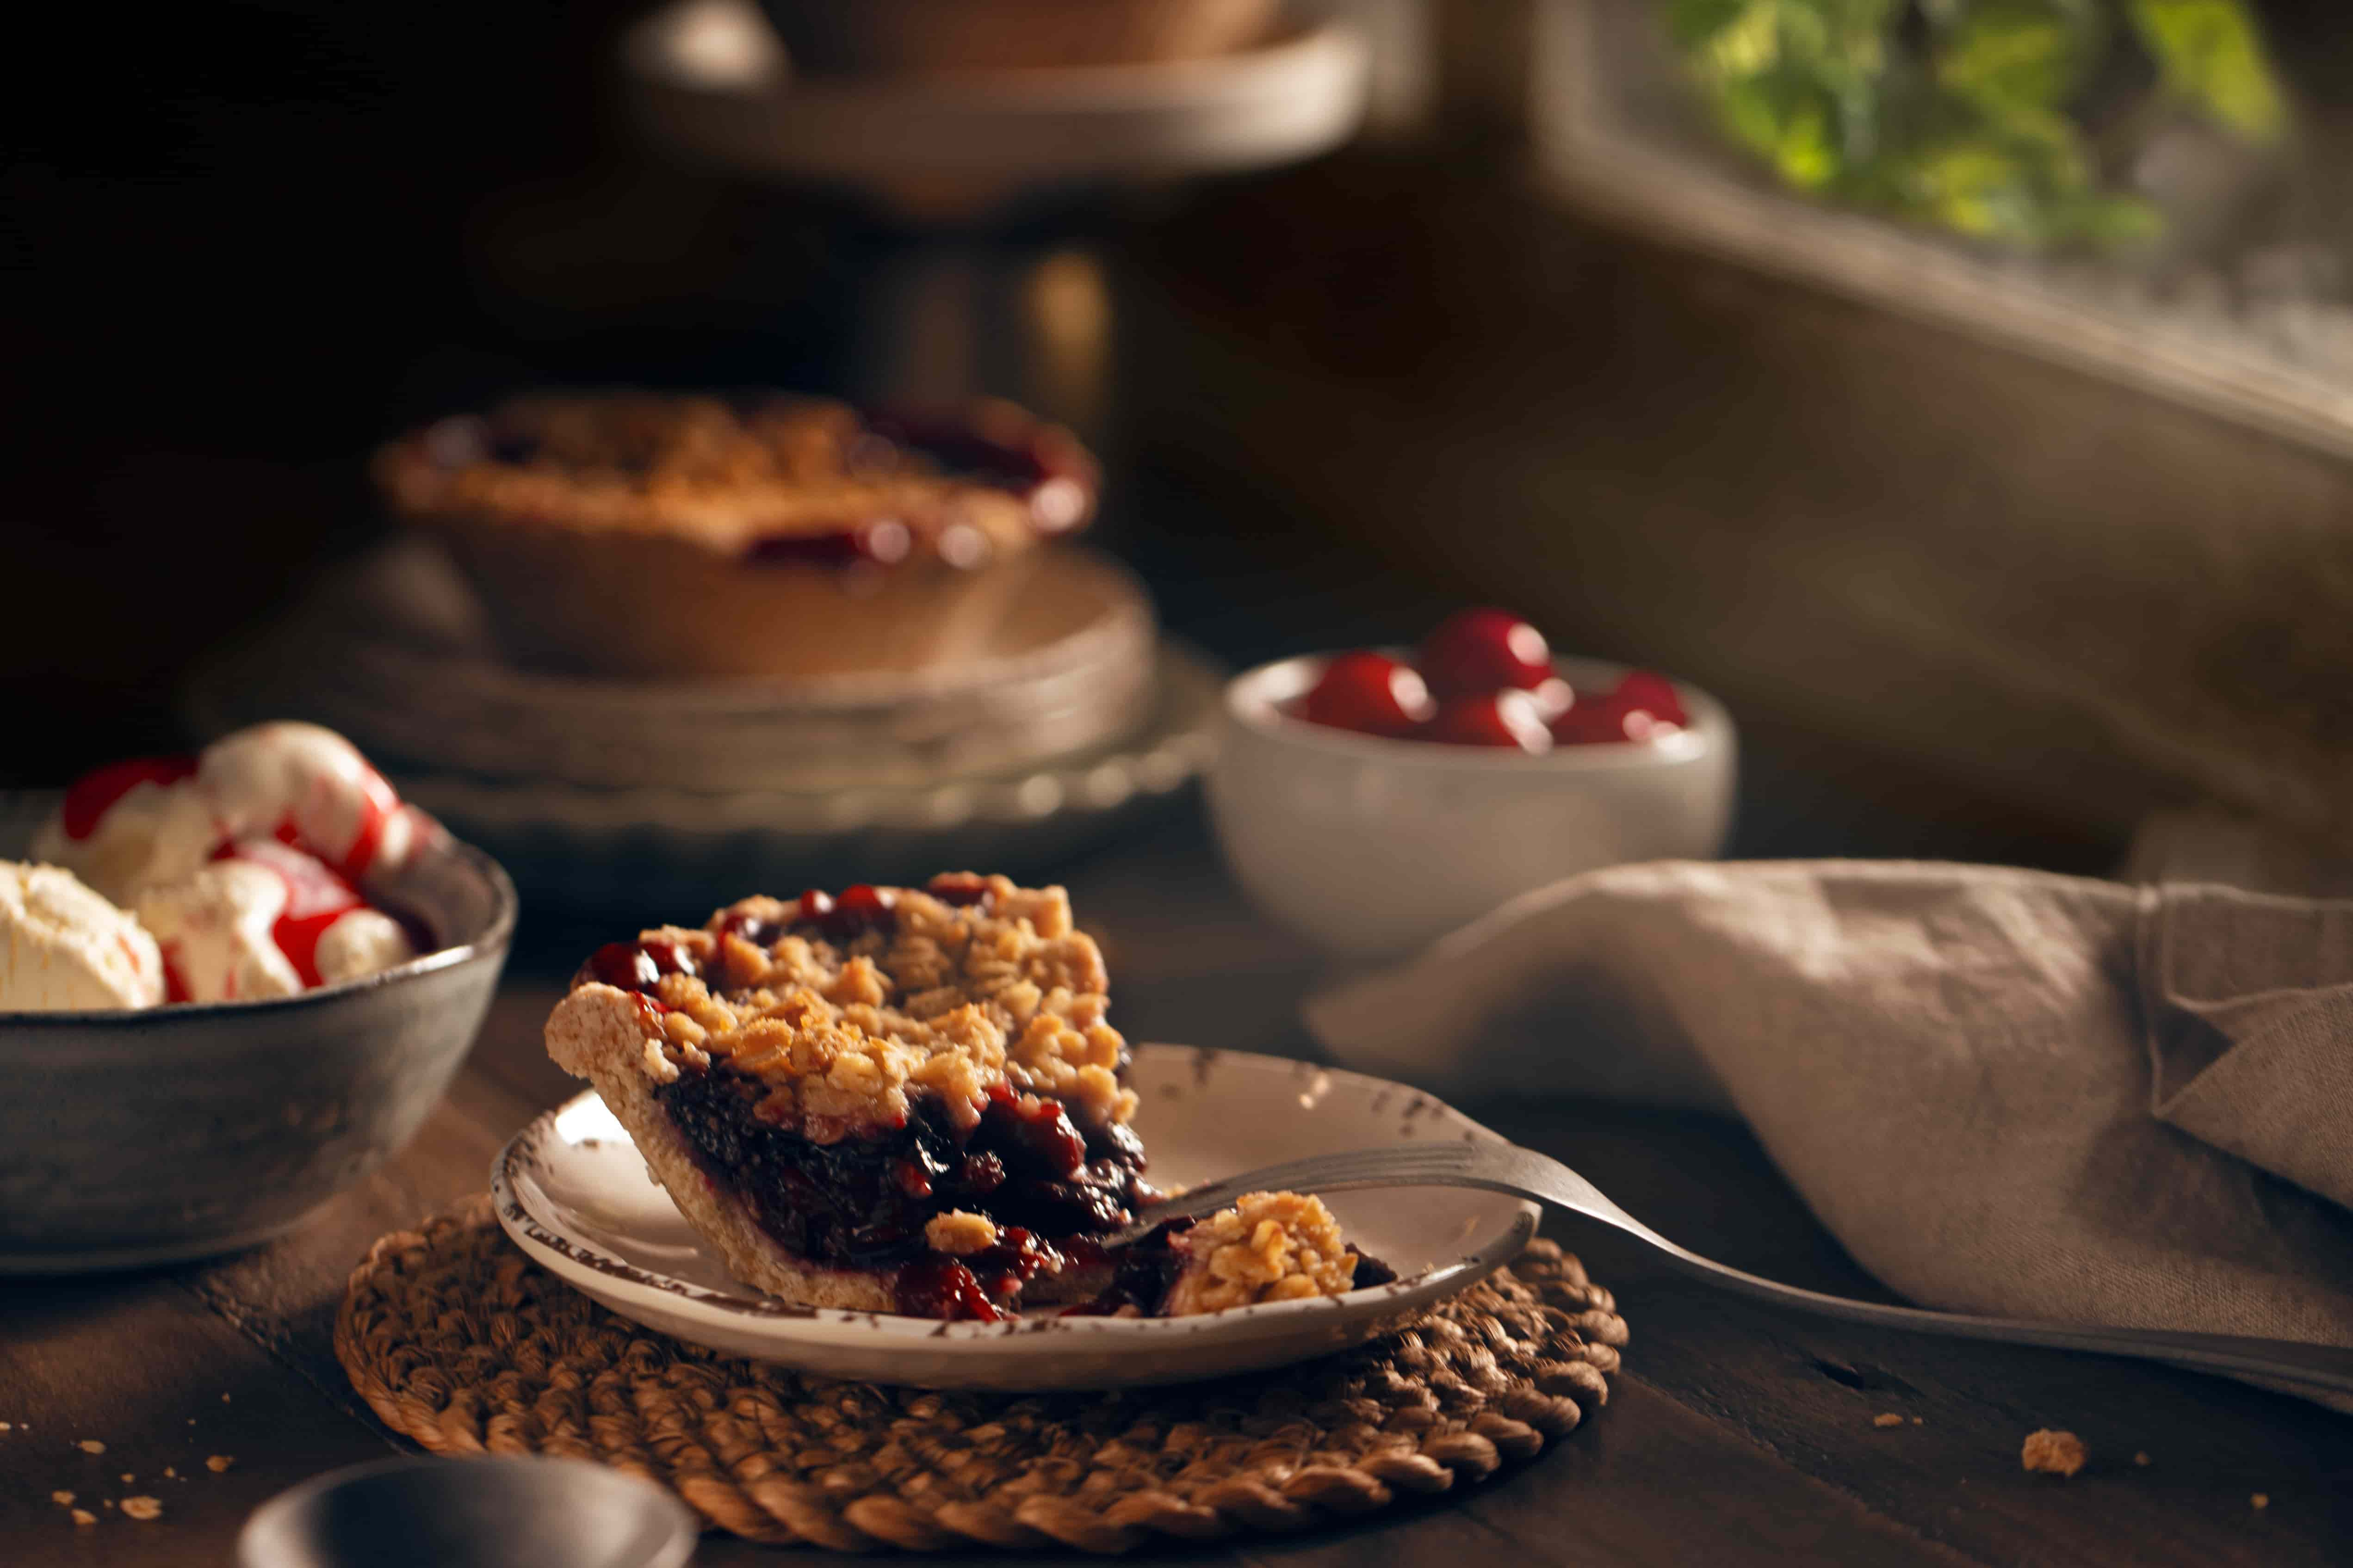
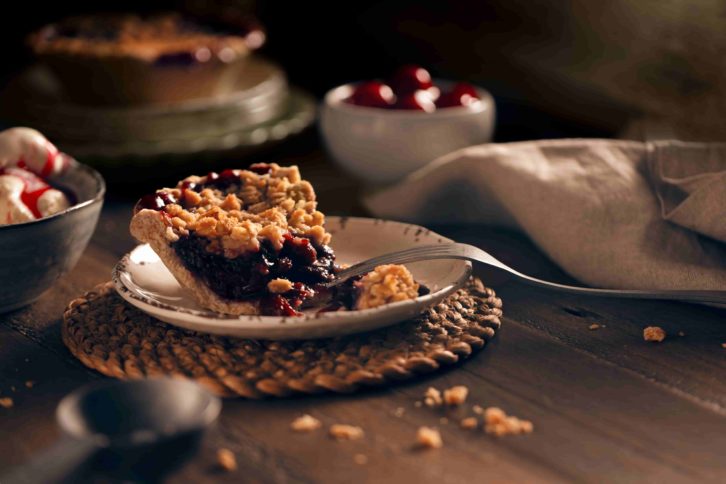
My camera was placed on a tripod and angled towards the light. Using a remote trigger, I captured a variety of shots, both portrait and landscape as well as closeups of the hero.
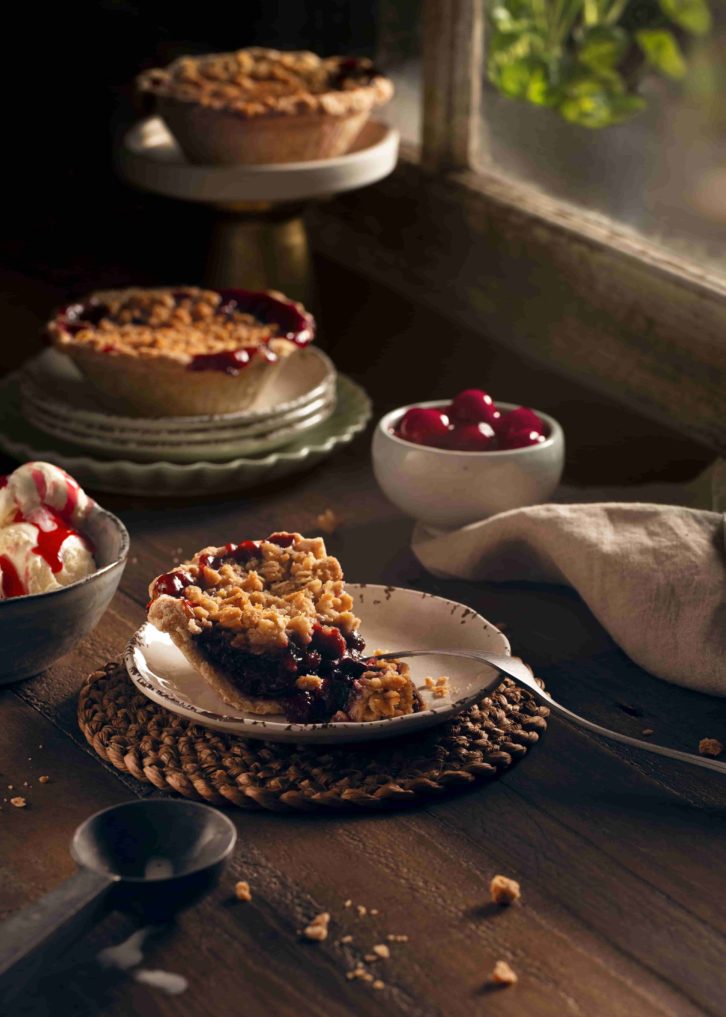
Nicole wrote this post. Thank you Nicole for sharing your tips on artificially lighting a faux window scene. Grab Nicole’s Bite-Sized Guide for Better Food Photography here!

Nicole J. Leverett
Photographer & Visual Artist
Nicole is a multi-faceted graphic designer turned photographer, passionate about creating captivating images and teaching others how to do the same!
New Jersey native, wife, dog mom, bonus mom, daughter, sister obsessed with good food, a good workout and good images. Come say Hi on Instagram or STAY N FOCUS.



kalisha
I love this tutorial! Thank you for sharing Nicole.
Nicole Leverett
Thank you! I really enjoyed creating this!
FOODHEAL
I love the last photo, the window creates a wintery mood!
Nicole Leverett
Thank you! The last photo is my favorite too!
Therese Bourne
Hey, Nicole, thanks for sharing this great idea! Fantastic tutorial.
Nicole Leverett
Thank you so much! 🙂
Maan
Thank you for sharing this ideas
Biju
It would be interesting to set up something with a light sensor upstairs so that the “windows” could reflect real circumstances as they vary with the seasons or the daily weather. This would make the “windows” more lifelike.
However, your suggestion is one of a kind and easy to implement. Thanks!
Roentare
Still life photography like this is truly an art. I am learning plenty just by reading a few pieces of articles here.
Sabiha sultana
Thanks for your information,it will be great help.