My favourite sweet food is chocolate. To me, dessert and chocolate are synonymous. If it’s not on a dessert menu, I’ll probably skip it.
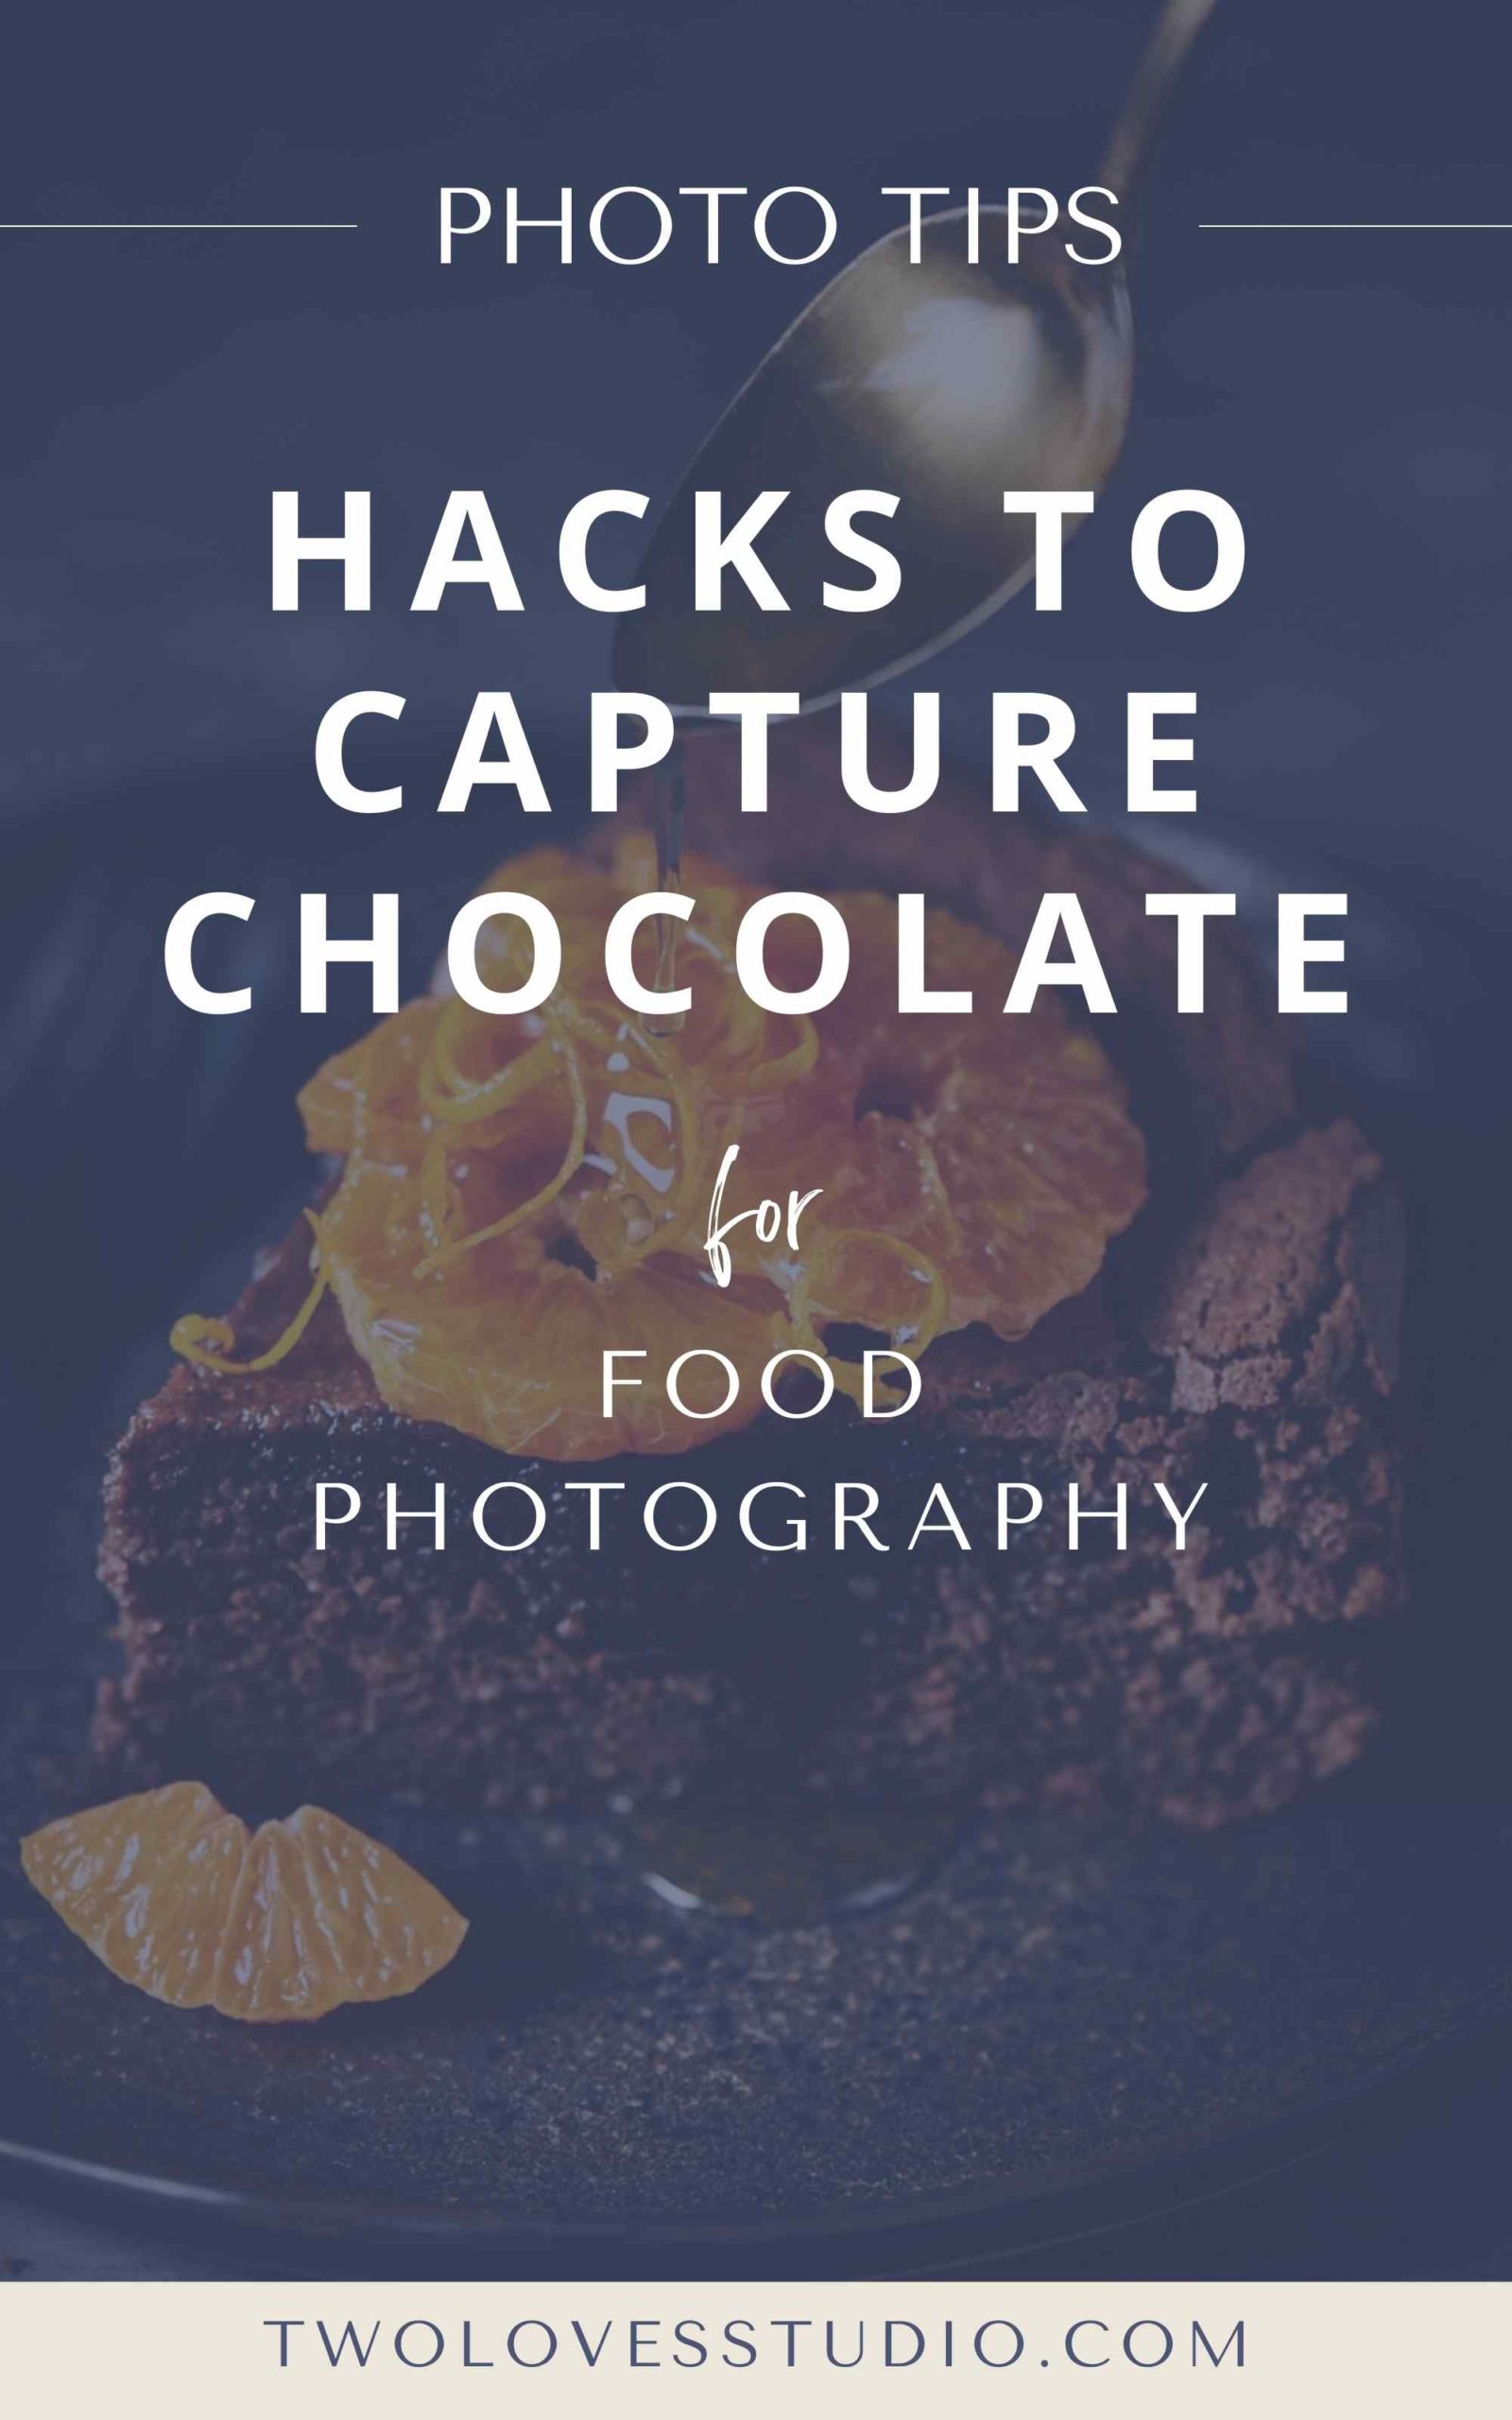
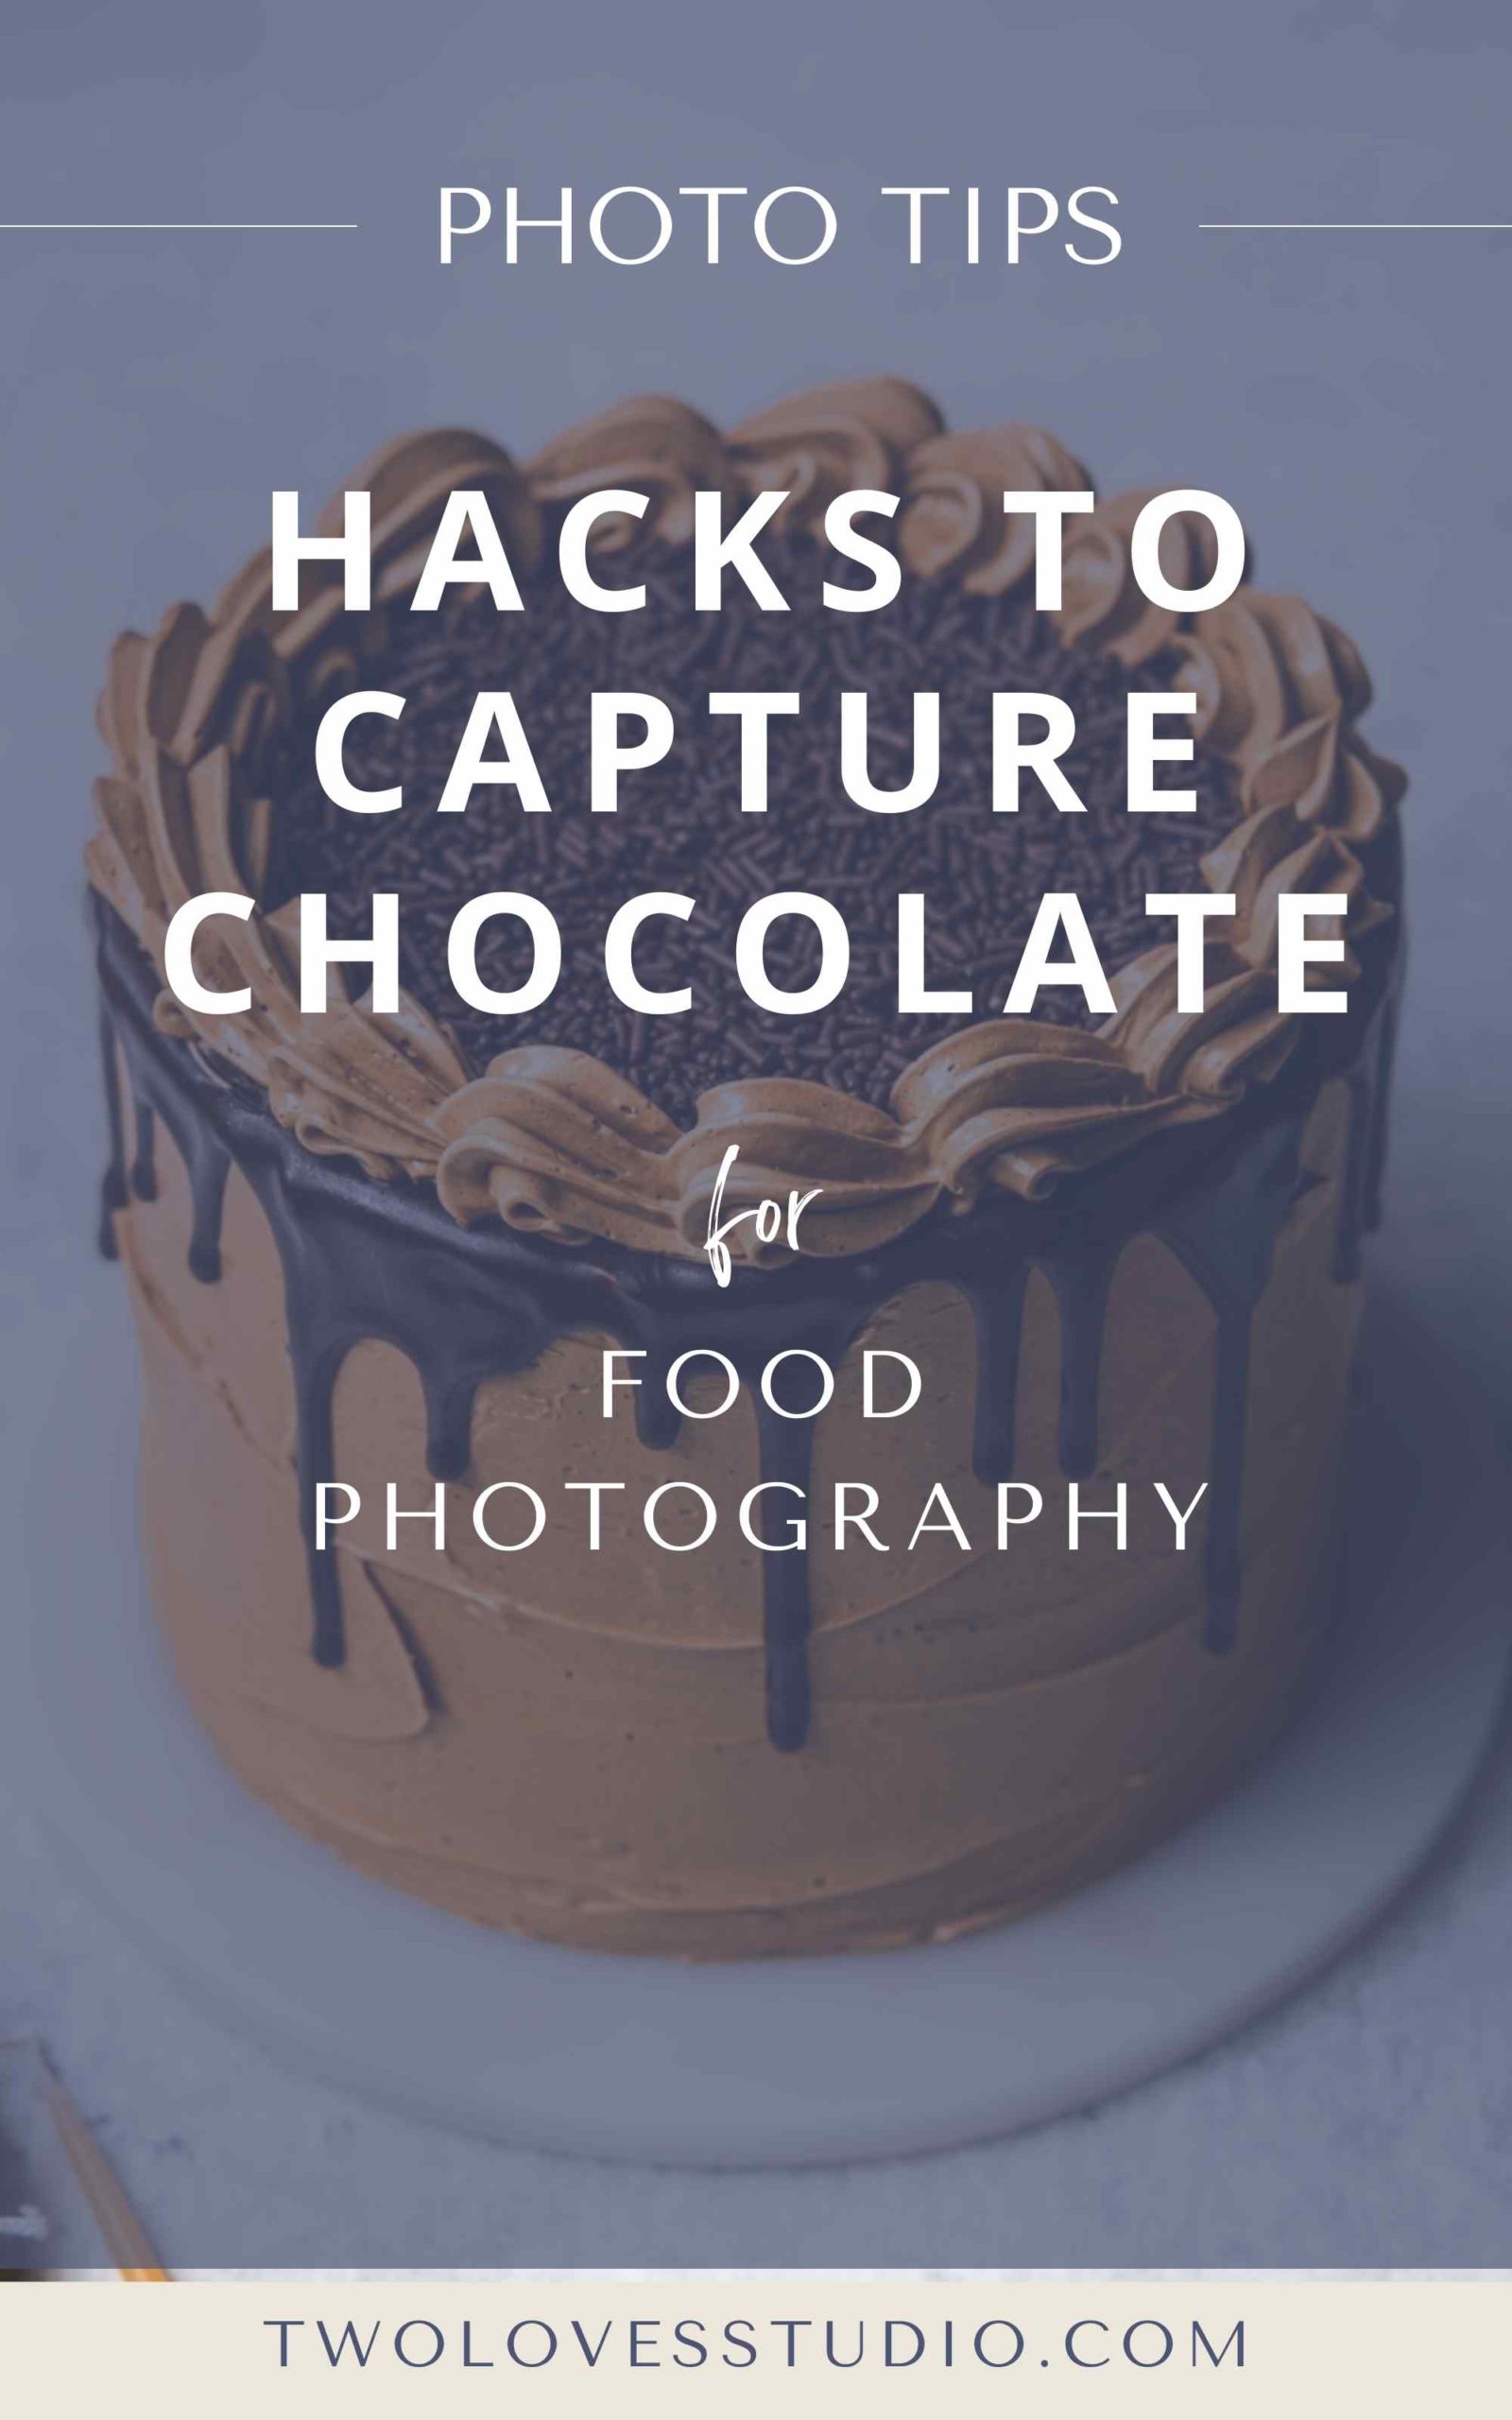
Chocolate Photography is something every food photographer will encounter, from cupcakes to macarons, to milkshakes with toppings and petit fours.
Chocolate seems easy to photograph, but it can have a mind of its own. From looking dull and picking up all the fingerprints and dust on set, to being extremely challenging to photograph.
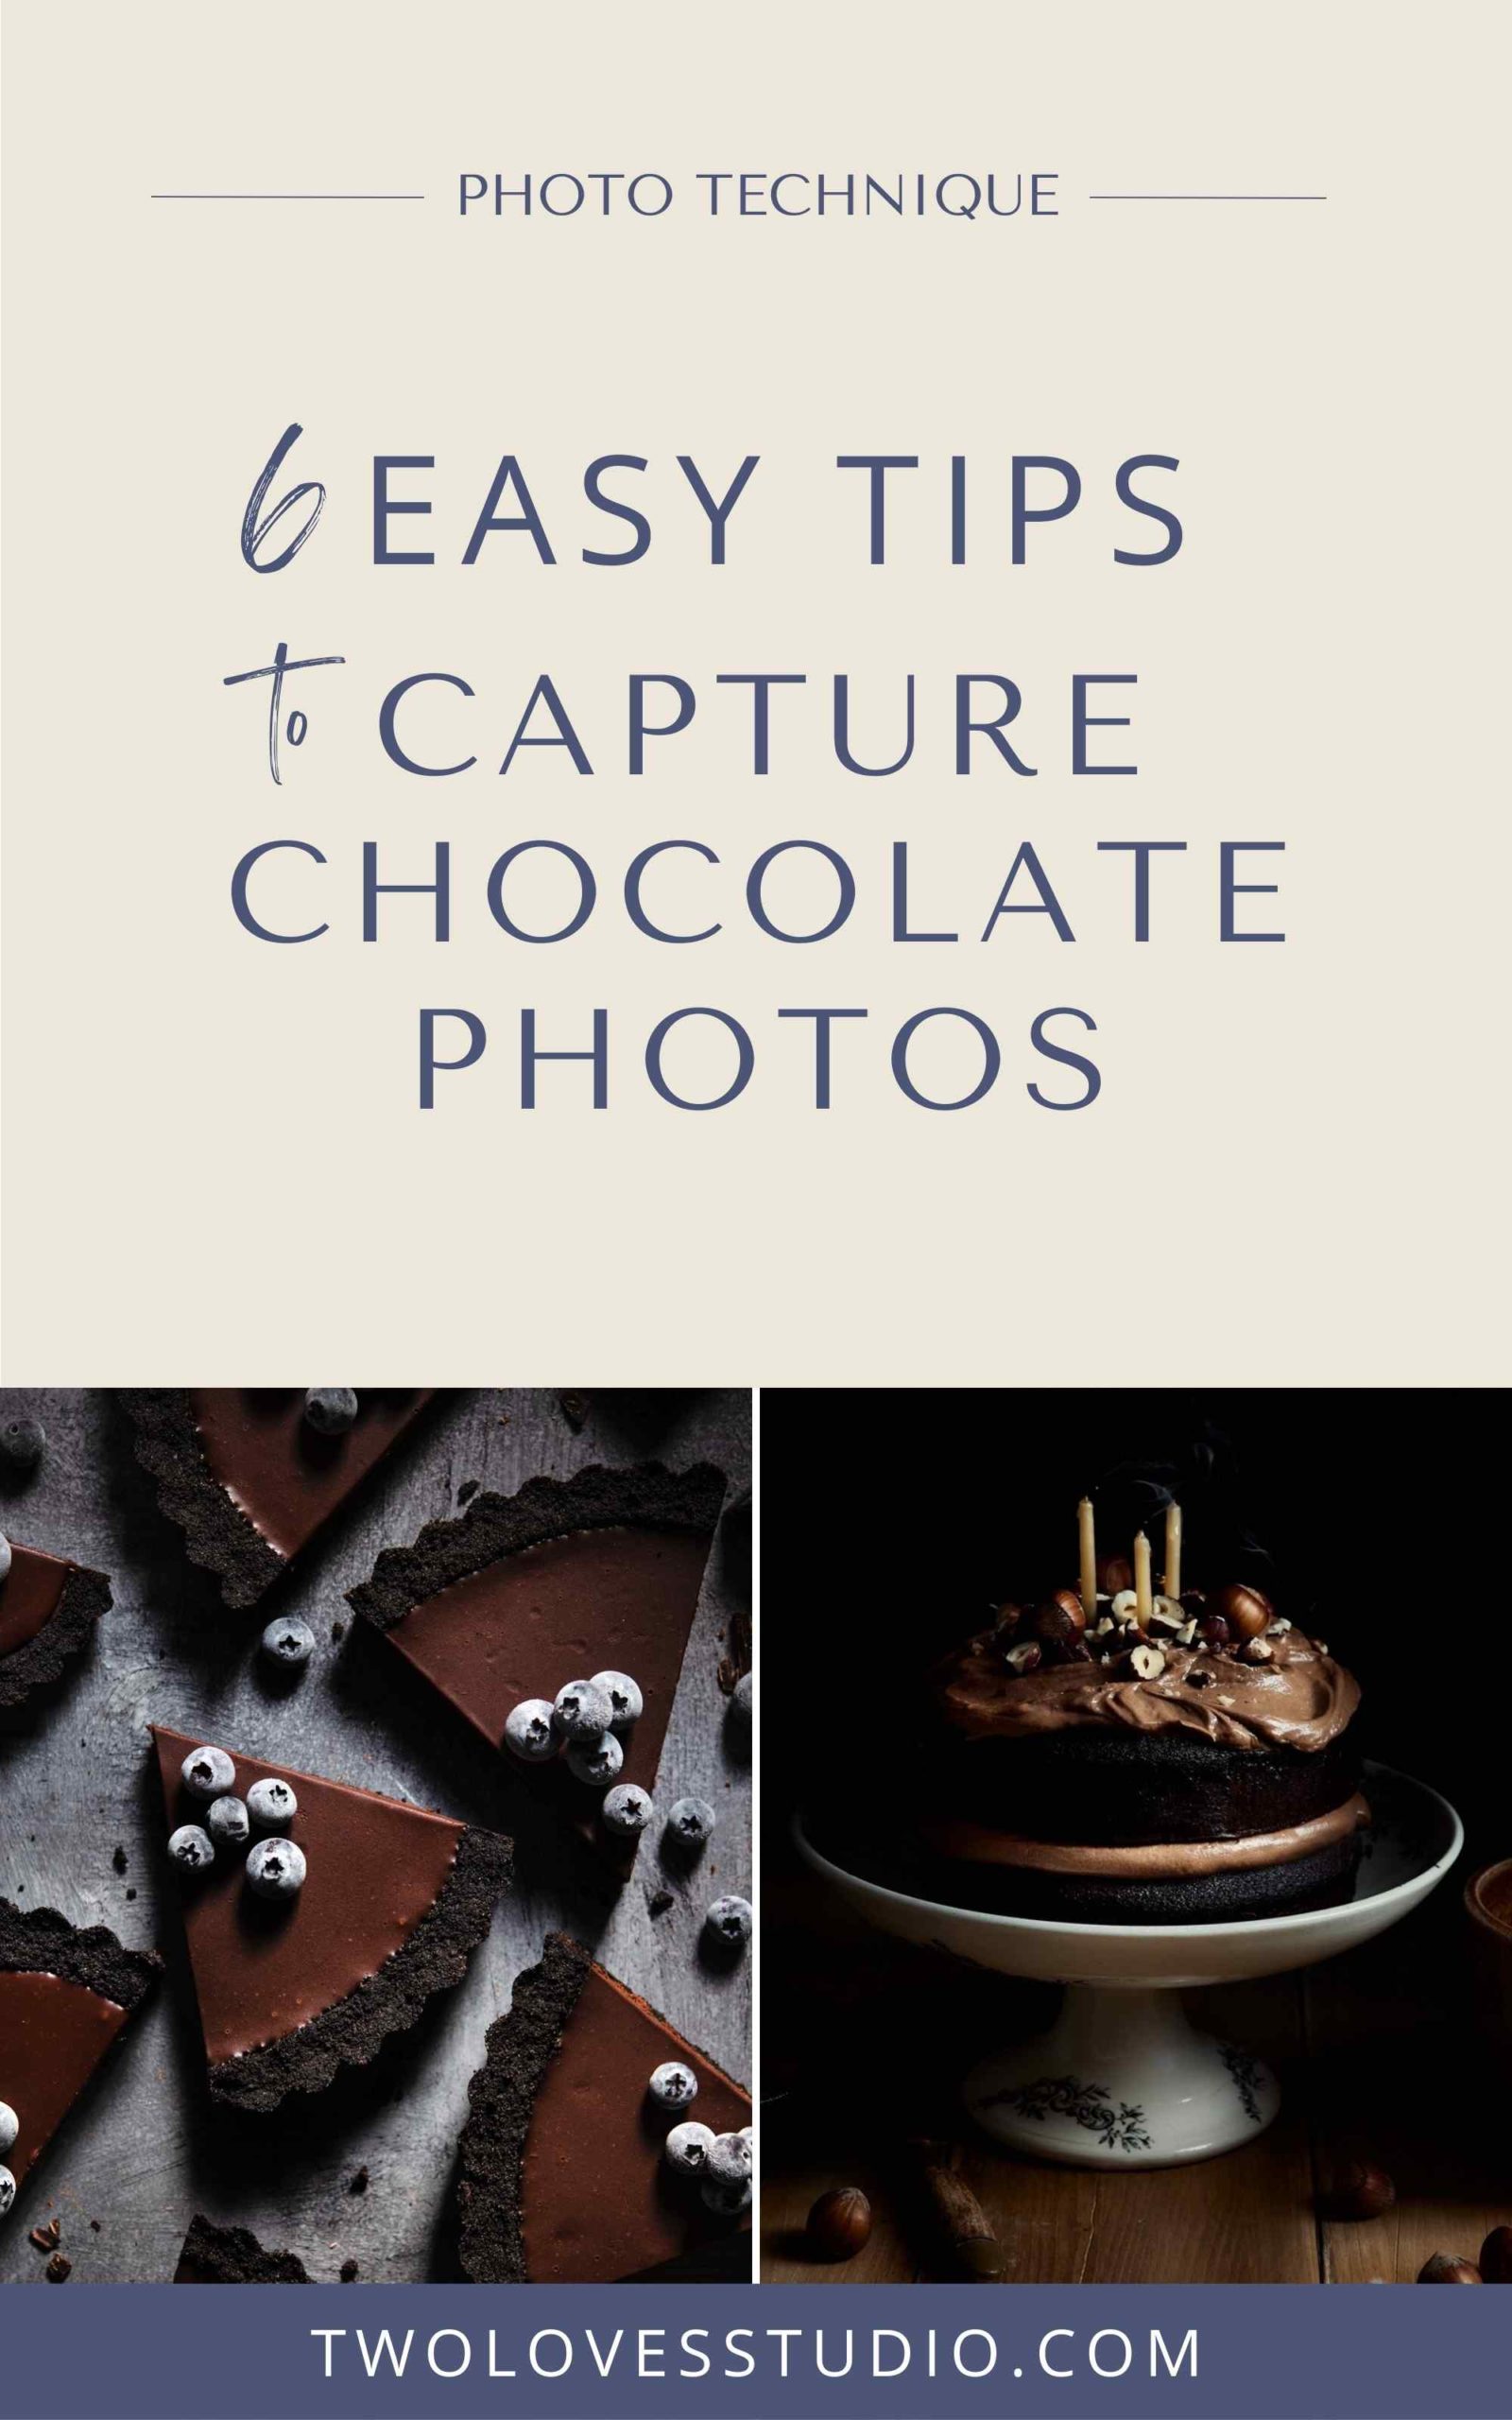
Here are six simple and practical tips I’ve learned over the years to make your chocolate go from dull to drool-worthy!
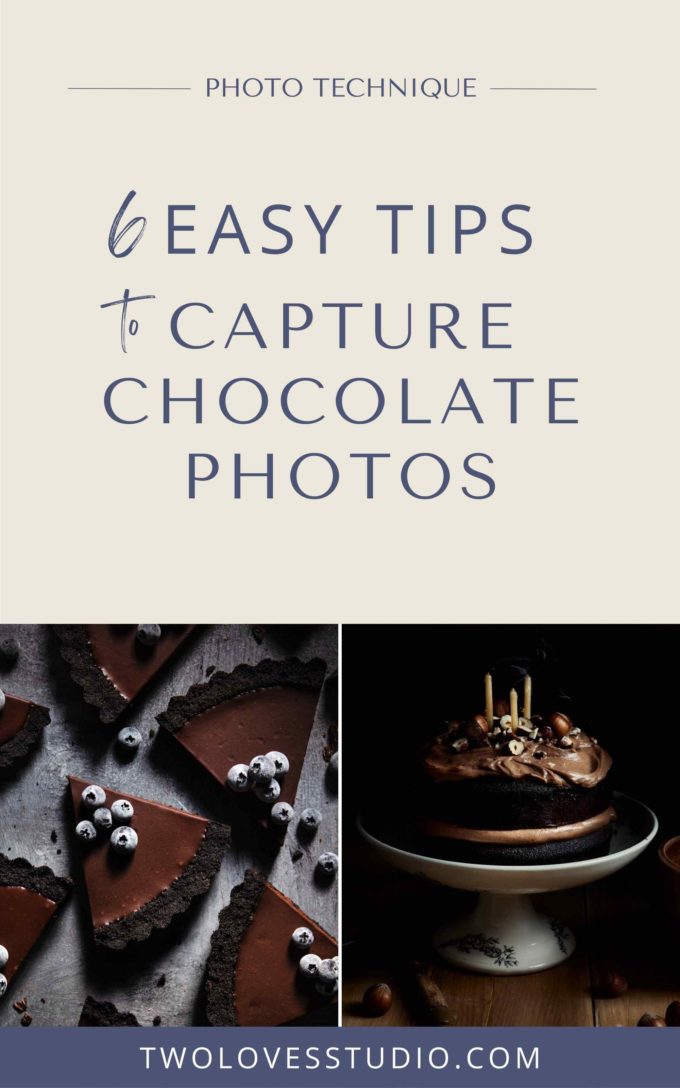
Tip 1: Think — What Texture is Your Chocolate?
Before we dive into the rest of the tips for chocolate food photography, I think this is the most important. What type of texture is your chocolate?
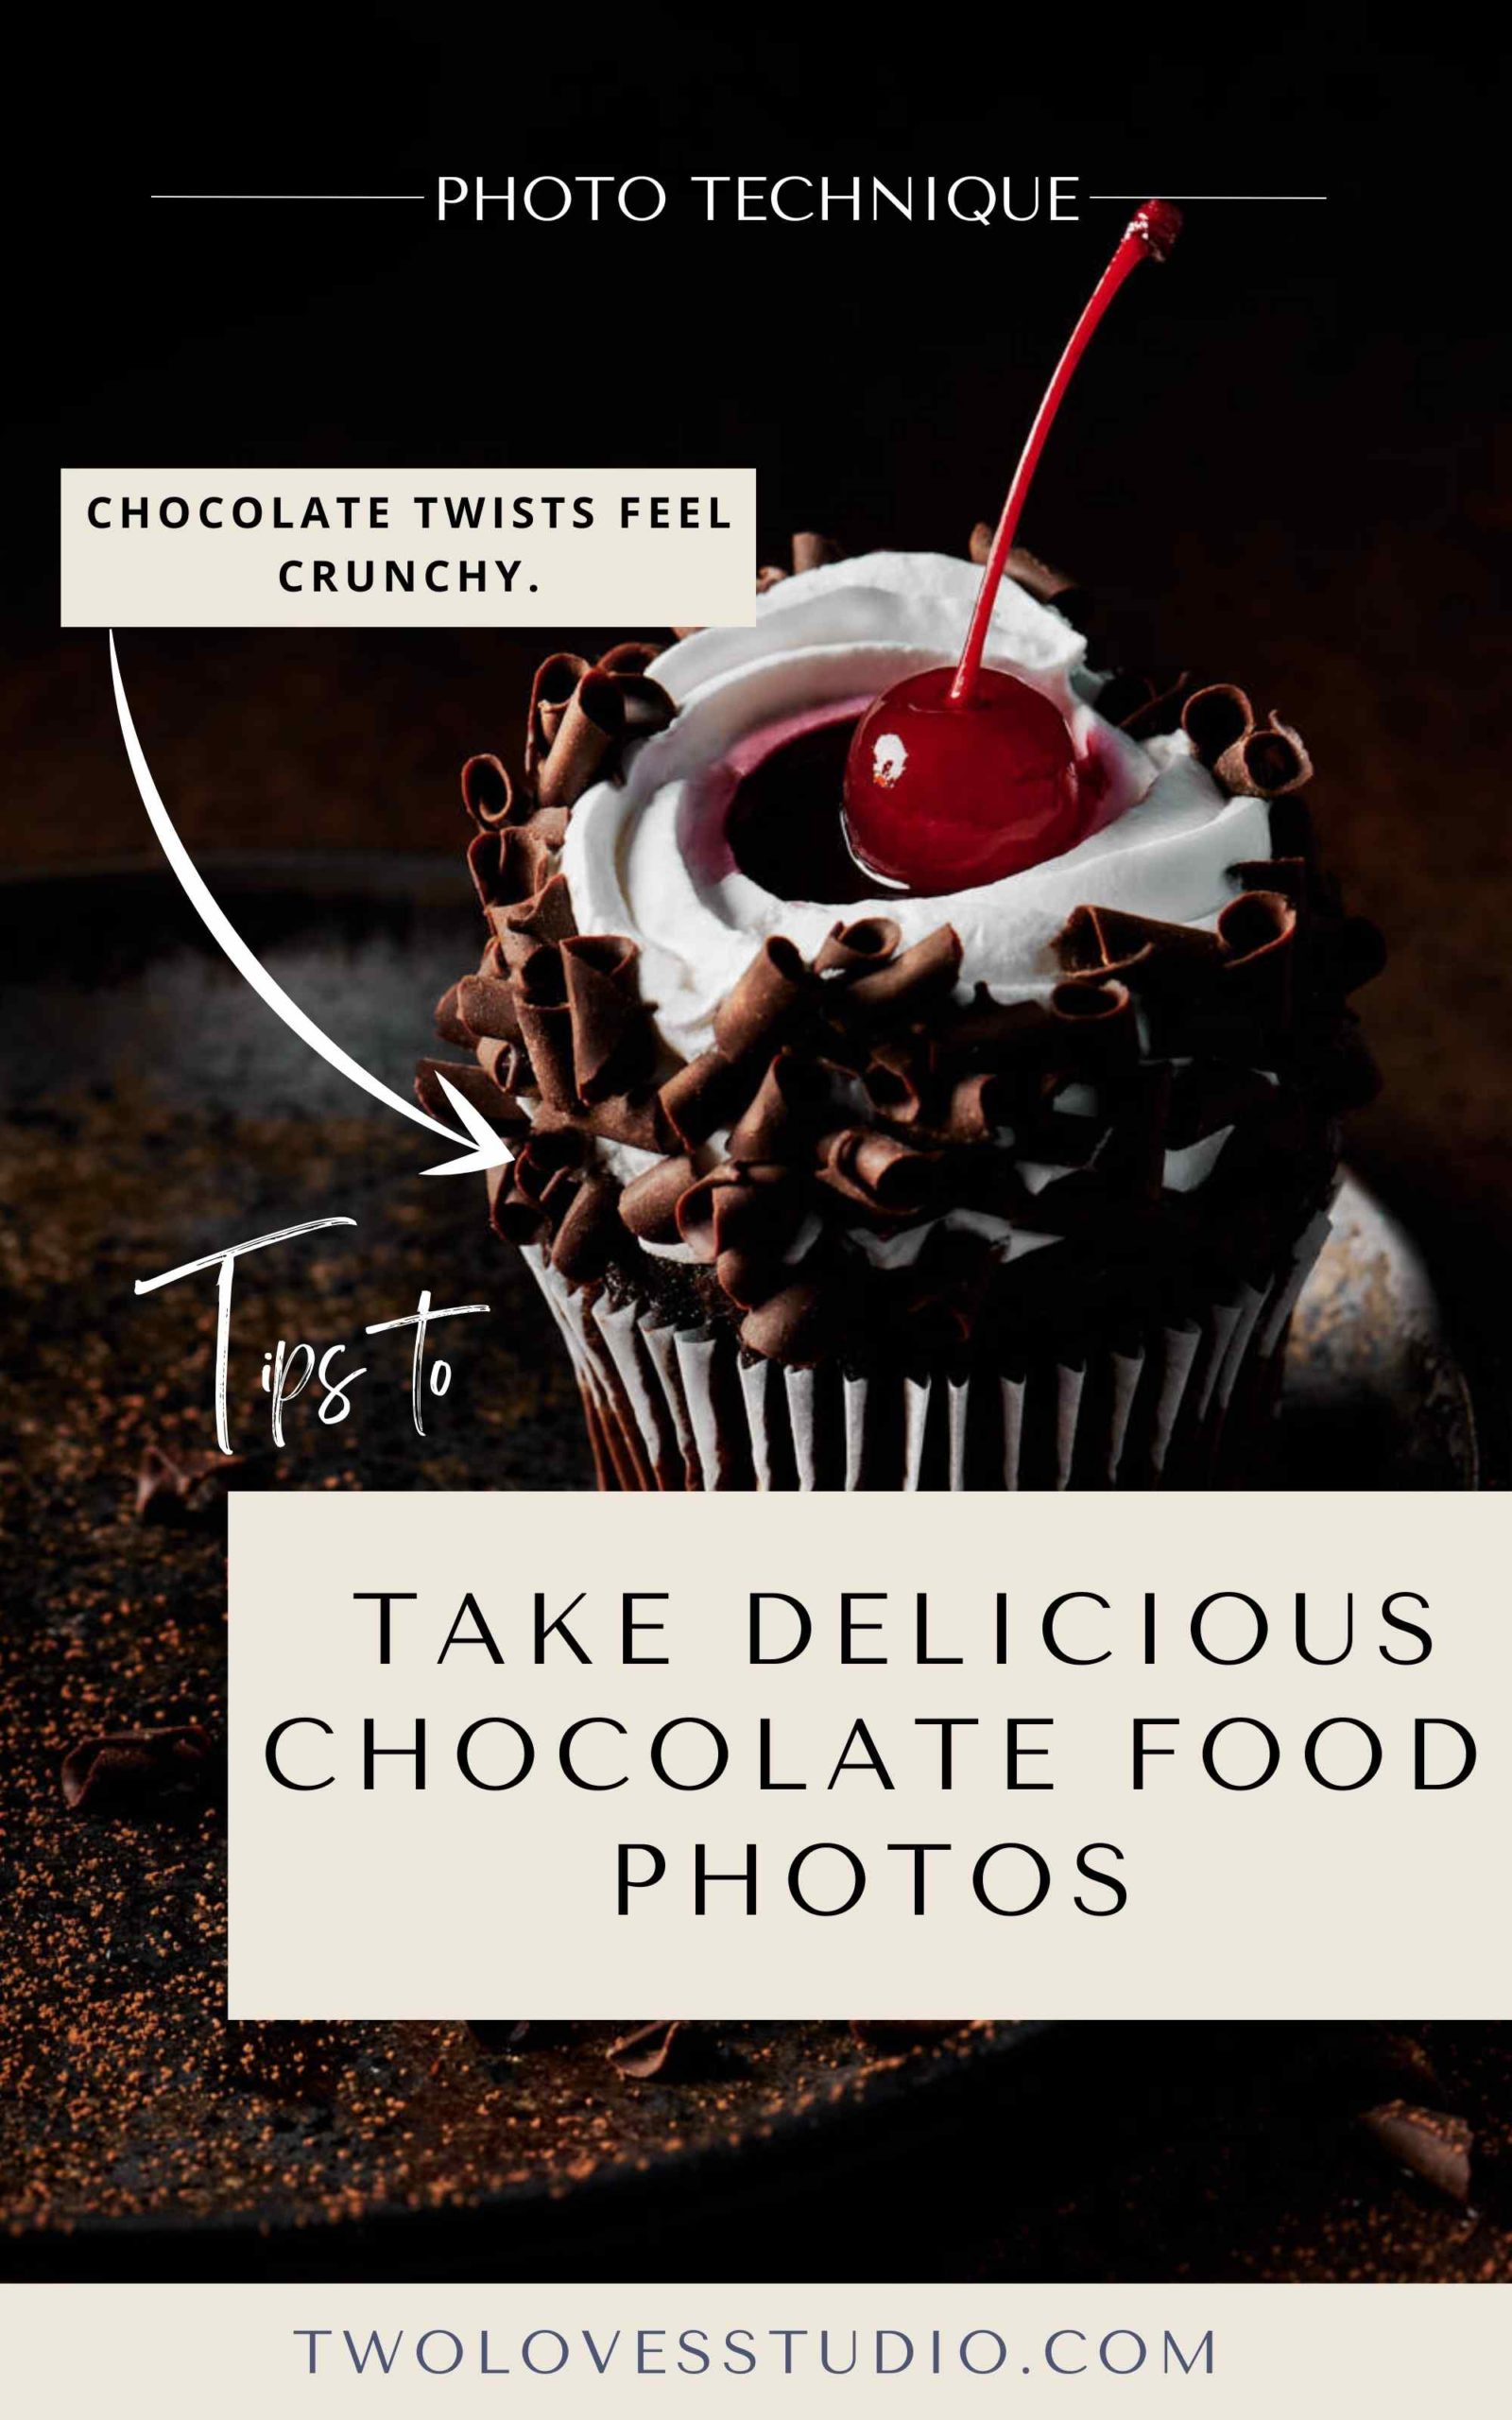
Chocolate can be thick, light, tempered, crunchy, soft, moist, flaky…and so on.
Each type of chocolate might command a different approach when it comes to photographing. Lighting and editing for texture is the most important thing you can do to make your chocolate mouth-watering.
Use soft light and soft editing for soft and moist chocolate feelings.
For crunchy or flaky chocolate, play with shadows and go heavier on your clarity edits.
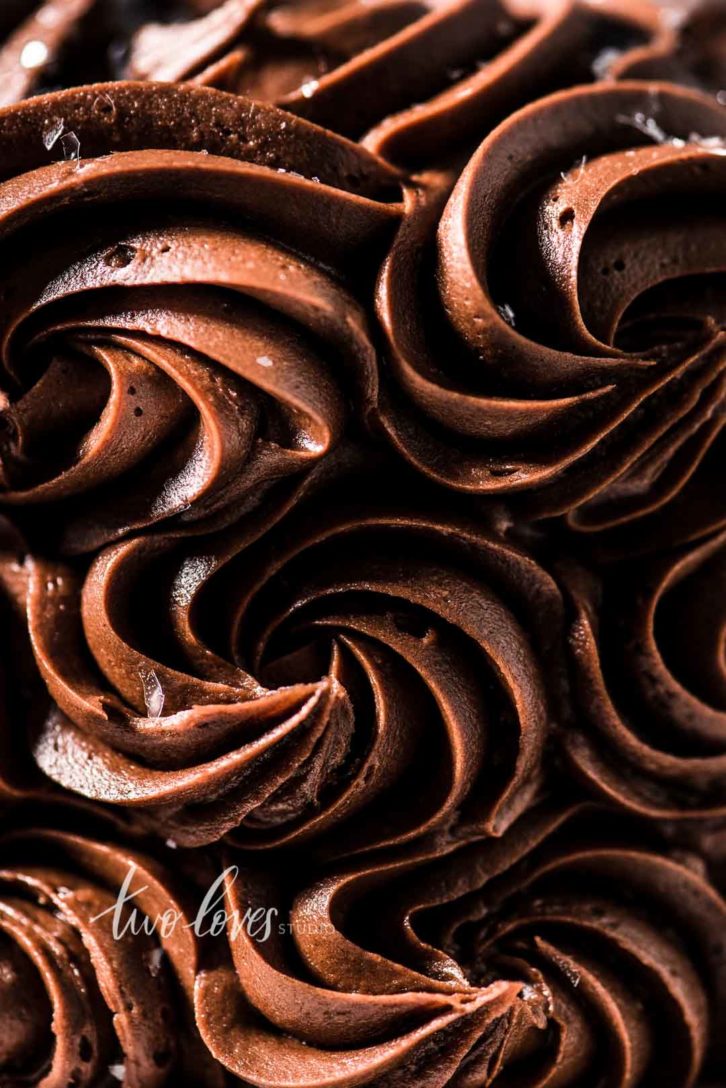
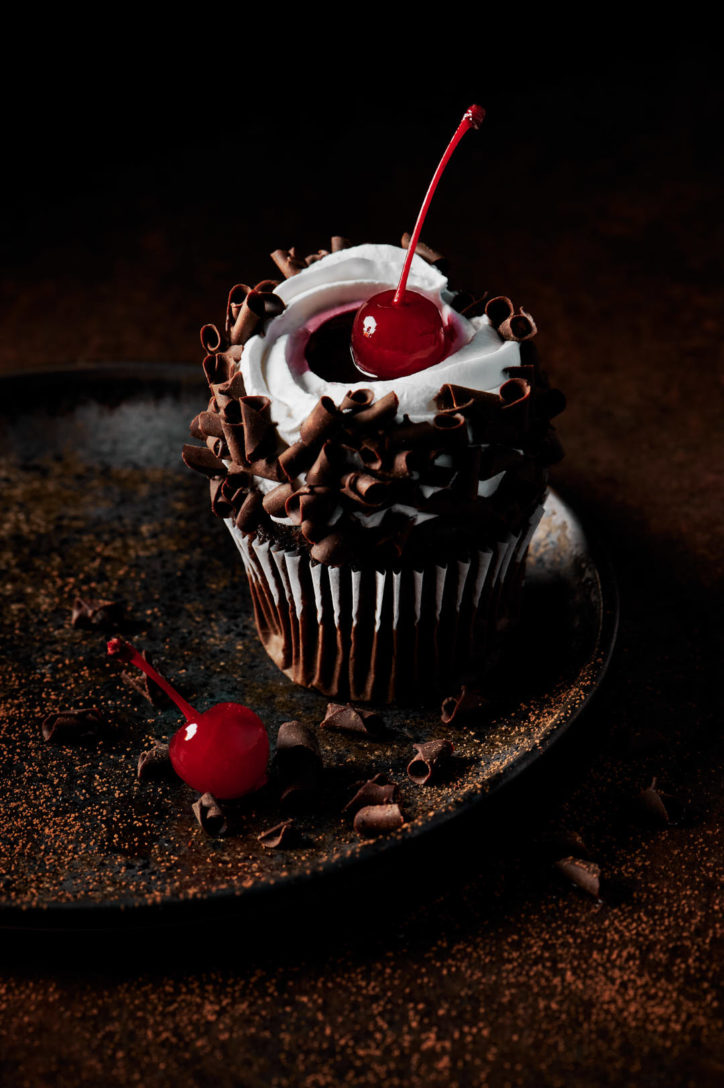
Tip 2: Use lighting that will create specular highlights
When we think of chocolate, we mostly go straight to the source. Cue thoughts (and tastes!) of those deliciously decadent chocolate fountains, oozing with melted chocolate.
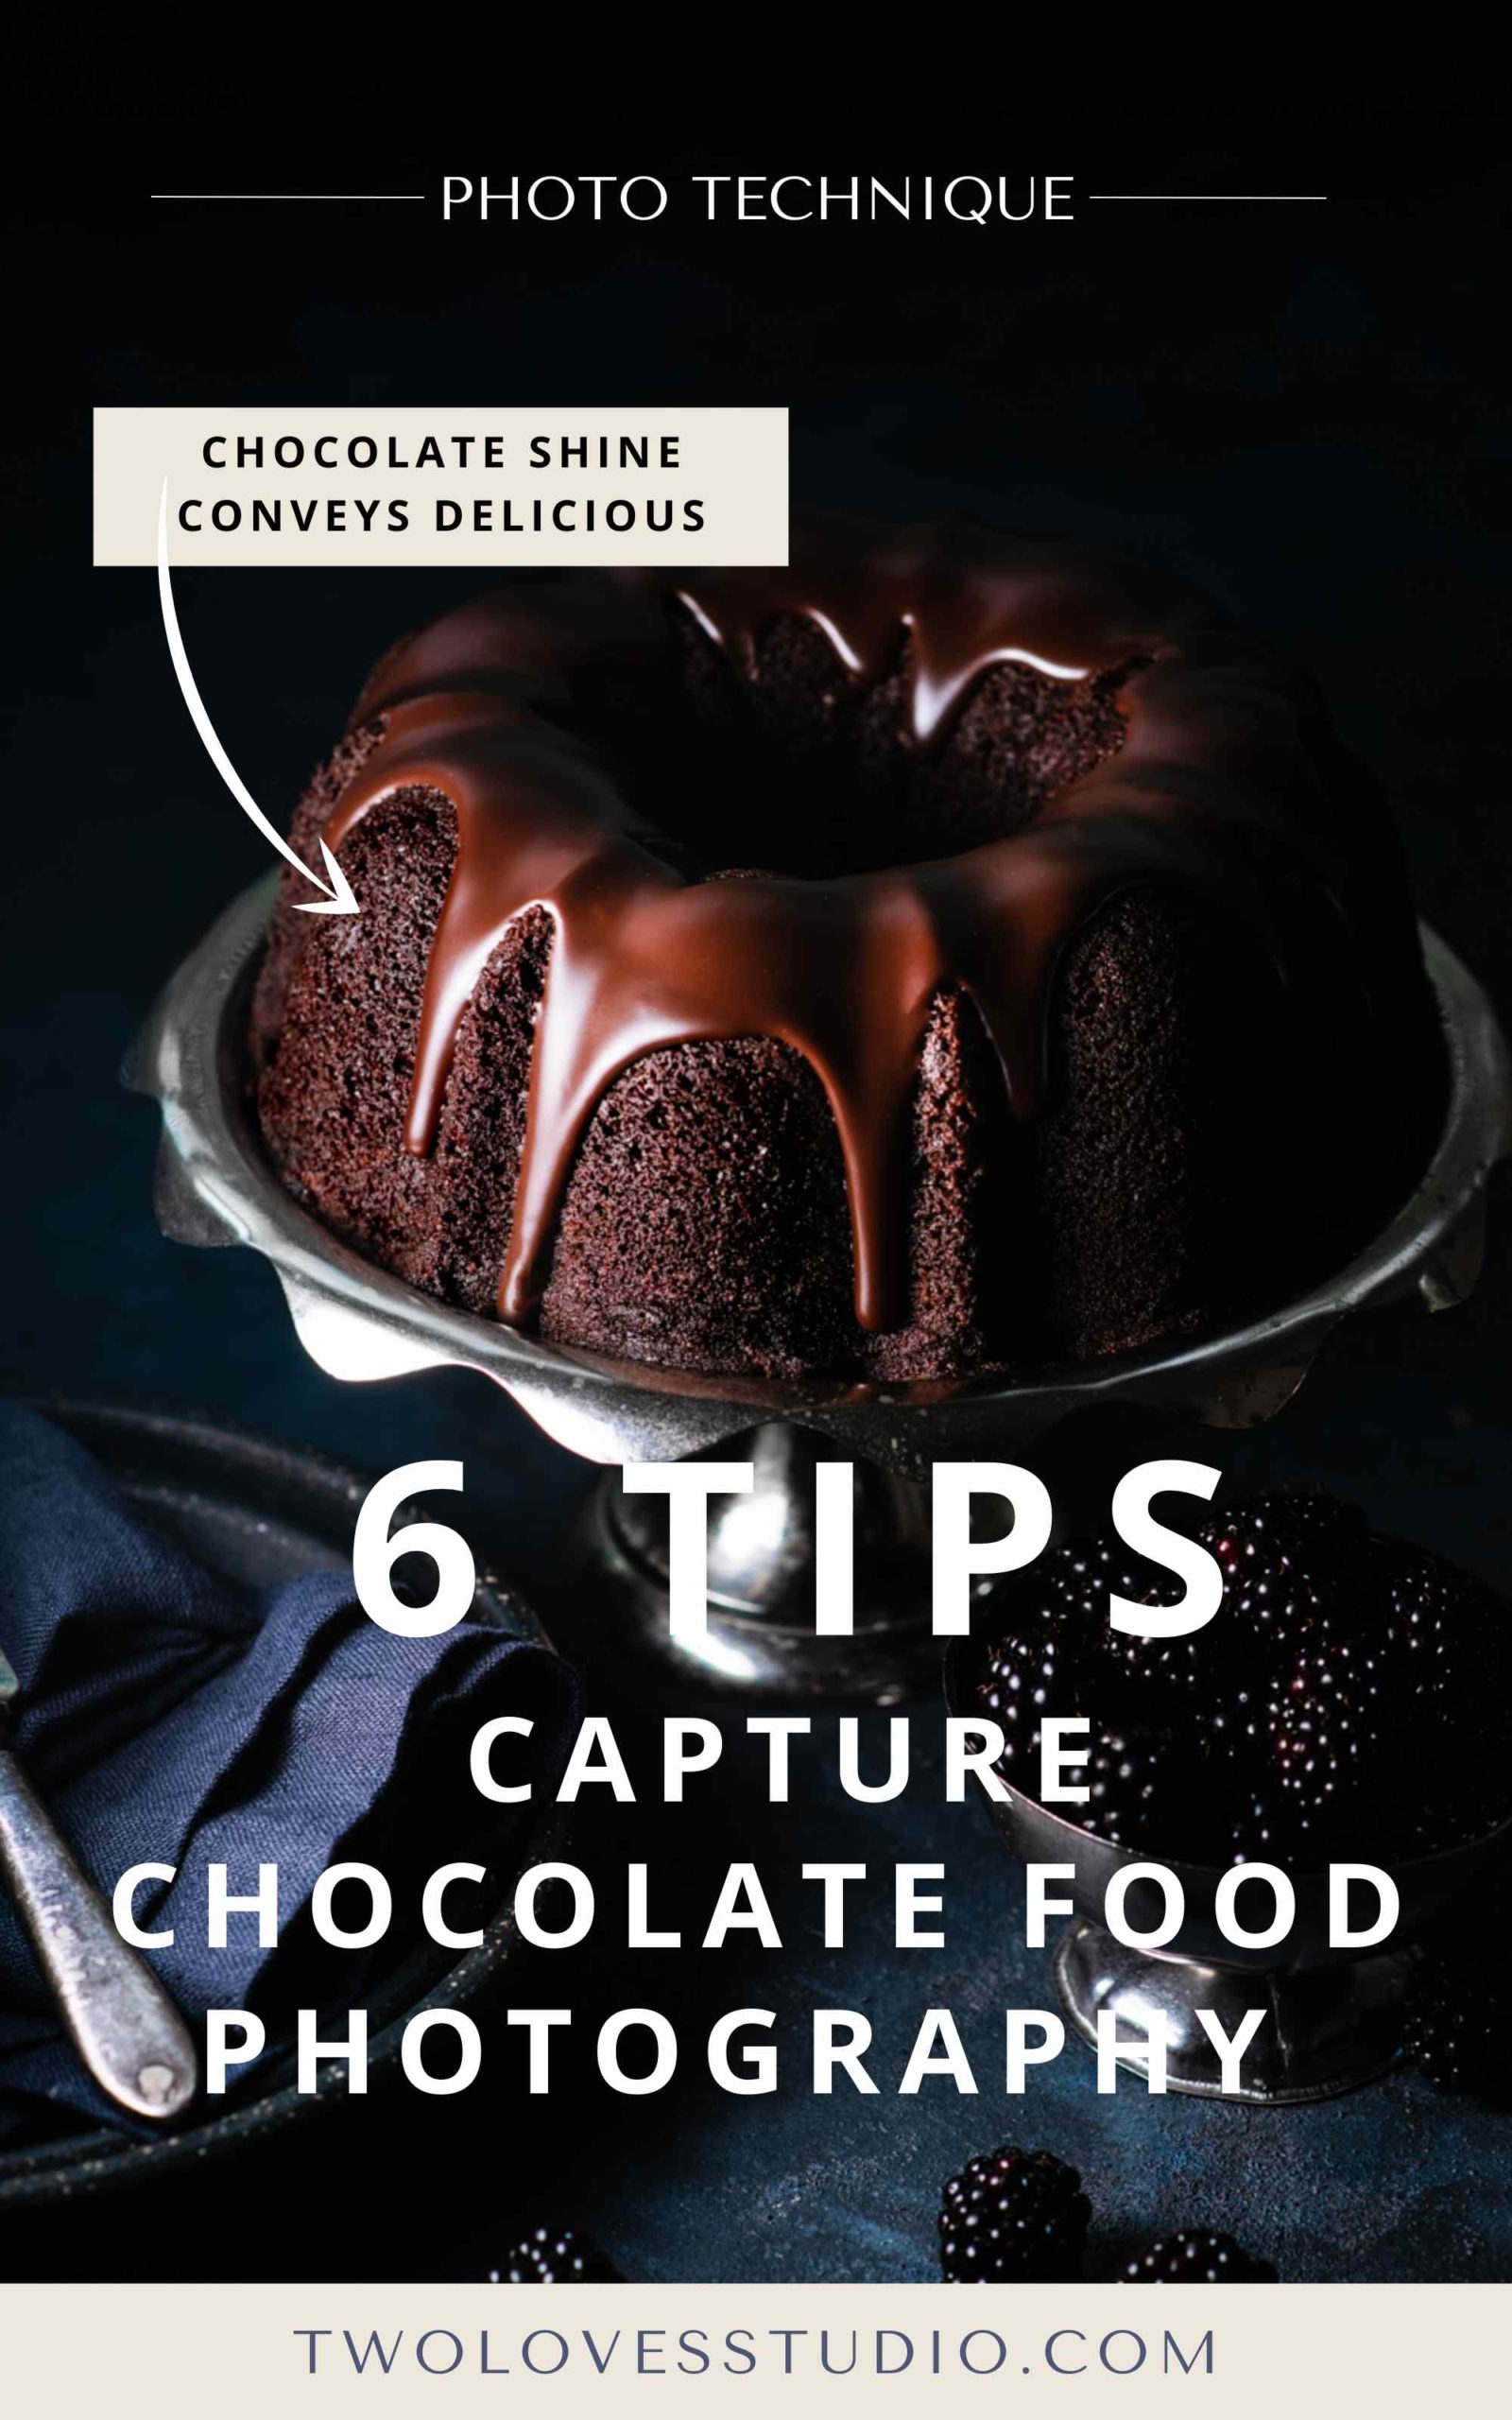
Can you visualise it yet? Good. Now think about all the beautiful specular highlights that chocolate picks up. It helps to tell the viewer how the chocolate would feel in our mouth on our first bite.
Use lighting that captures specular highlights. Play with the size of your light source and distance to the light source to achieve this. For more natural lighting tips, check out my Art of Light ebook.
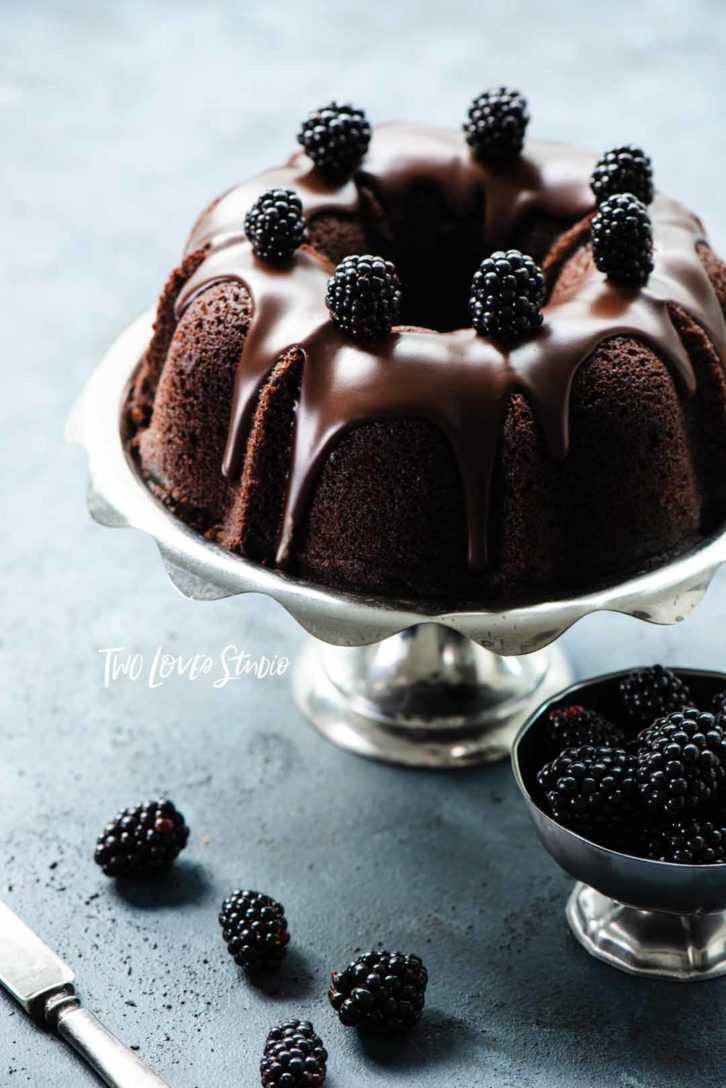
Tip 3: Use a Steamer to Create Shine in Chocolate Photography
This tip will help you achieve the above, as not all chocolate will naturally shine.
Have you ever bought cooking chocolate and found it had this white or grey covering on the outside? It’s not very sexy for food photos and there is an easy way to get rid of it.
You simply need to heat the chocolate slightly with a heat gun or steam from an iron. (Tip: I’ve also used a hairdryer on low). My food stylist friend Gaye McLeod, uses a clothes steamer – brilliant!
Just before you’re ready to take the photo, gently use the steamer to warm the chocolate and give it that nice shine ready for capture.
Tip 4: Avoid Handling Chocolate with Your Fingers
I see this all the time on social media — chocolate that has fingerprints on it! I’ve been there too. This is why it’s important to have a styling kit.
Try to use delicate tongs or tweezers (if possible) to place chocolate on set. Silicone gloves can work, but if you get marks on your chocolate there are two options.
- You can use Photoshop, (learn how here), to remove blemishes or
- You can use the tip above with the clothes steamer.
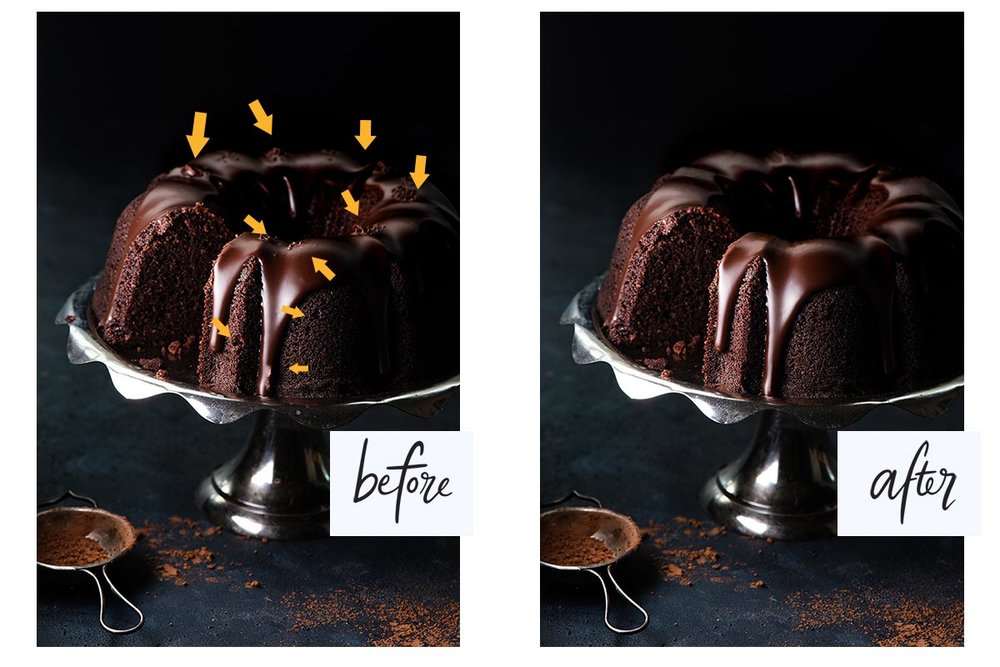
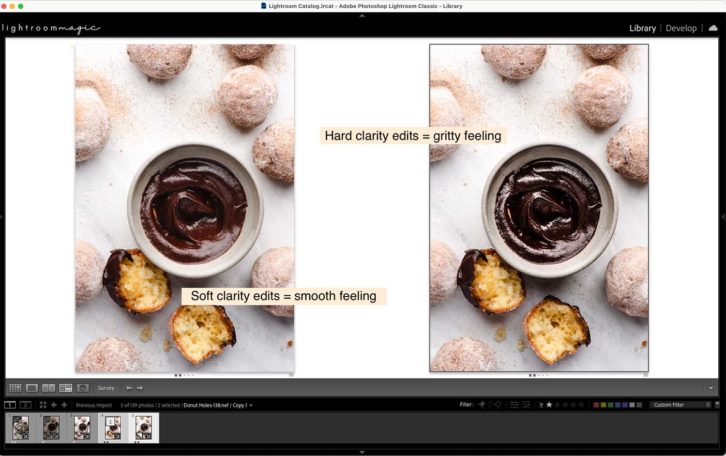
Tip 5: Balance Editing Adjustments for the Texture of Chocolate
As we’ve discussed, chocolate can have many different types of textures. Once you’ve thought about what texture your chocolate photography dish has, you can easily work out how to bring out that texture in editing.
Balance your Texture and Clarity adjustments (in Lightroom) or Clarity and Structure adjustments in (Capture One) to bring out your desired texture. Smooth chocolate might need more minor adjustments than a gritty rich chocolate cookie.
You might even find that you have two different types of chocolate textures in the same food.
To learn more about how to edit like a pro in Lightroom or Capture One, take a look at my signature editing classes.
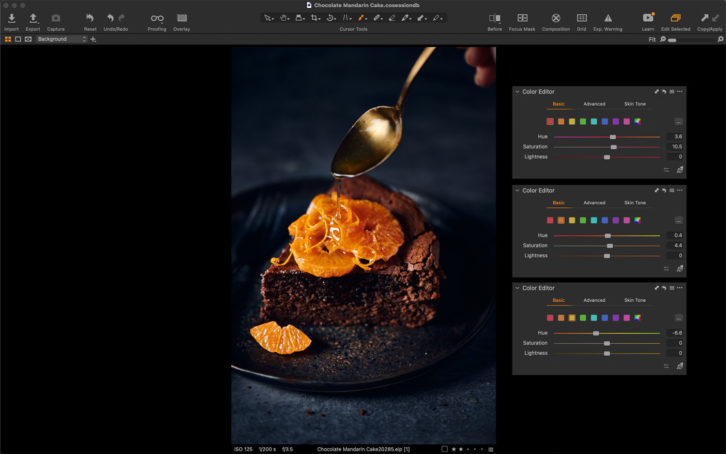
Tip 6: Colour Correct Your Chocolate Photography- Brown is Made up of Many Colours!
You might at first glance think that chocolate is brown, but it’s actually made up of a few colours. Mostly reds, oranges and yellows. Sometimes even greens.
You’ll need to bring your A-game when it comes to colour correcting chocolate to bring out its rich and decadent colours.
I teach you how to do this exactly with chocolate in my Capture One Magic masterclass.
Are you hungry now thinking about all this chocolate? I sure am.
I’d love to know which of these tips you’re eager to try on your next chocolate photoshoot. Drop me a comment below and let me know.
Brush up your photography skills by checking out what courses are on offer to elevate your next photoshoot.





Rejekibet
I loved these tips! The lighting suggestions really helped me improve my chocolate shots, and I can’t wait to experiment with the props you mentioned. Thanks for sharing such practical advice!
bounty game
These tips are fantastic! I can’t wait to try the lighting techniques you mentioned to really make my chocolate shots pop. Thanks for sharing such practical advice—definitely going to elevate my food photography game! 🍫📸