This post may contain affiliate links from products and services we love and trust.
Hello, photographers! I’m really excited to have this opportunity to talk about lighting with you, in particular dappled light.
Understanding and shaping light is one of the three foundational skills for great food photography, alongside styling and image post-processing.
My hope for you is this article will help demystify dappled light and inspire you to always be on the lookout for cool modifiers for light setups, natural or artificial. Always be playing with, and observing light – this is one essential tenet for growing as a photographer.
Let’s Talk About Dappled Light and What it is:
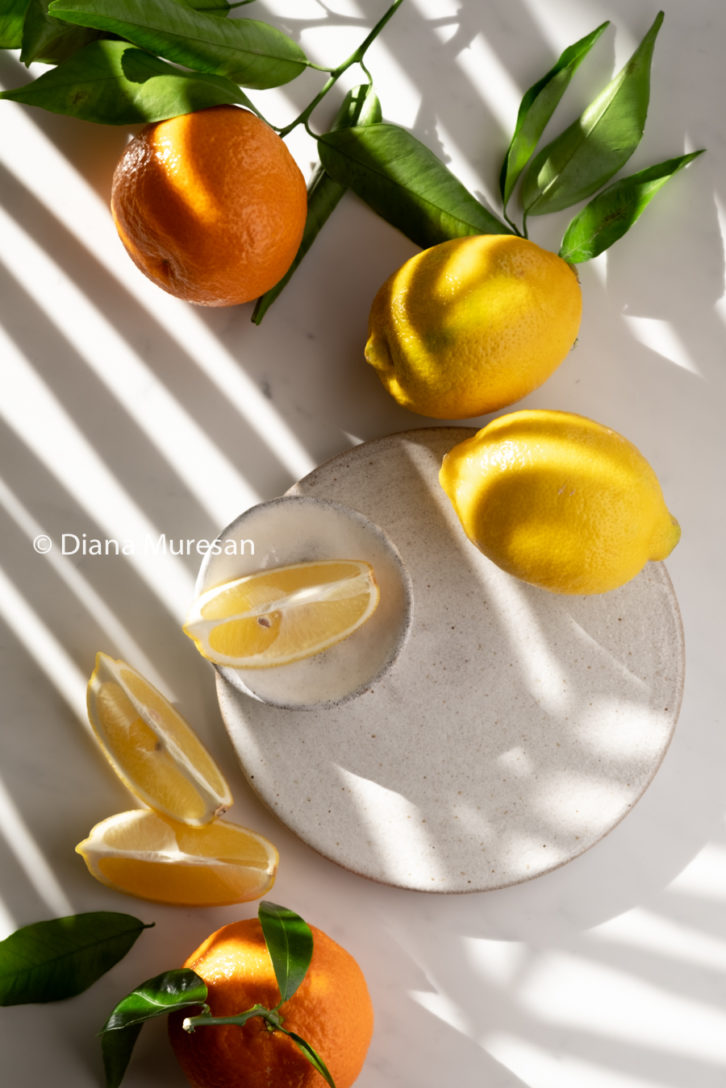
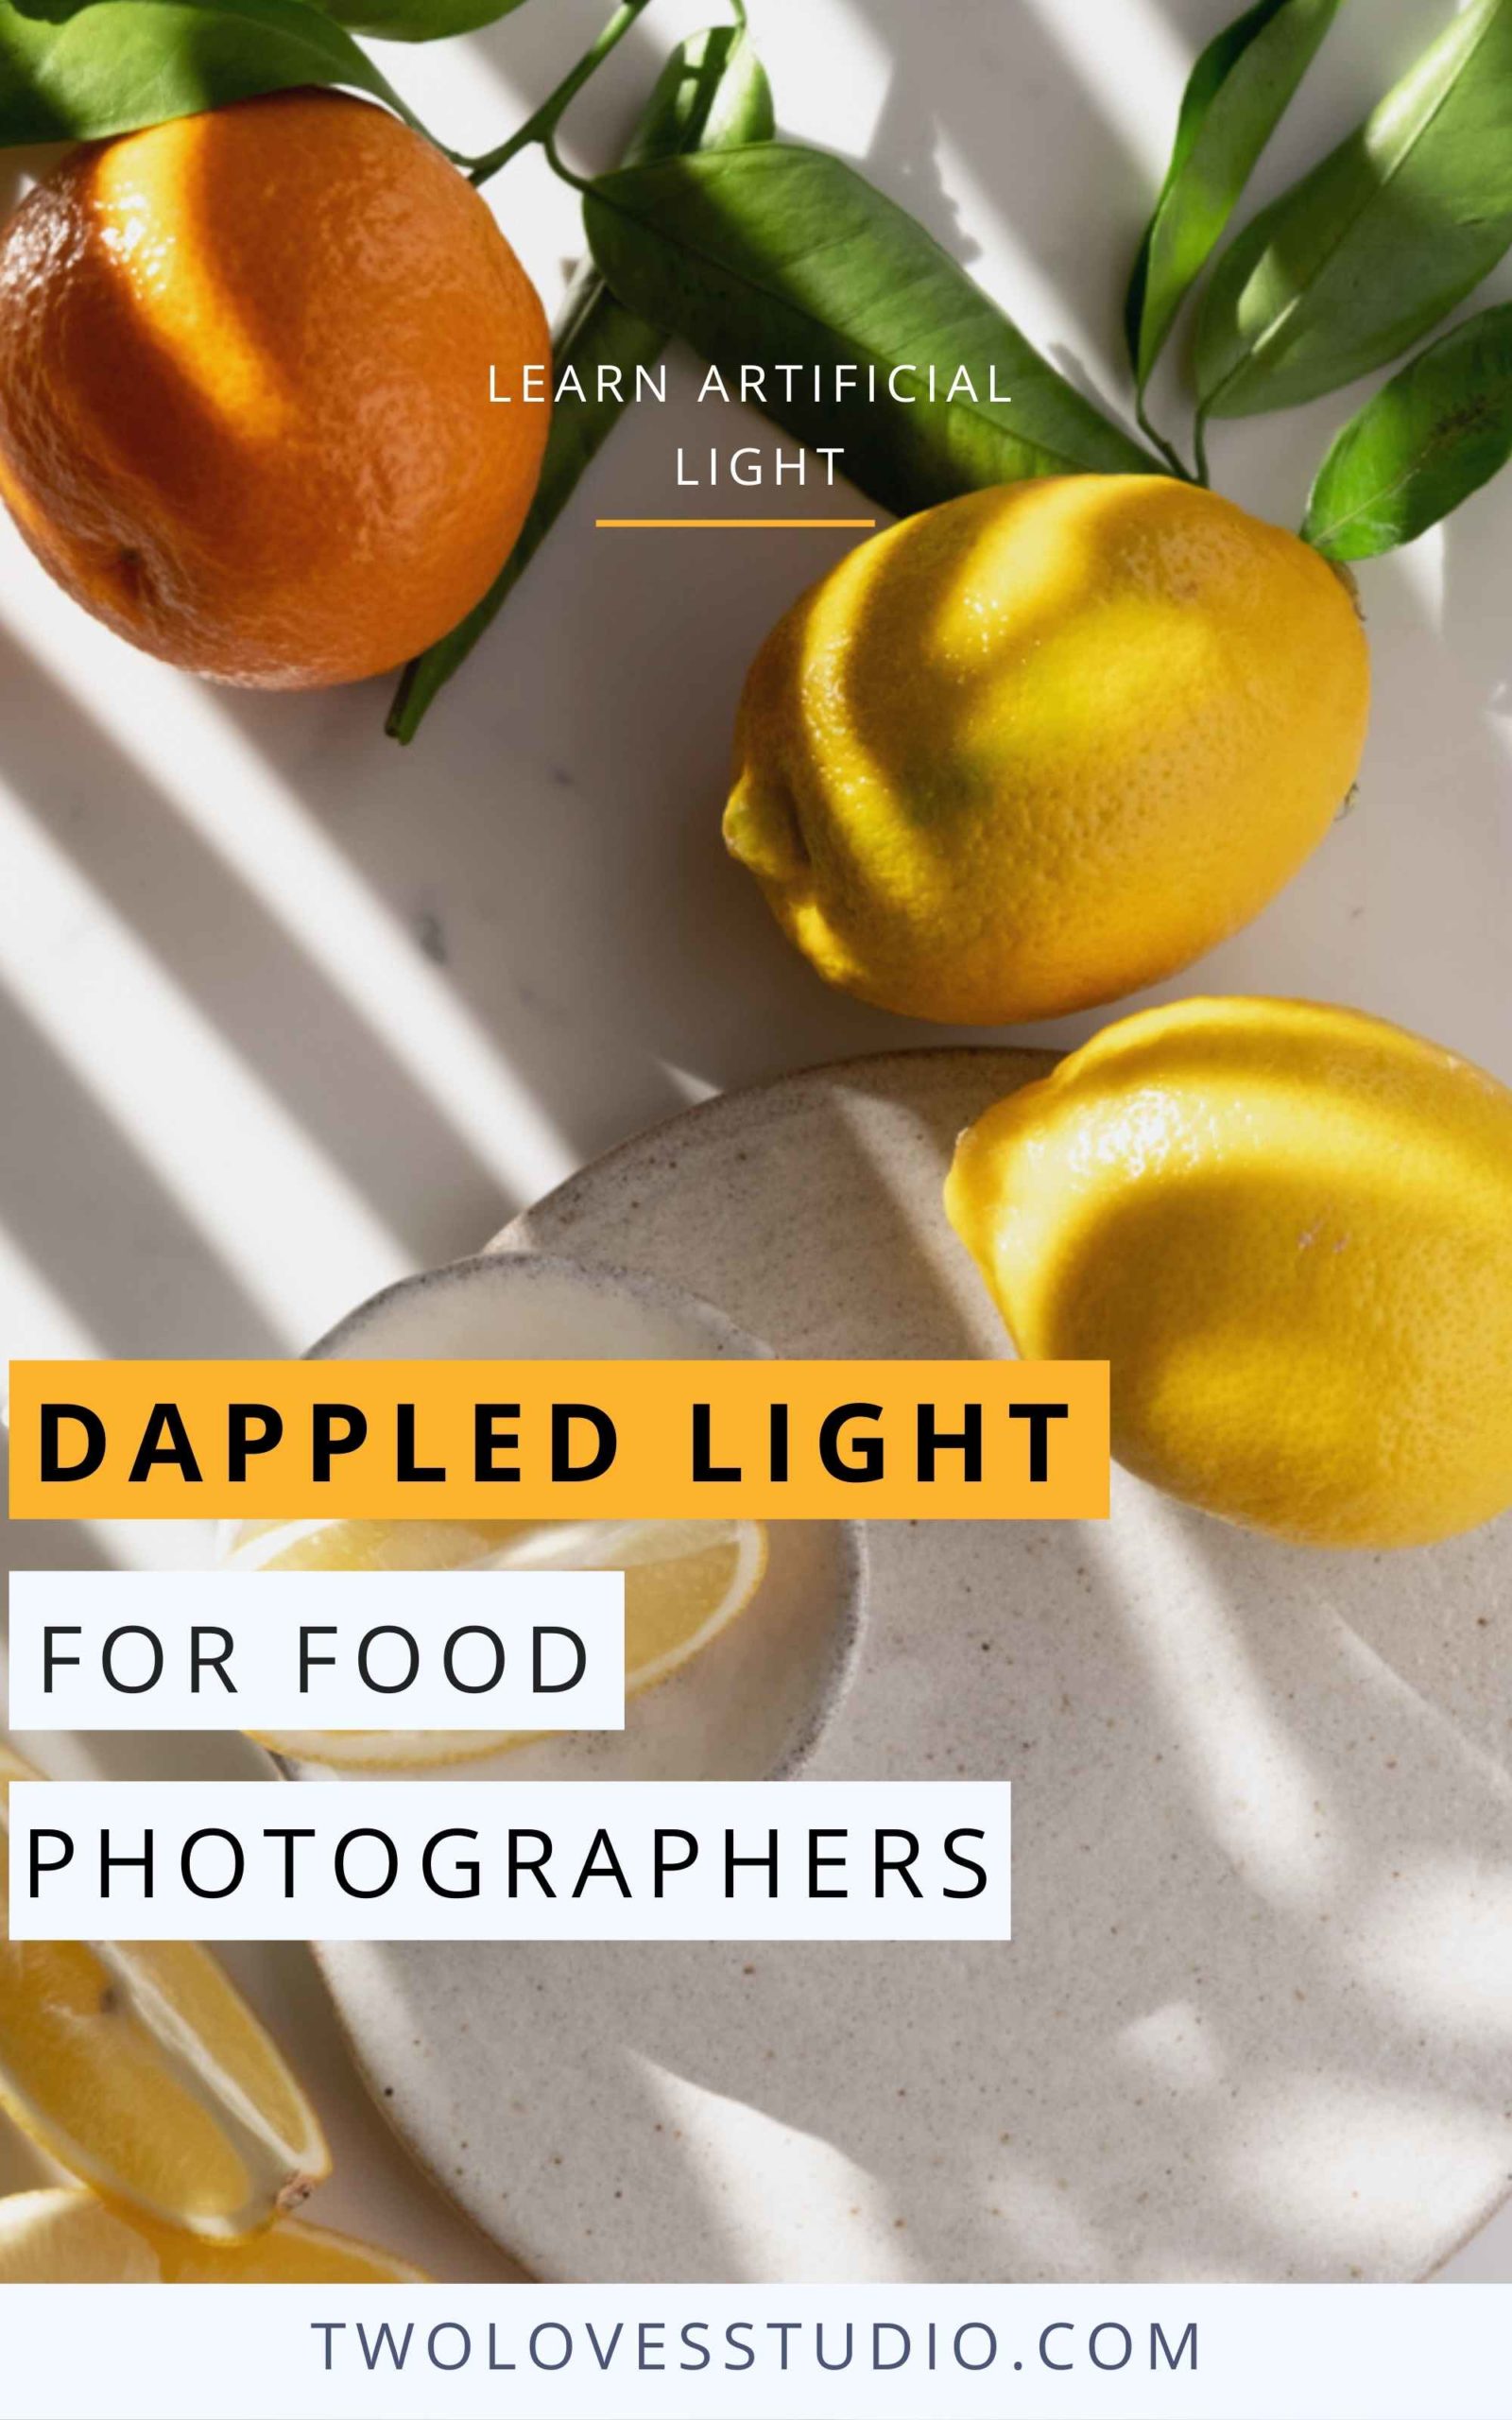
Dappled light is produced when sunlight passes through the leaf canopy of a plant. The effect created is that of patches of light interspersed with patches of shadow.
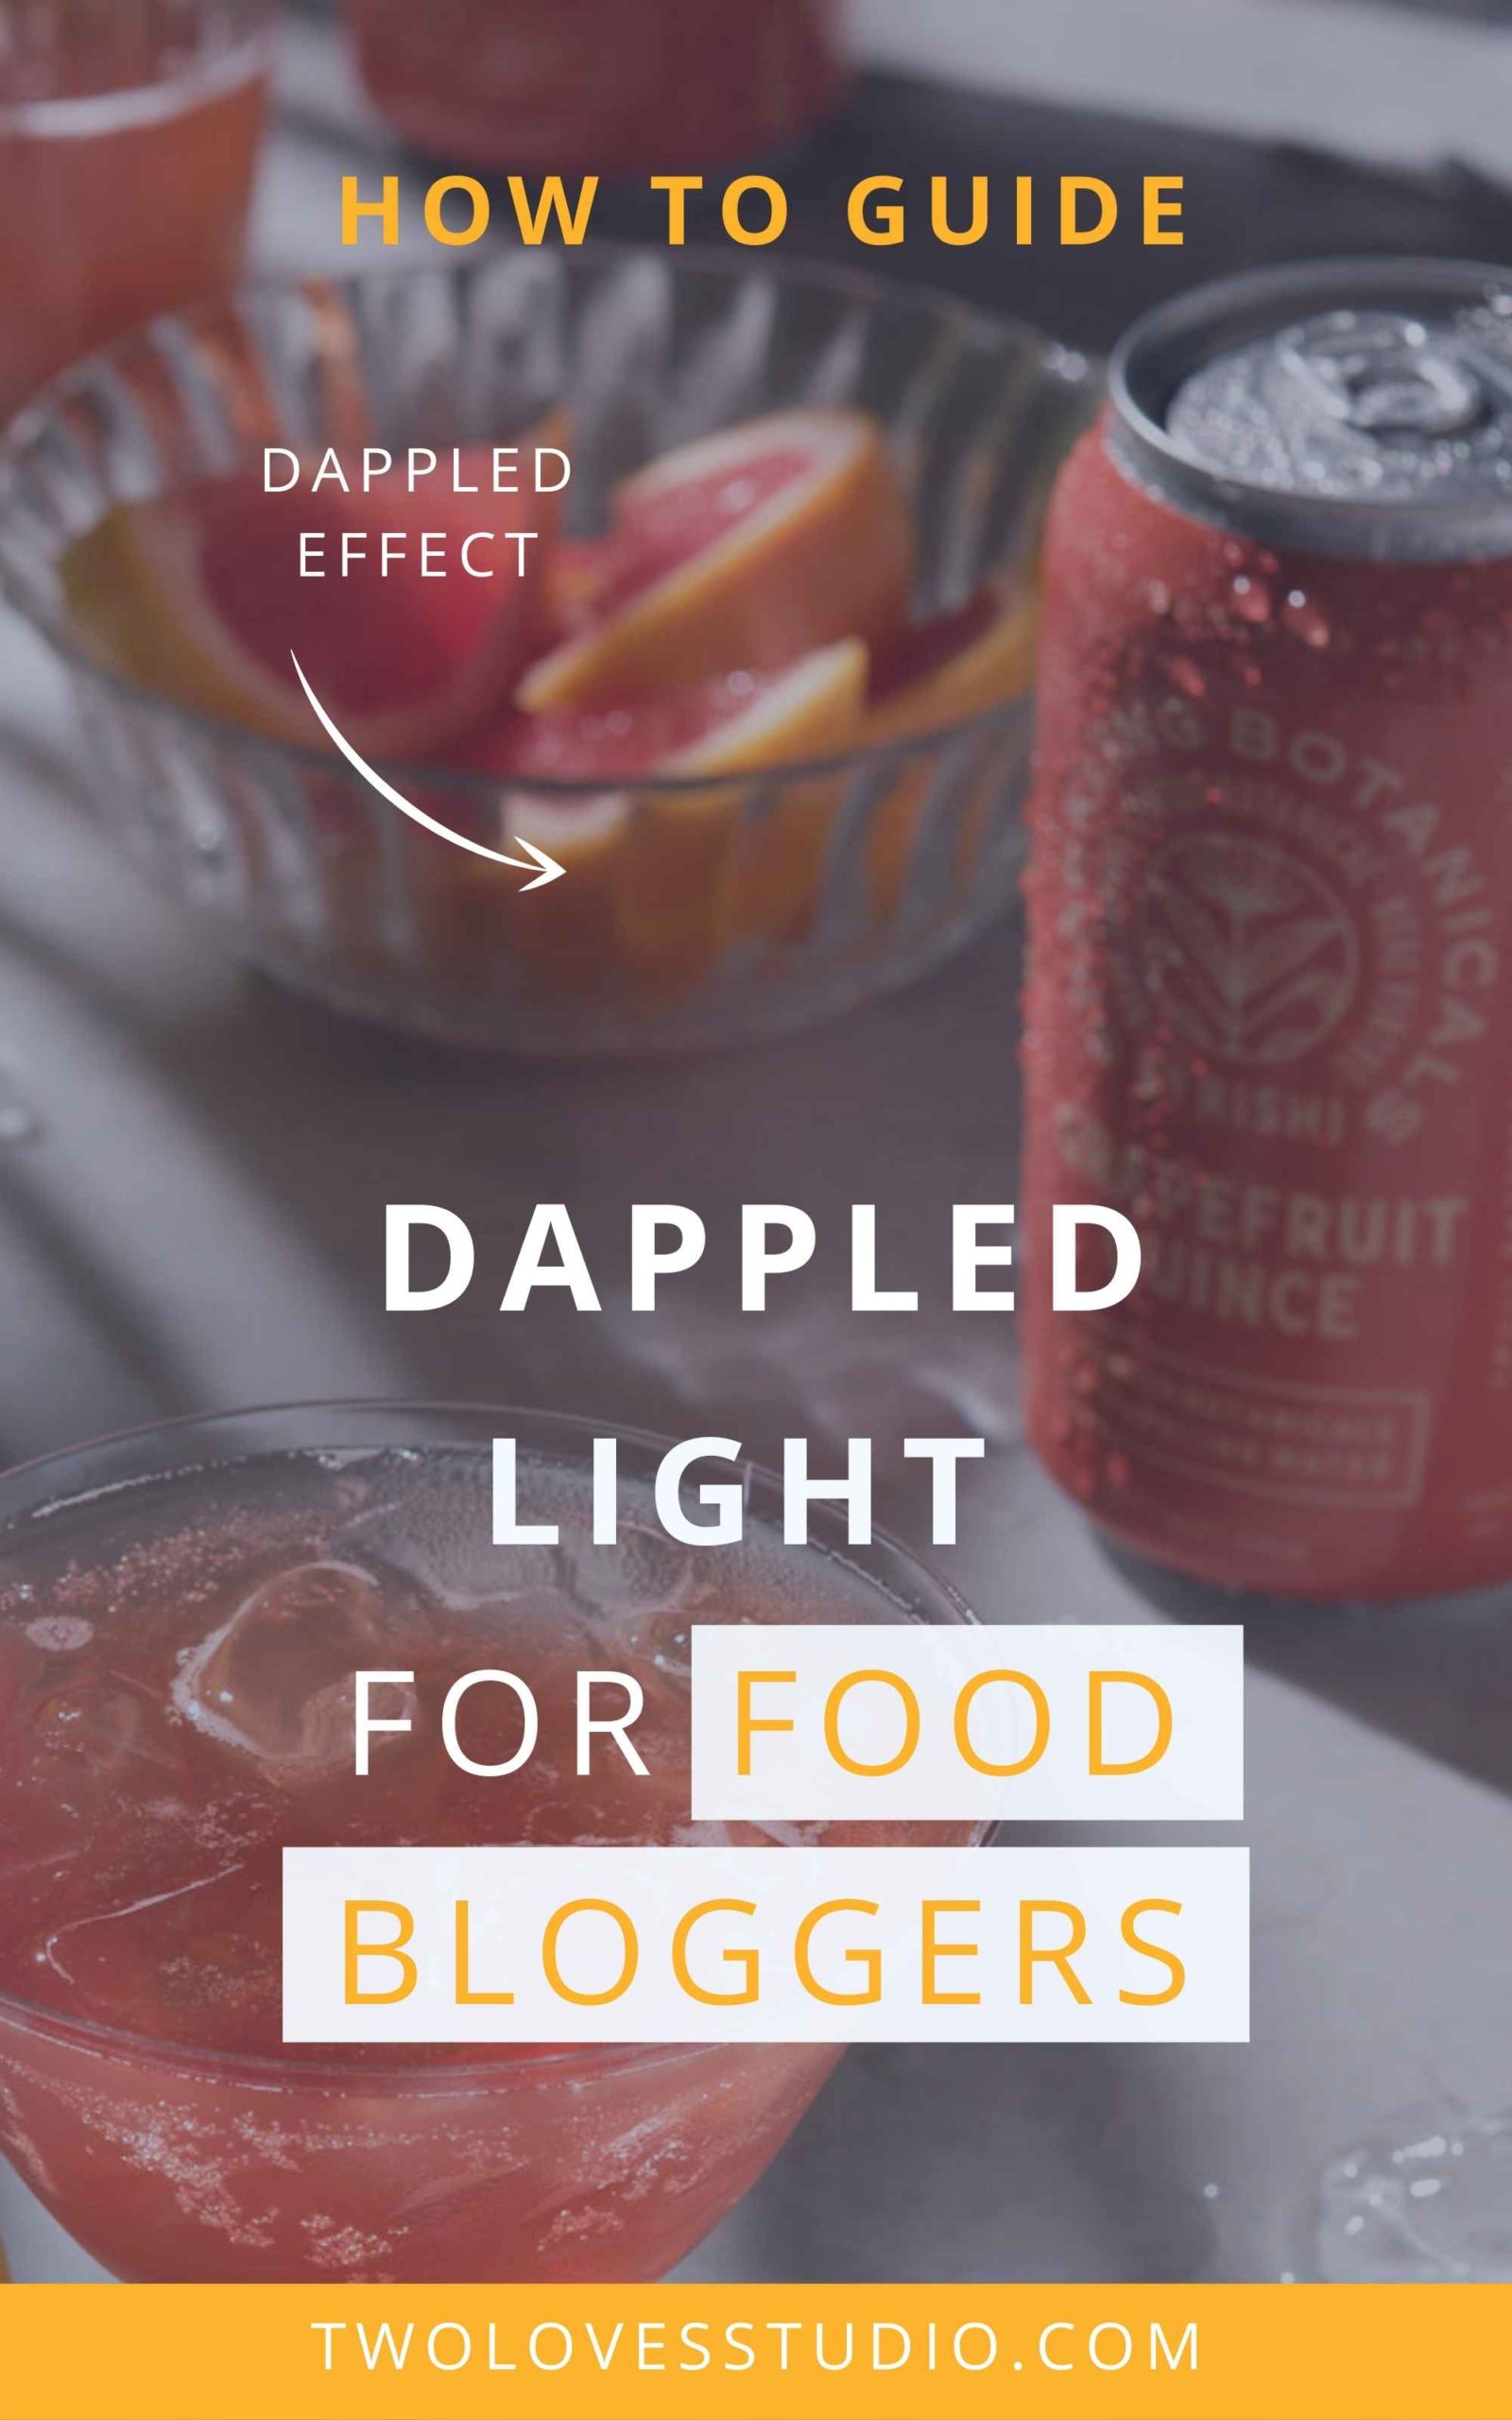
This image is an example of what dappled light can look like in your food photos.
Dappled Light is The Ultimate Mixed Lighting: Qualities of Light
When we observe it, we notice that it’s a combination of hard light (where there are gaps in the leaf canopy) and soft/diffused light (the light that passes through the leaves). The more leaves there are the more light that is diffused or even blocked.
There might be subtle differences in colour temperature between hard and soft light areas:
Light diffused by leaves will have a cool, blue-green cast. In the fall, when the leaf canopy changes to warm colours (yellow, orange, and red), dappled light can take on a soft golden glow. Direct, hard light has a warmer glow.
How to Create Dappled Light Using Artificial Lighting
Natural dappled light is created by Mother Nature, and if we are lucky enough to have access to it, all we have to do is frame the image, and click the shutter. All you need to do is take into account the different colour temperatures of lit and shaded areas, and how to expose optimally for both shadows and highlights.
You might be asking how can we create this type of lighting with artificial light?
I wanted to recreate this type of light in the studio, trying to find modifiers that simulate the appearance of dappled light. Below are two examples of modifiers.
Example 1 Dappled Light Modifier:
I’m always on the lookout for props! On one occasion when I visited Ikea, in the tableware section I noticed a cardboard box insert meant to hold glasses.
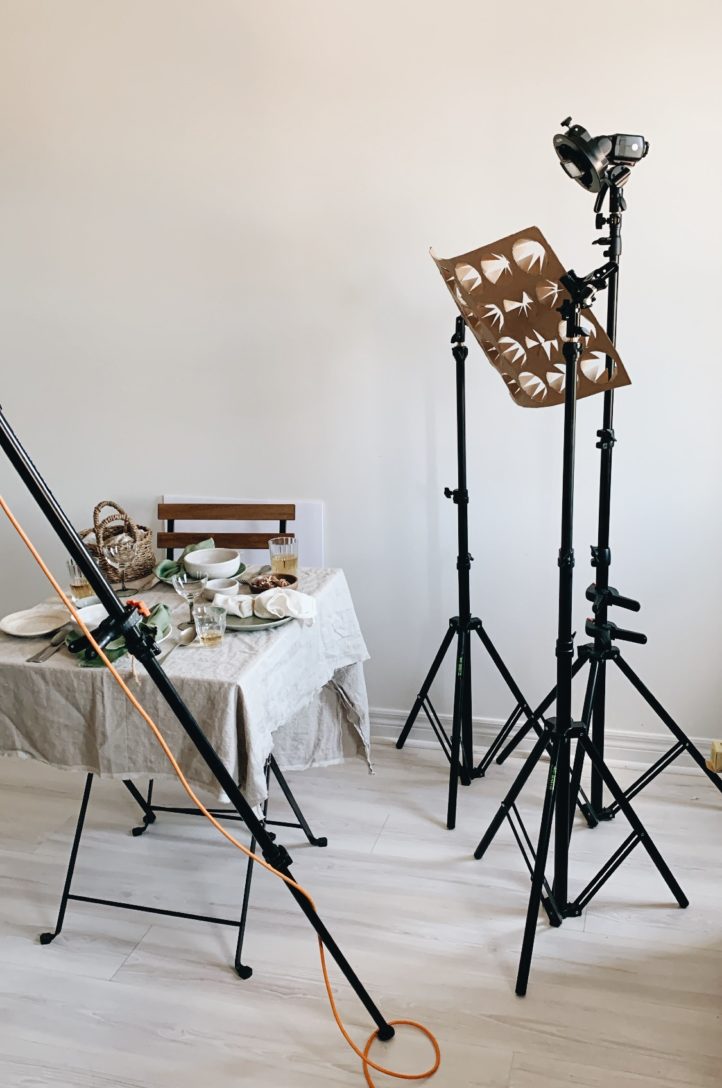
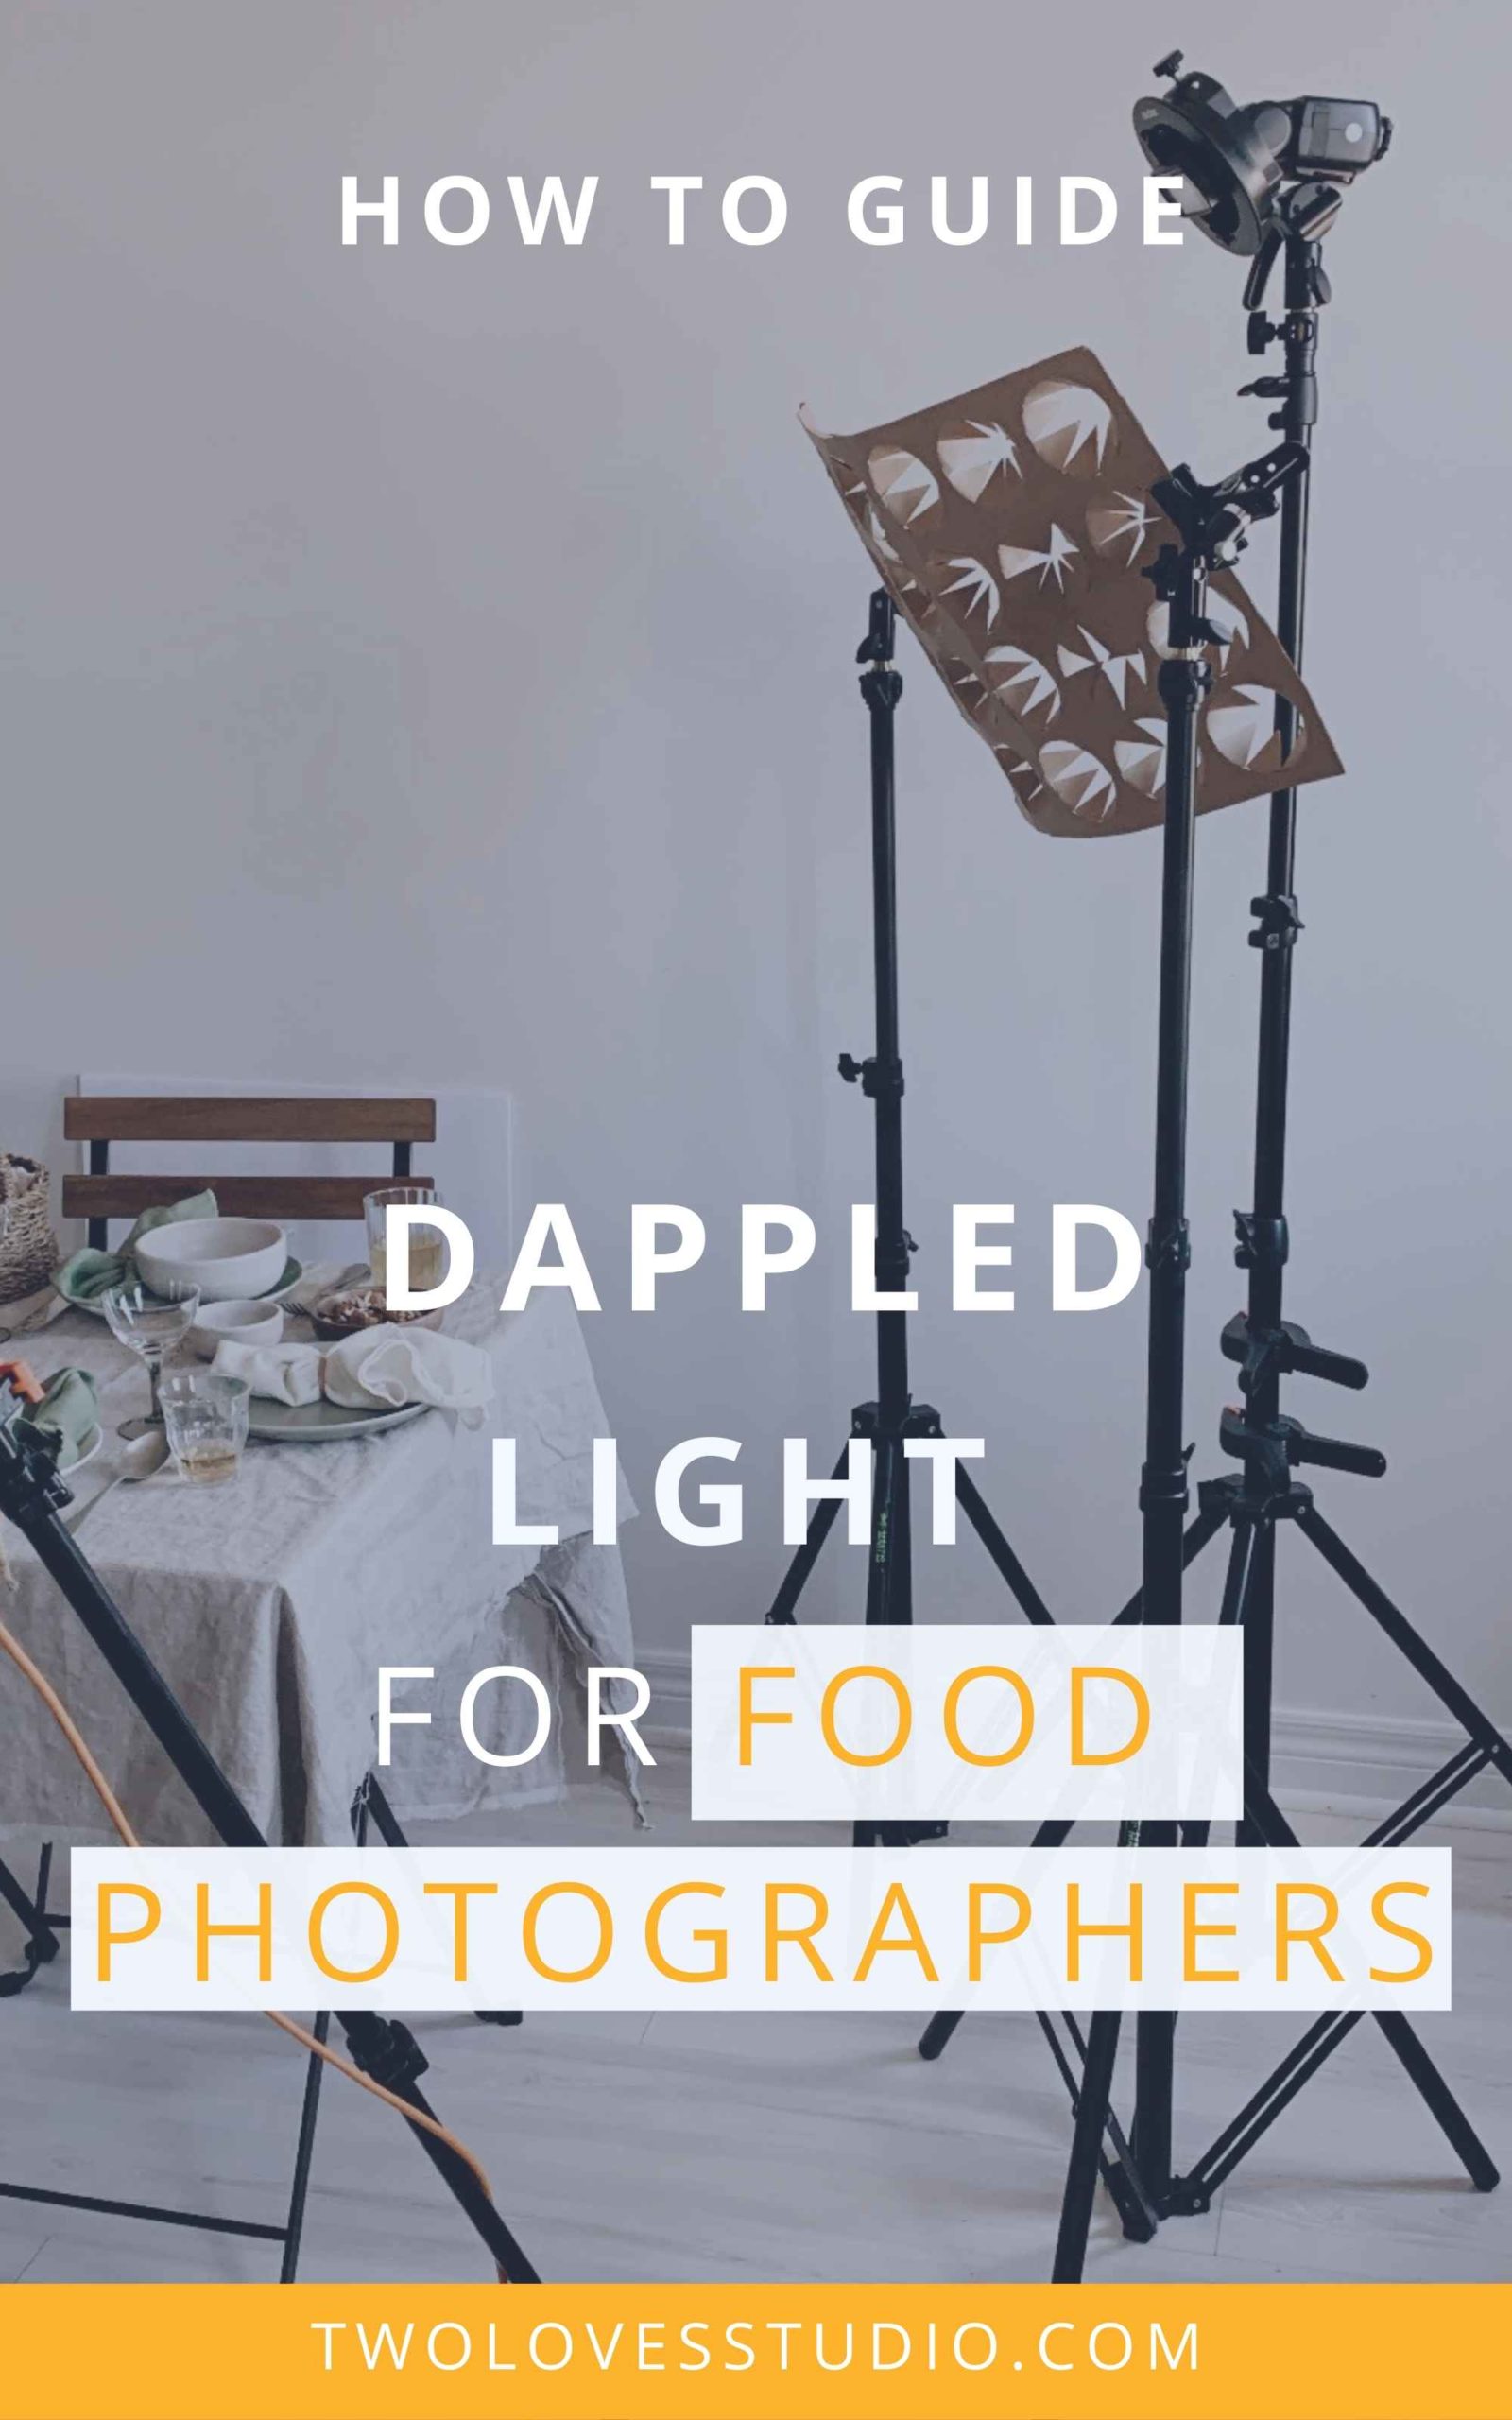
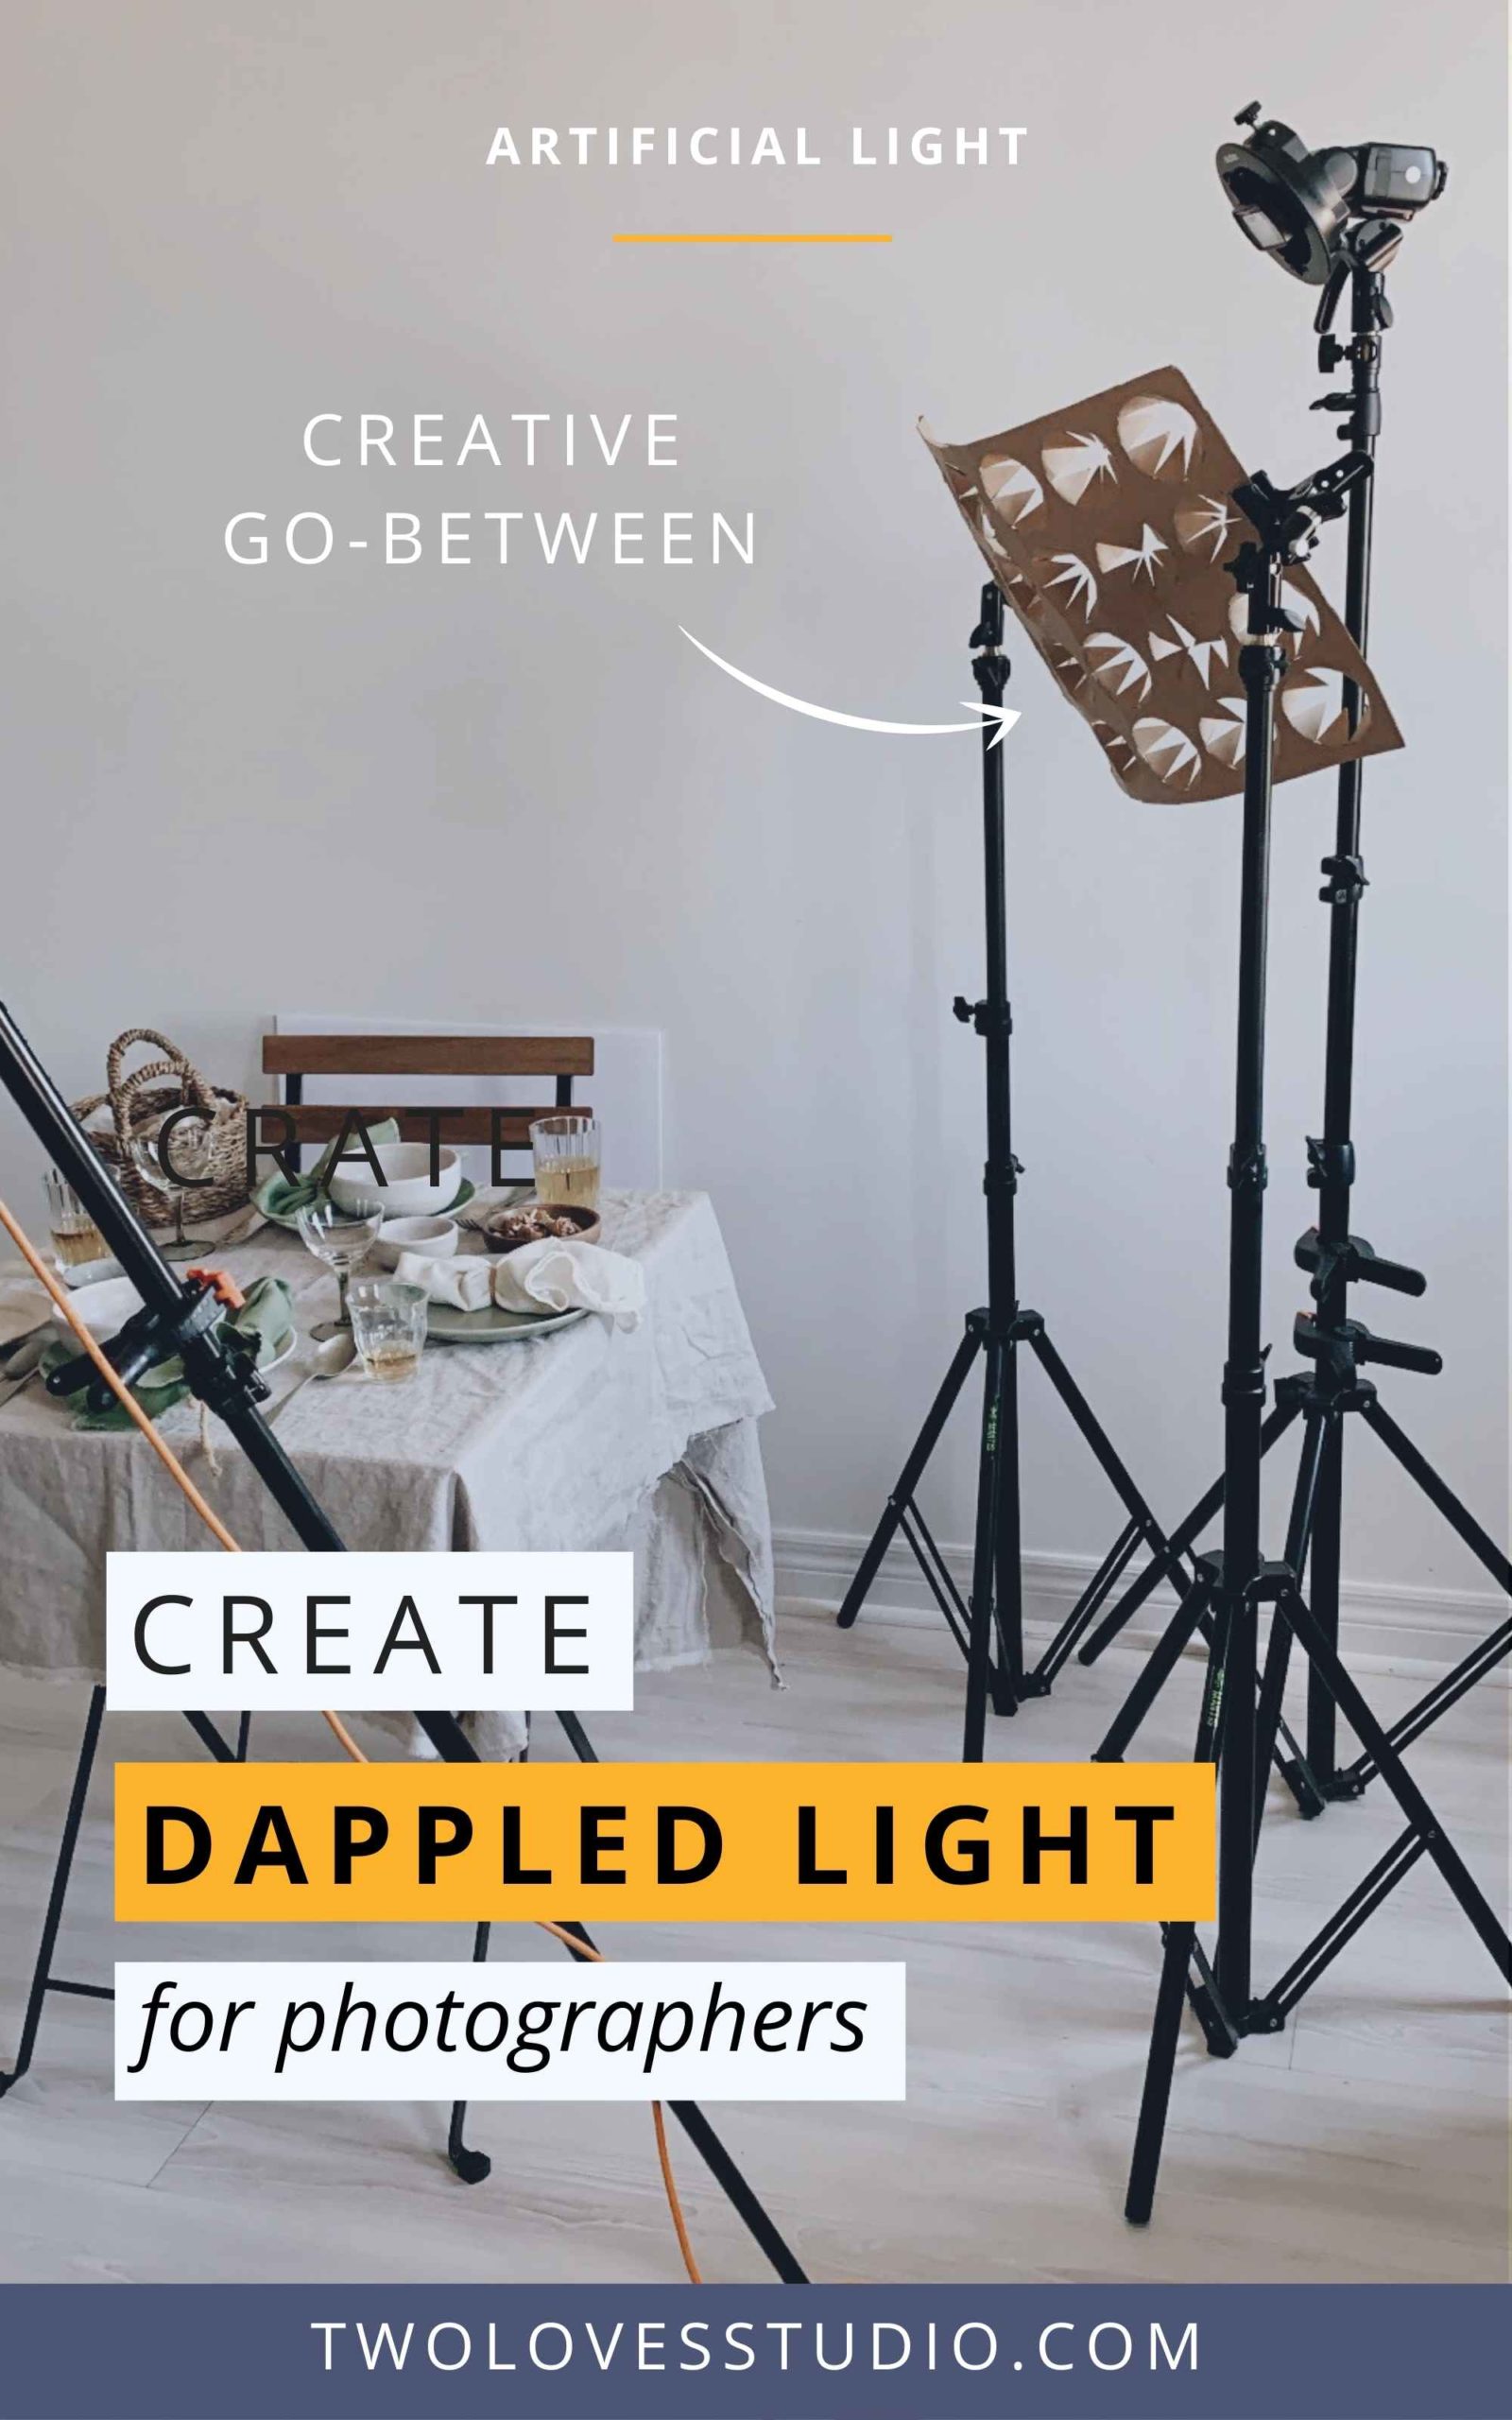
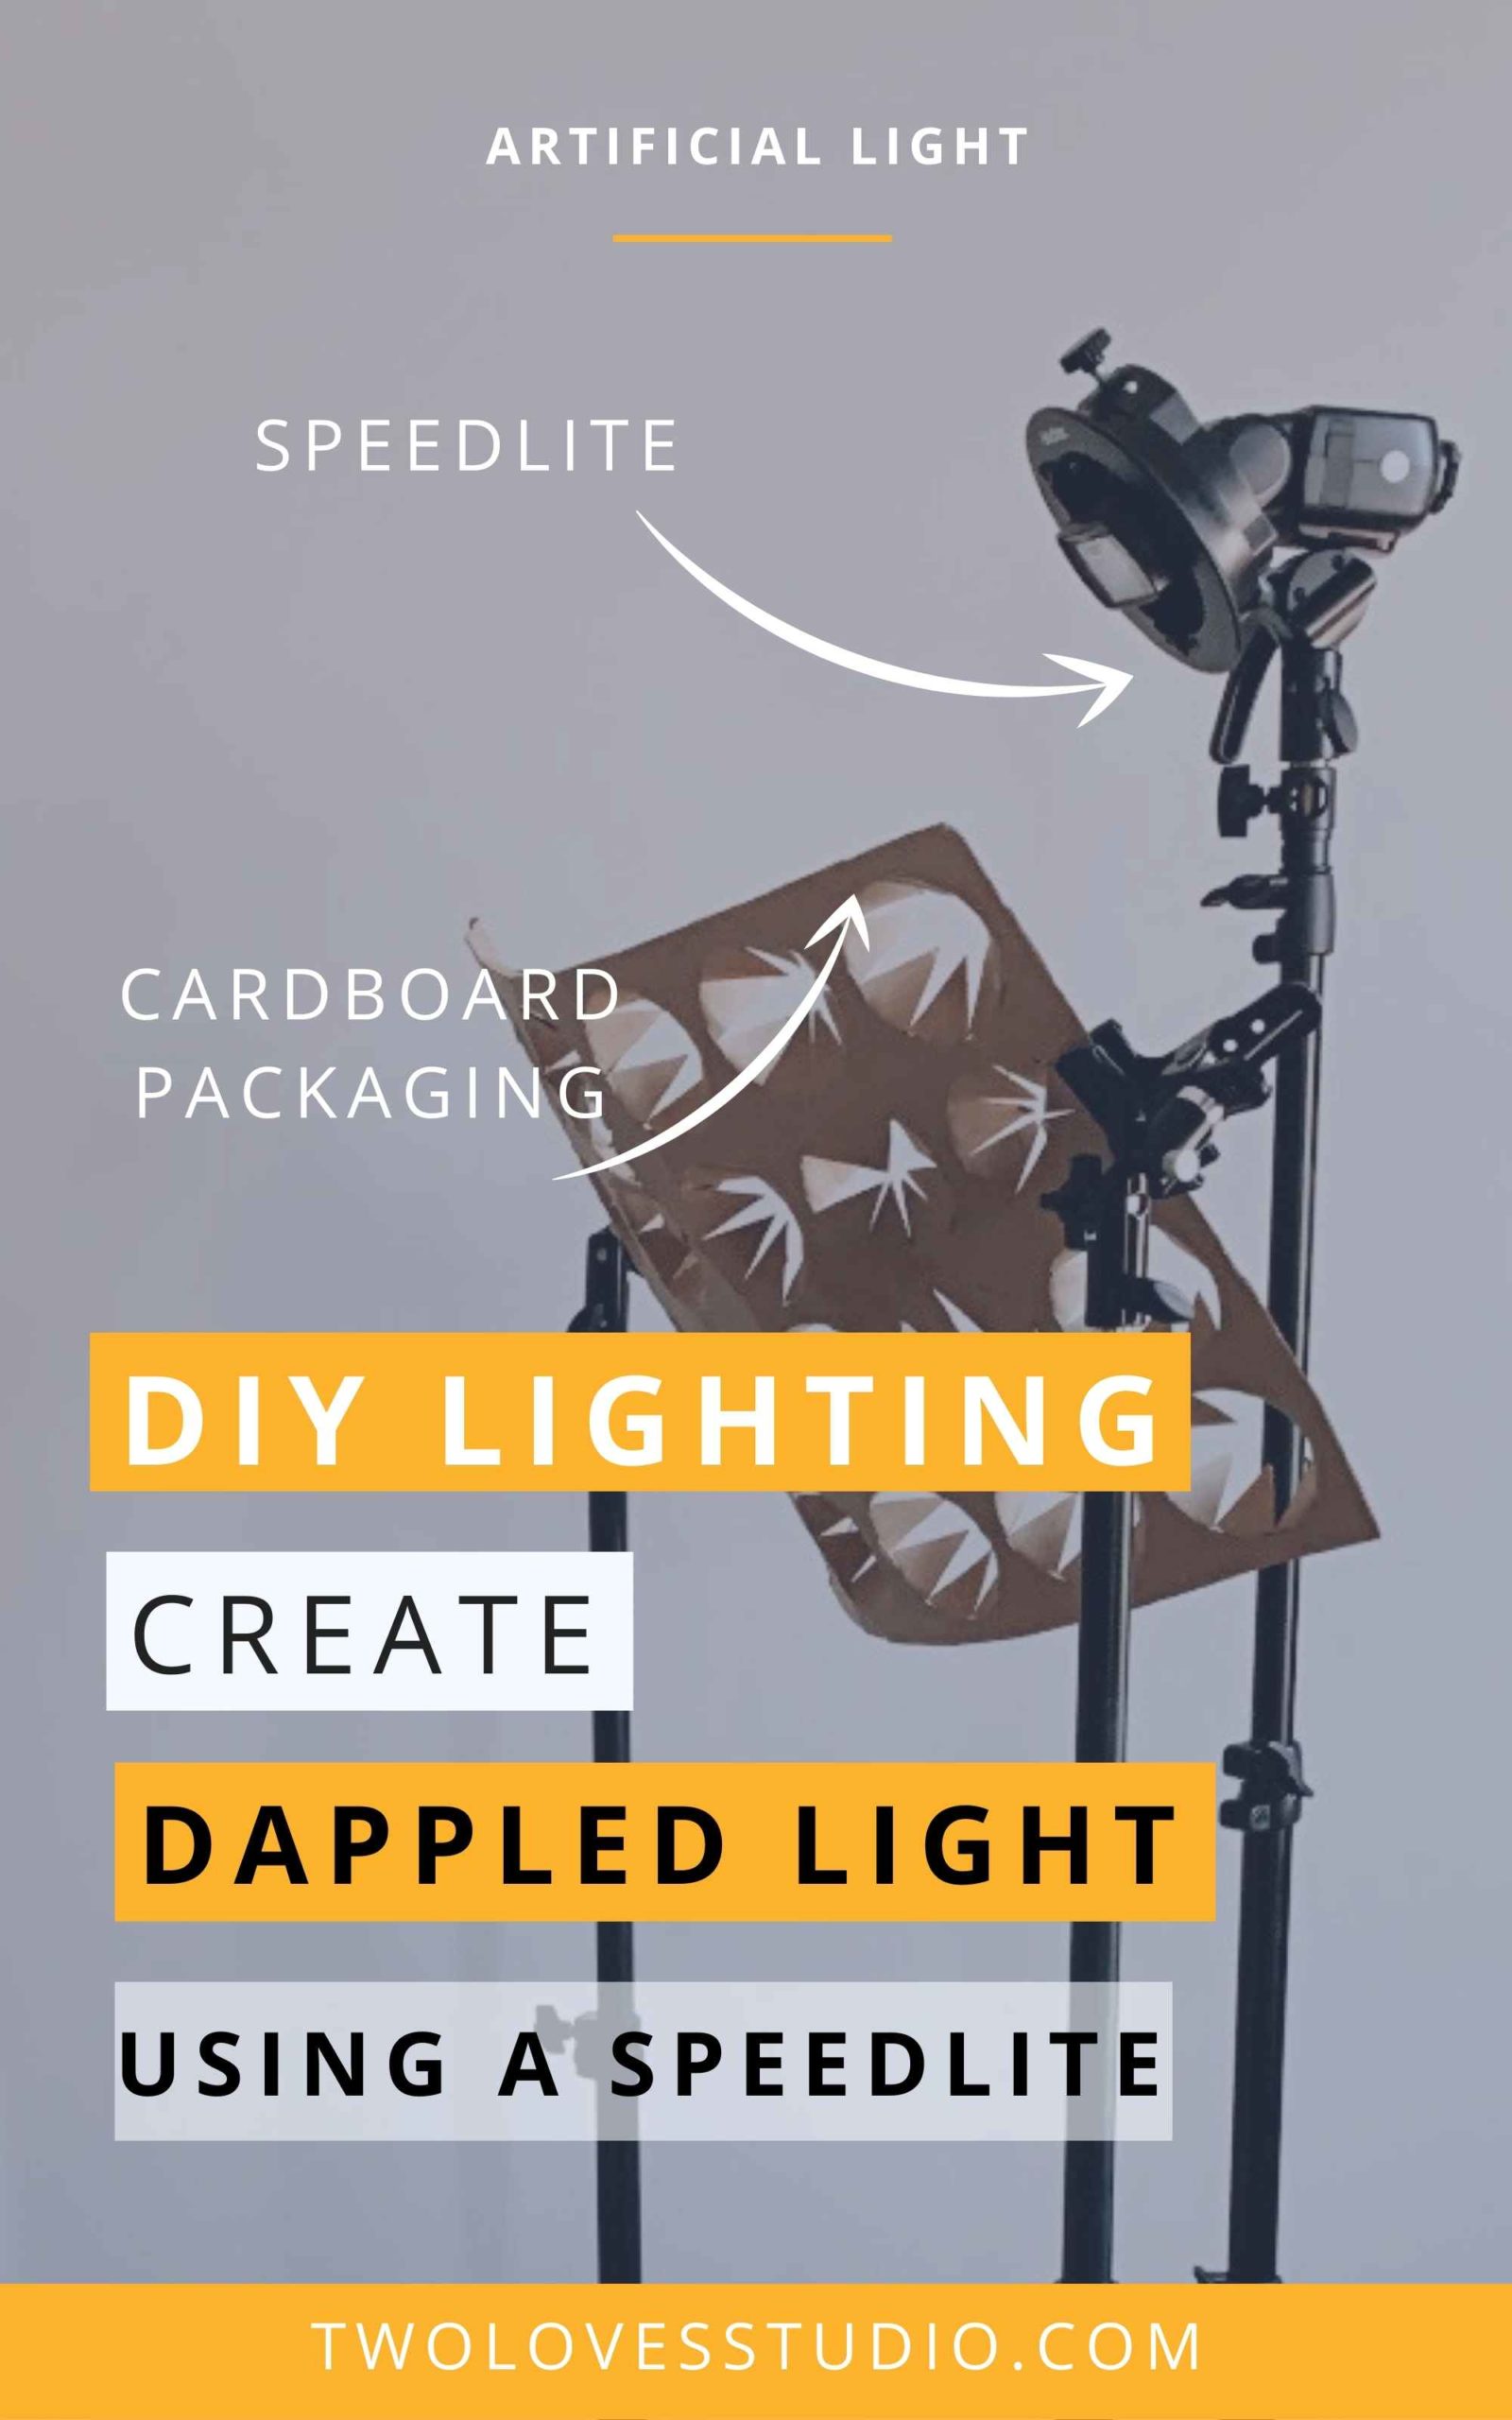
Immediately, I thought of using it as a lighting modifier, realizing that by opening or closing the small triangle flaps of the holes I could control how much light was directed onto my scene. This would work well for recreating dappled light.
It was easy to imagine a table set in a sunny spot, ready for people to sit down to eat.
List of Gear Used in Example 1 Dappled Light Modifier:
- Godox V860II Speedlite with a Bowens mount, on a light stand (estimated height of 1.7m (5 ft))
- X ProF Fujifilm trigger
- Modifier, secured by two clamps mounted onto light stands.
- Camera mounted on a tripod, tethered to an (out of frame) laptop.
Using this type of modifier with a Speedlite will require some experimentation. In the absence of a modelling light (which is a feature of more powerful studio strobes), the effect will not be obvious until you fire the flash.
If your strobe has a modelling light, you can use it to change the position, tilt angle or distance of the modifier, to see how the effect changes.

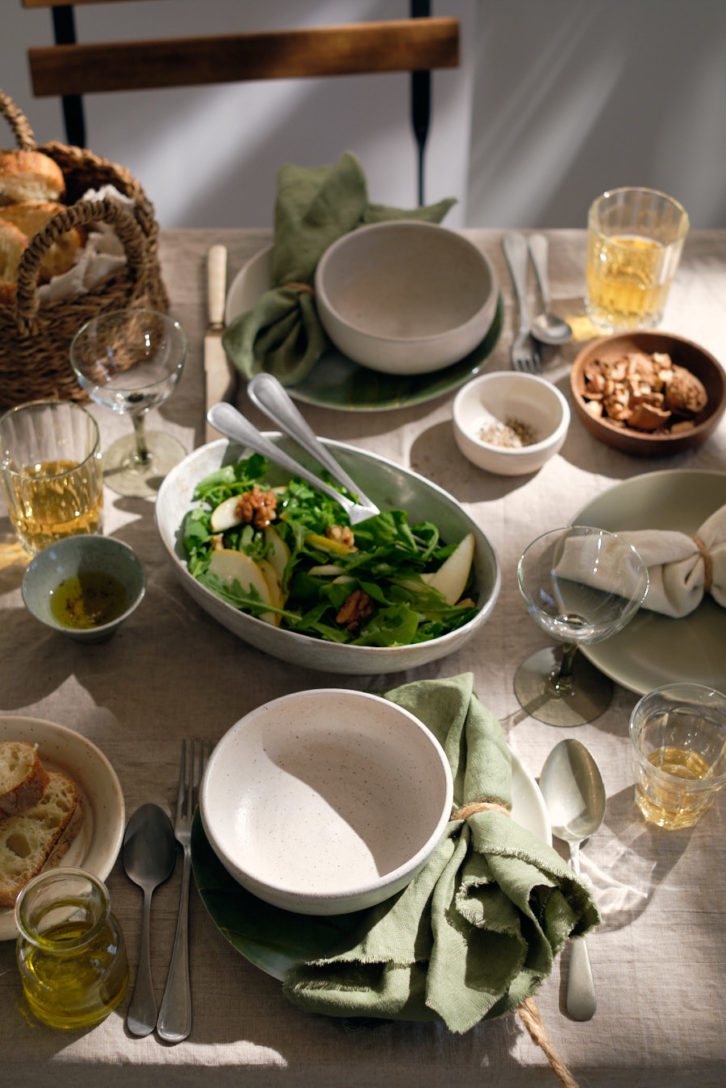
I styled the table having in mind the vision of a sunny lunch outside.
I love the look of the lighting in this frame, but I wonder if the lighting is sufficiently realistic? I’d love to hear what your thoughts are in the comments below!
Example 2 of Dappled Light:
On another shoot, I wanted to create dappled light, but with a tropical vibe.
Now since I live in a cold climate, I bought an artificial palm frond, I used a bare-bulb flash lifted to about 1.6m (5ft) and tilted downwards, at my shooting surface. Then I used a light stand with a clamp to secure the faux palm frond in between the light and my scene. The setup was similar to Example #1 for the sunny lunch outside.
You can pick up a palm frond from most craft supply stores, typically found in the faux florals area.
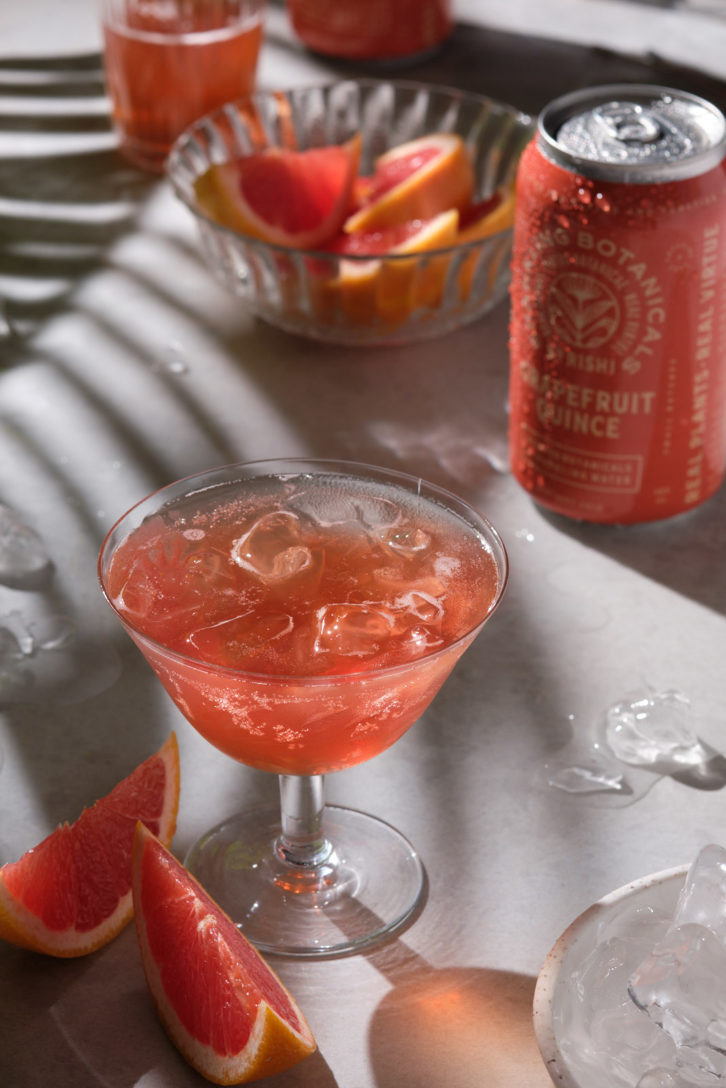
Related: Check out this easy 2-minute behind-the-scenes IGTV video of an identical setup.
My Main Take-Aways on Light Modifiers:
Whether for personal or client work, the ability to create exactly the kind of light you want is priceless.
- You can always get creative with modifiers for your light.
- Check out professional photography equipment stores for dappled light gobos within your budget.
- Get thrifty by creating your own dappled light out of everyday material such as cardboard or foam core.
- Use natural or artificial foliage in studio to help shape your light. Keep in mind, that artificial foliage doesn’t usually have the same translucence as real leaves.
The great advantage of creating this effect with artificial light and modifiers, such as the ones above, is that we have total control over the appearance of the light. By learning this technique, next time you are in nature, you might decide you don’t want to cut off the branch shading your scene. You certainly can’t control if there will be a sunny or overcast shoot day.
With artificial light and a modifier, both of these problems can be addressed!
I hope you take this invitation to play with light and explore the possibilities of creating the lighting effects you want in your images.
Further reading: If you’re interested in reading more about Lighting tips, check out the below:
Simple One Light Photography Setup: Moody Black Forest Cupcake
How Learning Low Key Product Photography Improved My Creativity
Photography Flags: Add Stunning Dimension & Contrast to Your Food Photos.
Softboxes For Product Photography: What You Need to Know.
Natural Lighting Food Photo Tips You Need To Know For Chiaroscuro Effect.
Diana Muresan wrote this post. Thank you Diana for sharing your tips on dappled light.
Diana Muresan
Photographer & food stylist living in Greater Toronto – Craft and Muse
Diana brings her love of texture, shadows, and detail to her images, always chasing a juicy specular highlight and the magic of interesting light. When not holding a camera she is negotiating snack options and bedtime with her son or baking something to satisfy her sweet tooth.
Come check me out on Instagram or sign up for my newsletter on all things food photography here!
Two Loves Studio was not paid to write this post, however, it may contain affiliate links. If you purchase an item from an affiliate link, we do get a commission on the sale which helps us run this site. Only affiliates for products/services we believe in appear on this site.


Supriya Gupta
Hi
Thankyou for the valuable tips on dappled light. My question is do we need any fill light along with the hard light?.Where should thatbeplaced and what should be it’s power relative to the bare flash.
Rachel Korinek
Hey Supriya! I am glad you enjoyed Diana’s guest post! I know I did. You can definitely fill hard light if you want defined but less deep shadows. You can do this simply with bounce cards or white boards. You don’t need to have another light always. What you want to avoid is having light coming in different directions. So I would start by using fill modifiers.
Diana
Hi Supriya! Yes, I tend to use a fill with hard light, this is usually a white foam core board placed opposite the light. However, I prefer to place it farther from the scene, maybe 2-3 ft away so the effect is subtle. My intention was to create the simplest light setup possible, and this is why I opted for one speedlite only, and the white flag for fill.
That said, I don’t always use a fill light. We always have the opportunity to shape the light in post processing as well, and if I find that the shadows are too dark, I just bring them up a bit in post.
Rachel Korinek
Thanks Diana for sharing some insight into your process here! x
five nights at freddy's
I’d like to get a strobe for outdoor porttails and have three three in the lineup. The Profit B1 500, the Broncolor Siros L800 and the least expensive the Internet S1-500ws unit which has been compared to the Profit unit. What’s your Two Cents Daniels?