Want to know how you can create blurry backgrounds in food photography? You’re in the right place.
Background blur is a common technique in portrait photography, but it can work magic on food photos as well. This is because blurring the background removes any distracting elements, allowing the eye to focus solely on the clean, crisp in-focus subject.

But, exactly, how can you create a blurry background? It’s done using a combination of equipment, settings, and subject distance relative to the background.
What You’ll Need to Create a Blurred Background in Food Photography
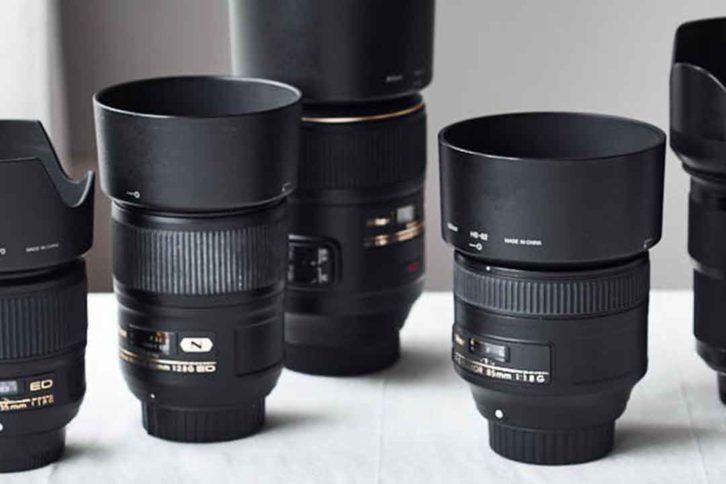
- Wide Aperture Lens: The lens’ aperture is one factor that contributes to the background blur. Various lenses, however, have different aperture settings. If you want to blur a background, choose a lens with an aperture of at least f/2.8. If you want to get an even blurrier background, then a prime lens with a wide aperture will create a shallower depth of field. Pick one that opens up to f/2, f/1.8, f/1.4 or (if you want to go super shallow) f/1.2.

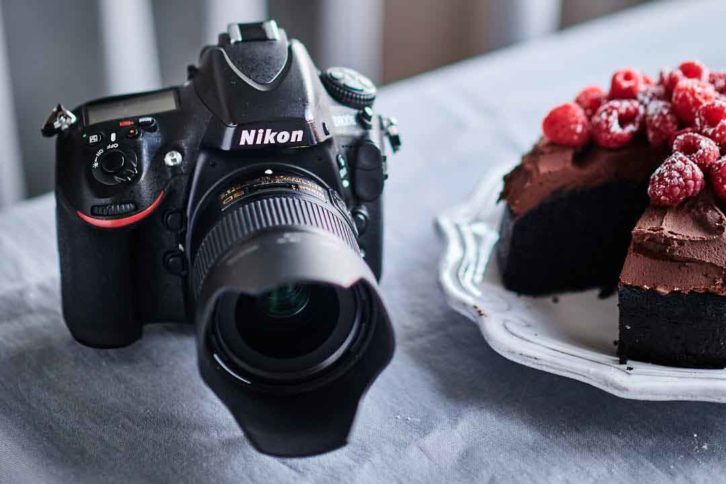
- Camera With a Larger Sensor: The larger the camera sensor, the more easily the background blur can be achieved. That’s why, in portrait modes, smartphone manufacturers use software to create a faux backdrop blur. Because the sensors are so small, creating such background blur in-camera is tough. Rachel uses a full frame sensor.

- Telephoto Lens (Optional): A greater focal length lens does not produce more blur, but it does magnify any blur that is occurring, making the background appear blurrier than one shot with a wider lens.
How To Take A Picture With A Blurred Background
When you blur your backgrounds, the focus is drawn to the vital elements – the hero of your food photo! Here are some steps to get started:
- Choose whether you’ll use your camera’s Aperture Priority (A or AV) or manual (M) mode. While manual mode gives you complete control, aperture priority mode is an automatic mode where you tell the camera what aperture you want, and the camera chooses the shutter speed.
- Pick a lens that will give you’re the perspective you’re looking for. Longer telephoto lenses will magnify any blur that’s being created. That’s because you’ll only capture a smaller region of the backdrop, making the blur seem larger and less focused.
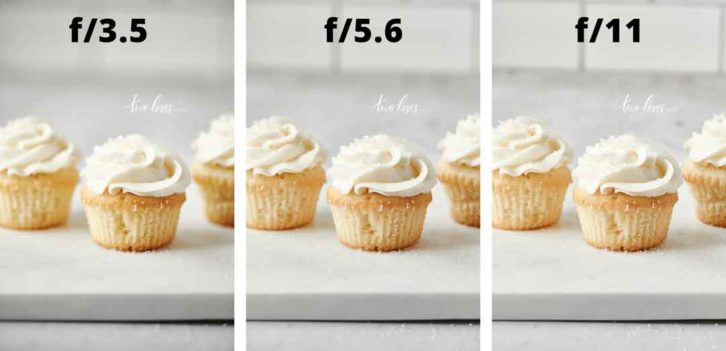
- Make the aperture as large as possible by choosing a low f-stop number. Remember, the lower the f-stop number, the larger the aperture.
Your lens’ aperture will be wide open at the lowest attainable f-stop number, such as f/2.8, giving you the shallowest depth of field. If that’s too much blur, then close your aperture down by increasing your f-stop to a larger number like f/4.0 or f/5.6. The aperture shrinks as the f-number rises, increasing the depth of field (that means more is in focus).

- For a stronger blur, get closer to the subject than the subject is to the background. This can be done by moving closer to your subject, moving your background further away or both.
- Depth of field decreases with a short focus distance and increases when the thing you are focusing on is far away. If your subject is close to your background, then there won’t be enough difference in distance to create that look of separation.
- Take the picture!
Upgrade to tethering
If you find it hard to see the full effect of the blur using the small screen on the back of your camera, you might just be ready to upgrade to tethering during your photoshoot. Tethering allows you to more easily review the settings and make any required changes.
Want to know more? Learn more about depth of field and the plane of focus here.
Try to get Blurry Backgrounds yourself
Gear, aperture, and subject placement are all used to create a blurry background. To get the most backdrop blur, photographers might combine all three. Remember, its not just about getting the most blur, its actually about getting the right amount of blur to fulfil your vision.
That means your job is to mix and combine what you’ve learned from this post to get the shot you want. Once you have the shot, then it’s time to edit your images using Lightroom or Capture One.
To learn more about food photography, visit twolovesstudio.com


