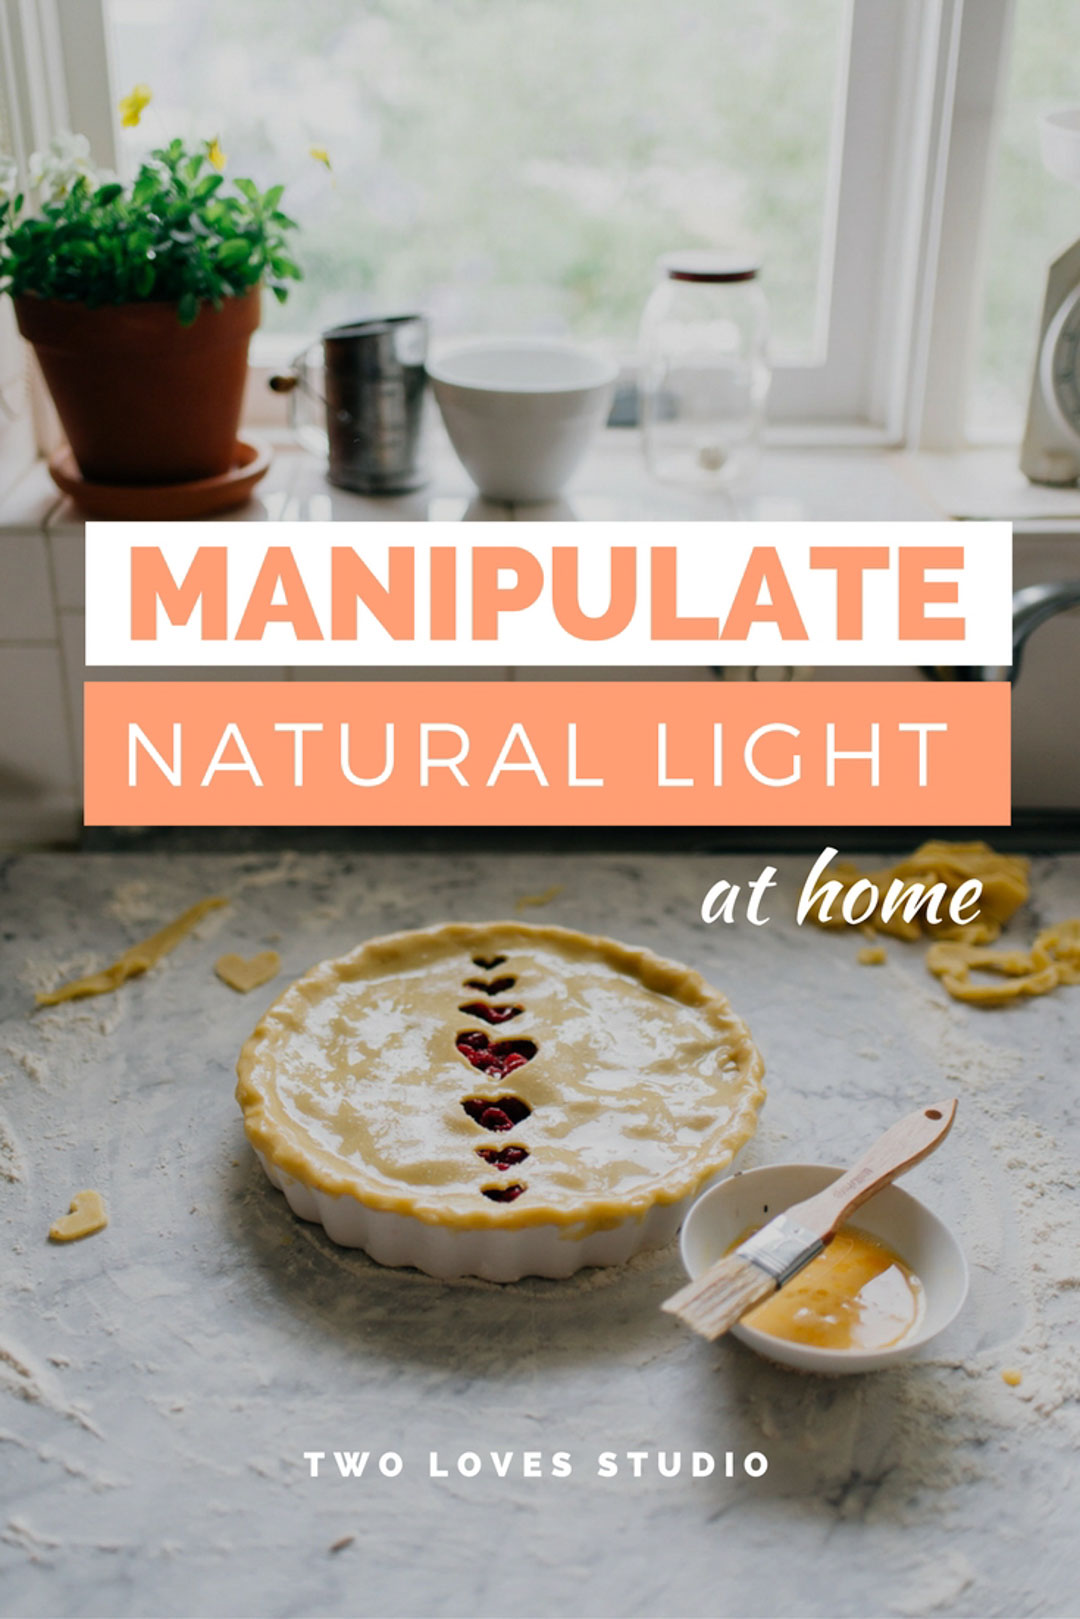
Nearly every single one of us will start our food photography journey at home and we’ll be faced with finding and manipulating light at home.
In my experience from talking to creatives and photographers, this either goes one of two ways. We either love or hate the light that we have at home to shoot with.
Light for photography requires something different to how we would utilise it for other purposes, like dining, read and lying in the sun (my personal favourite thing to do btw). So when we start to manipulate light at home, we need to shift our thinking from how we would normally see it from a homemaker’s perspective.
There is so much potential in all types of light for natural light photography and it’s waiting for you to discover it for yourself.
Natural Light Photography: Uncovering Your Light
The most powerful way to uncover the type of natural light that you have at home is to watch it throughout the day and throughout the seasons. I’m sure you’ve heard this before, but I ask you, have you actively done this? I wouldn’t be surprised if many of us said no because often we’re looking for a quick fix.
You’d be surprised at how natural light can look and feel different when you observe it from a photography perspective. A lot of the time we just need to be mindful in order to see the potential in natural light.
Take Time To Notice The Natural Light Around You
I take a few moments every day to notice the light around me. How the shadows are dancing, how defined they are, how long they are. Even to notice the temperature of how the light feels. Is there any reflections, or highlights. How does the light make things shine when it falls onto them.
Natural light will also change depending on the time of day and even the time of year. Do you know how this changes your light at home? Have you ever noticed?
I love how the winter light comes streaming directly through North-facing windows here in the Southern Hemisphere, (this is actually opposite for those in the Northern Hemisphere).
NATURAL LIGHT TRAINING
Behind The Scenes on how I use natural light with simple setups to create beautiful images every time.(psst… with equipment you already have!)
Natural Light Photography Modifiers + Aids
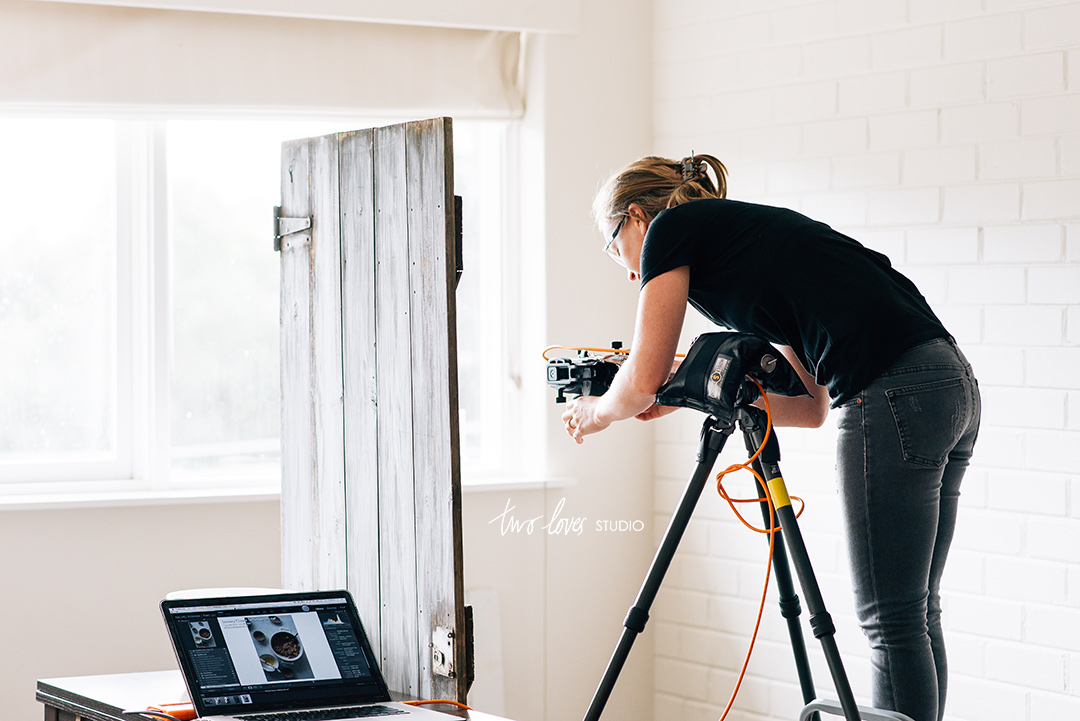
You don’t need a whole lot of fancy equipment to effectively modify natural light photography at home. In fact, sometimes we can overcomplicate our setups. There are so many inexpensive and reusable natural light modifiers at home that are lying around just waiting to be used!
Manipulating aids for shaping your light at home is not that different to shaping it in a studio or on set. The concepts are the same, and you’ll actually have more manipulating aids around the house than you think.
There are a few ‘must have’ manipulation aids when it comes to manipulating light.
RELATED: 5 Lighting Myths That Are Holding You Back
Diffusers
The purpose of a diffuser is to disperse light so that the light is now coming from multiple directions, creating a larger surface area of light.
A diffuser is often used to create softer light, can be anything that is going to be placed in-between the subject and the light source that will disburse light.
The most common being white fabrics or plastic, but it can also be netting and any shades of grey.
For natural light photography, diffusers will assist in turning hard and undesirable light into soft and airy light.
Reflectors
Can be any shiny or reflective surface that is intended to reflect light back onto your subject or scene.
It’s used to open up shadows and create more even light. Light isn’t the only thing that will be reflected, colour can also be reflected onto your subject, (depending on the colour of the reflector). Unwanted colour casts should not be used, so the most common reflectors are silver or gold to reflect cool or warm light, respectively.
White is commonly used as a reflector, but black shouldn’t be ignored. There are times in which there is unwanted reflectivity and negative fill will be used.
Fill
Fill light refers to light that ‘fills’ the shadow area and comes from other areas or light sources that isn’t from key light. Fill tools or aids can be any surface that reflects and bounces light.
The most common thing that creates fill light in our homes is white or off-white walls. Fill light is commonly present in bright and airy work, and negative is present when more shadows, (and defined) shadows are needed. This can be dark and/or moody images. Negative fill is usually from dark surfaces, particularly black.
These sound like simple tools that you’re probably already using, but the key to creating something different is your knowledge on how to combine the three tools.
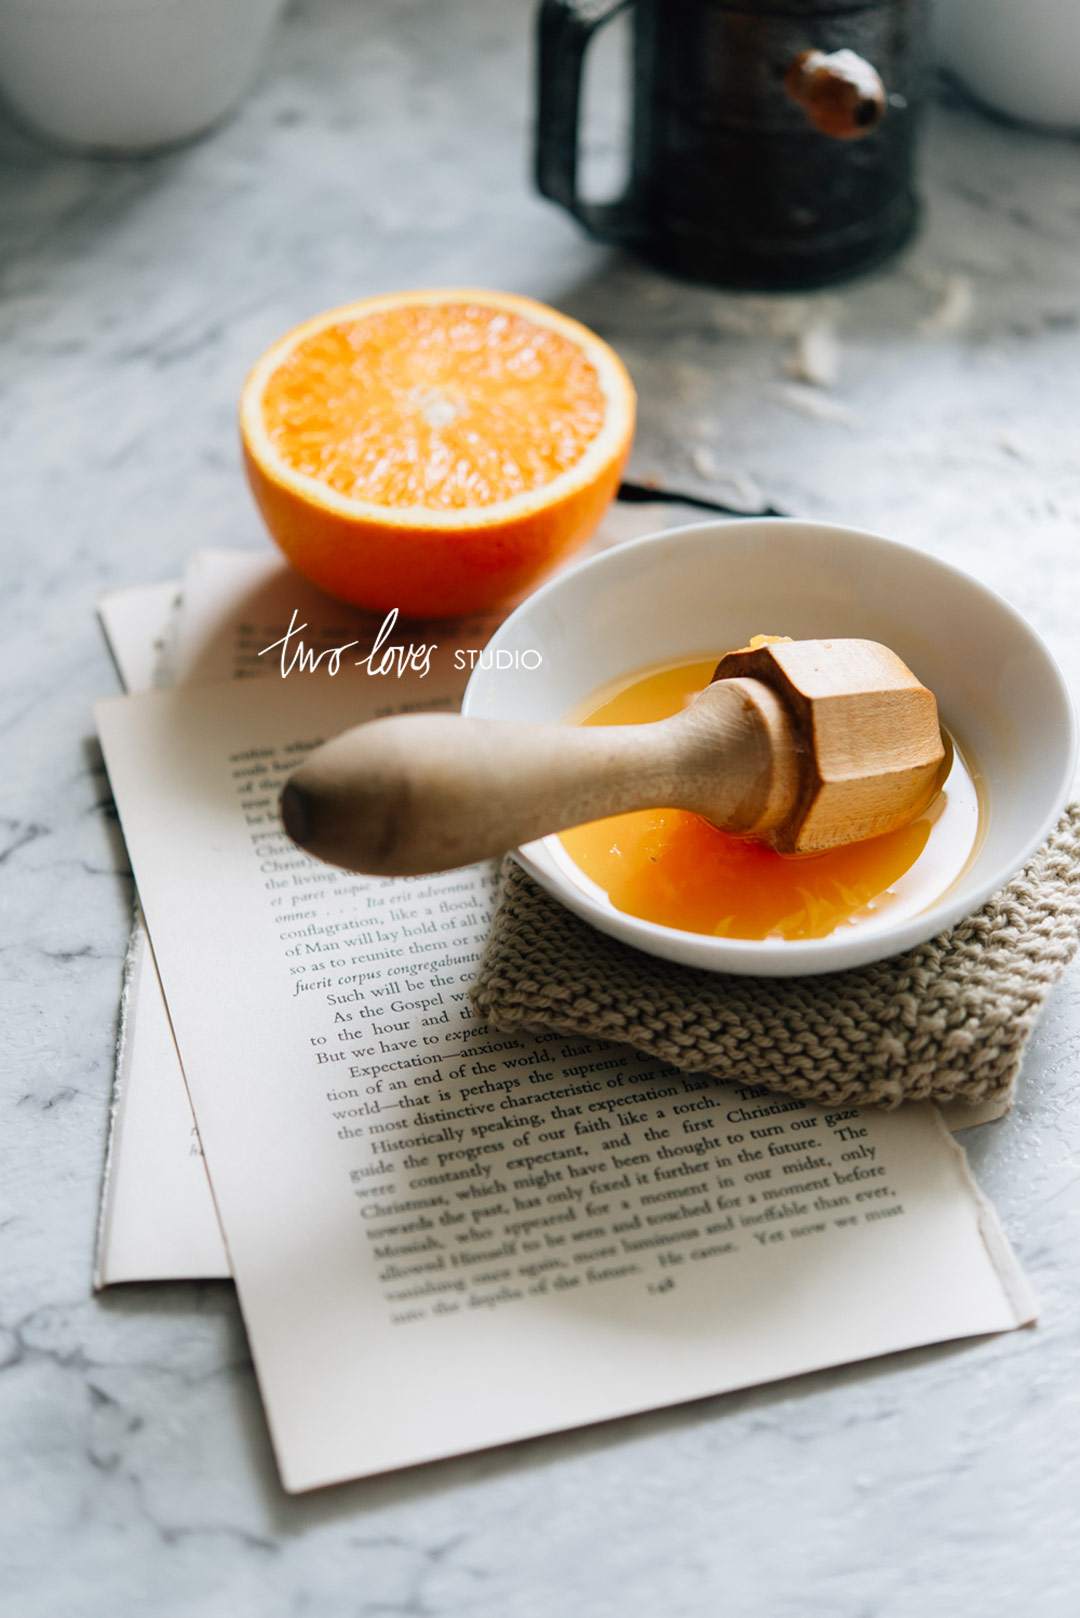
Shot with backlight from a South facing window in my kitchen.
Finding Natural Light at Home
Most likely you’ve heard that the most common process for finding light at home is by exploring your house throughout the day to see how the light changes and evolves as the day goes on.
That’s totally a great place to start. But there are more things that you will want to think about when it comes to finding your light at home.
As well as observing your light throughout the day you’ll want to:
Think about the type of light you have. Is it coming from clouds or sun. Large or small windows?
What direction is your light? Front, back, side or top-down lighting. Each direction of light has its strength and enhances different types of recipes.
Observe how the light differ the closer or further you get from the source.
Look at how the surroundings of the room you’re shooting in adds to the amount of light and shadows present.
Even take a look at the type of shadows and length the light is creating.
THE GOAL: Finding Potential.
Natural light is predictable and unpredictable at the same time. There is always something you can do to unlock it’s magic.
It’s waiting for you to discover it.



Gulia Arno
Hi, Rachel! Your photos are just as gorgeous as a professional, tell me whether to use these http://fixthephoto.com/blog/retouch-tips/how-to-edit-food-photos.html
Unfortunately, I do not have much experience, I would like to hear your advice. Thanks in advance!
Rachel
Hey Gulia, I actually have created my own editing system and packaged it into one course called Lightroom Magic. There are some good points in that article, but it’s very entry level. What kind of advice are you looking for? Mostly editing?
Elane Graves
Thanks to the great tips I learned from your site, I feel more confident in lighting food. My confidence soared when one of my images won first place in the food category at a local juried exhibition. Thank you for “speaking my language”.
Rachel
Perfect and congrats. That’s simple amazing. If you have a link to the image, I’d love to see the image that won 🙂
jjorge
Obrigado Rachel.
Voce literalmente enche de luz o nosso caminho.
Parabens por sua generosidade, profissionalismo e maestria.
Ja senti uma melhora no meu trabalho e mais confiança em ter a “minha” luz tbm. ando buscando referencias no periodo barroco, mais especificamente no tenebrismo de Caravaggio e criar uma linguagem minha. mas vc me deu conceitos impressionantes de luz. Aqui no brasil temos poucas oportunidades de ter estas aulas
Rachel
Thank you so much for these kind words. They definitely put a smile on my face. Make sure to come back and stay in touch 🙂
Wonderstory
Hi Rachel! Starting your photography journey at home can be both exciting and challenging, especially when it comes to manipulating the light available to you. And speaking of capturing the essence of light, I offer self-portrait sessions for couples in the studio, where I truly understand the importance of light in creating memorable moments. Check out my work at https://www.wonderstory.es/en/youlo/ to see how I play with light to tell enchanting stories through photography.