This post may contain affiliate links from products and services we love and trust.
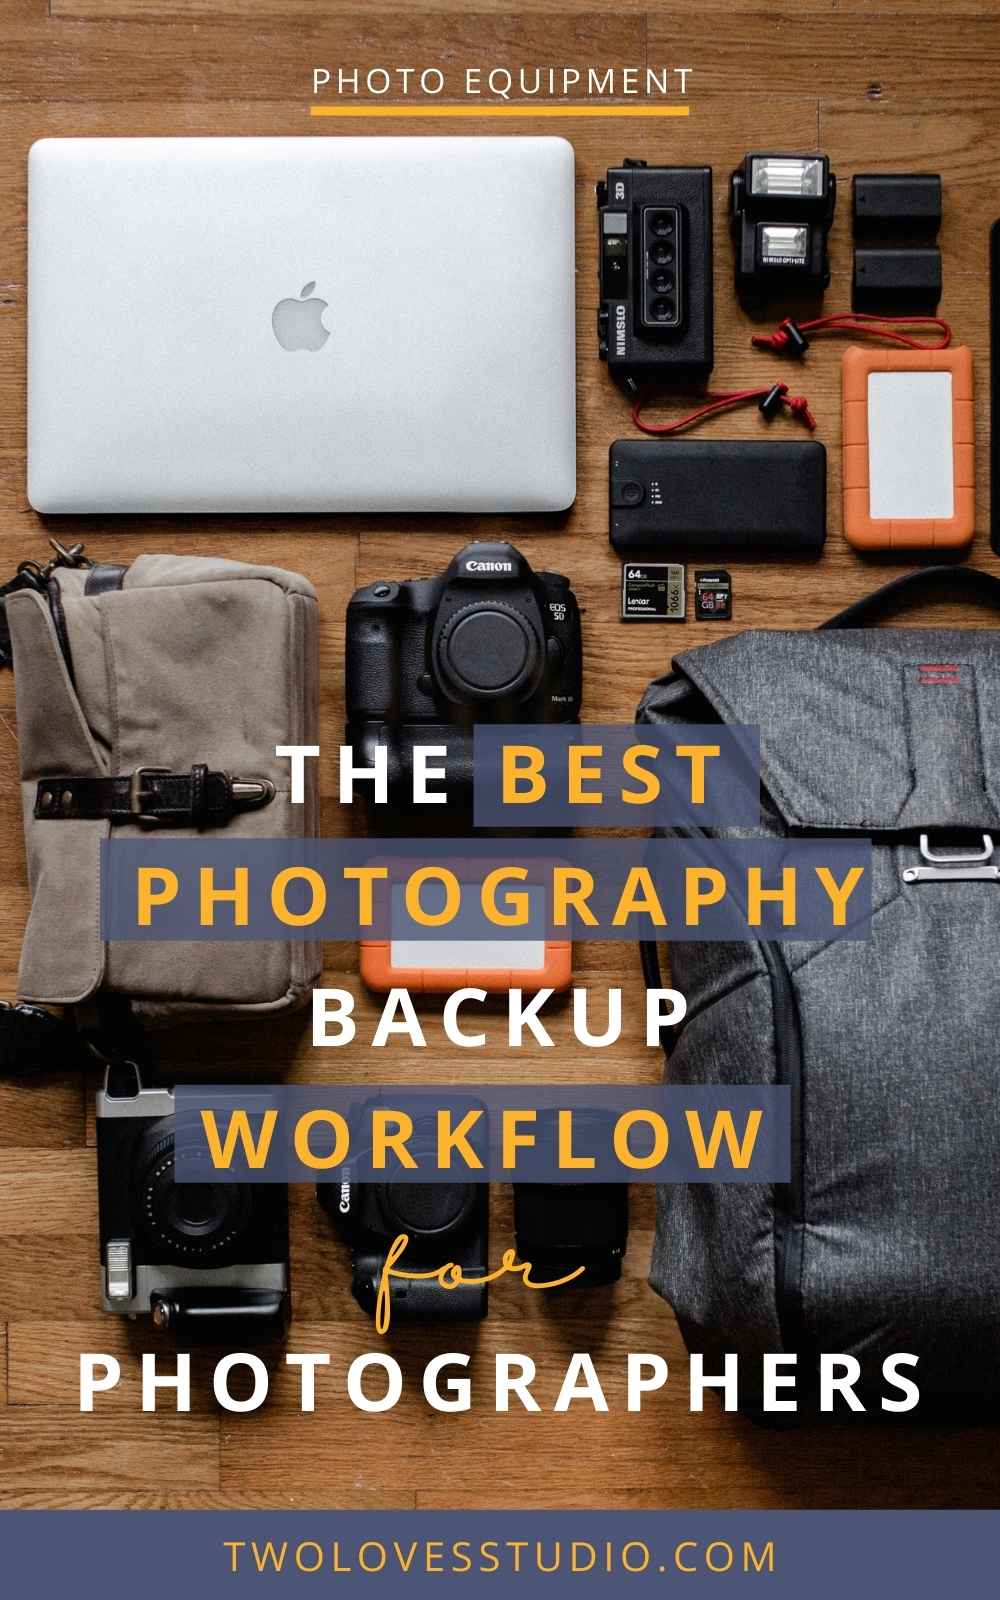
As a photographer, we should all have a photography backup workflow. Backing up our photos on an external hard drive is one important job. I can’t stress that enough. When you lose or have a corrupt hard drive, you’ll learn a hard lesson. I know I did.
In this post, I wanted to share my process of how I back up and store my images. It’s a question that I get asked a lot. My aim is to keep this post updated if my process changes, but please check out the comments for any discussion on process changes.
LOVE NOTE: this is my process, which means it might not work for everyone. That’s ok! Take what works for you and adapt it into your own process.
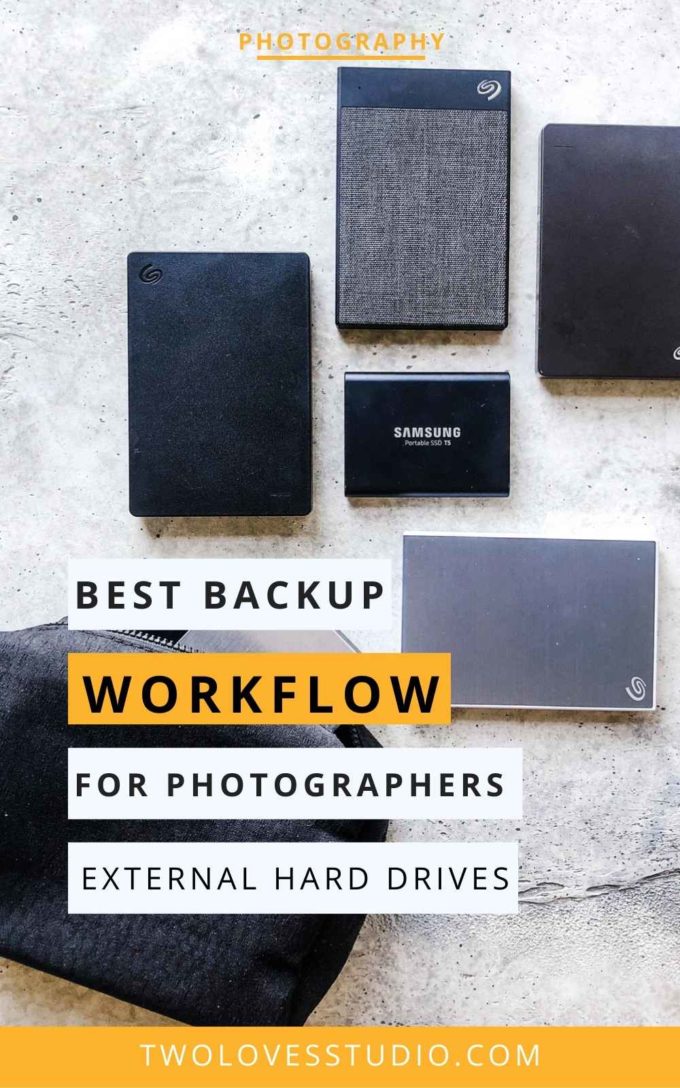
Photographer Backup Workflow Hot Tip: Always Have Two External Hard Drive Back Ups. Always.
First things first when creating a photography backup workflow. You must have two backups of your photos. Photos on one hard drive is not a backup. It’s storage.
External hard drives and cloud storage can fail. Having your images backed up onto two hard drives or two locations is important to protect your images. It’s like an insurance policy. Always have two backups.
Very early in my photography career, I lost a Lacie Rugged HD with all of my images on it. I didn’t have a backup. Don’t learn the hard way like me.
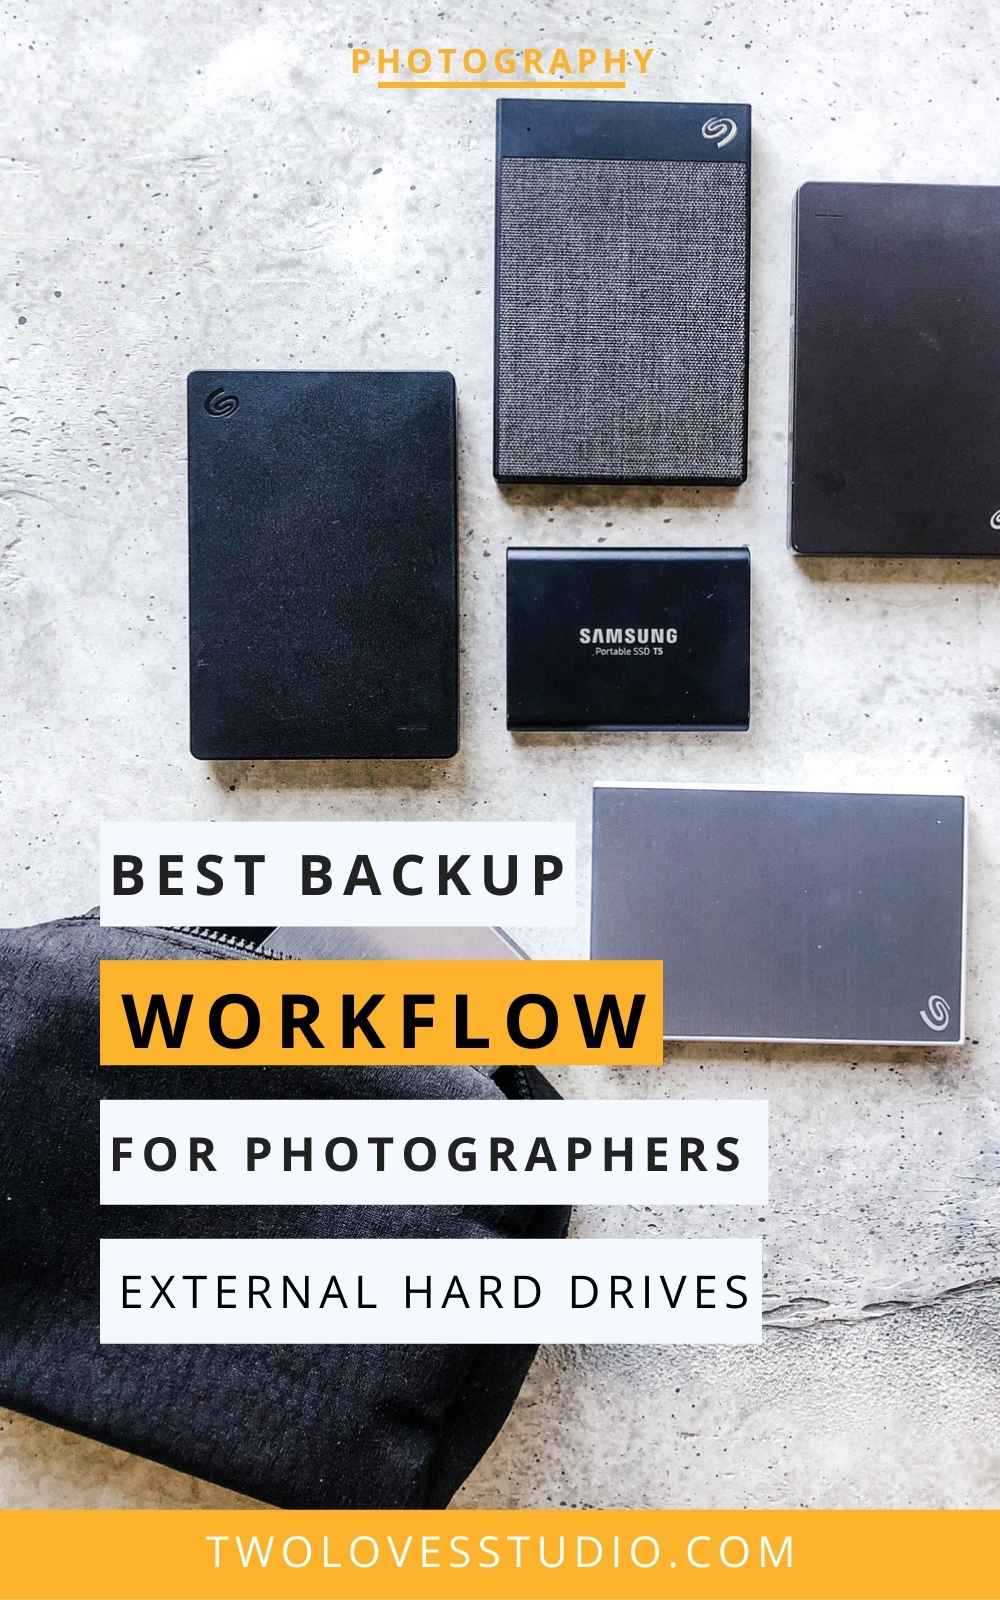
Which Hard Drives I Use: 2TB Seagate Slims
At the time of this post, I currently use 2TB Seagate Slim drives. I have about 10 or so and I have never lost one in over 5 years. Buying a good quality external hard drive for photographers is important, but how you treat and handle the hard drive is much more important.
Why 2 TB? The reason that I use 2 TB hard drives is that I would prefer to have less storage space and instead have two hard drives. If I was to lose a hard drive, then I risk losing fewer images. 2 TB of storage allows me to get one to two years of photoshoots (depending on the level and complexity of client work).
I Have One Working Hard Drive, One Back Up
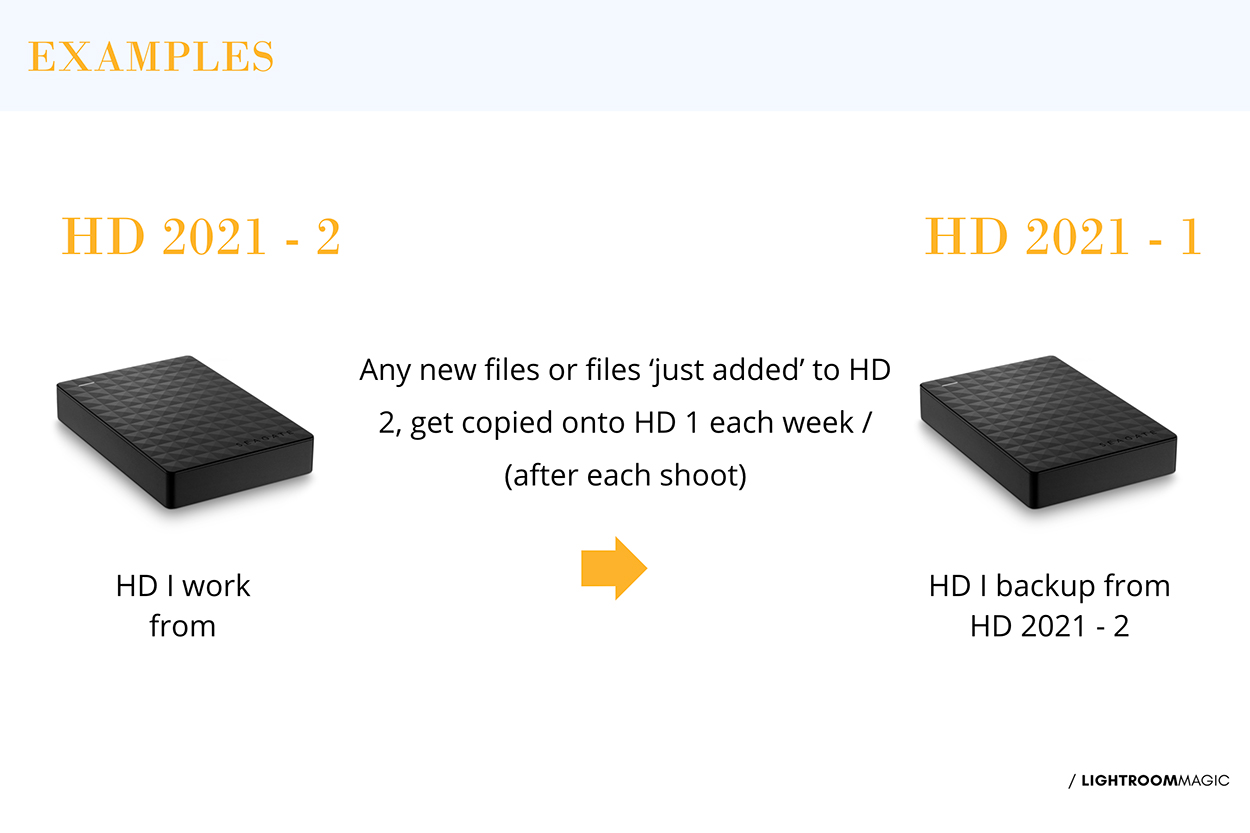
The way I work is that I have one main hard drive that I work from, then a backup of that hard drive. For example, I have HD 1 and HD 2:
- <Company Name> <Year> HD 1 (back up hard drive)
- <Company Name> <Year> HD 2 (working hard drive)
I work from one of these hard drives, then when I am finished editing a shoot, it gets backed up onto the other hard drive. If you want to get into the very nitty-gritty, I keep the working hard drive at my desk and the backup is in an emergency bag at the front door along with our earthquake kit (which you need living on the North American West Coast).
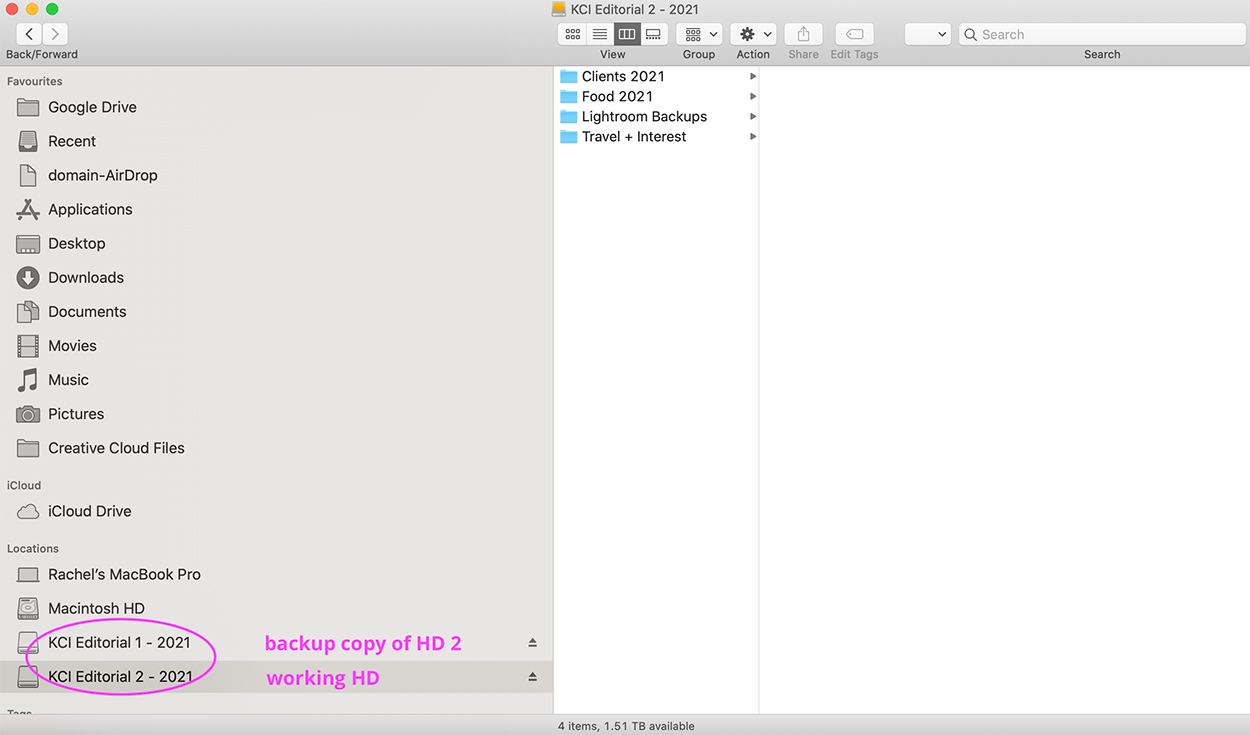
Photography Backup Workflow: My Backup and Image Management Process
I talk more in-depth about my process of file storage and image management in my editing masterclasses, but here is a quick rundown of what I do:
- I tether to my preferred/working hard drive (where possible) or (SSD drive if I am on location)
- Photoshoots are backed up onto the second storage drive
- Photos get edited directly from the working hard drive, completed and backuped
- The entire photoshoot is then copied (with edited files) to the second back up drive (files are merged not replaced on a mac)
Sometimes I will tether directly to a computer’s hard drive, but when the shoot is done, I will move the files to my working hard drive (or a few days after if I am lazy or forget).
Related: 3 Simple Troubleshooting Tips For Tethering
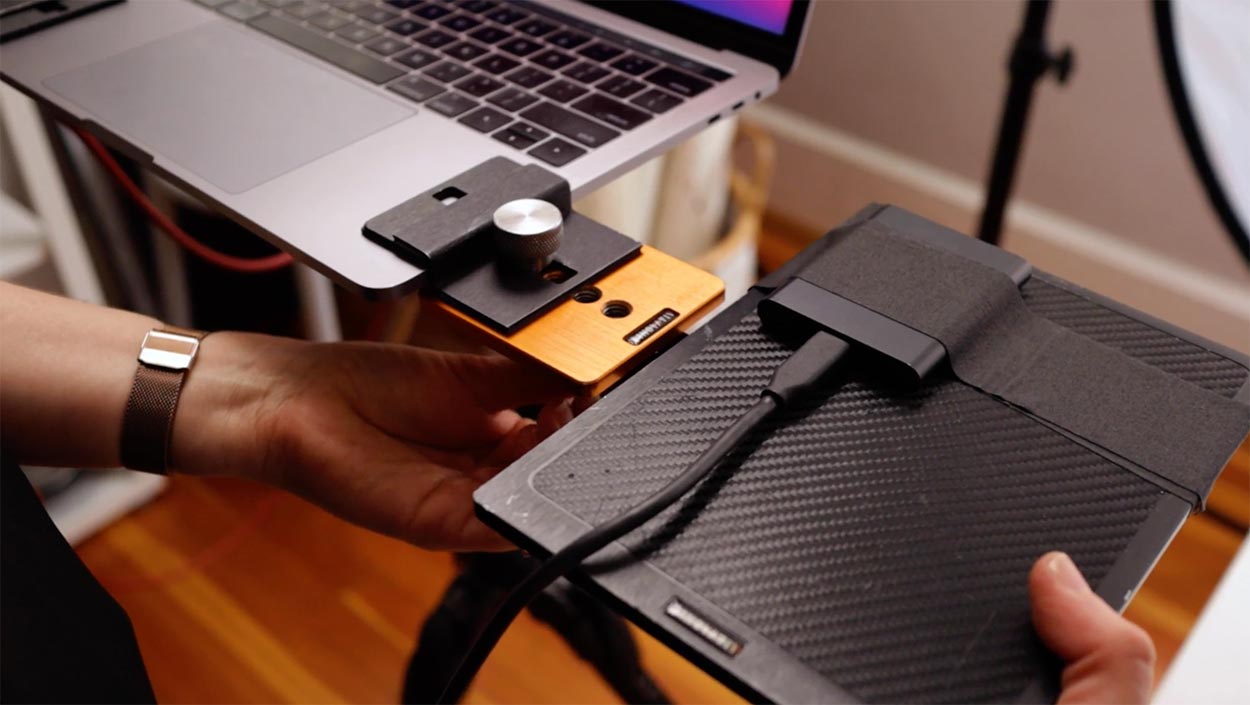
When I Use an SSD (Solid State Drive) in my Photography Backup Workflow
I also have what is called an SSD or solid-state drive. Unlike a hard drive, there are no moving parts inside like the physical spinning disks that a hard drive has. They are therefore more expensive but with fewer moving parts, there is less chance of them failing (not zero chance, just less than a hard drive).
It would be too costly to use these as much as I do with backups but I do have one that I use for everyday use, travel or onset. I use the:
I use this drive as a working drive and most things get moved off it once they are completed. I don’t use it as a storage mechanism per se.
Why Hard Drives Fail
Hard drives can fail for a number of reasons including manufacturing issues, firmware corruption, human error and damage. Hard drives need to be treated with care. Most likely if hard drives are failing on you, it’s the way they are being treated.
They must be held flat with limited movement when in use. Most hard drives are not portable. If you do need a portable one, consider buying a special type like an SSD. But always treat them with care.
Cloud Storage
As I’m writing this, I haven’t found a solid cloud storage plan for my entire library collection. We do use Crash Plan cloud storage for business and very important files as another photography backup workflow option in conjunction with two physical hard drives.
How do you store your photos? Do you have a preferred hard drive? I’d love to know in the comments below.
There are a number of options out there. You need to find a workflow that works for you. The most important thing is to make sure you have your images stored in two separate locations. For example on an external hard drive and Could storage.
When travelling or on set, using a solid-state drive (SSD) is a good option as there are no spinning parts inside the drive so you can easily move around with it. 2TB Samsung Sim Drives are another great option to use as a traditional external hard drive.
Yes! External hard drives are a great way to store your images to ensure your work is protected and stored correctly as a backup.
Yes. Some other options are an SSD (Solid State Drive) which is ideal for travel purposes as well as Cloud Storage.
Two Loves Studio was not paid to write this post, however, it may contain affiliate links. If you purchase an item from an affiliate link, we do get a commission on the sale which helps us run this site. Only affiliates for products/services we believe in appear on this site.


Freja Meza
I think this useful piece of content will be a great source for photographer who are worried about their data backup.
Rachel Korinek
So glad you found it helpful!
Jim
Great post! I’m currently researching this now as I work on my 2TB HD but it’s also my only storage and need to rectify that sooner than later! So you backup all of your exports as well?
My Lightroom is setup to read from my 2TB drive and I’m just a bit worried that if I start copying those files to another HD and my working one corrupts, will all of my edits in LRClassic be gone?
Rachel Korinek
Thanks Jim! I back up an exact copy of my first HD, which includes RAWs, Catalogues (or Sessions from Capture One), exports, edits and retouching (PSD files).
You can backup your edits onto any HD by writing XMP files. An XMP file (with is what Lightroom and Adobe use) is a *sidecar file* which contains all of the information about your edits. Which means, if you have your RAW files + xmp files = fully edited files. This system of writing XMPs means that you can open your RAW files in any catalogue on any computer and your edits will be there. I teach more about this in my editing programs, but if you’d like to write your XMP files you can follow these steps:
Choose Edit > Catalog Settings (Windows) or Lightroom Classic > Catalog Settings (Mac OS).
Go to the Metadata tab, and then select: To write adjustments and settings metadata to XMP, select Automatically Write Changes Into XMP.
NOTE: if this is the first time you are doing this and you have a large catalogue it might take some time to write XMPs so allow for that! Let me know if you have any questions.
Emma
Does image quality lower at all when transferring them from digital onto a hard drive?
Inge
Hi Rachel, finally a helpful and clear article on this topic, thank you! I was wondering, if you backup all your RAW files on your external hard drives, do you also back up all those RAW files to cloud storage? And do I understand correctly that at home you back up directly from your SD card to external harddrive and edit from there? (and while on location using the SSD instead)? So you keep the computer hard drive clean?
Rachel Korinek
Hi Inge, happy to clarify! I mostly tether, so all of my files go to my computer HD or an external SSD drive during capture. I use a Nikon camera, and we cannot tether to a card, it has to be a computer. If I do capture on a card then I would put them onto external drives and edit from there. I always have 2 copies of the files on 2 HDs, I never store them on my computer. I also do not use the cloud at this time time because storage and speed aren’t there for the amount of data I use (this will likely change in the future). Hope that helps! 🙂