Photoshop is one of the most powerful programs creatives have access to.
The scope of the program is so expansive that photographers are known to be overwhelmed and intimidated. People make careers out of being professional retouchers, and it can seem at times like the rest of us don’t stand a chance.
But you don’t need to be a Photoshop expert or know the program like the back of your hand to get natural-looking retouching for your food photography.
Have you ever been slightly terrified that people will zoom in on your retouched area and see a bunch of mistakes or fake-looking brush strokes? I have. It can be debilitating.
Now, I am not the best Photoshop retoucher in the world, (dah, right?), but I have had people swipe left and right on Instagram and NOT EVEN NOTICE the changes I’ve made.
That’s the goal…When you can elevate an image by enhancing key features of your subjects, light and colour and they only revel in how freaking awesome the photo is – you know you’re a natural.
So how does one naturally retouch food photography without being a Photoshop expert?
Let’s look at what you need to know and what you don’t.
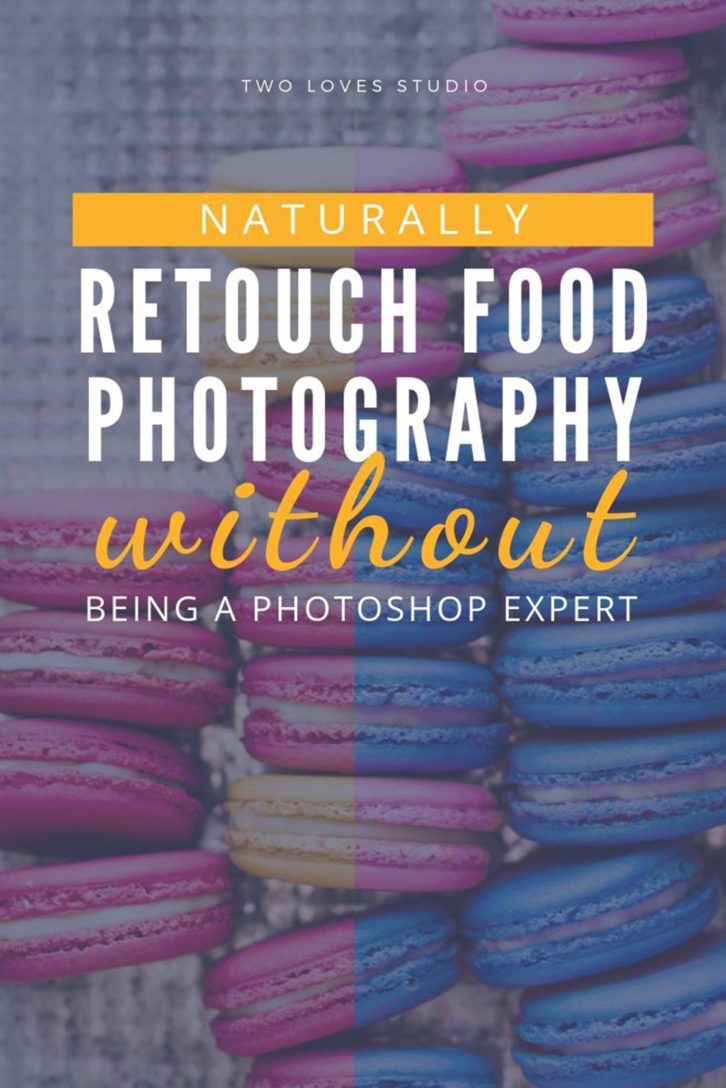
Retouch Food Photography: 5 Fundamental Techniques
I believe that just knowing these 5 Photoshop techniques are going to help you take your images to the next level. Help you offer your clients a premium service, and boost your bank account at the same time.
It’s standard in the industry to charge extra for retouching. Editing, colour correcting and toning is usually part of your photography services in providing an image to a client. But that little extra retouching can be upsold to clients.
The most common things that you will come up against in food photography that require Photoshop are the following:
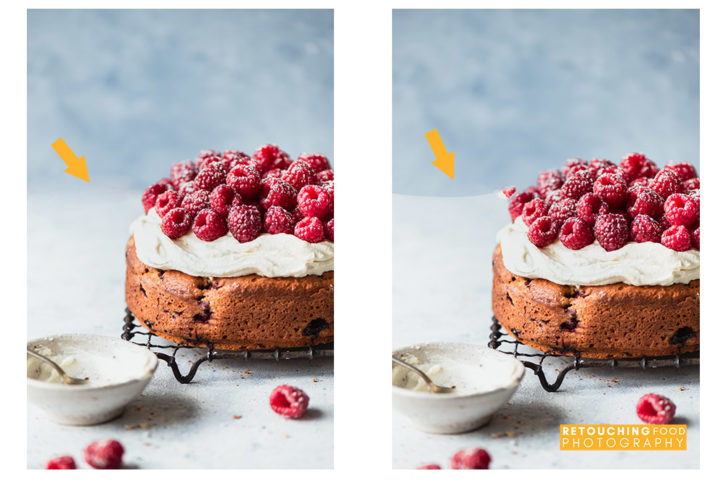
- Removal of unwanted objects and reflections
- Creating composites
- Blemish touch-ups
- Straightening and shaping
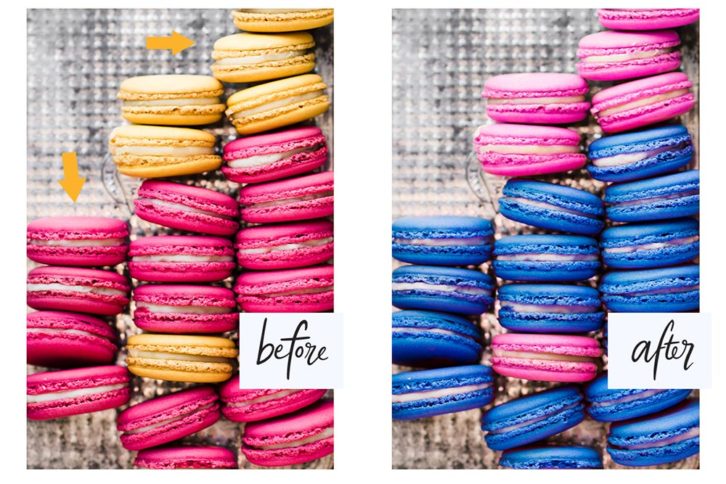
- Colour & Hue Alterations
And a lot of these techniques use the same tools and similar settings. There are a few nuances that we will cover in Retouching Food Photography, but you don’t need to learn a new tool and technique for each group here.
You definitely don’t need to learn Frequency Separation to do fundamental blemish removal in food photography. (If you aren’t sure what Frequency Separation is, let’s just say it’s an advanced Photoshop technique that Pro retouchers would use).
10 Tools You Need to Know
It’s on a need to know basis right. There are a lot of powerful things that Photoshop does that you don’t need to know unless you want to.
There is basically one type of brush that you can use that will work for nearly everything you do. You don’t need to learn about the complexity of brushes to get natural food photography results.
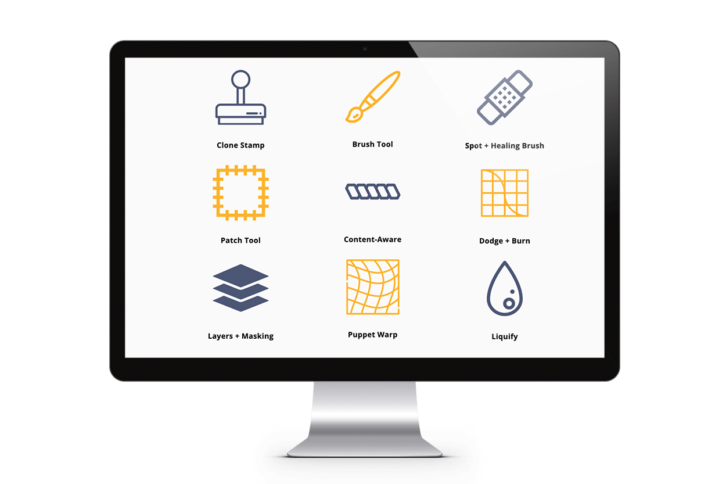
Did you know there are approximately 100 tools in Photoshop? And don’t panic, I believe that knowing the top 10 will help you with 99% of your retouching for food photography!
So to get natural-looking results, these are the basics of what you need to know.
Those tools are:
- Clone Stamp Tool
- Brush Tool
- Spot Healing Brush
- Healing Brush
- Patch Tool
- Free Transform
- Content-Aware
- Puppet Warp
- Liquify
- Adjustment Layers
Know Your Tools
There are a lot of tools in Photoshop, right? Even the brush choices can make us quit the program before we’ve even opened up our Abode Photography CC subscription.
BUT a handful of tools can give you that extra punch you’re after.
Tell me this, do you need to be an expert chef to know that a good-quality, sharp knife can make a difference in cooking a meal? No – it’s a no-brainer. So I don’t need to tell you that I can make a recipe look prettier with the right tools. (Have you ever tried to do food photography in a hotel room kitchen? They usually have a blunt knife and no spatulas).
Using the right tools in Photoshop will help us get better results.
Understand That Texture is Key
One of the issues with learning to retouch food photography from someone who specialises in skin is that we want our skin to be smooth, air-brushed (if you believe what beauty magazines tell us). But food isn’t about that.
Food is textured, it’s dense, it’s grainy, it’s silky smooth. It can be all these things in the one-shot too.
Being able to focus on natural texture helps us enhance food. We’ve then got to match our tools to focus on texture. This is where the Clone Stamp Tool comes in handy. It can help us preserve texture. Flow is another thing that can help us build and keep texture in the right places.
(But be sure to keep in mind the point further down about repetition no-nos).
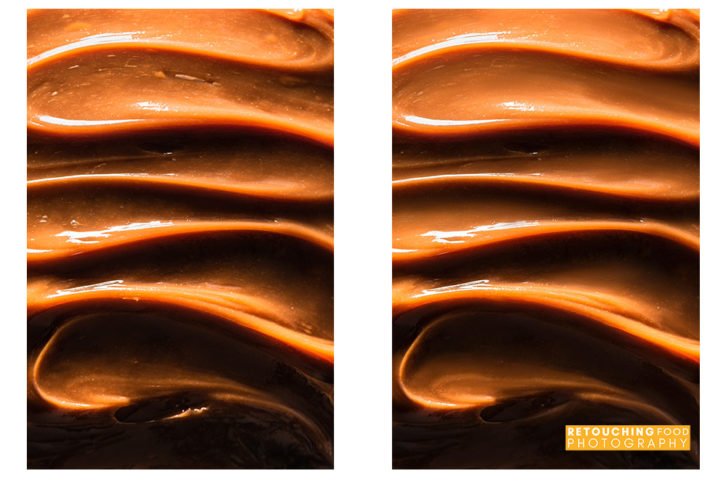
Don’t Polish A Turd
It’s harsh but true. If you don’t start with a good photo, it’s going to be very hard to make it great with retouching. Remember that we are covering how to make Photoshop work for you without being an expert and spending years learning the program.
If you start with poor lighting that creates a flat image, that’s not about retouching. That’s about general editing and photography technique.
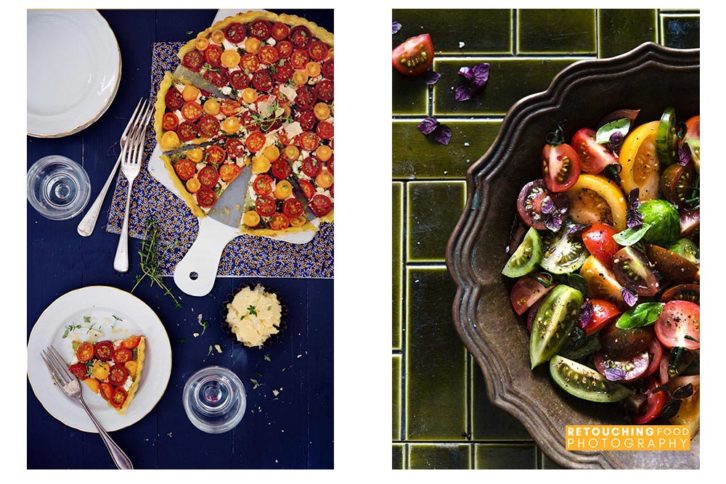
What will give you the most leverage to retouch food photography naturally is to have strong and dynamic lighting. There are a few steps that you can take in-camera and on set to make sure you have the strongest shot possible.
Where is Your Light & Shadows Coming From
One thing that is CRUCIAL to natural retouching is knowing where your light and shadows are coming from in your shot.
If something in your image/layers looks like it doesn’t belong in the image it’s likely because the light and shadows don’t match. This is one of the reasons why ‘Photoshopping’ something into an image means that it wasn’t likely there in camera in the first place.
When people say this, they have a negative connotation of Photoshop.
With any alterations that you make, think about how you are selecting your shadows, the variances you have in tonality and the direction of light.
Shit in Means Shit out – Tools Settings Are Like Oven Settings.
Well, guys, it’s official. I think I’ve lost my marbles as I’ve said ‘shit’ and ‘turd’ in the one post… But this is something that has stuck out in my mind since I was at school.
I had a teacher who used to tell us all the time, if you input shit into the program, you’ll get shit spat back out at you. Shit in, shit out.
If you plug crappy (oh yep, it’s flowing today) settings into your tools, you will likely get crappy looking adjustments.
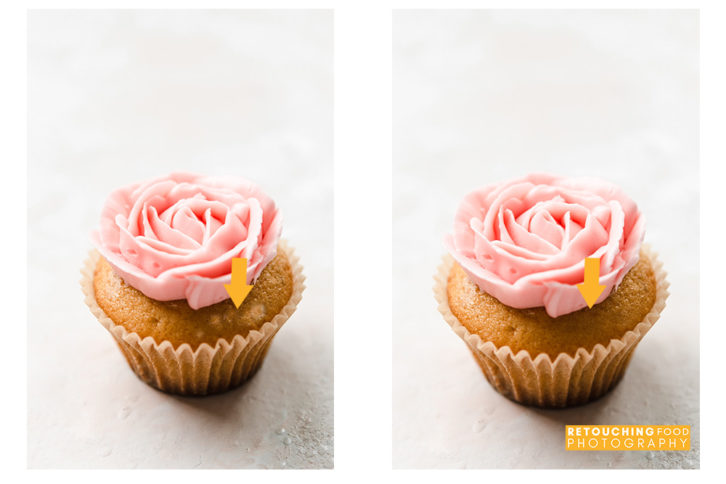
To retouch food photography and get it natural-looking, you need to have optimal settings for things like ‘flow’ and ‘opacity’. Reducing your flow to 10% can make a heck of a lot of difference than when you are using the brush at 100% flow.
Think of it like baking a cake. We need to have the best oven settings to make a fluffy cake. Using the ‘broil’ or ‘grill’ setting would not do this for us. Our Photoshop tools are the same.
Cloning: Repetition Looks Fake
Repetition is a great food photography composition technique, but when it comes to retouching, it might make your images look fake.
If you retouch an area to remove objects, blemishes or complete touch-ups, you don’t want to have a crumb repeated over and over. Or a spot or scratch on a surface.
That creates repeated patterns in the area you are retouching and it looks fake. The key here is to make the best sample selections you can to avoid this showing up.
No fancy settings needed here, just a keen eye to make sure things aren’t looking too matchy-matchy.
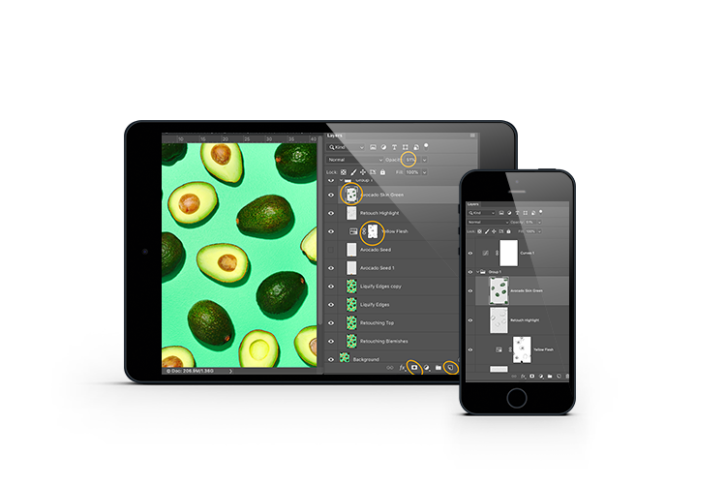
Layers & Masks
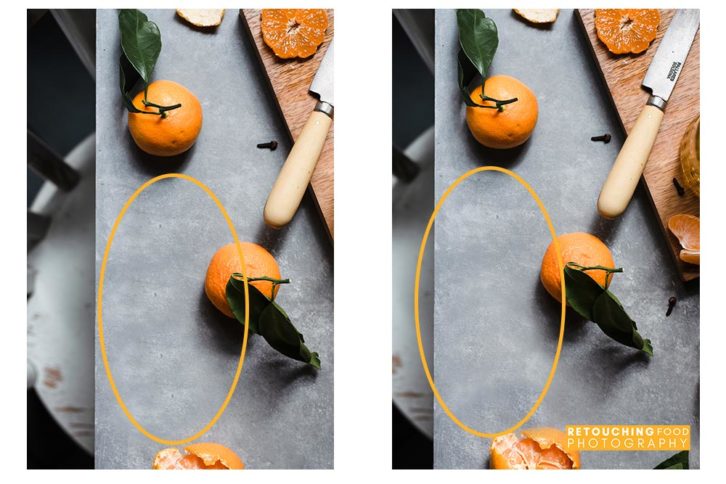
Are key to Photoshop. They make the program and the process what it is.
Even if you feel slightly overwhelmed by layers and masks, or you don’t understand them – they are the foundation of Photoshop.
Using the correct workflow for your layers and masking the areas you want to reveal and conceal can make a huge difference to the natural scale.
Heavy settings and sloppy masking is the fast-track to ‘fakeville’.
Again, think of it like baking a cake. A cake tastes better when we use a little bit of this spice, a little of that, a sprinkle of this. If you dump a whole jar of cinnamon into it, it won’t be as polished.
Brushstroke by brushstroke. Building slowly onto your layers and masks.
If you need to become best friends with layers and masks, then I will teach you how to leverage them powerfully in Photoshop with Retouching Food Photography.



Samah Al-Qa'qa'
Hi… how much does the retouching course cost?
Rachel
Hi Samah, the price will be available soon via http://retouchingfood.com 🙂
Tarequl
Here the information you included is very important to match the area of focus, besides we will be very happy if you regular set up like this post. Thanks in advance!!