This post may contain affiliate links from products and services we love and trust.
Retouching in Photoshop is an essential skill food photographers will want to add to their workflow to both perfect their images and remove unwanted items, objects or blemishes.
In fact, if you shoot beverages at all, retouching is crucial in putting composites together. This post is full of before and after retouching examples so you can just how powerful retouching photos is!
If you’re curious as to why I recommend learning to retouch photos, read on my friend.
Retouching Photos: What is it?
When it comes to post-production, some photographers can be confused about the difference between RAW editing and retouching. While they both fall into the post-production category, they are indeed different and used for different purposes.
RAW editing prepares our image with basic edits like contrast and exposure adjustment, as well as, colour correction. This process happens in software like Capture One Pro or Lightroom.
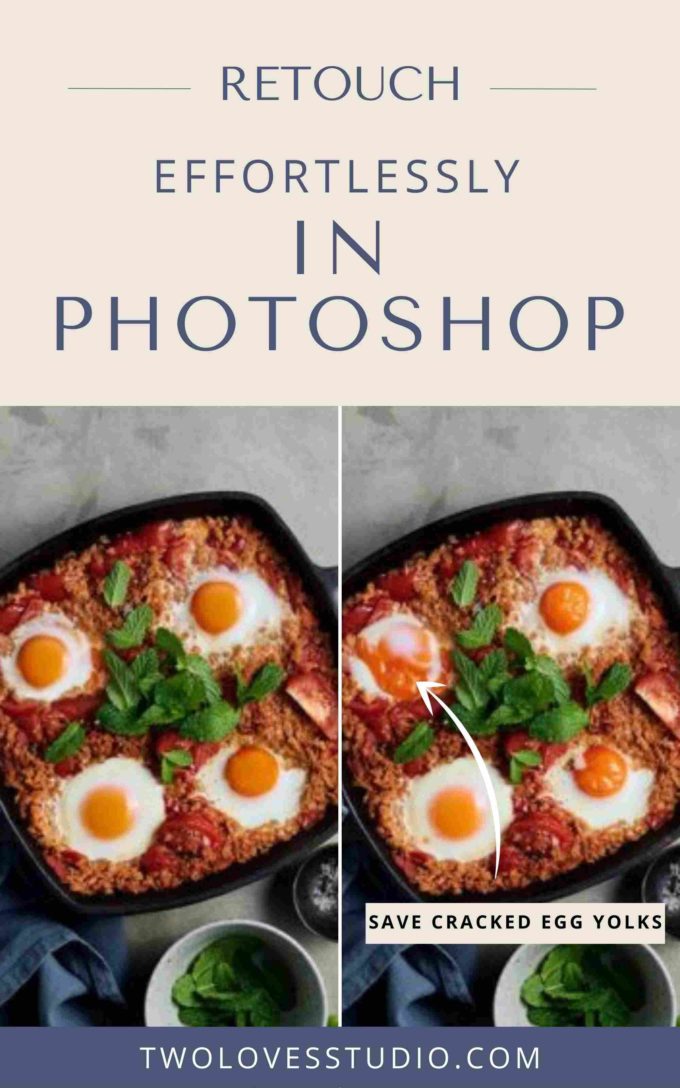
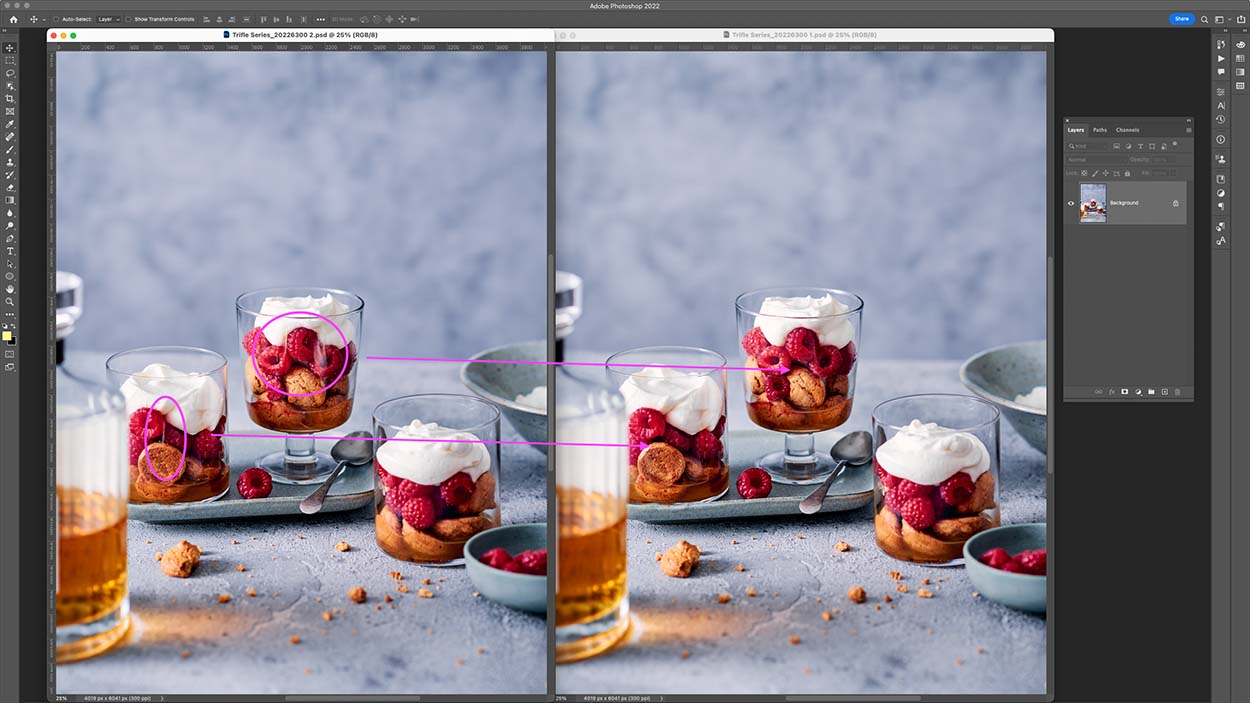
Retouching, on the other hand, is the process of removing blemishes and objects, compositing and manipulating or altering a photo. We need software like Photoshop for full control over the process to retouch photos.
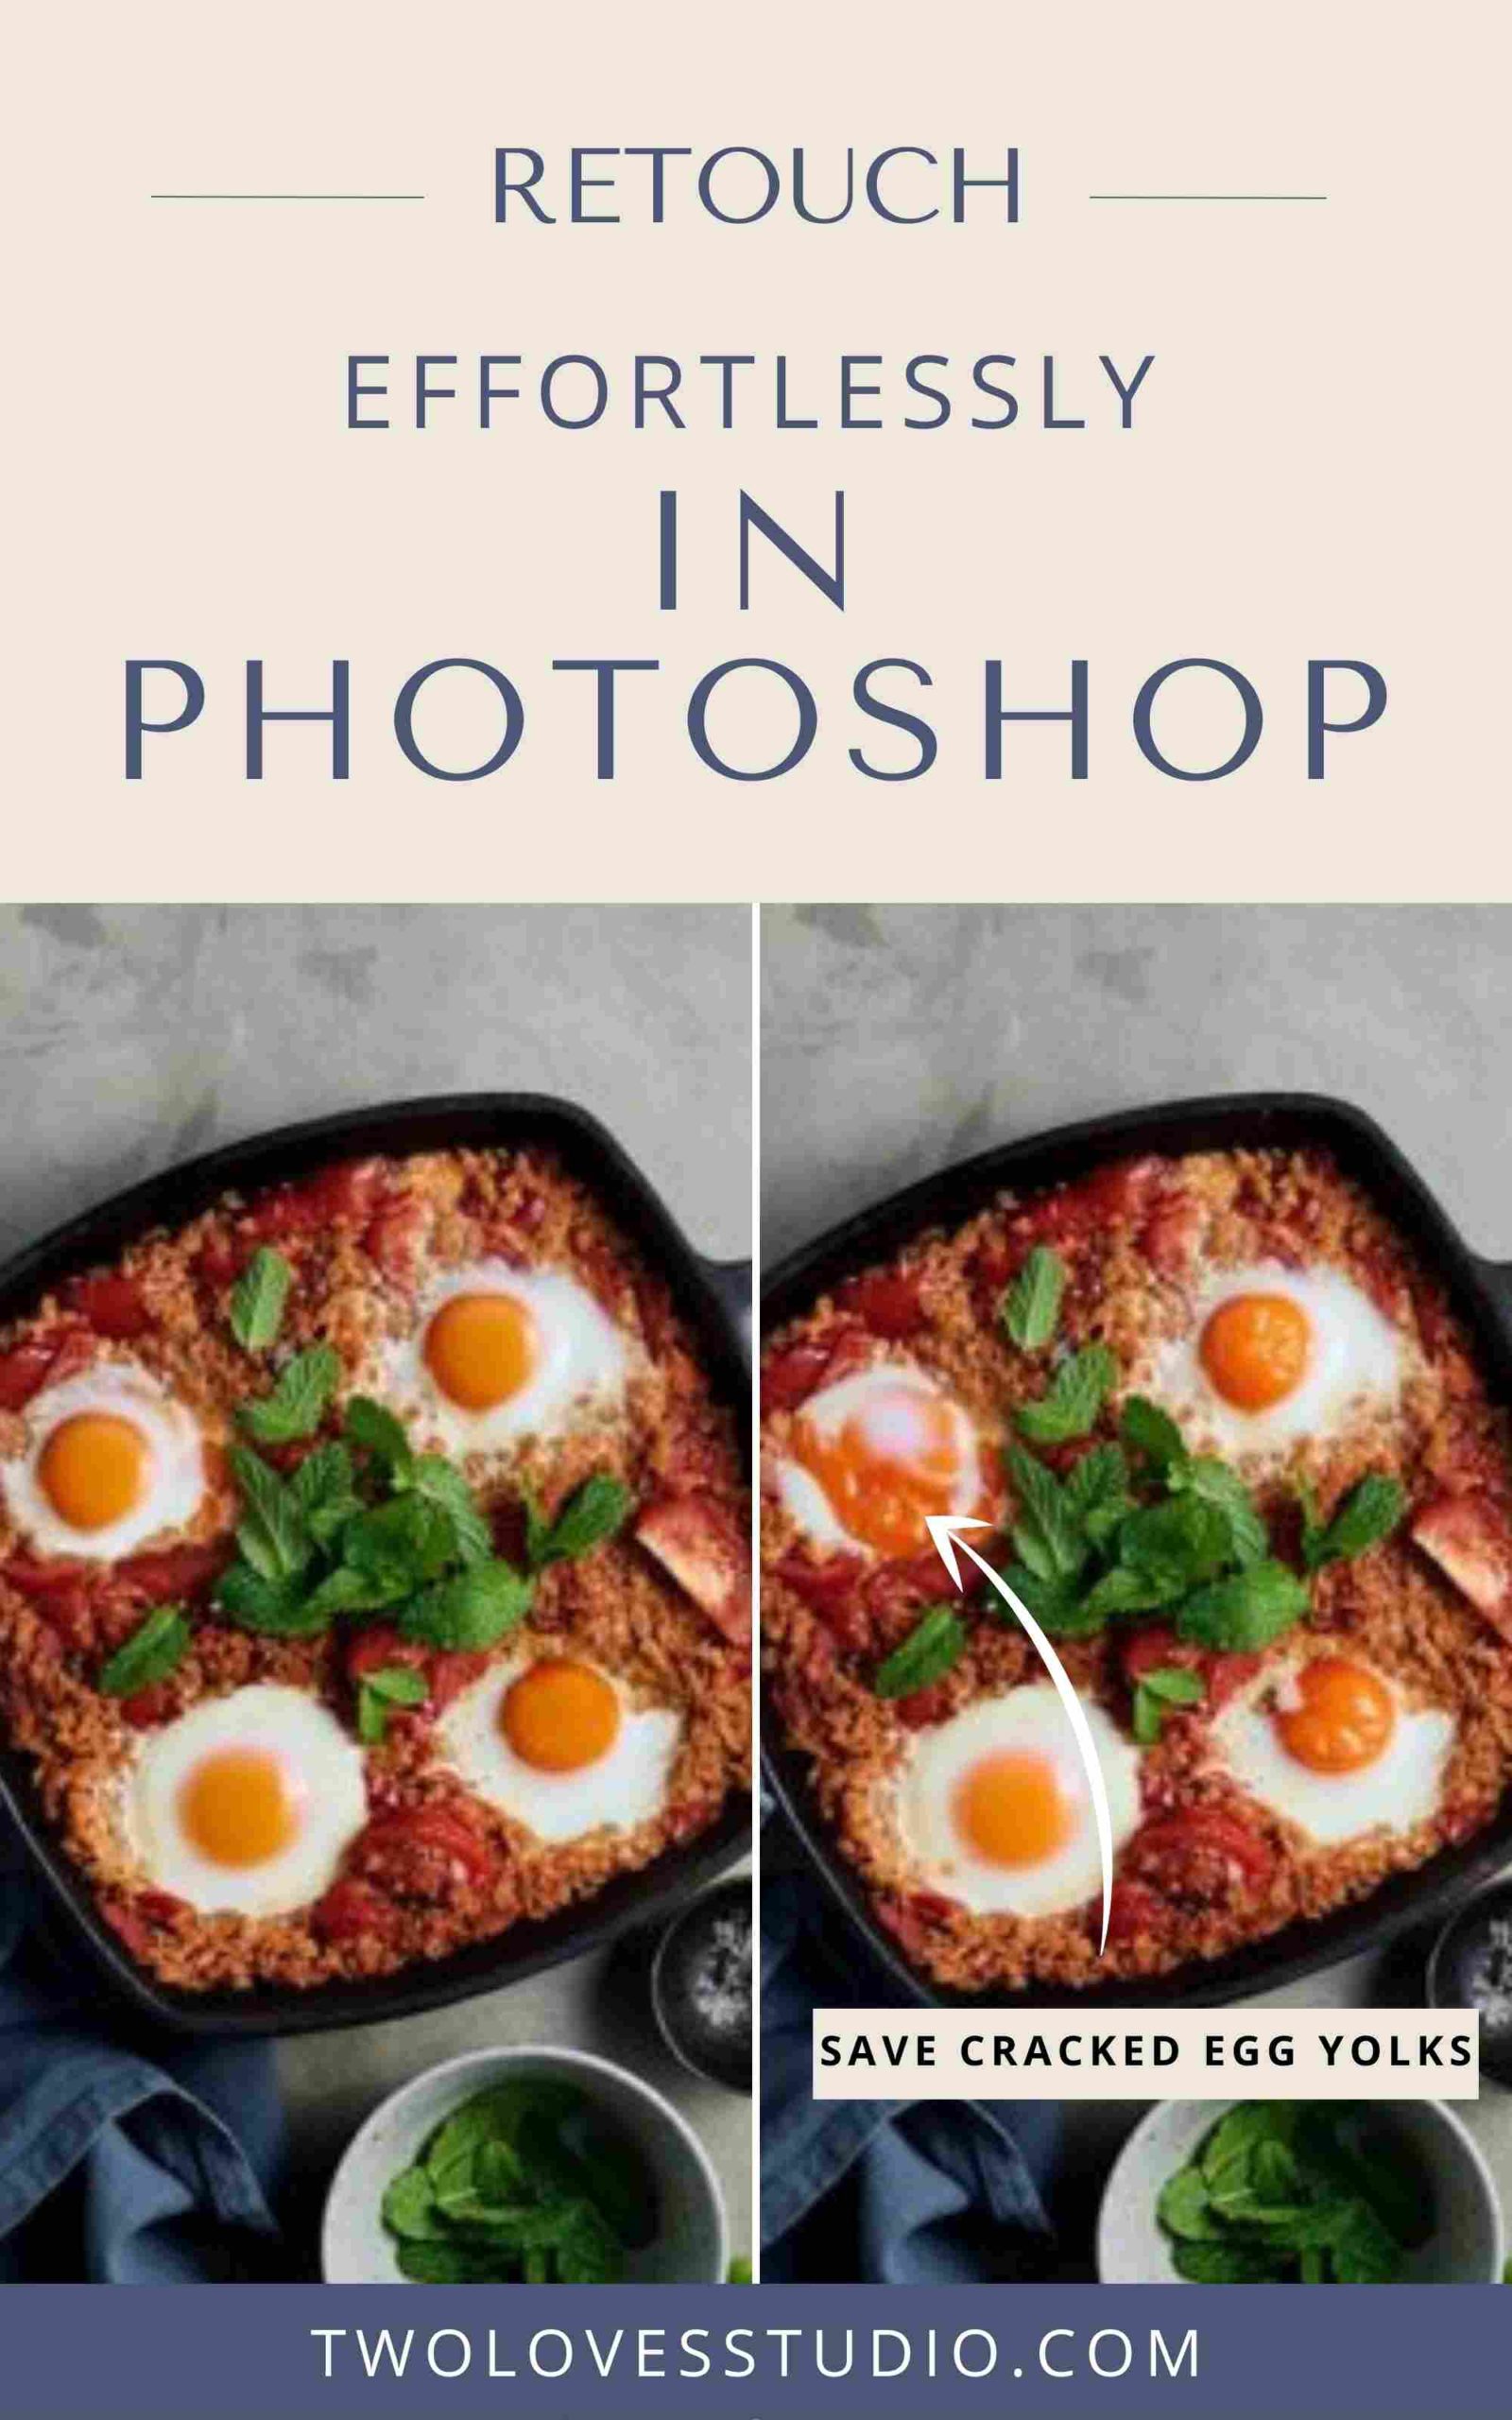
Create Perfect Yolks by Retouching in Photoshop.
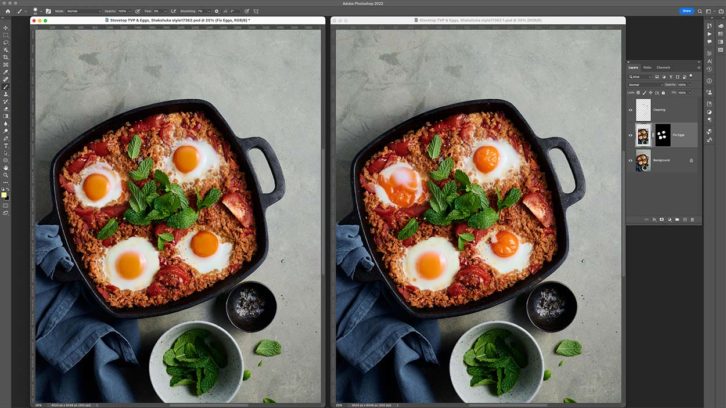
When to Use Photoshop in Our Editing Workflow
Retouching comes at the end of our editing process. We edit a photo in our RAW editor, (aka Capture One Pro or Lightroom), then once we’re made all the necessary exposure, contrast and colour adjustments, we then take our photo into Photoshop to retouch.
RAW editors like Capture One Pro and Lightroom integrate with Photoshop so you can seamlessly take your finished RAW file into Photoshop, complete the necessary retouching on layers and save the file (and layers — super important) back into your RAW editor.
This is important if you want to be able to make any changes to the retouched file without starting from scratch.
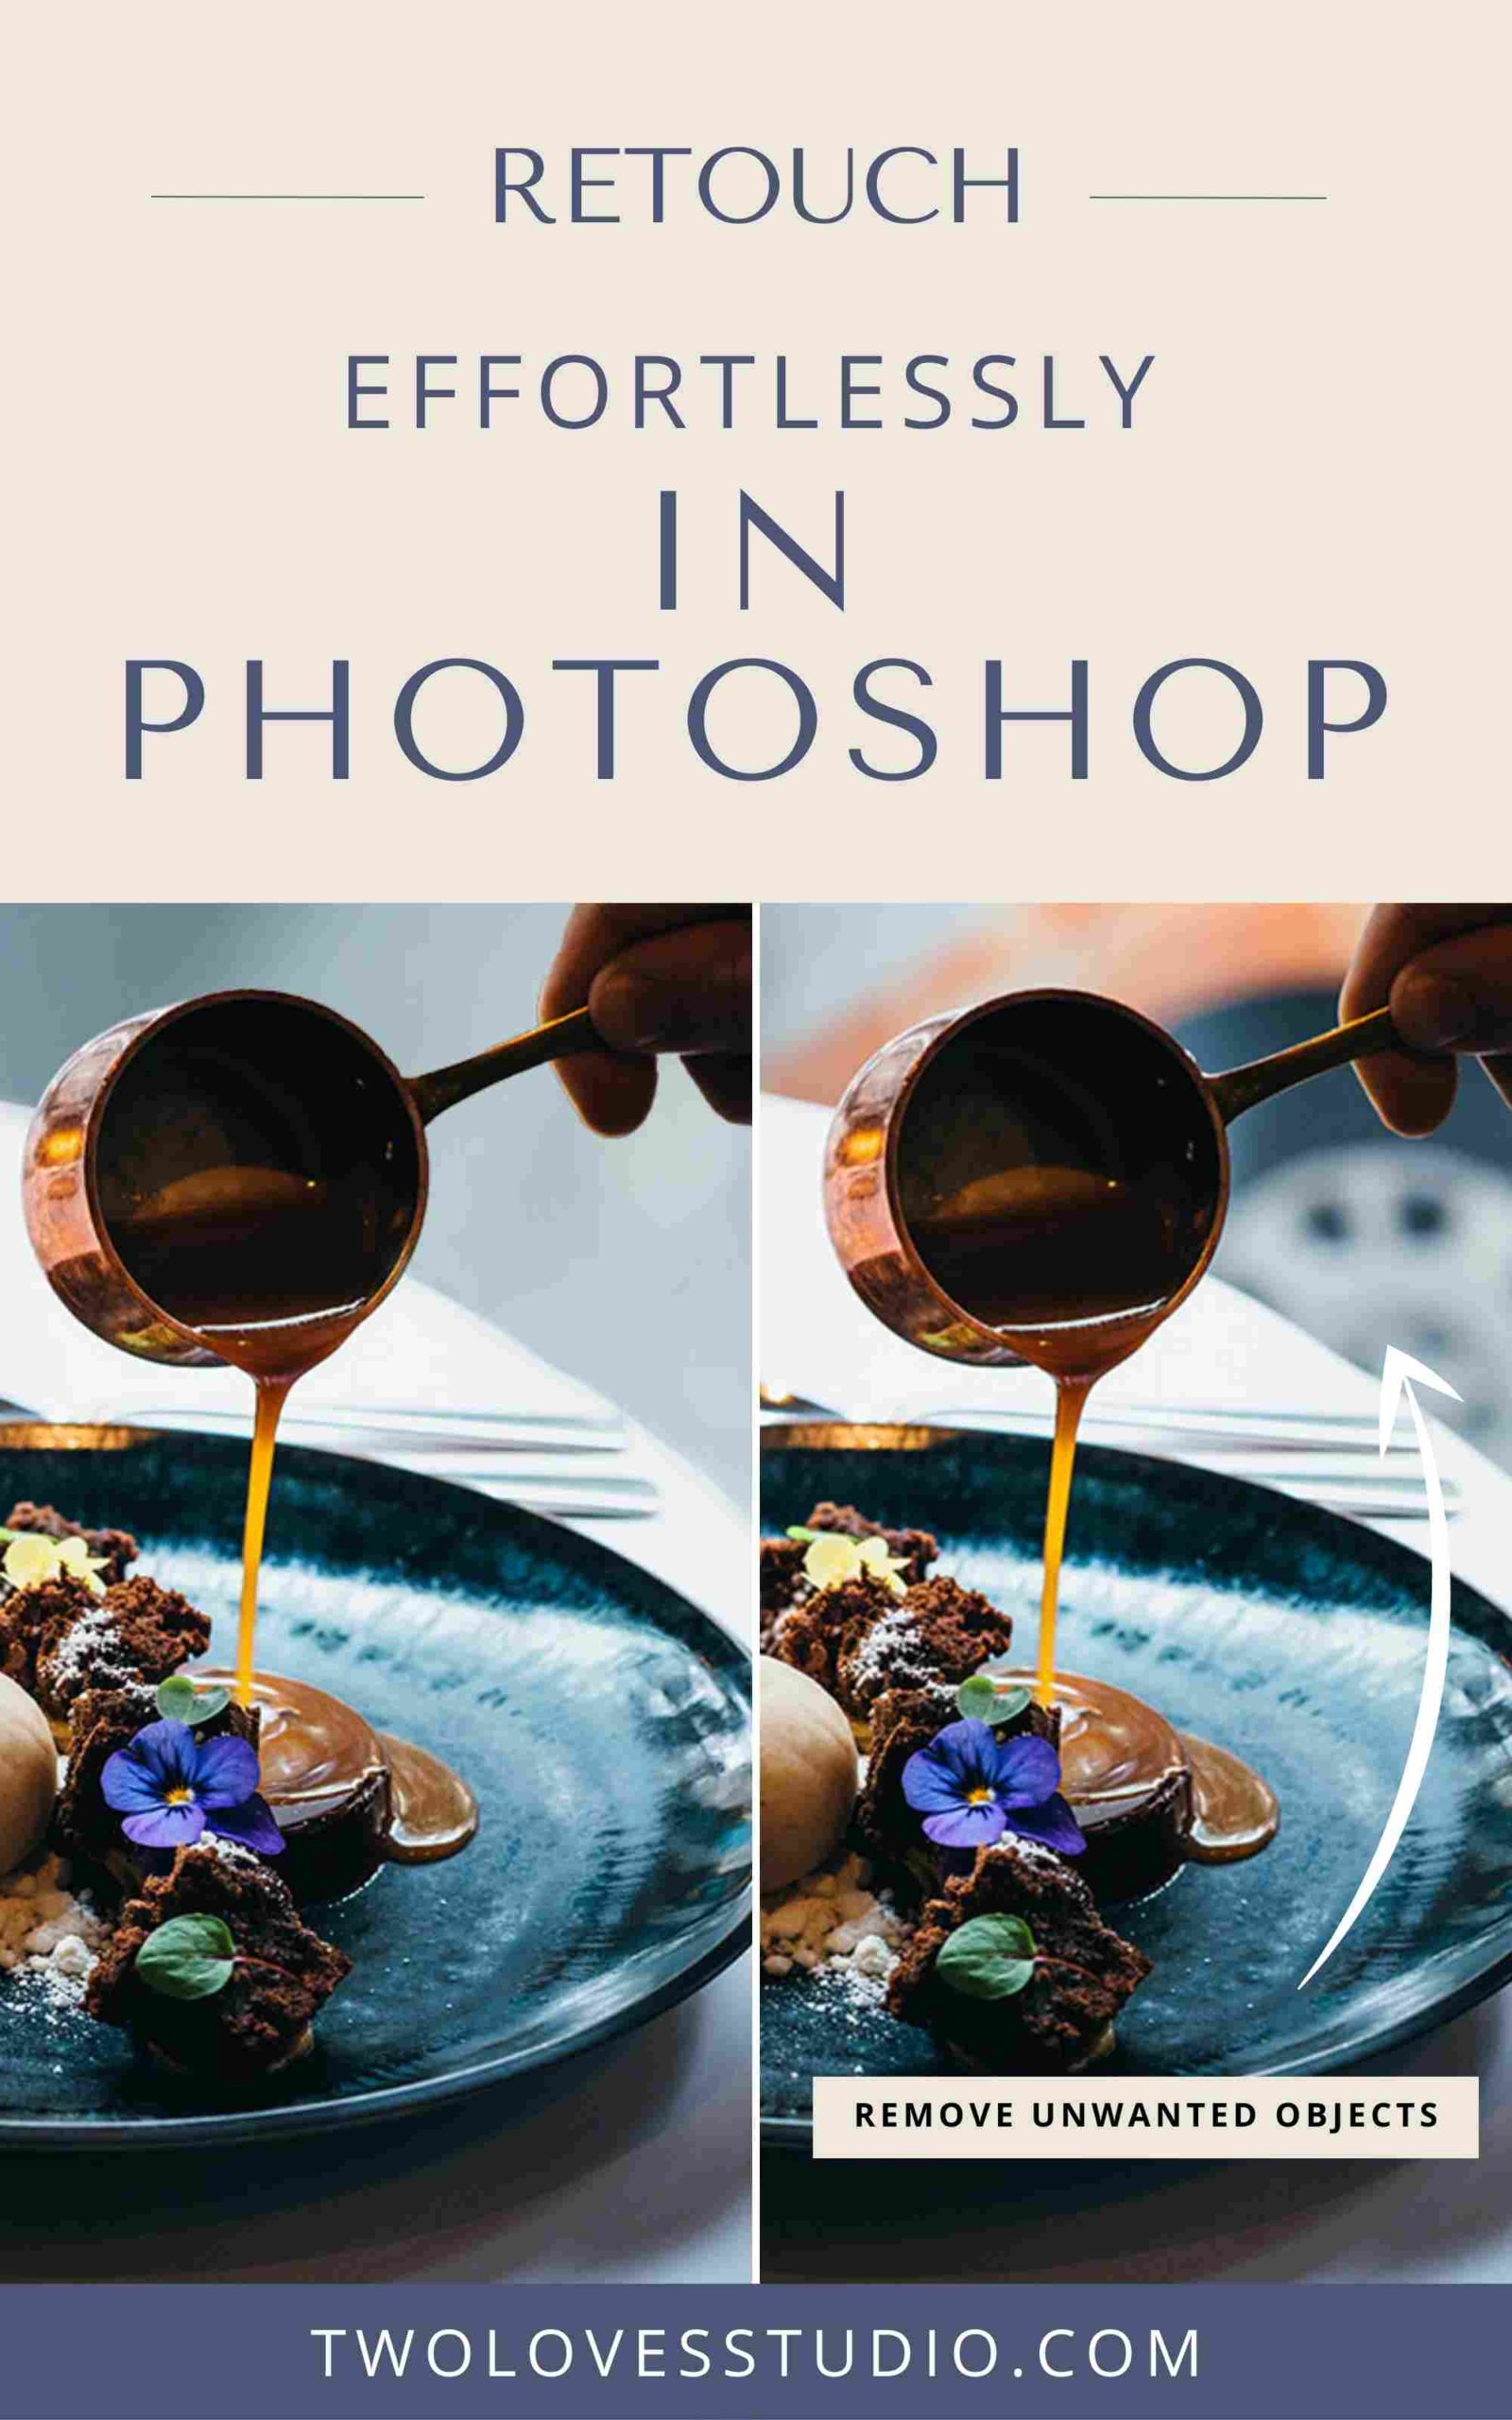
Use Photoshop for Complex Removals
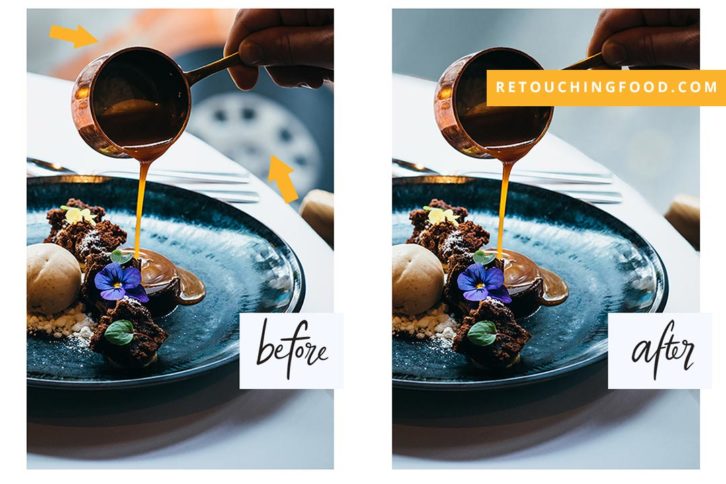
5 Common Ways We Retouch in Photoshop for Food Photography
Photoshop is one of the most powerful creative tools we have access to as photographers and it’s natural to feel overwhelmed by the software — there is so much to know and do!
This is definitely how I first felt. It was like you needed a university degree just to open the program. While it is powerful, there are some (anything-but-basic) basic ways we can use this in our food photography.
5 common ways we retouch photos in photoshop for food photography are:
- Reflection and object removal
- Compositing, (where you composite two or more photos together into one)
- Cleaning techniques like blemish removals and riding of unwanted distractions
- Straightening and shaping objects
- Enhancing and altering colour and light (known as Dodging & Burning)
I teach these simple techniques in my Retouching Food Photography Masterclass. Where you’ll master retouching in minutes, not hours!
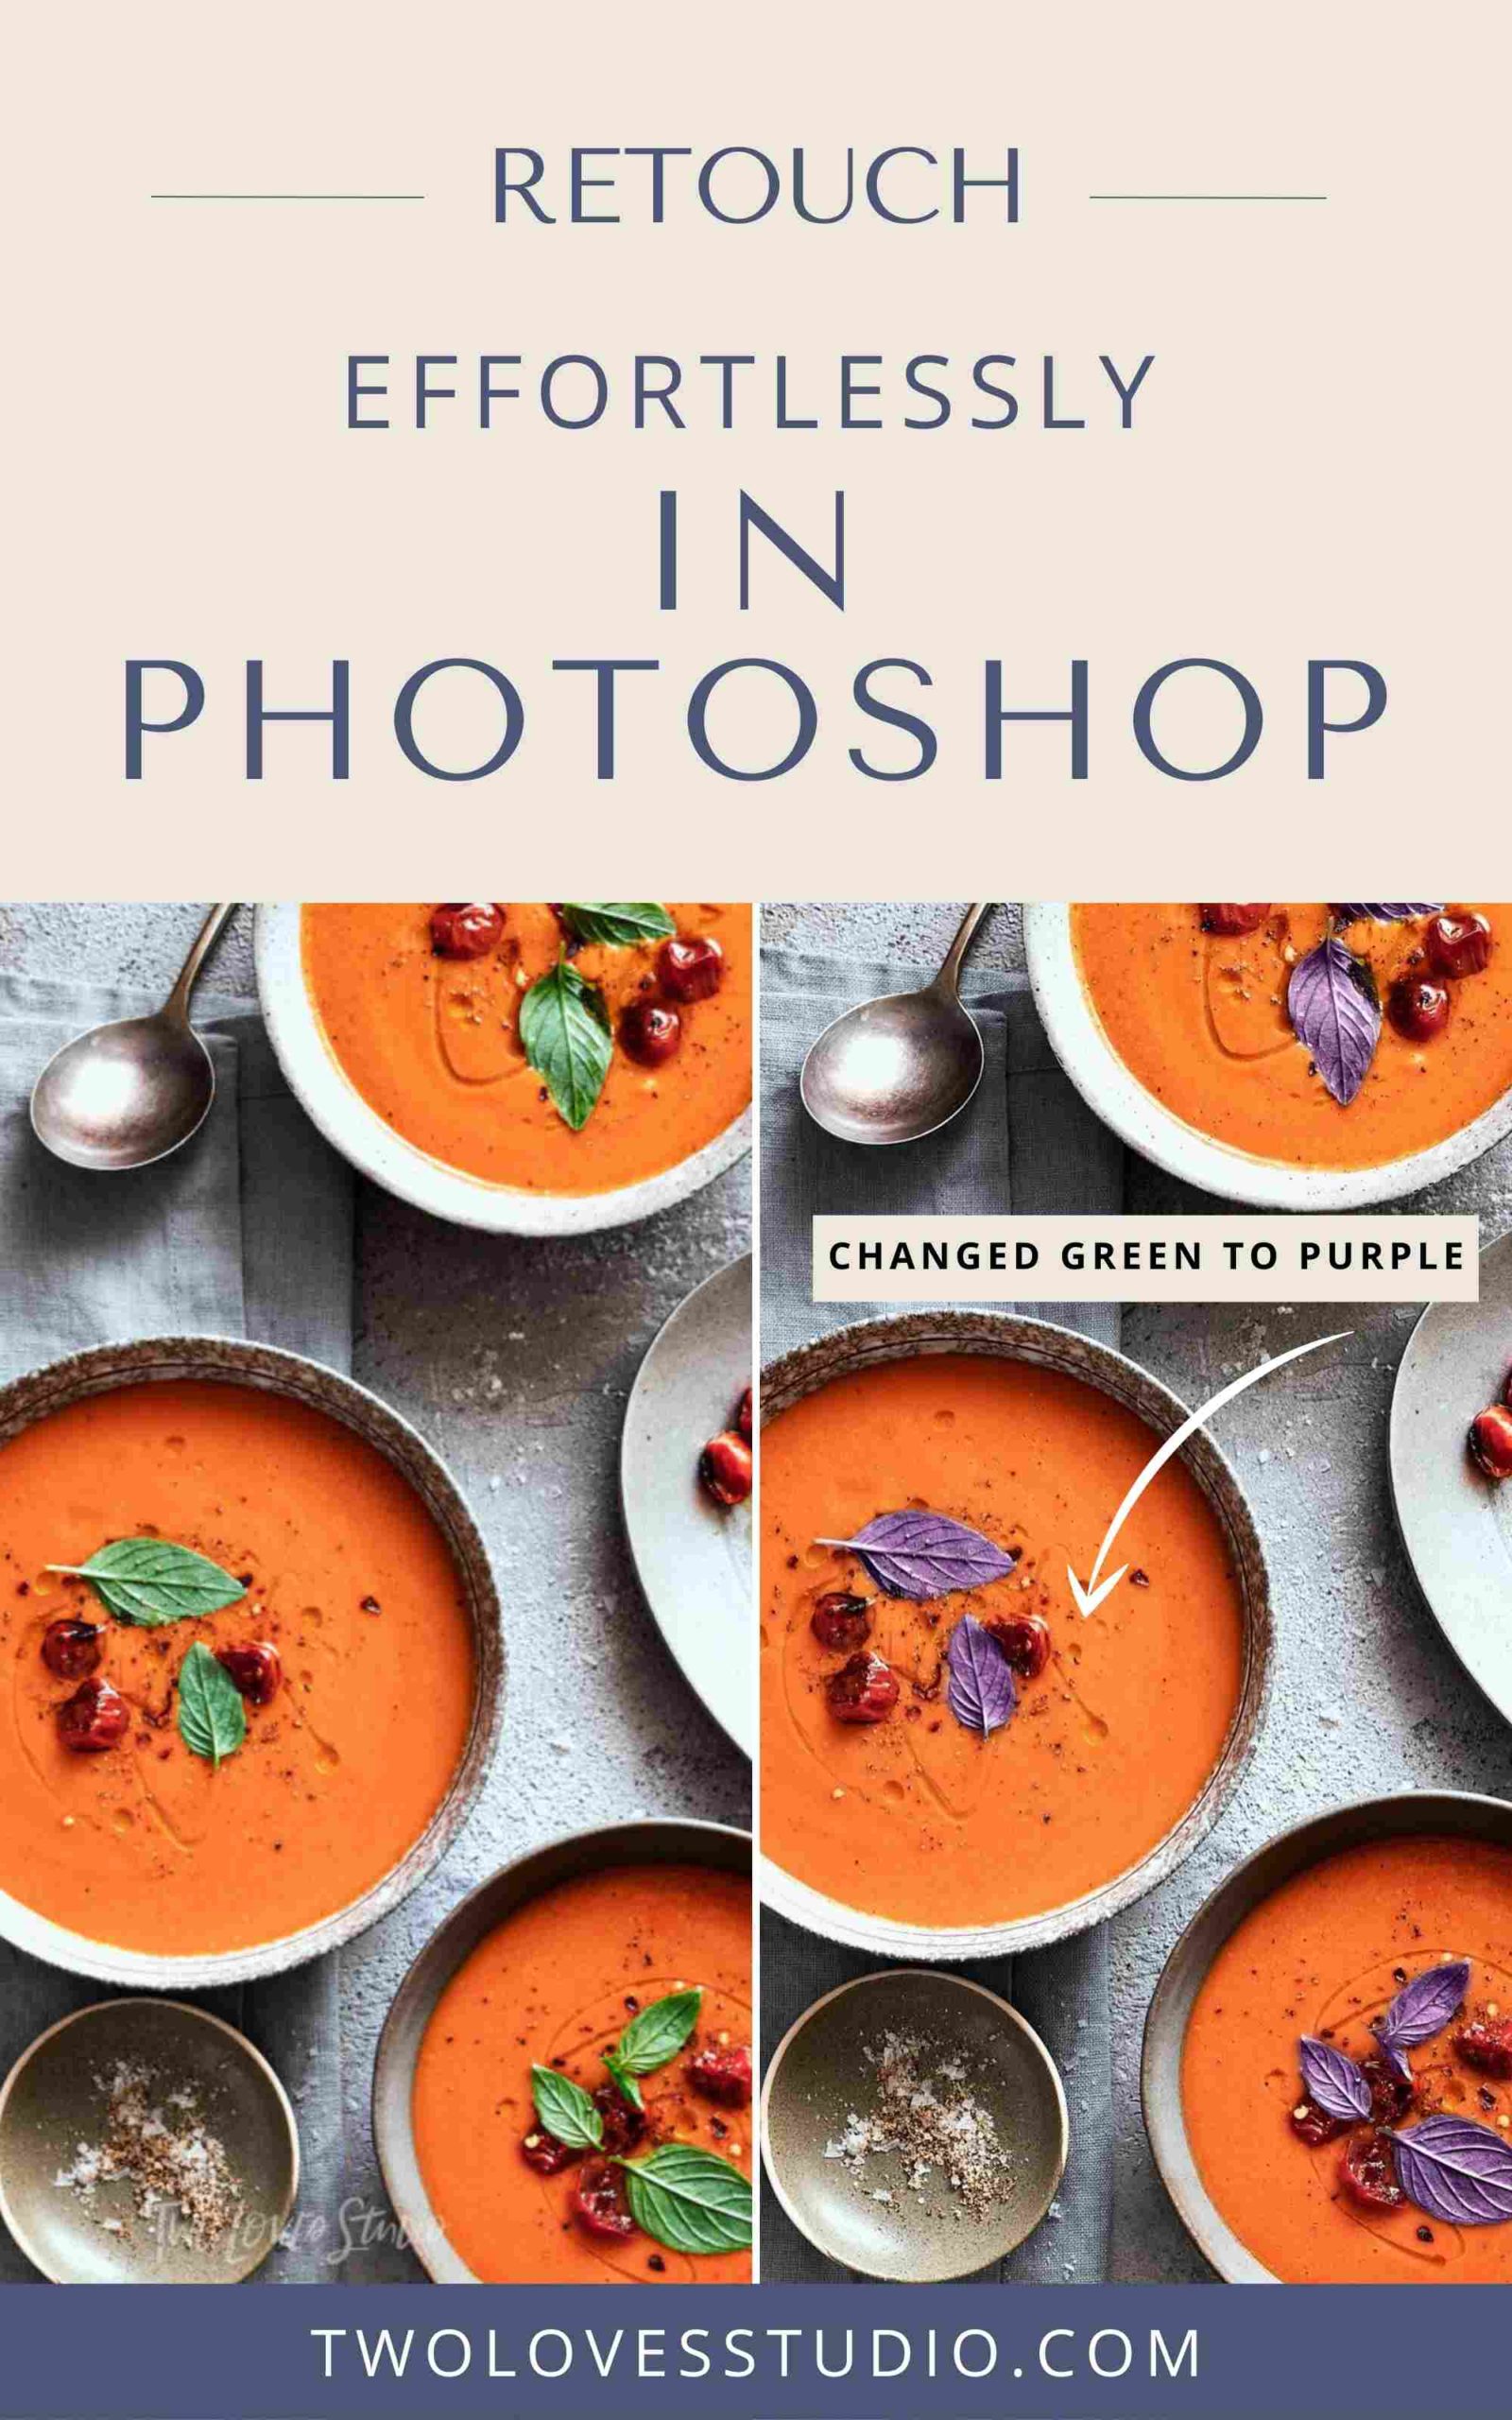
Use Photoshop to change the colour of anything!
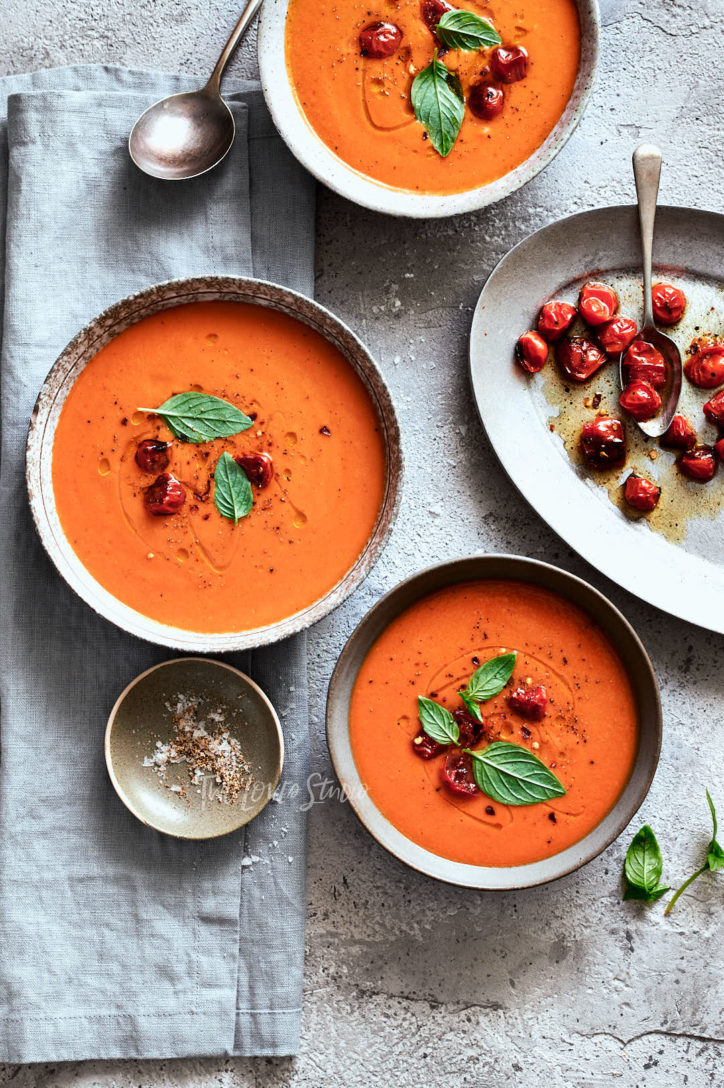
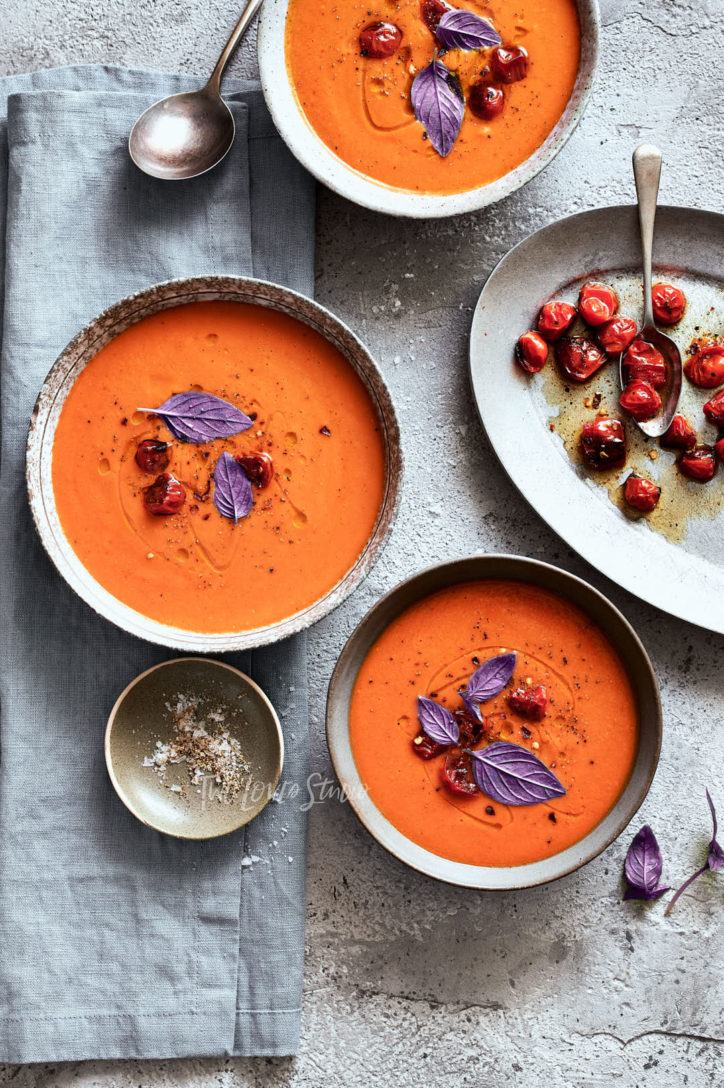
Retouching Photos is an Important Skill to Make Your Work Look Professional
As you progress and grow as a photographer, you will get to a point where you’re looking to take your images to the next level and perfect them.
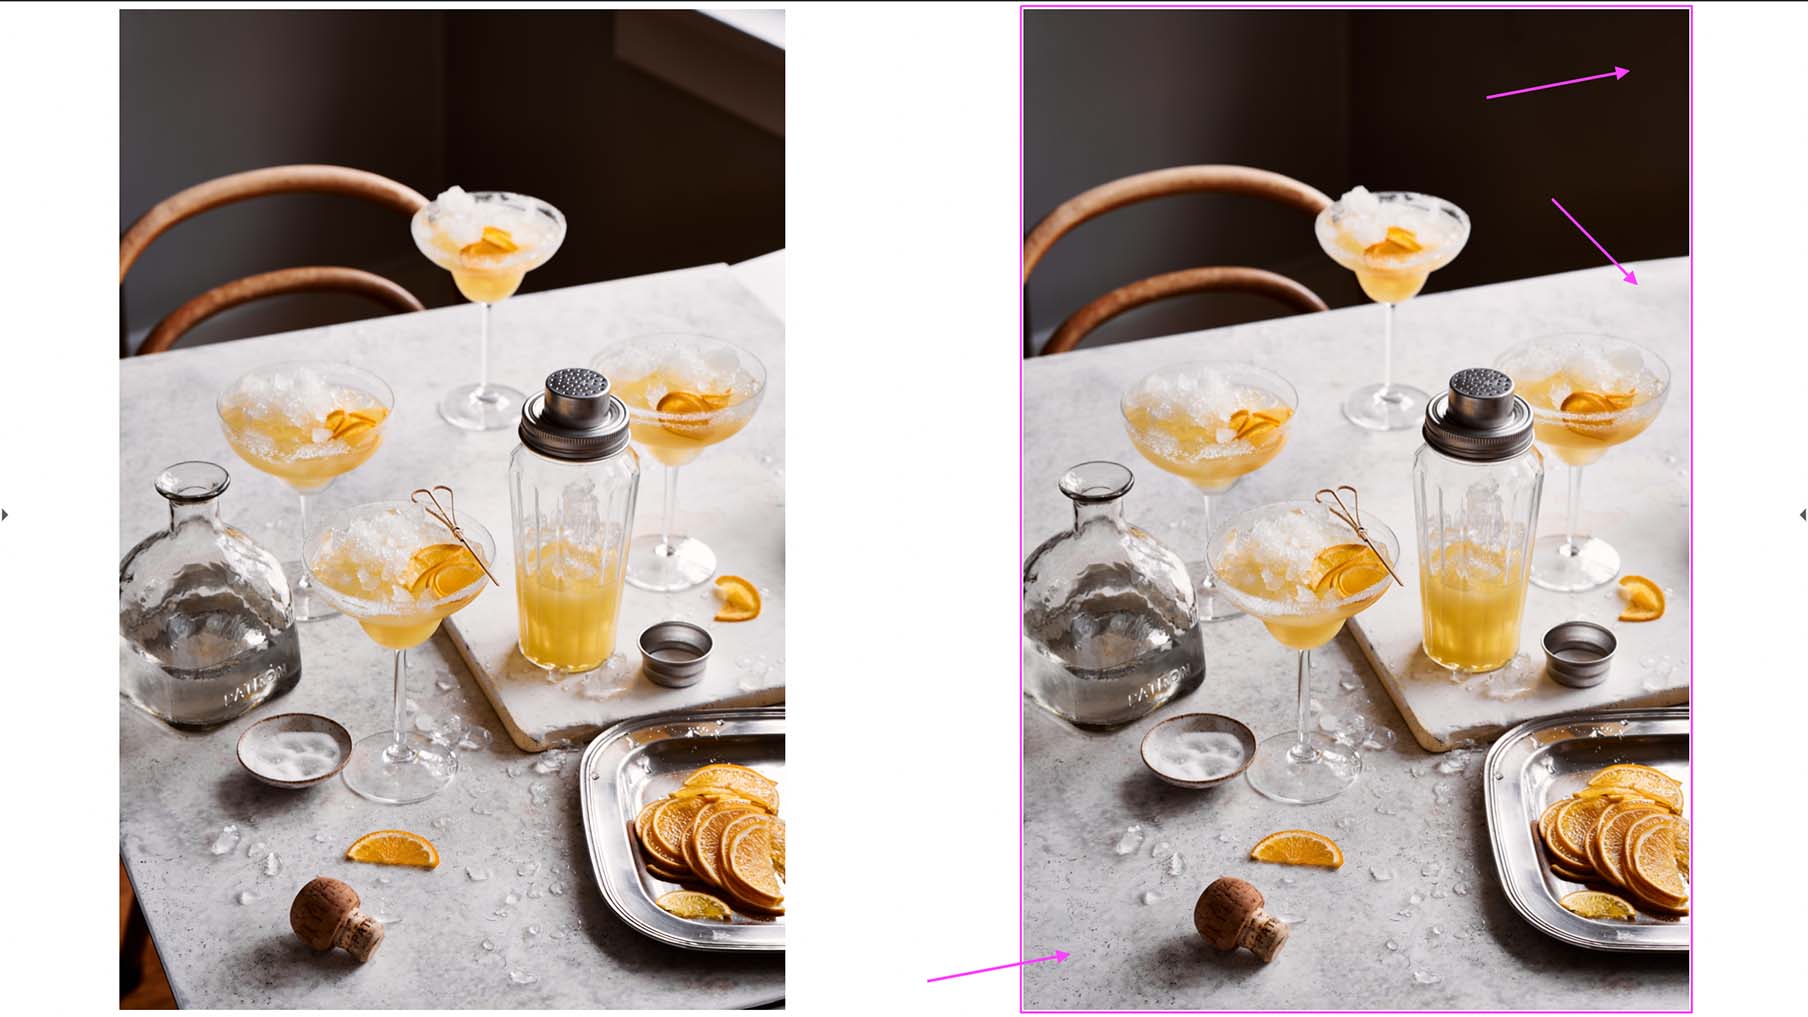
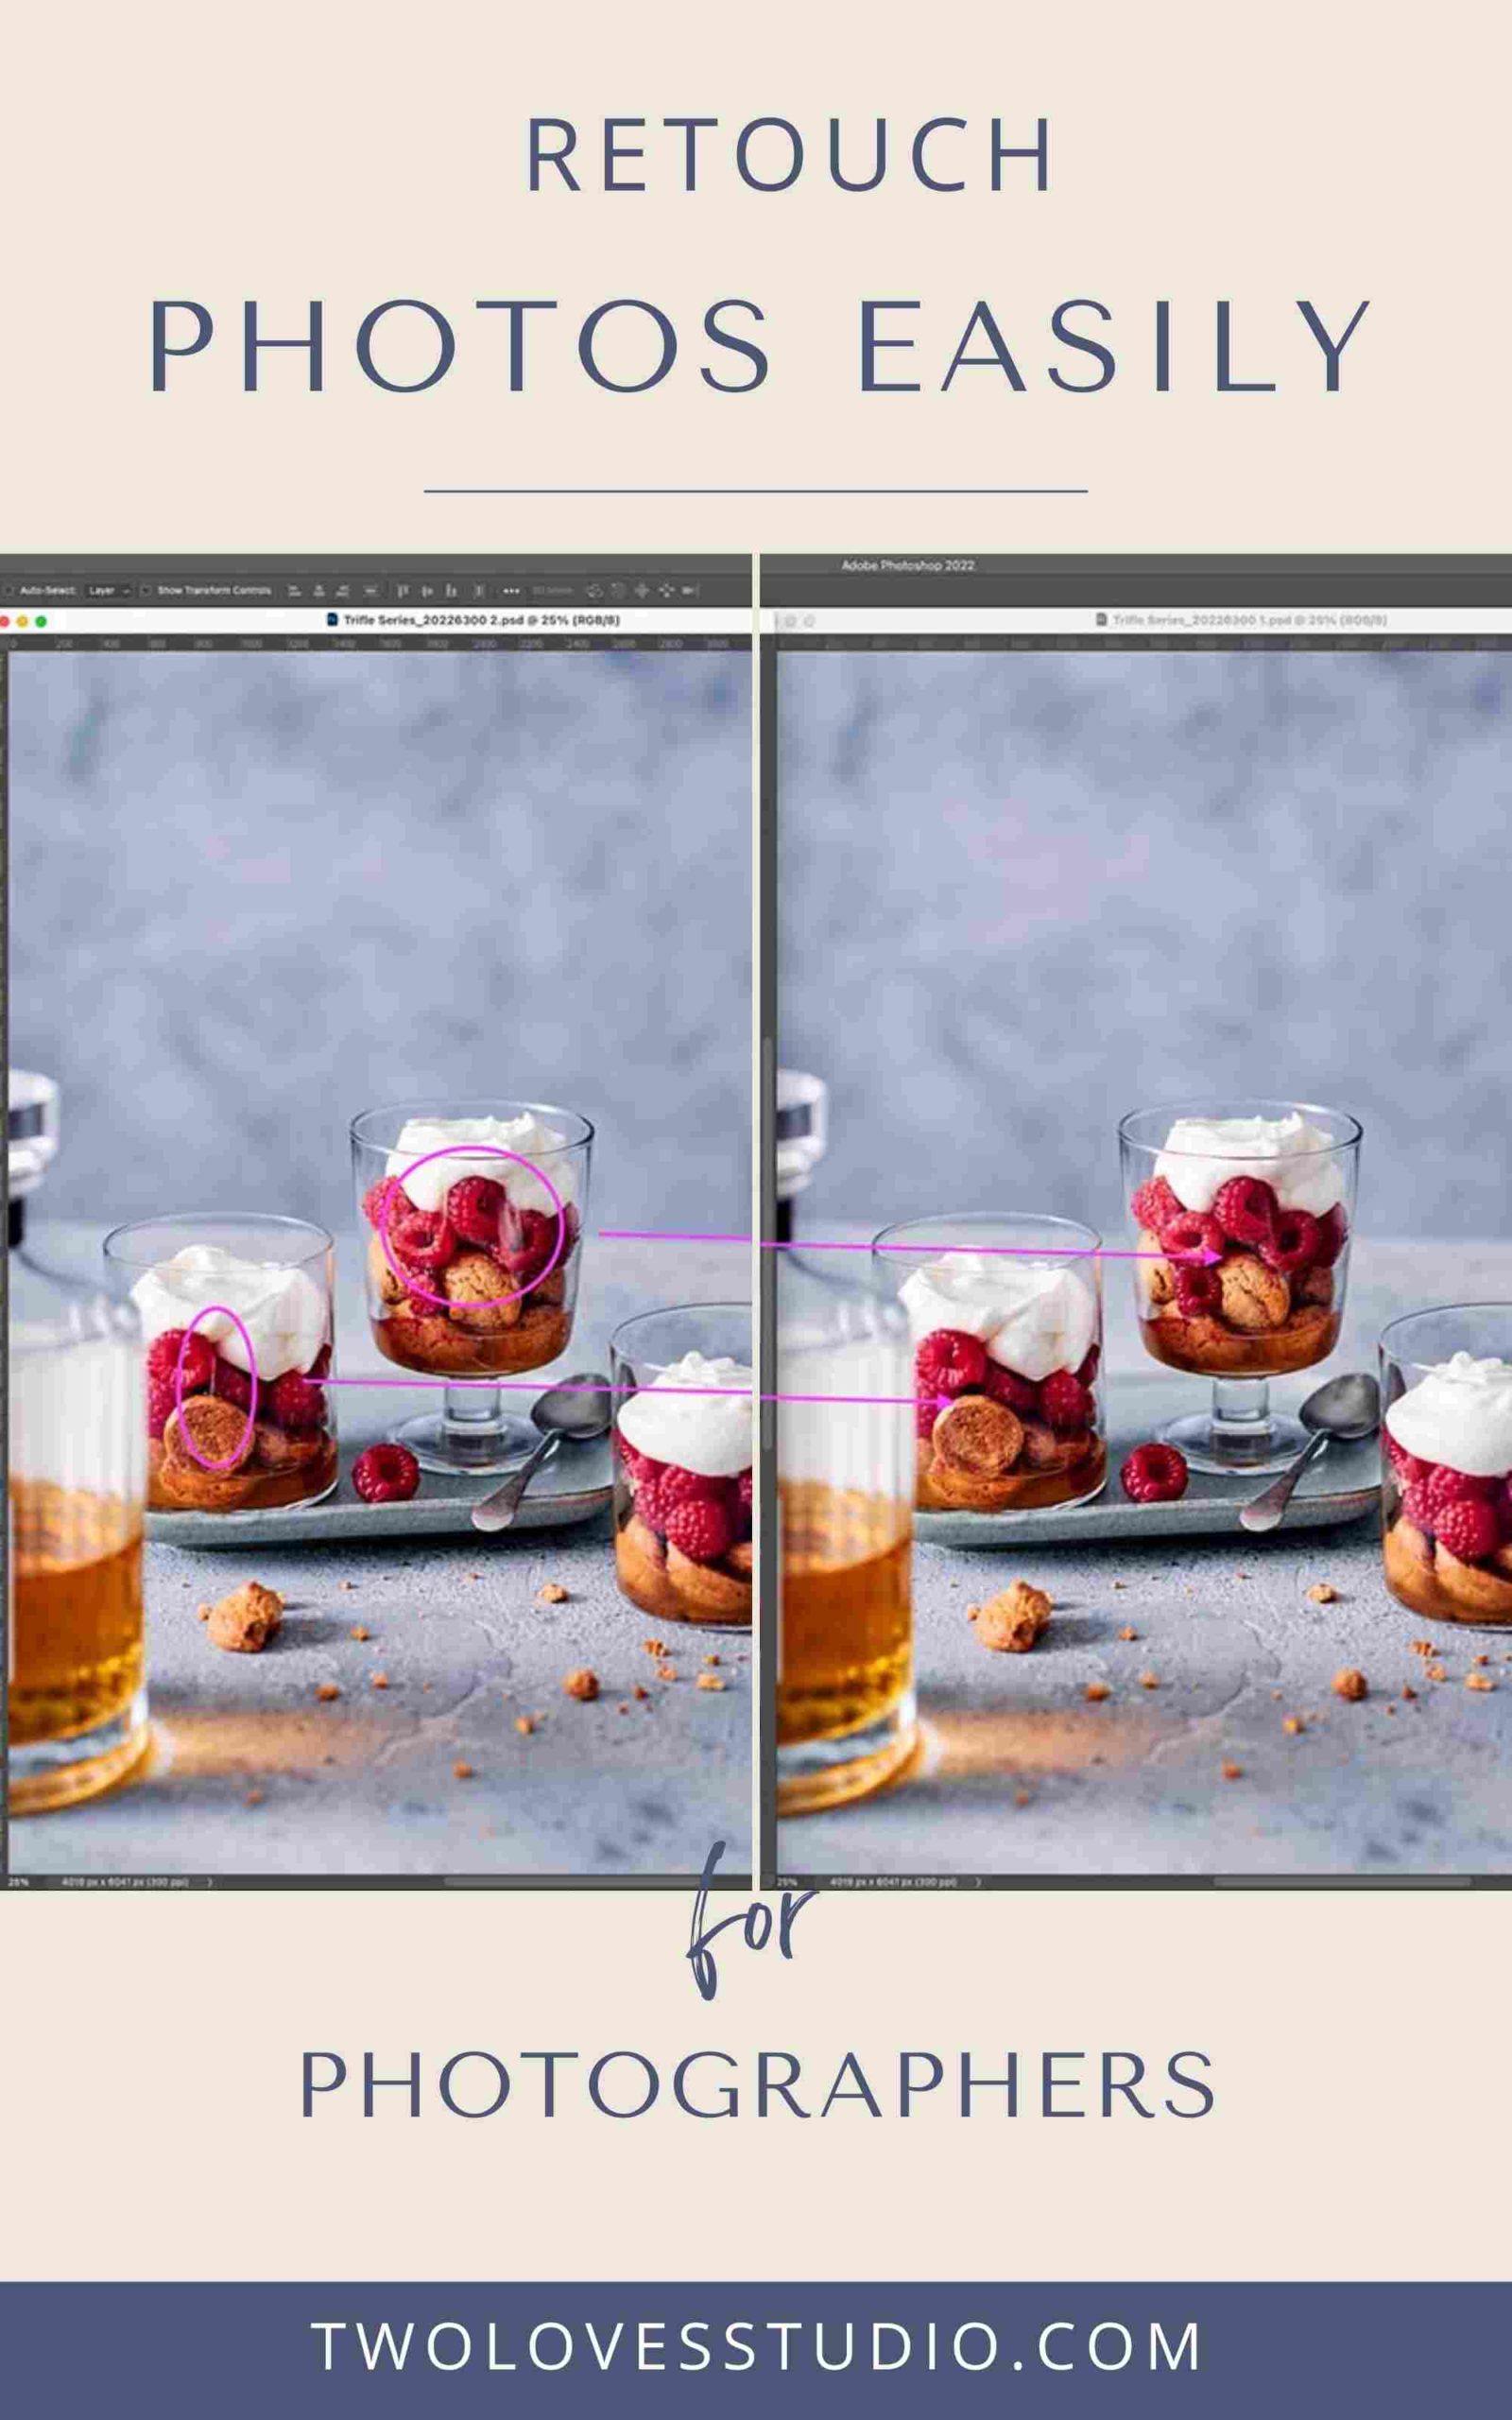
Many pro-level photographers will have an element of retouching to their work. Especially if you’re shooting anything beverage related or with glassware in the frame. It’s very useful to have retouching skills because you will encounter clients asking you to ‘remove that fork’ from the image. Or ‘can you extend this background, please’. Or perhaps you can see your reflection in a spoon!
Easily Extend Backgrounds in Photoshop
Learn How to Retouch with Retouching Food Photography Masterclass
Early in my career, I had a chance to be featured in a magazine — my first time! The client came back to me and said they needed more space for text and I needed to remove a few objects.
This was going to be in a magazine and I had zero skills to make this happen. My husband and I pulled an all-nighter, spending countless hours on YouTube trying to figure it out. It was messy.
Don’t make the same mistake I did. I teaching a retouching course to empower photographers to learn the top 10 Ways to Use Photoshop to Retouch Food Photography. I know first-hand how stressful it is to not be able to deliver the work the client needs, and guess what? Photoshop is much easier than you think!
The Skills you’ll walk away with are:
- Navigate Photoshop, understand layers and masking
- Brush and Tool settings
- How to remove objects, blemishes and extend backgrounds (a must-have skill!)
- Composite multiple images, essential for any beverage work
- Straighten objects and lines. Shape objects as desired
- Change the colour of anything
- Dodge and Burn to enhance contrast, light and diminish blemishes
Take a peek at what you’ll learn in Retouching Food Photography.
Use Photoshop to Remove Reflections
When Should You Learn Retouching Photo Skills?
Good question! My honest answer is that you’ll need these skills and from experience is far less stressful to know these skills before a deadline, than to become a frantic mess trying to learn them a deliver assets at the same time.
If you’re able to edit in a RAW editor like Capture One Pro or Lightroom, shoot RAW files, are able to compose a scene and have done at least one paid client commission — you’re ready!
Unsure if this skill is something you should invest in? Ask me! I am always here for real talk.
Photoshop is Actually Easy, I Promise!
I’ve taught hundreds of photographers how to use Photoshop and retouch photos like a pro.
The common thing I hear is that ‘Photoshop isn’t scary at all’ and ‘I’d wished I’d learned this sooner’.

Retouching is one of my favourite skills. It’s amazing the creative control you can have with a little Photoshop magic (and know-how!). Which retouching skill are you most excited about?


Dagmara
Thank you for the tips!