It’s no secret if you know me and my blog that I am self-proclaimed editing nerd. Retouching food photography gives me the ability to perfect my photography.
It’s my favourite part of the process and the problems I can solve in Photos allow me to create better work and lean into my creative visions.
Here are 10 ways that I use Photoshop to retouch food photography:
- Creating GIFs: the easiest way to get started with motion.
- Clean subjects: remove blemishes & imperfections.
- Build the perfect image with compositing.
- Remove reflections & distractions.
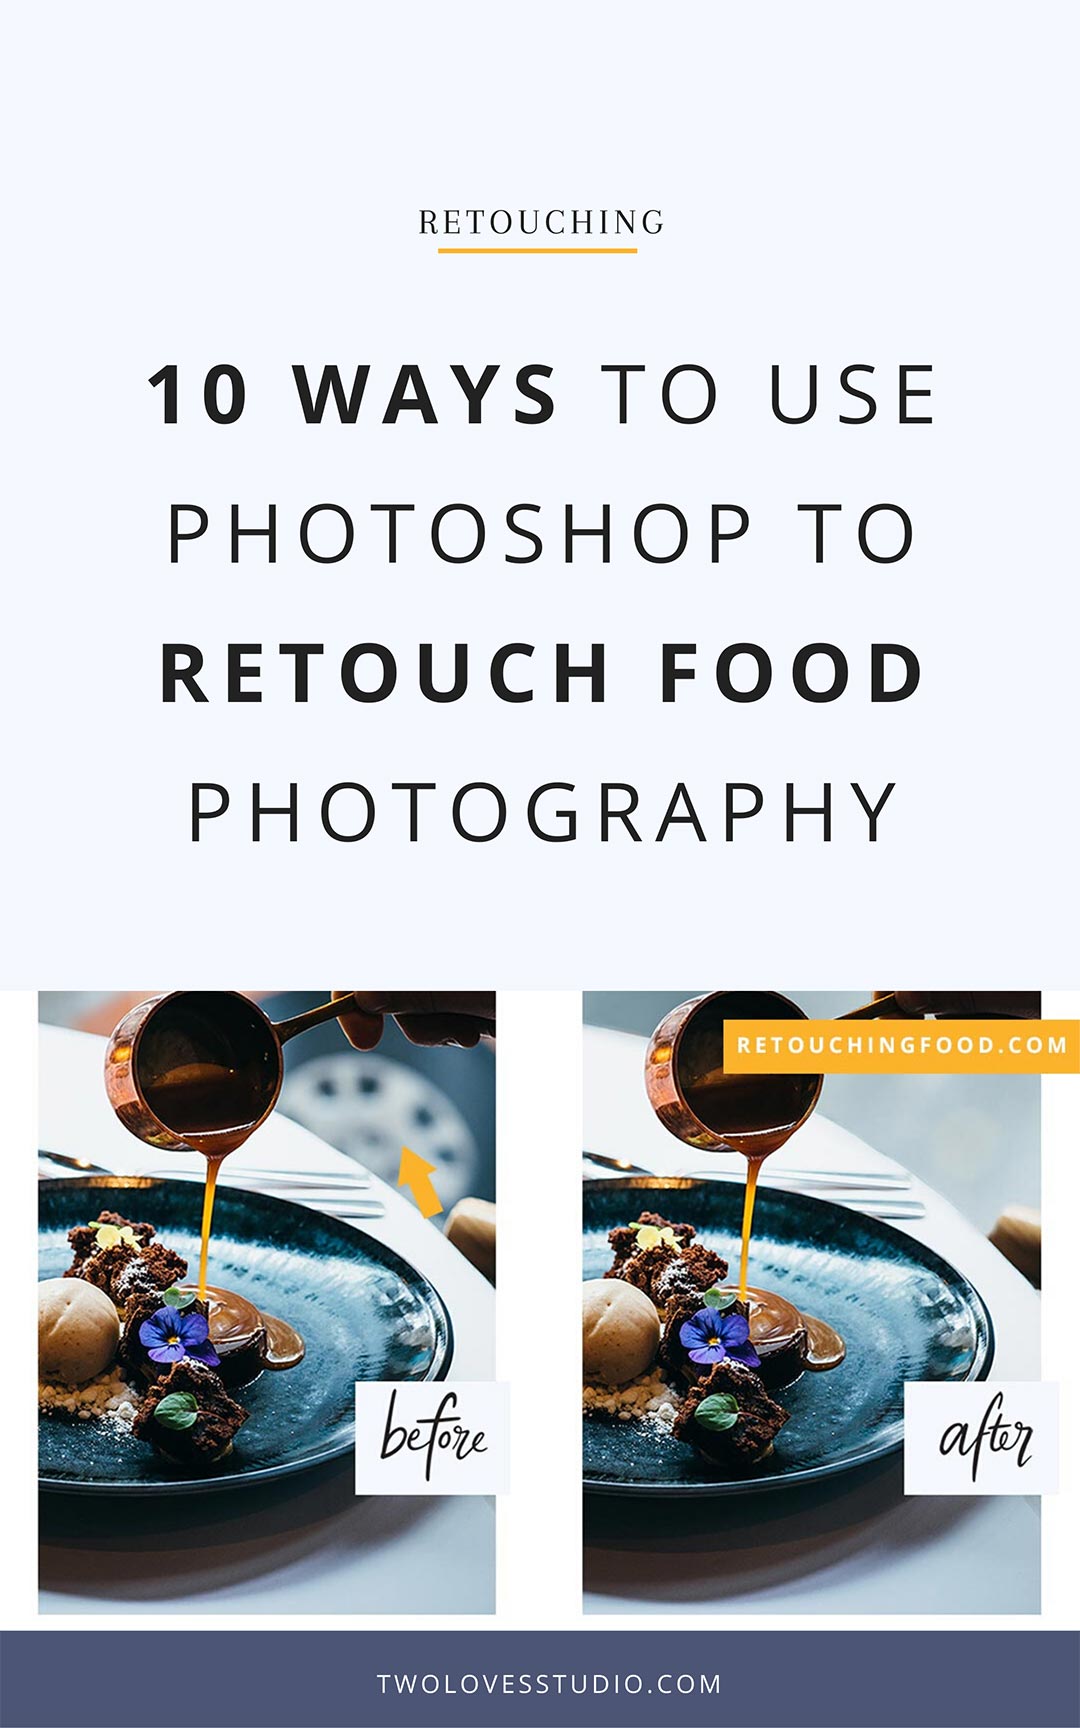
- Remove large & complex objects.
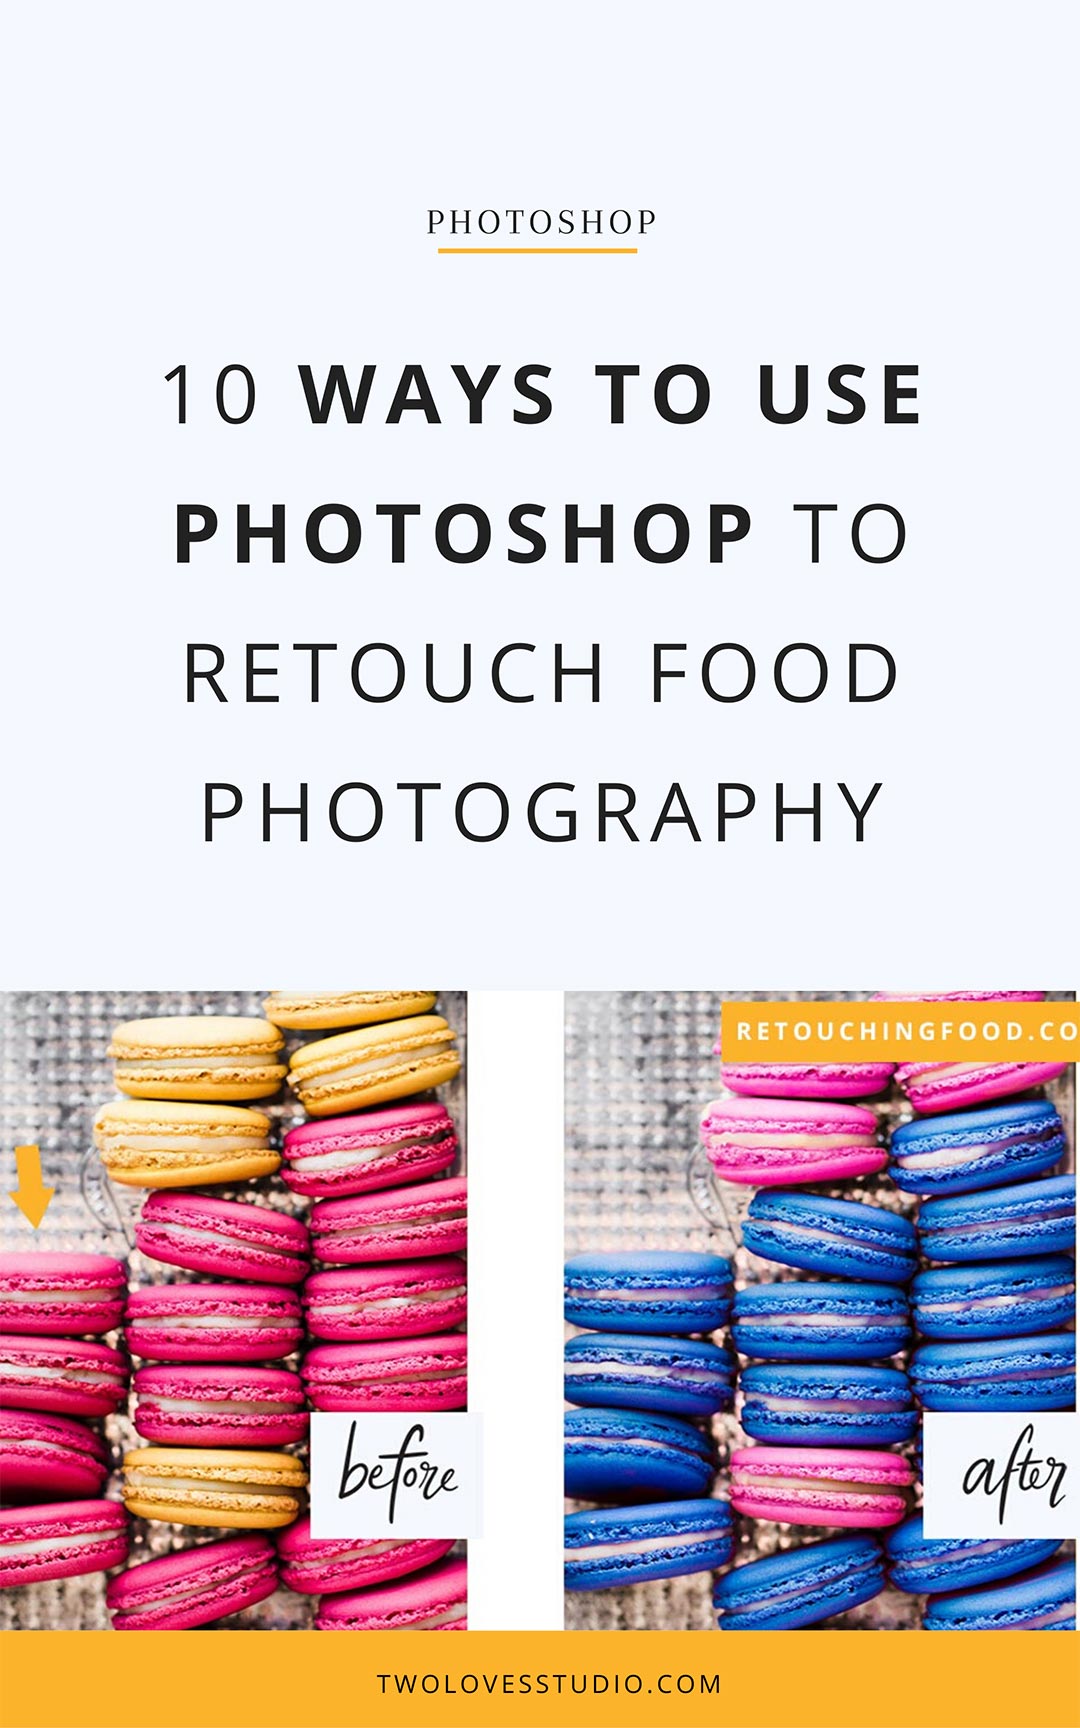
- Change the colour of food, ingredients & subjects.
- Touch up colours for evenness.
- Sculpt light & perfect contrast for impact.
- Straighten lines & shape objects.
- Extend & touch up backgrounds.
Let’s dive into each way and look at some examples.
Creating GIFs: The Easiest Way to Get Started With Motion.
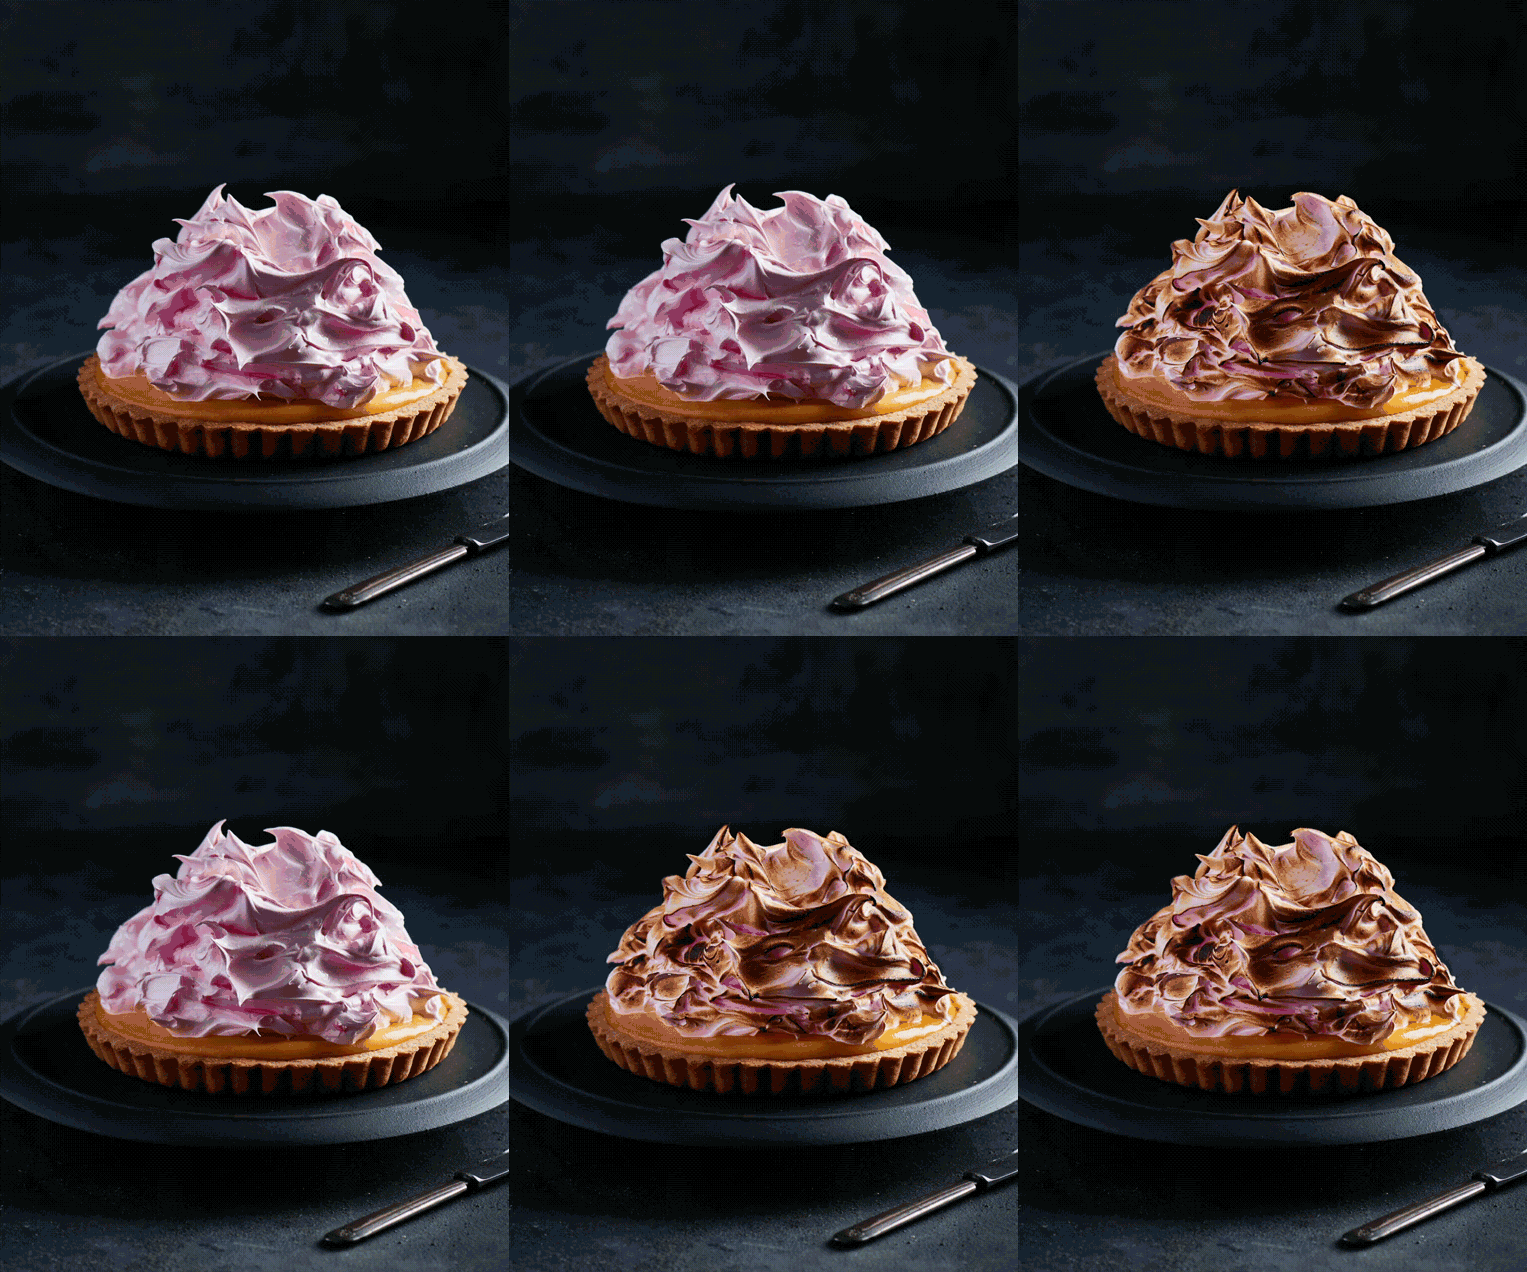
Using Photoshop to create GIFs is the easiest way to get started with motion.
By taking a series of shots from your food story, you can put together a very easy, but fun food story that’s animated.
GIFs differ from Cinemagraphs & Stop Motion, and is much easy and quicker to concept, shoot and produce.
I love sharing GIFs on Instagram and making my content go further whilst working less! Here is one of the top-performing GIFs.
Clean Subjects: Remove Blemishes & Imperfections.
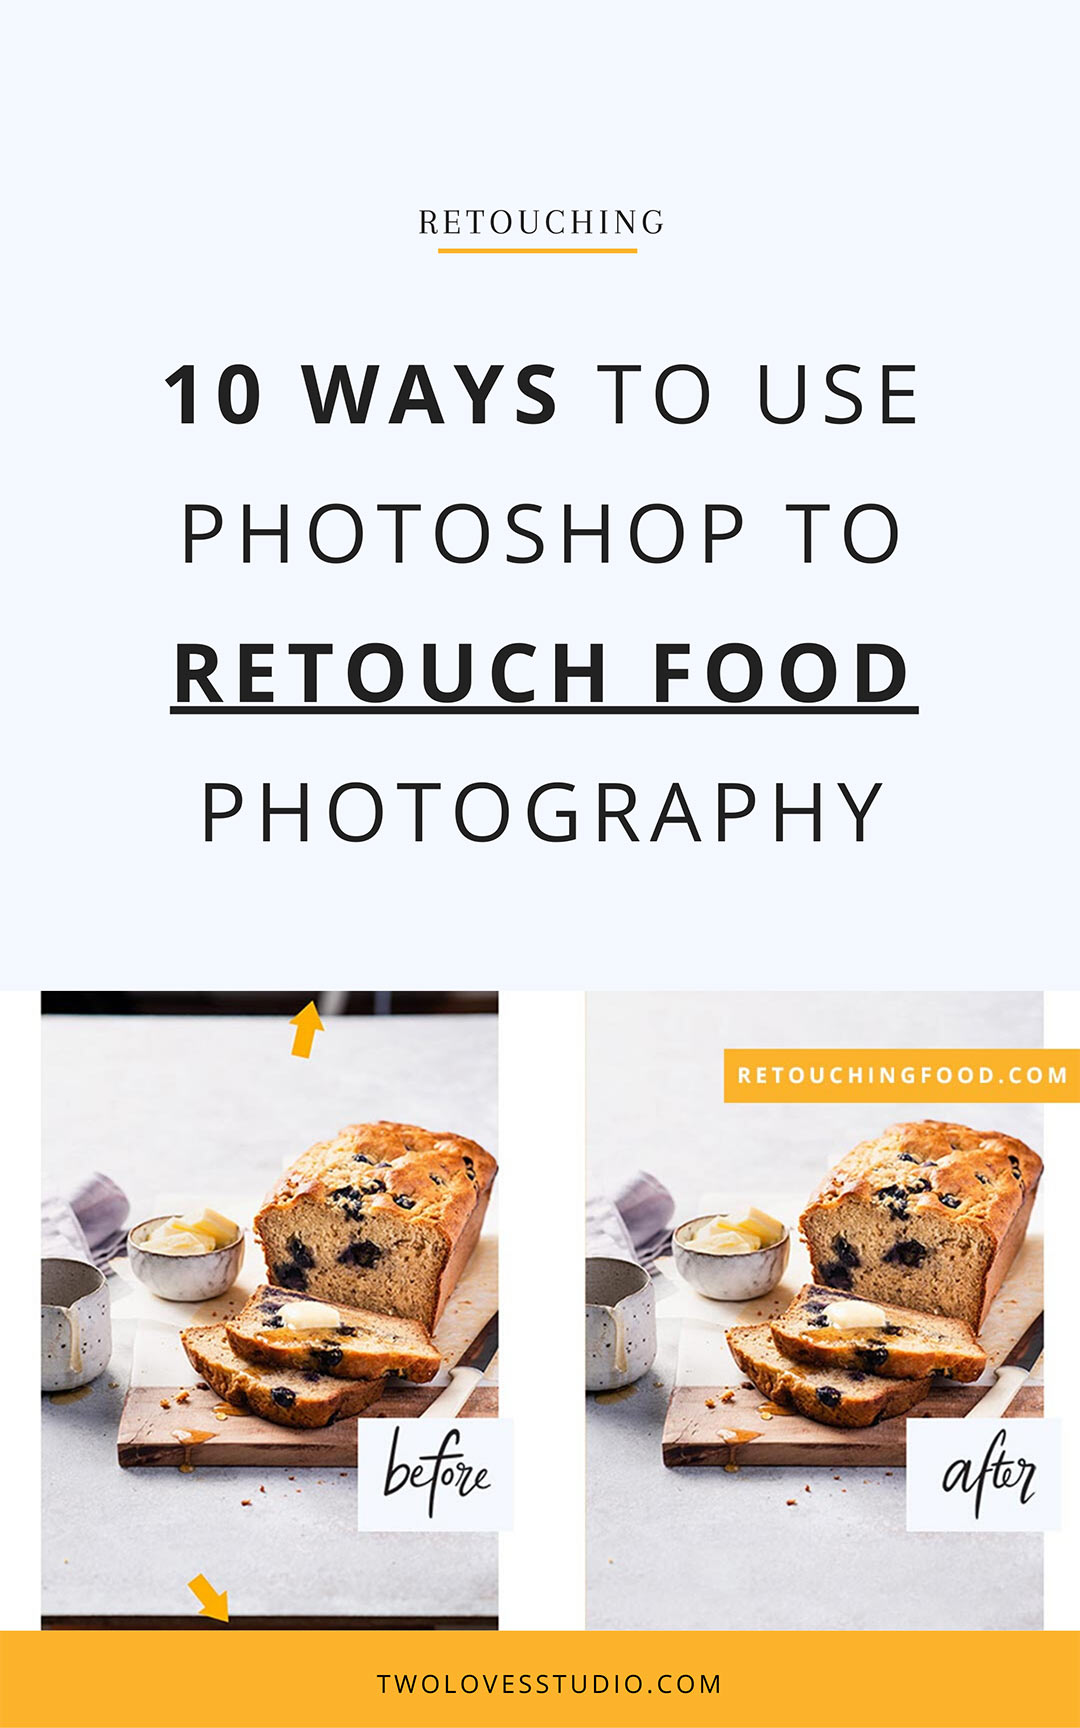
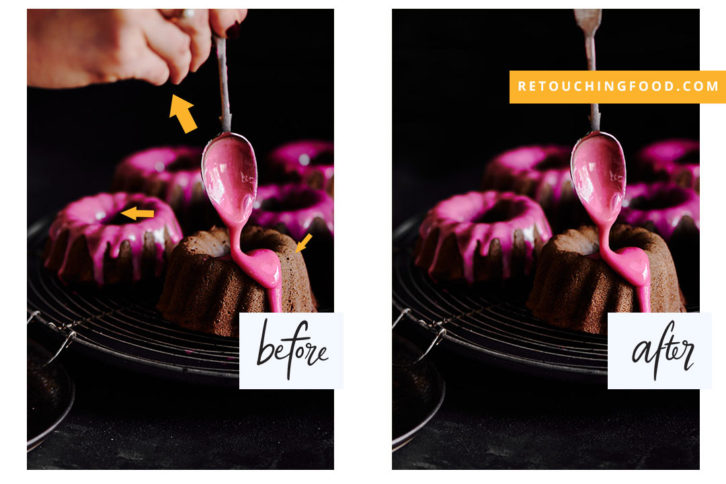
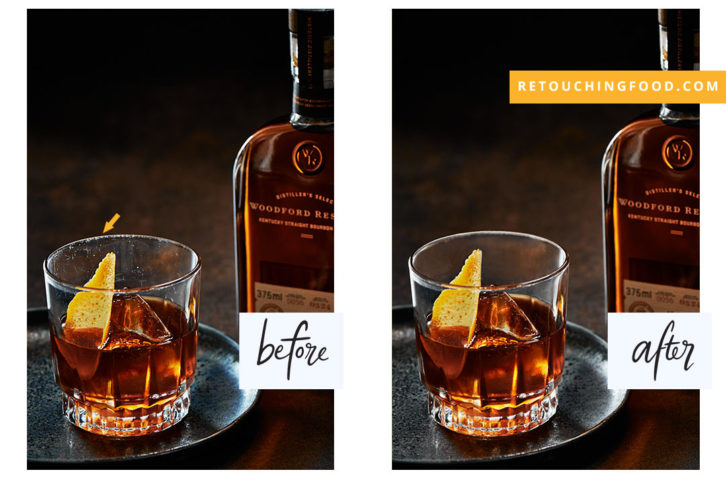
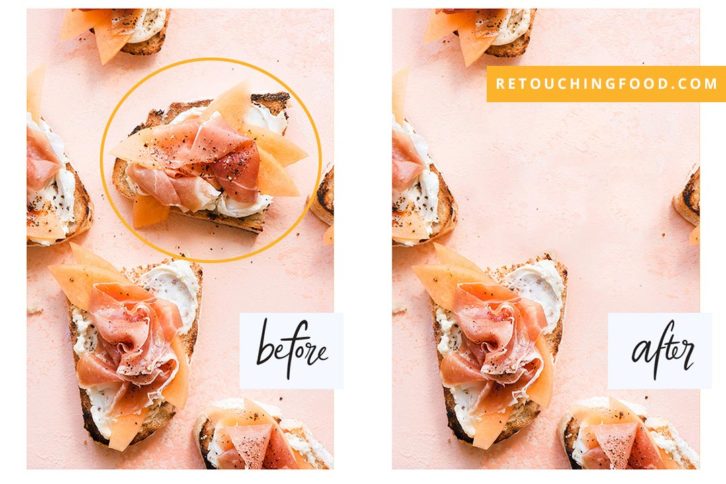
With every photoshoot I do, I take my images into Photoshop and spend a few minutes cleaning the subjects an backgrounds to ensure my shots imperfection and blemish-free.
It’s one of the easiest ways to use Photoshop for retouching food photography that’ll give great results.
Not because food is perfect always, but imperfections and blemishes can be distracting. For me, removing those distractions allows one to really immerse themselves in the food and the story being told.
Just look at how a few minutes of cleaning in Photoshop can take an image to a whole new level!
Build the Perfect Image with Compositing.
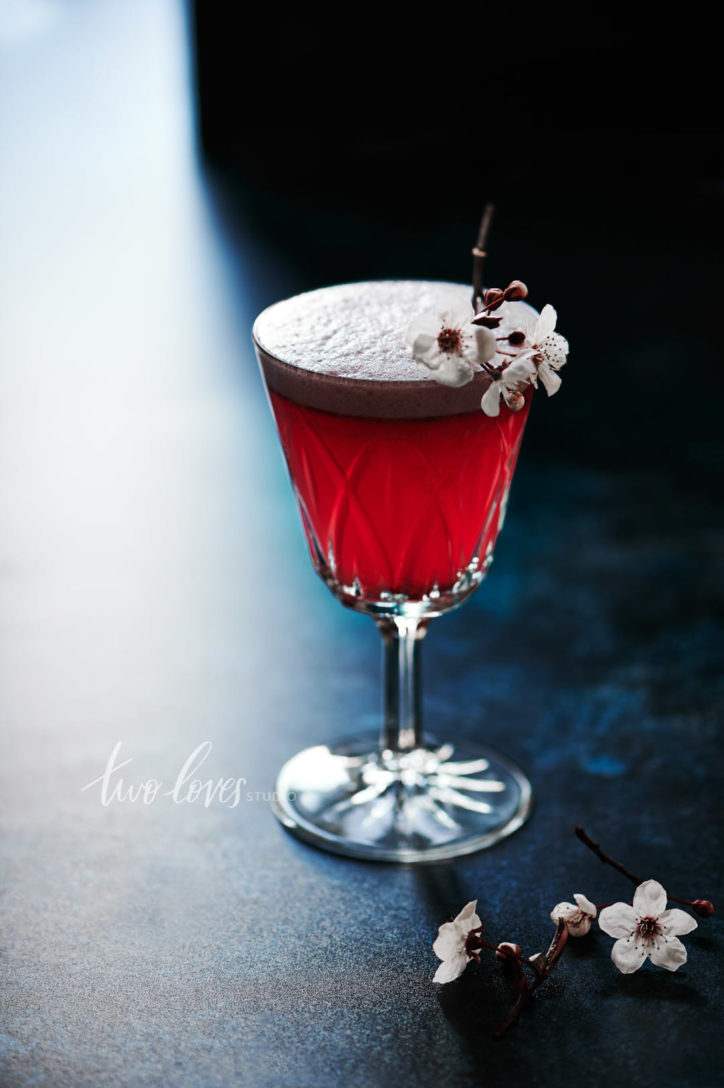
Many commercial images are created by putting multiple images together as one. Some shots are not possible without compositing images together in Photoshop.
Especially in beverage photography.
Being able to capture movement in multiple shots, different lighting, apertures & DOF, as well as focus stacking can allow you to create photos that aren’t possible otherwise.
Remove Reflections & Distractions.
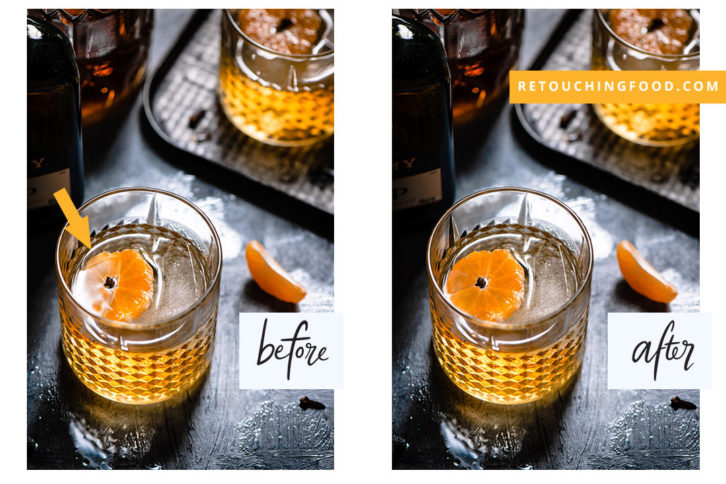
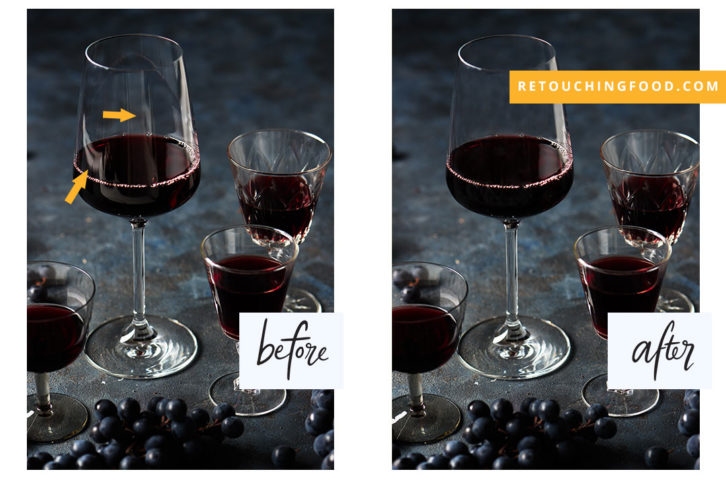
Being able to remove distractions and relations from food photography again can allow the viewer to focus on the beauty of your food.
It’s the little things that can really turn a photo into something stunning.
Using a combination of cleaning and removal tools, you can remove any reflections. In wine glasses, spoons, metal props – you name it!
Remove Large & Complex Objects.
Photography is about problem-solving. Photoshop allows you to problem-solve when you have challenges on set.
On one photoshoot on location, a car pulled up behind the hero pour shot. I ended up shooting a $35 dessert with a huge orange car in the background.
Thanks to Photoshop, I could remove this large object in minutes (not hours) and make it look like it was never even there!
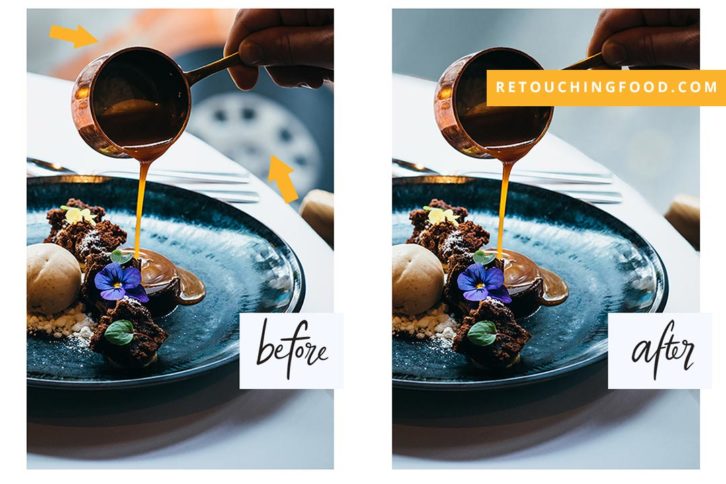
This way to use Photoshop for retouching has been by far the handiest to help me complete many client shoots over the years.
RELATED: Content-Aware My Favourite Photoshop Tool For Retouching
Change the Colour of Food, Ingredients & Subjects.
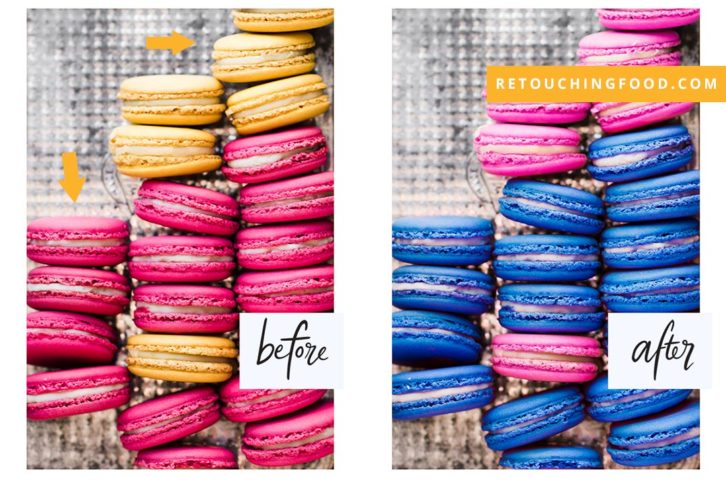
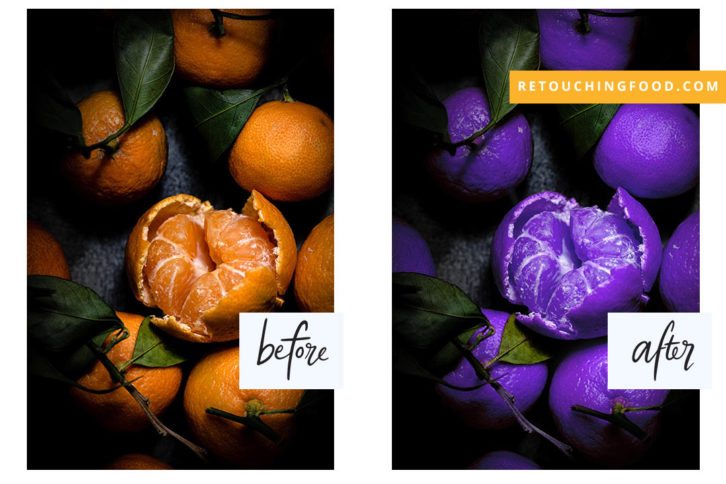
In a niche where colour is so important, being able to tweak and adjust colour for the perfect concept or client work is important.
I’ve been asked to change the colour of a lot of things in client work, from mac ‘n’ cheese, to backgrounds, to plates, fresh fruit…the list goes on.
Let’s take a look at some of the times that I’ve changed colour in my work.
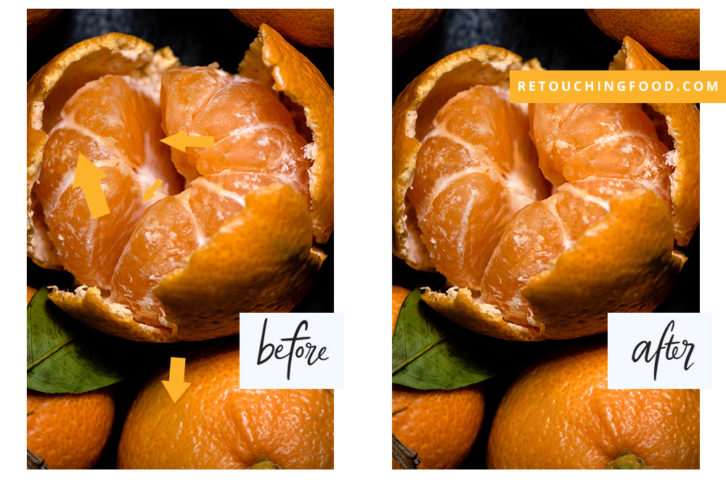
Touch up Colours for Evenness.
As well as changing colour, there are times when fresh produce, for example, doesn’t have perfect or even colouring. Photoshop gives you the ability to be able to touch up colour.
Just like this:
Sculpt Light & Perfect Contrast For Impact.
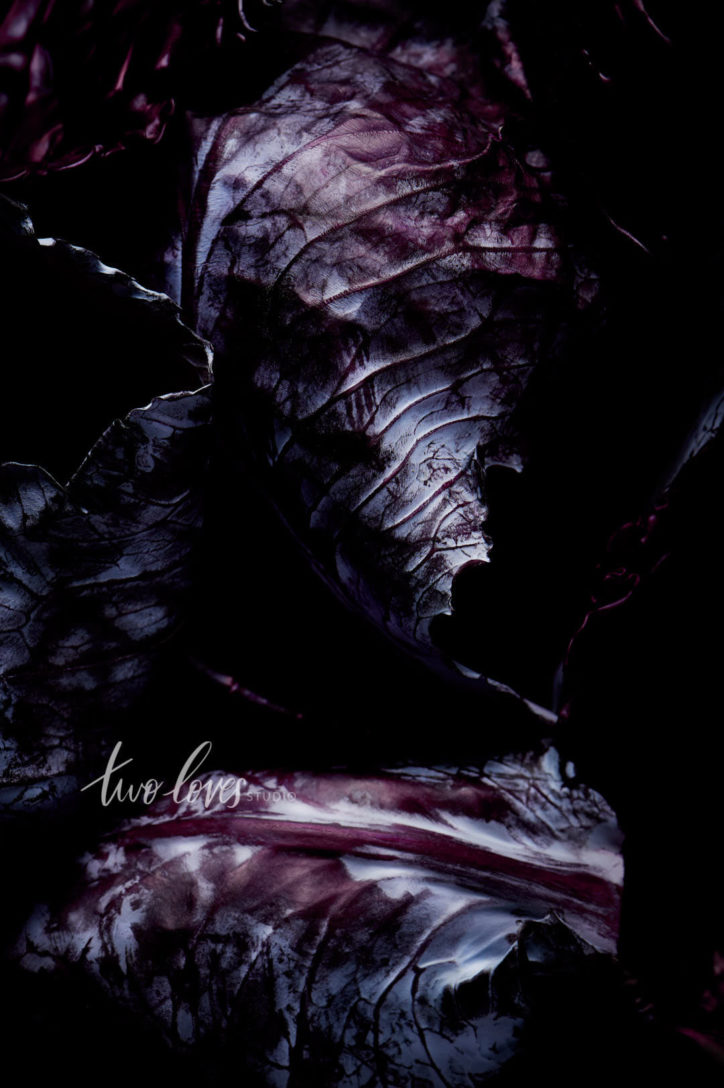
One way that I am focusing on taking my lighting to the next level is to focus on sculpting light and enhancing contrast in Photoshop.
Part of shaping light happens in editing. It’s true. That’s a secret people don’t often talk about. That doesn’t mean that you can perfect poor lighting in post, it means you focus on crafting your light in camera and in post.
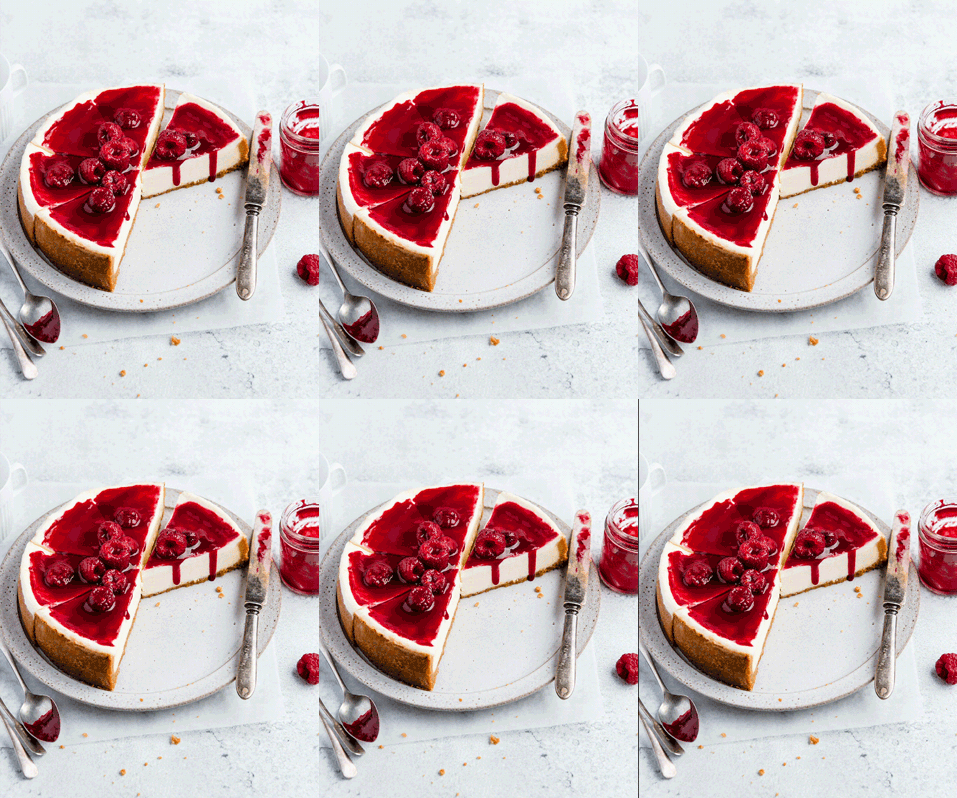
Straighten Lines & Shape Objects.
Distortion happens, rocked lines happen. It’s a pet peace for most photographers.
Although you’ll most likely want to correct this in-camera if you can, you can also rely on a few tools and techniques in Photoshop to straighten lines and shape objects.
Extend & touch up backgrounds.
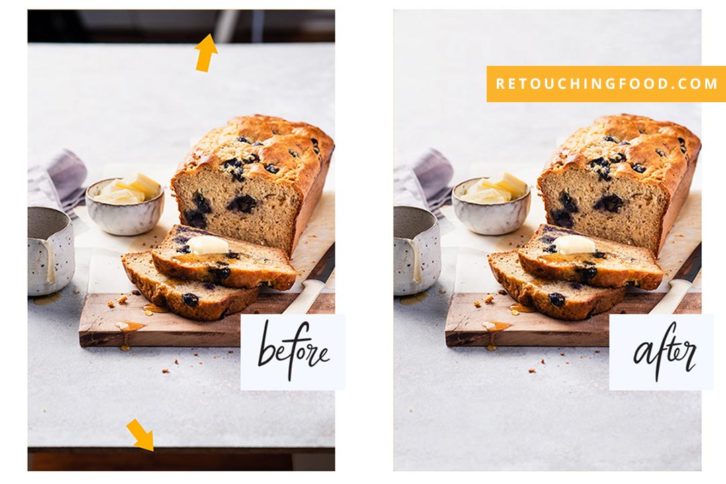
Last but certainly not least, if you don’t have the perfect sized backgrounds, you can simply extend them in Photoshop.
As well as touching them up to remove unwanted blemishes and distractions.
If you’re excited to learn from of these techniques and learn easy Photoshop retouching using simple techniques that will get you results in just minutes, check out my online training Retouching Food Photography.
Which of these ways to use Photoshop to retouch food photography are you most excited about?

