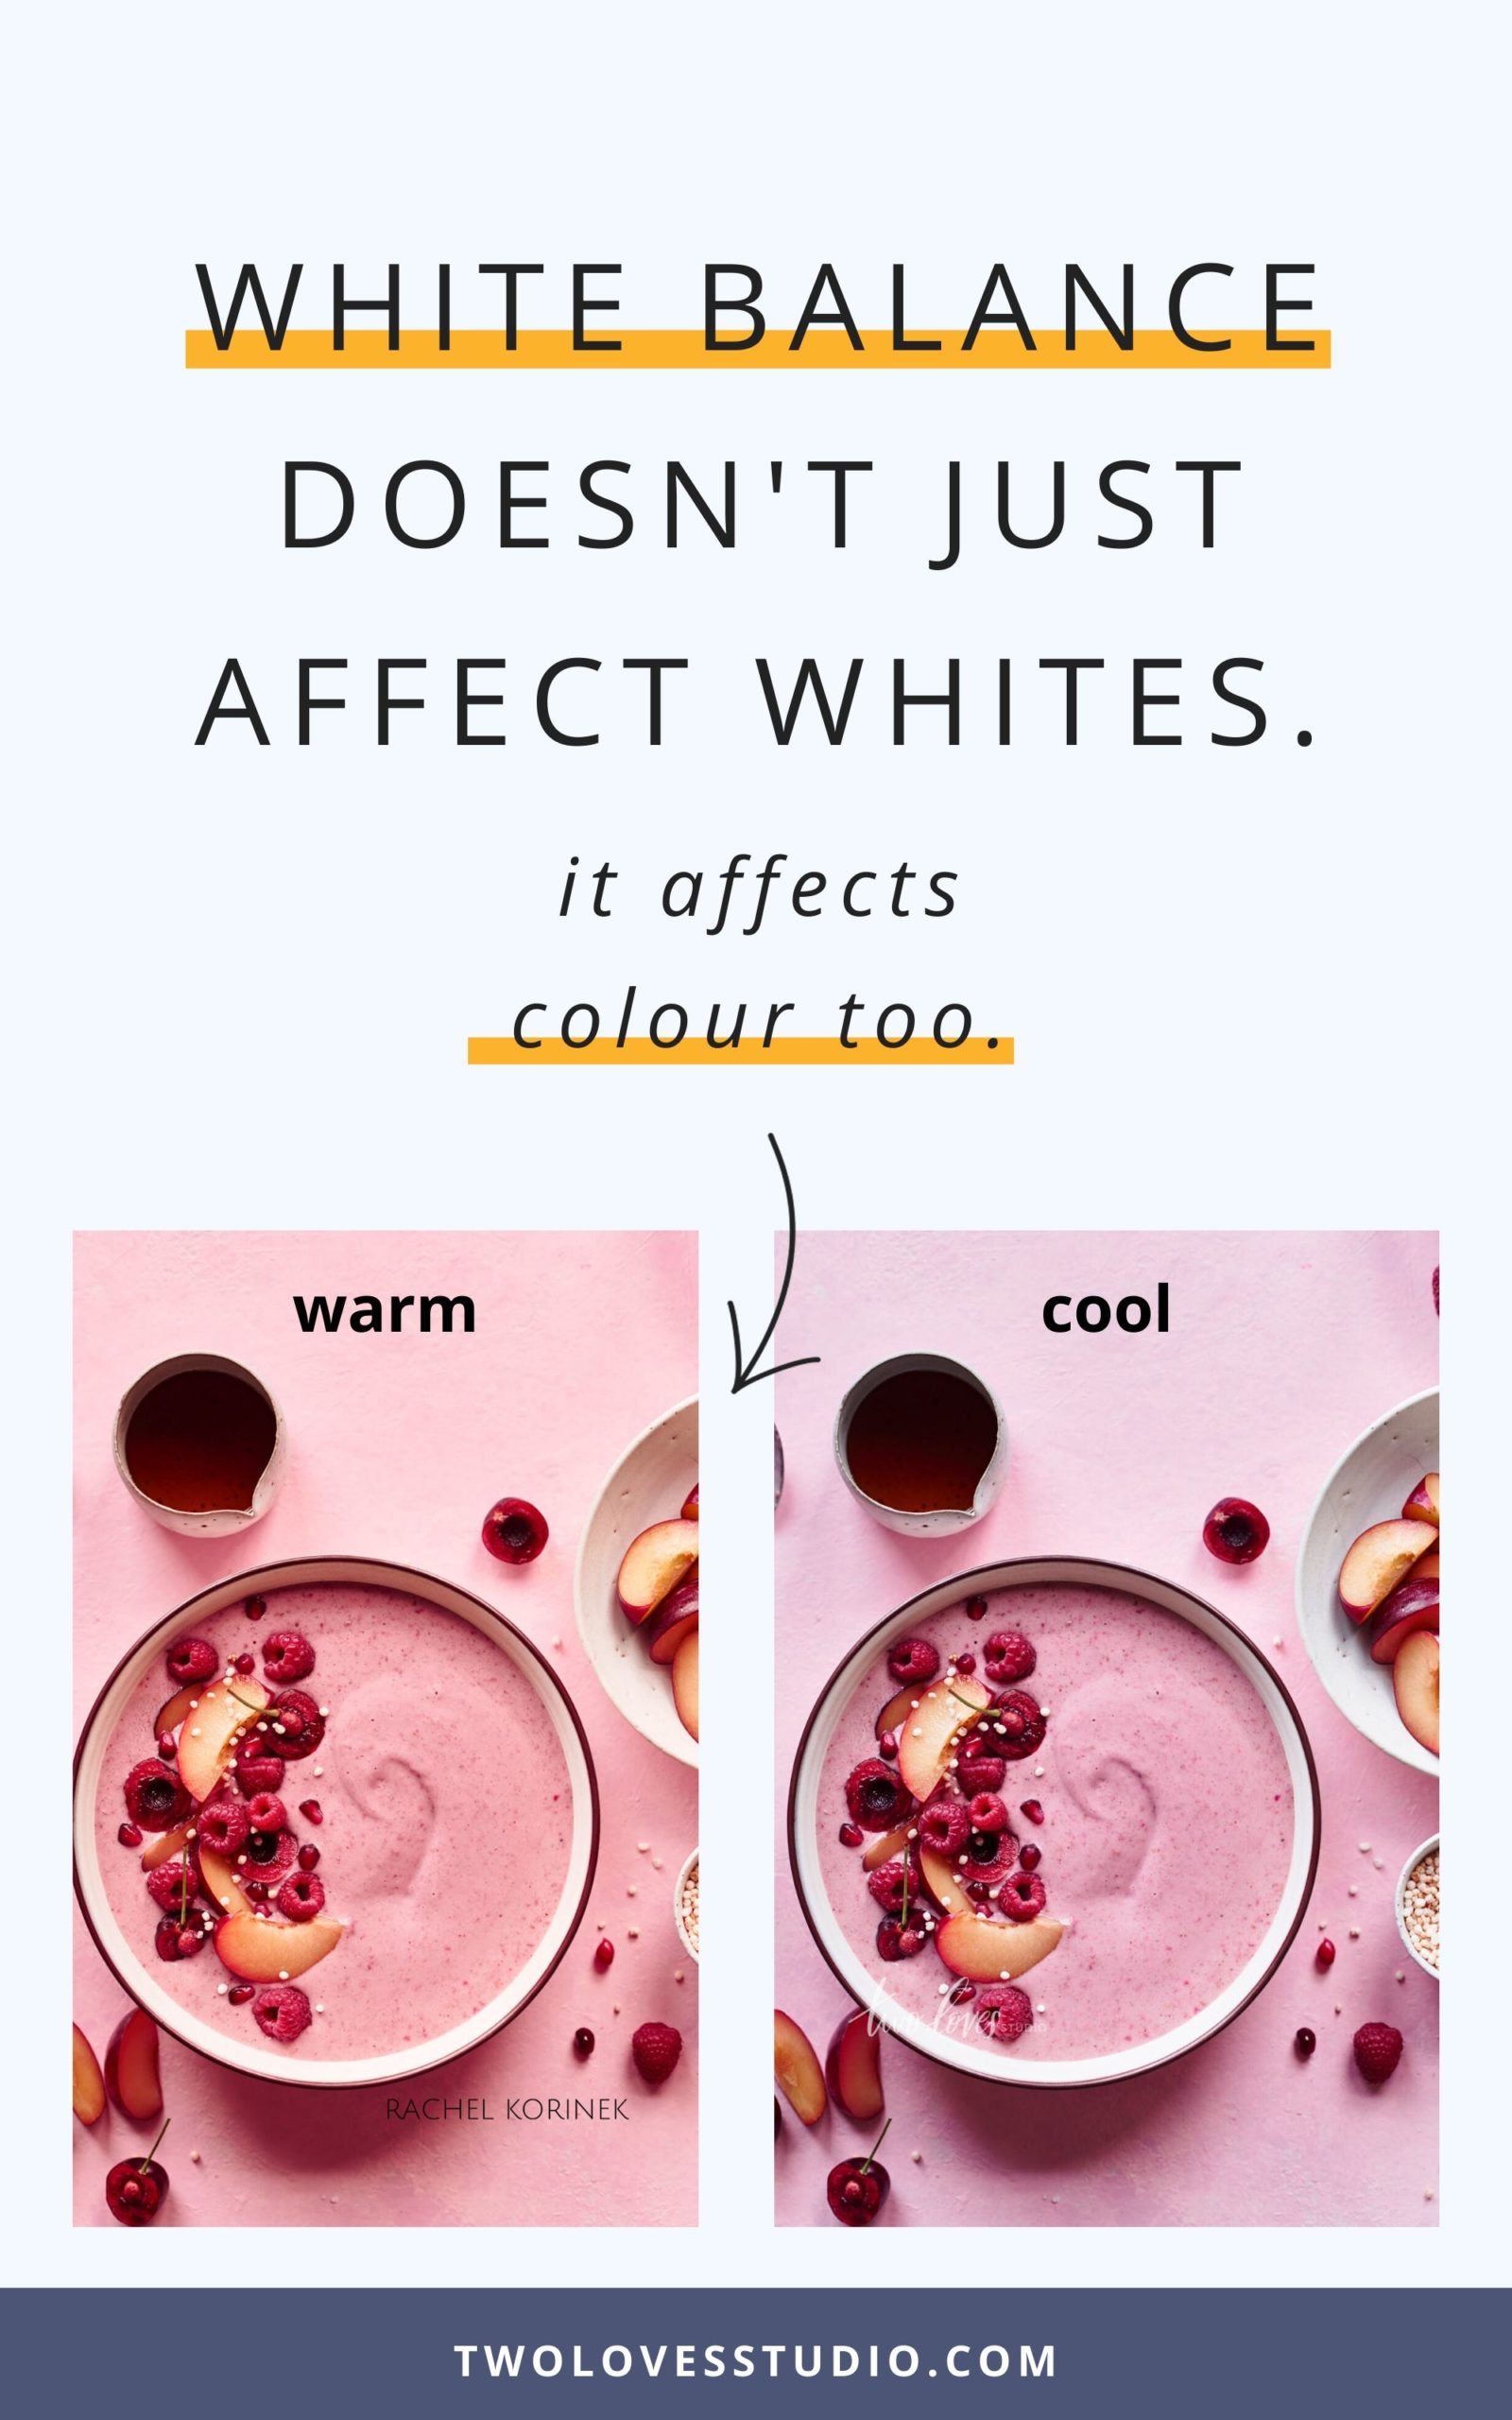
White balance is something that every photographer needs to understand and be good at. No matter what niche they are in.
The concept of white balance is simple, yet it can feel rather complex to get perfect white balance.
In this post, I will be sharing a little bit about what white balance is and some simple ways to correct it.
For further resources for those who want to go to the next level, you can read about how light works in my e-book. Or you can learn how to get perfect white balance in post-production in my editing masterclass for Lightroom.
What Is White Balance
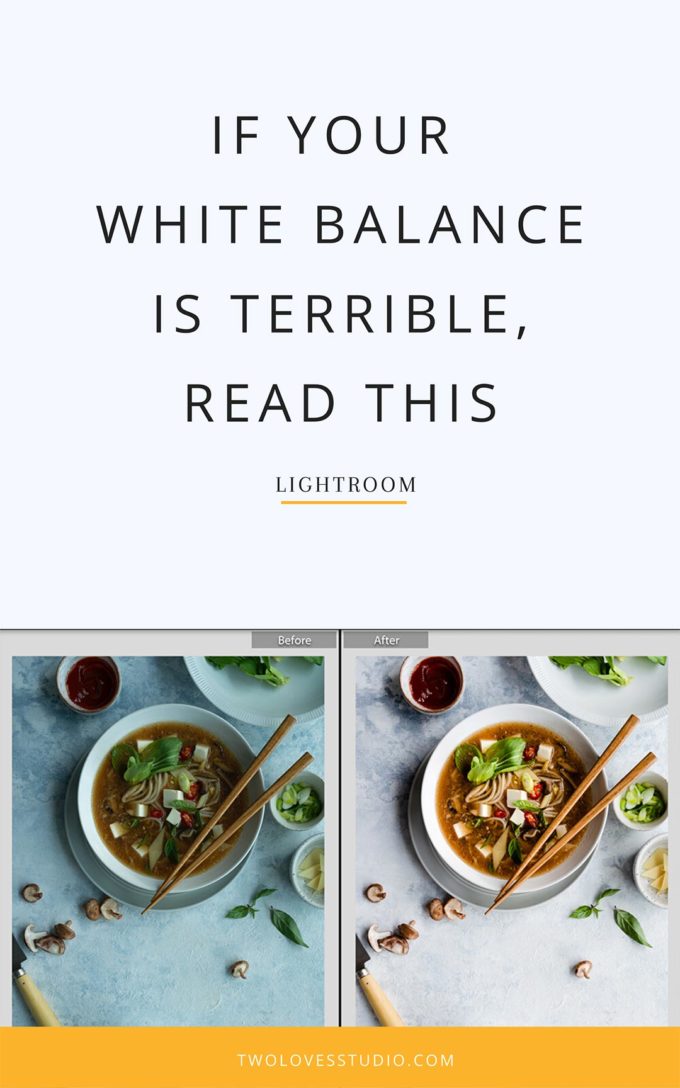
White balance is the process of removing incorrect colour casts in our image.
And the reason that we do this is so that objects that appear white in person, render white in our photo.
That’s really just a fancy way of saying that white balance helps us make sure white object appear white in our images.
So you can see that the concept itself is simple. It’s the process of getting objects to be white that can be more challenging.
To help us tackle this, let’s look at why we have different colours for white objects.
Why Do We Have Different Temperatures in Light?
All types of light have different temperatures associated with that type of light. Have you ever felt like the light was ‘cool’ or ‘warm’?
The temperature of light at sunrise feels completely different to the light at twilight. Each type of light has a different colour temperature.
The light at sunrise feels warm and has a yellow or red tint. The light at twilight, on the other hand, feels cool. It has a blue tint.

The colour temperature of light actually comes from how ‘hot’ or ‘cold’ light is. The temperature of light is measured in degrees kelvin. And the associated temperature gives a colour to light.
This is why different types of natural light and artificial light have different colours.
Now our eyes are very good at judging what white is. Even when there are different light sources. Sometimes you might not even notice the differences.
Cameras aren’t as superior, however. They need a little help from us in order to help them capture objects as white.
To read more about how light works, buy my ebook: Art of Light.
Why Is White Balance Important
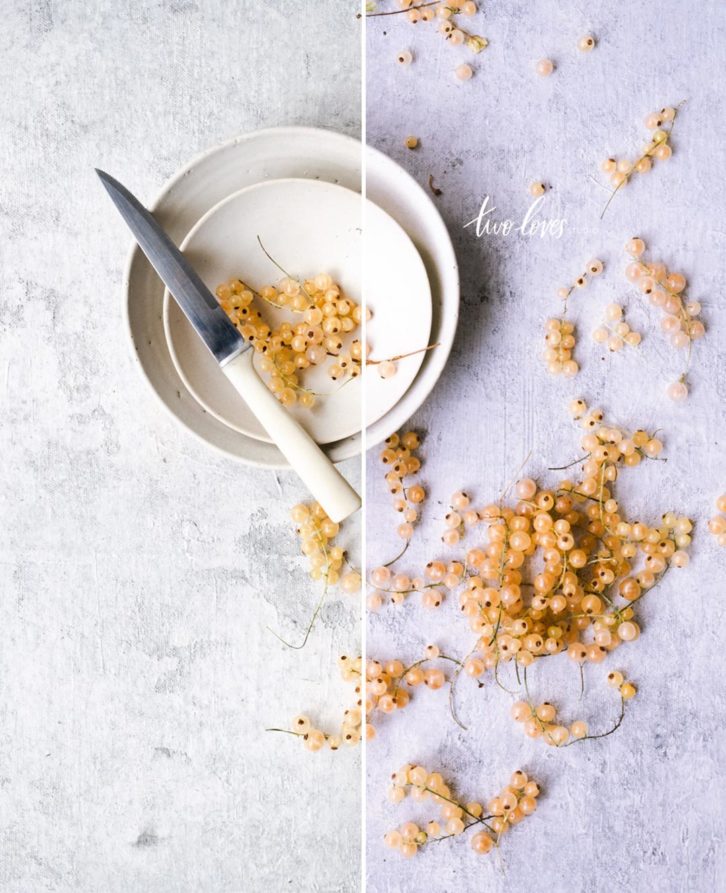
If we take a photo of a gorgeous white cupcake, with buttercream frosting, we want it to look the correct colour.
We don’t want it to look blue. Or yellow. Or magenta or green for that matter.
White balance is important as we want correct colours to appear in our images. We want our cupcake to look exactly like it does in person.
It’s important with all photography, but especially food. Our brains warn us when food looks weird.
There is a reason that we don’t want to eat food that looks ‘weird’. Most likely because it will be off!
How To Correct White Balance
It’s the how we correct white balance that can be a little trickier.
And that’s because it comes down to at which part of the photographic process that you are colour correcting.
For white balance, you can correct both in capture and post-production.
Related: Color, You’re Doing It Wrong. Are You Editing Color Correctly?
Correcting White Balance In Camera
To correct in capture, there are two main methods.
The first is to use white balance settings on your camera using presets. Cameras come with a number of presets that you can set for white balance.
These are:
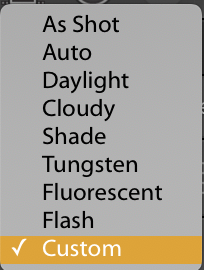
The goal is to use the one that matches the type of light you are shooting in. And in theory, it would help you to render white objects white.
Auto white balance can be useful if you are unsure, but because we are letting the camera decide, it will often change throughout a shoot.
This can make your editing time considerably longer.
If you’re new to white balance, then you can select each profile and see which one works the best. Then think about the type of light your shooting.
It can be hard at first to know which one to choose.
Another way to tackle white balance in capture is to use a grey card. It helps the camera to determine accurate colours under a range of temperatures.
It does this by acting as a reference point.
This method is a little bit more advanced.
White balance and the appearance of whites can make all the difference in an image.
Correcting White Balance In Post Production
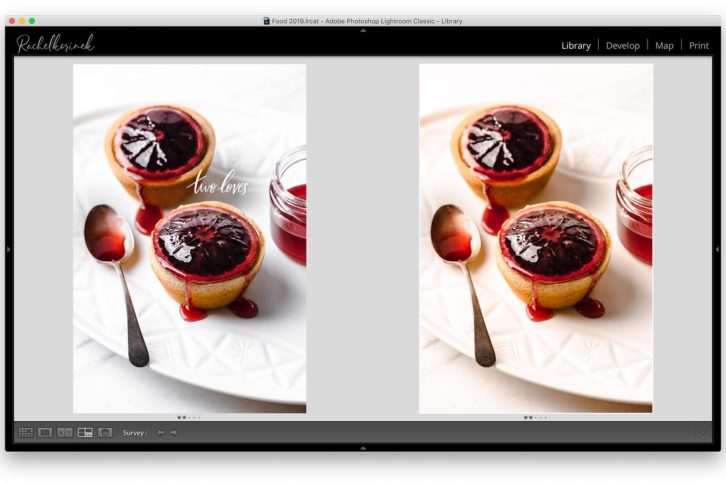
If we shoot RAW files then we have a lot of control as to how we correct white in our images.
Any editing tool or program has white balance tools that we can use to colour correct.
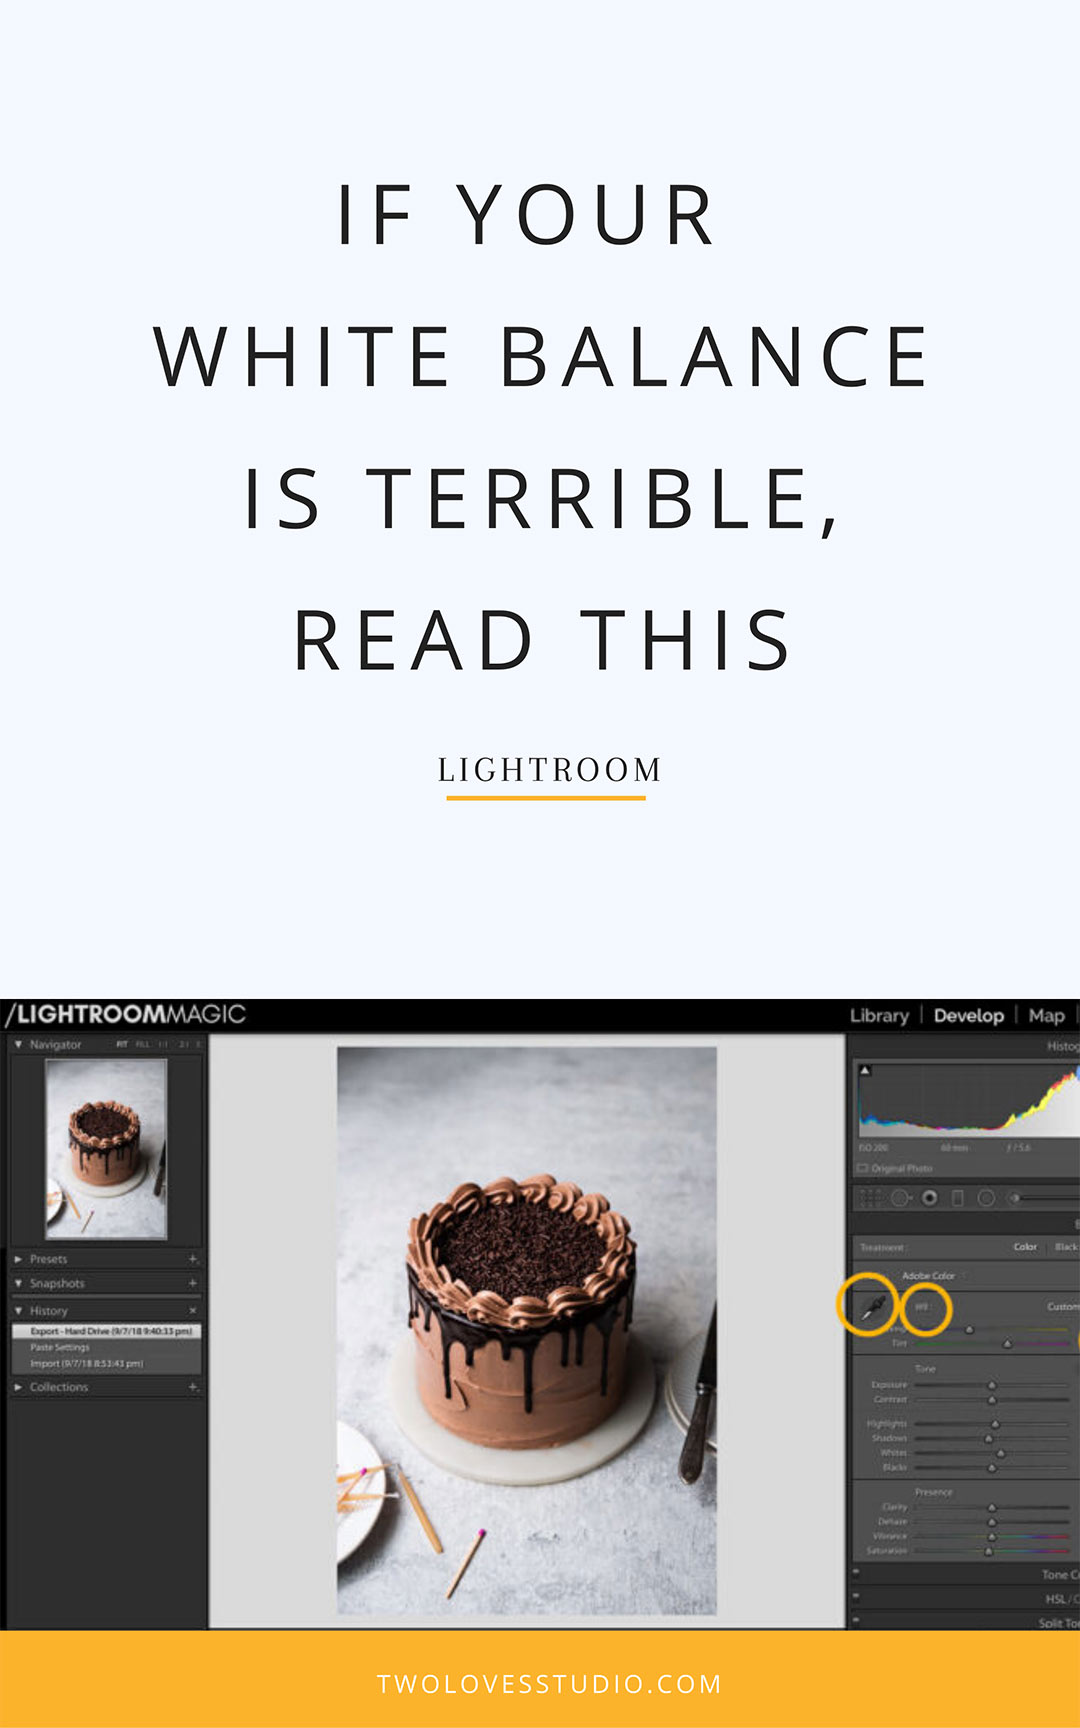
If we look at Lightroom first, we have three main white balance tools we can use.
- The eyedropper tool
- The temperature and tint sliders
- The white balance presets
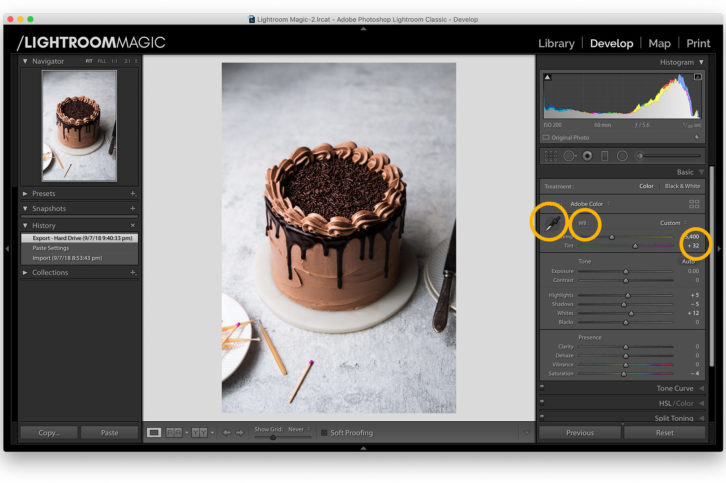
These are your starting points for colour correcting in post-production.
By white balance, the correction doesn’t stop there.
For more advanced colour correction we have to dig into the psychology of what we want to achieve.
This is where I bring in the concept of ‘technical’ vs ‘artistic’ white balance.
Your answer to which one you are after is going to see you approach correcting in editing differently.
Most photographers struggle to get the white balance they want. As they haven’t progressed past using Adobe’s three basic tools for correction.
And that’s where the problem lies.
The Recap
In this post, what I’d love for you to take away is that different light has a different colour (known as colour temp). And this effects how white appears in our image.
In a nutshell, here are the takeaways from this post:
- White balance is the process of making sure white appears white in our images.
- Different types of light will have different colours.
- Which colour that is, depends on the temperature and type of light.
- We can correct white balance in capture but also in editing.
- Try the presets the come with the camera to correct in caamera.
- We can use the three basic tools in editing to correct white balance.
- Enrol in my Lightroom editing masterclass for advanced colour correction.
Lesson Activity
It is better to try and get things as correct as possible in camera. So next time you shoot try this exercise.
- Locate on your camera where the white balance settings are.
- Next time you shoot, take a shot with each preset (list above if you forget).
- Then look at each photo and ask yourself what colour are your whites showing? (Yellow, blue, magenta, green?).
- Which preset makes your whites look the most correct?
If you’re taking Photography Fundamentals 101, click here for your next lesson.


