I’m excited to share this space with one heck of a guy today! I’d like to introduce you to my fellow photographer friend Jonathan Thompson. He’s a UK based commercial photographer specialising in the food and restaurant industries. As well as his own business, Jonathan and his wife Debs run the Wilde Orchard food blog, where they share their passions for all things delicious. Jonathan and Debs moved from Canada in 2010 with their utterly gorgeous dog Tundra. Jonathan decided to take his photography to new levels and started his photography business.
Just like me, he enjoys sharing ideas and new directions in food photography with his audience. He’s a whizz for his simple practice ideas to lighting using artificial flash via his blog tutorials.Take it away JT!
Hi there everyone, I’m here today to share some DIY food photography backgrounds with you.
I’m very honoured and thrilled to be invited here, on Rachel’s amazing blog, sharing with her community. I hope I can bring you some cool tips and techniques which you can take to your own photography and make it more rewarding and fun. Today I’m going to share one way I get interesting food photography backgrounds with metal baking trays. You’ll learn why we need to have these backgrounds, how do I create them and where are they used in the final image. So lets get stuck in…
Why Do We Need Backgrounds in Food Photography?
One of the most effective ways to bring a new dimension to your food photography is by using textures.
This can be added with textiles, wood, painted surfaces, textured plaster (as Rachel has shared), the actual food and in today’s case, metal baking trays. You’re not looking to make the background the main player in the image, just to enhance and bring a bit more interest from all the thousands of food images skipping around the interwebs. Obviously there are many other ways, particularly popular is painting boards with multiple colours which can bring enhancements and contrast.
I don’t know about you, but I get bored with the same old, very quickly, so finding ways to make something new is a big benefit to me.

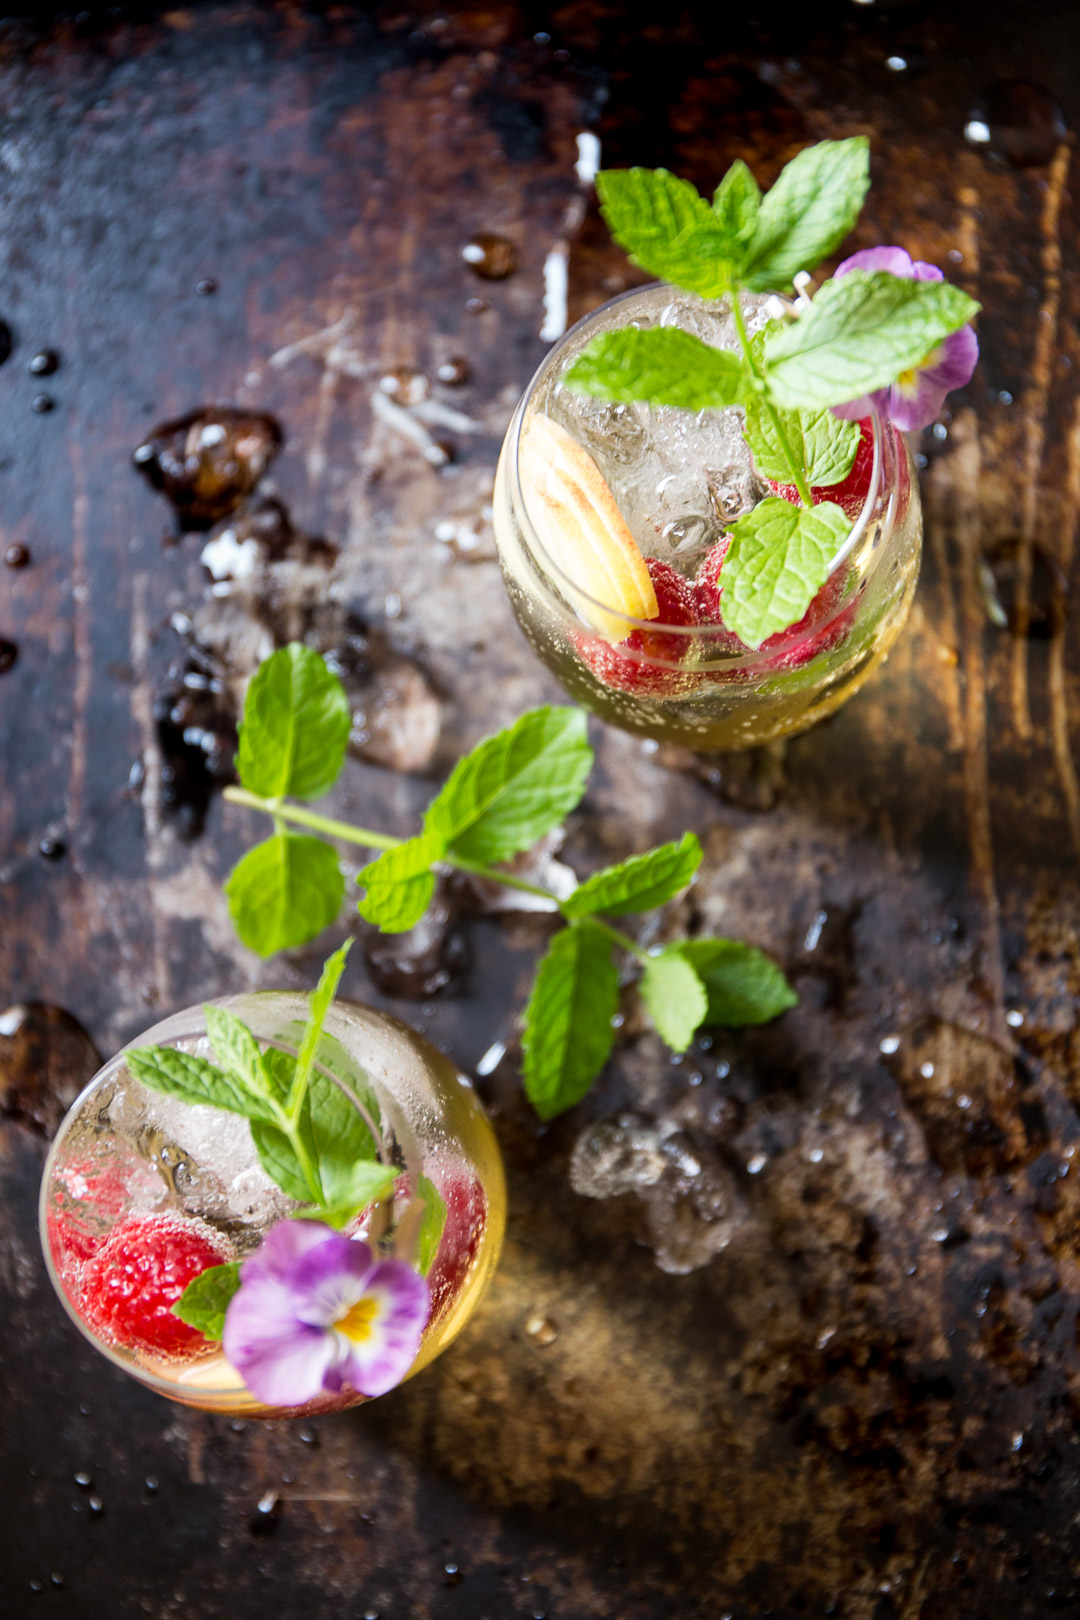
Food Photography Backgrounds: Why Baking Trays?
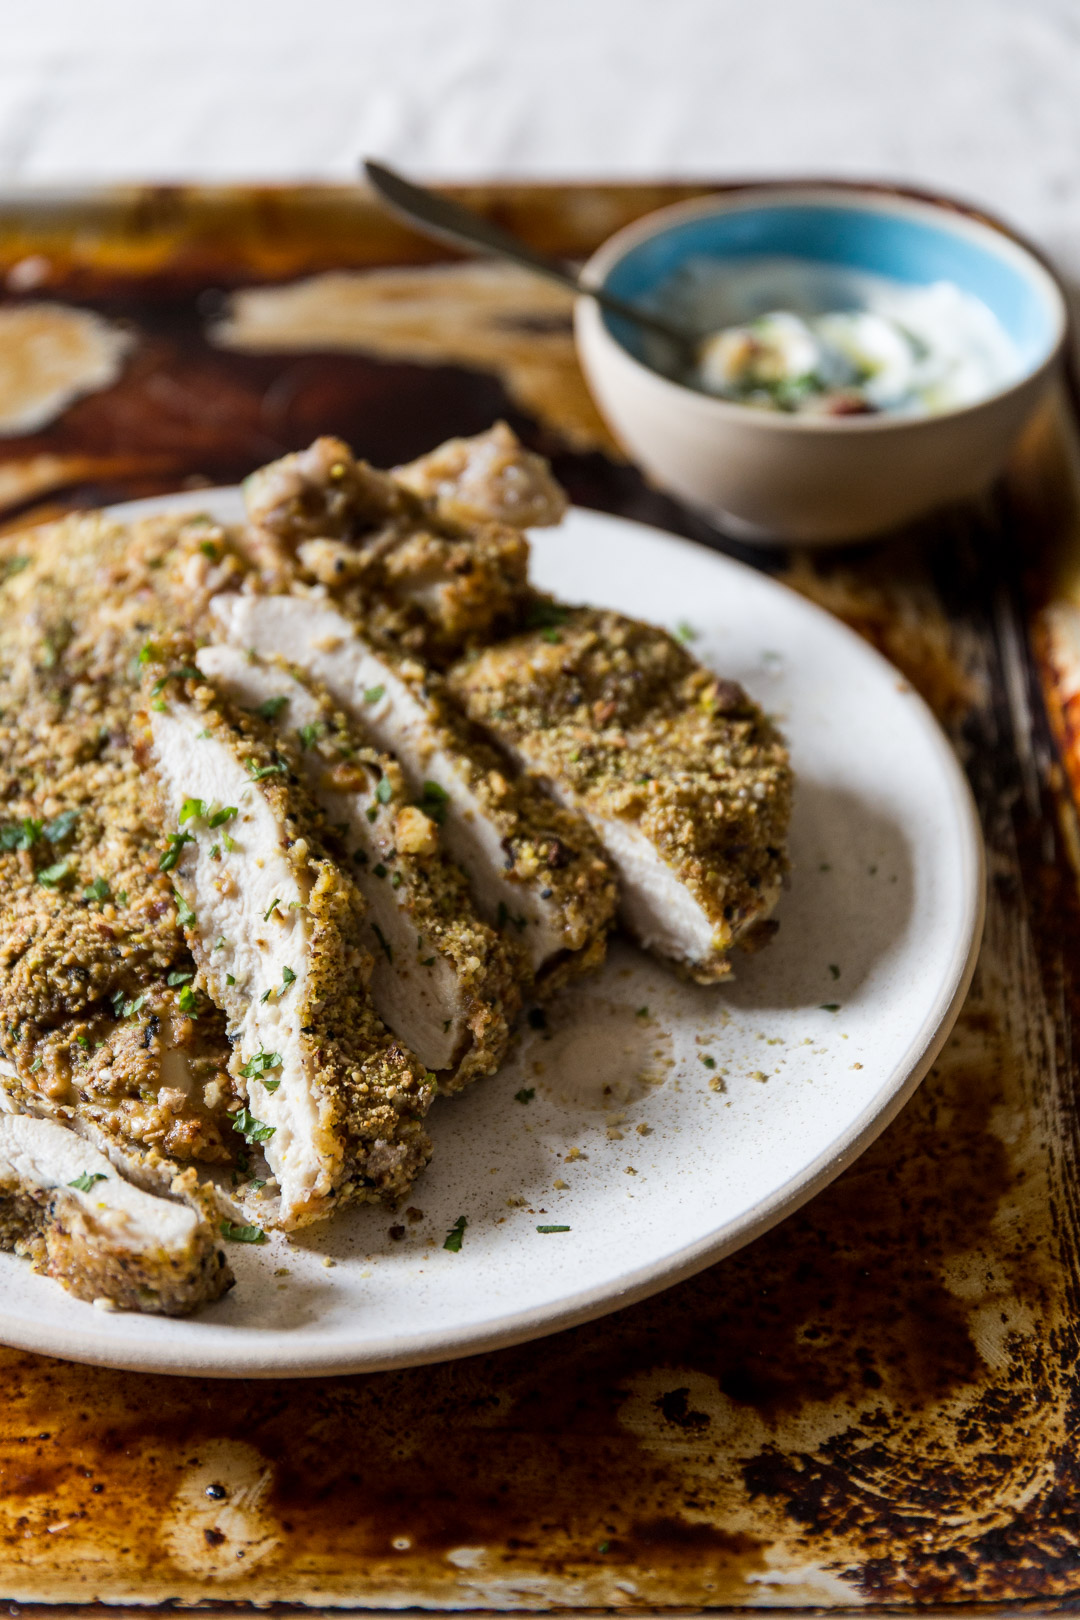
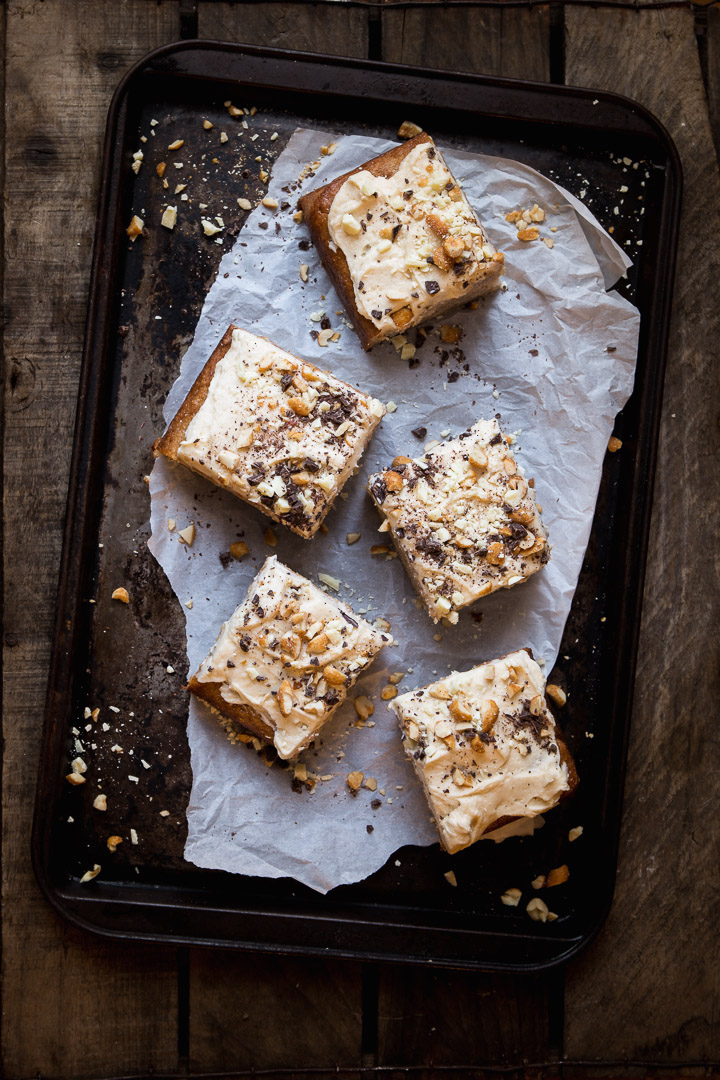
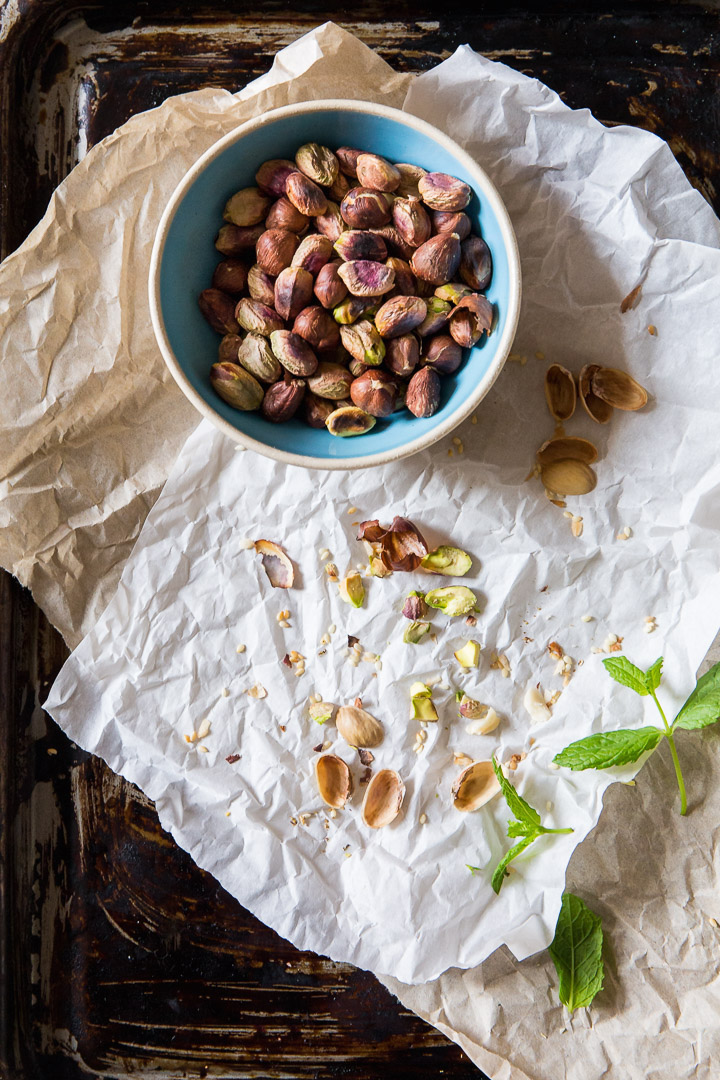
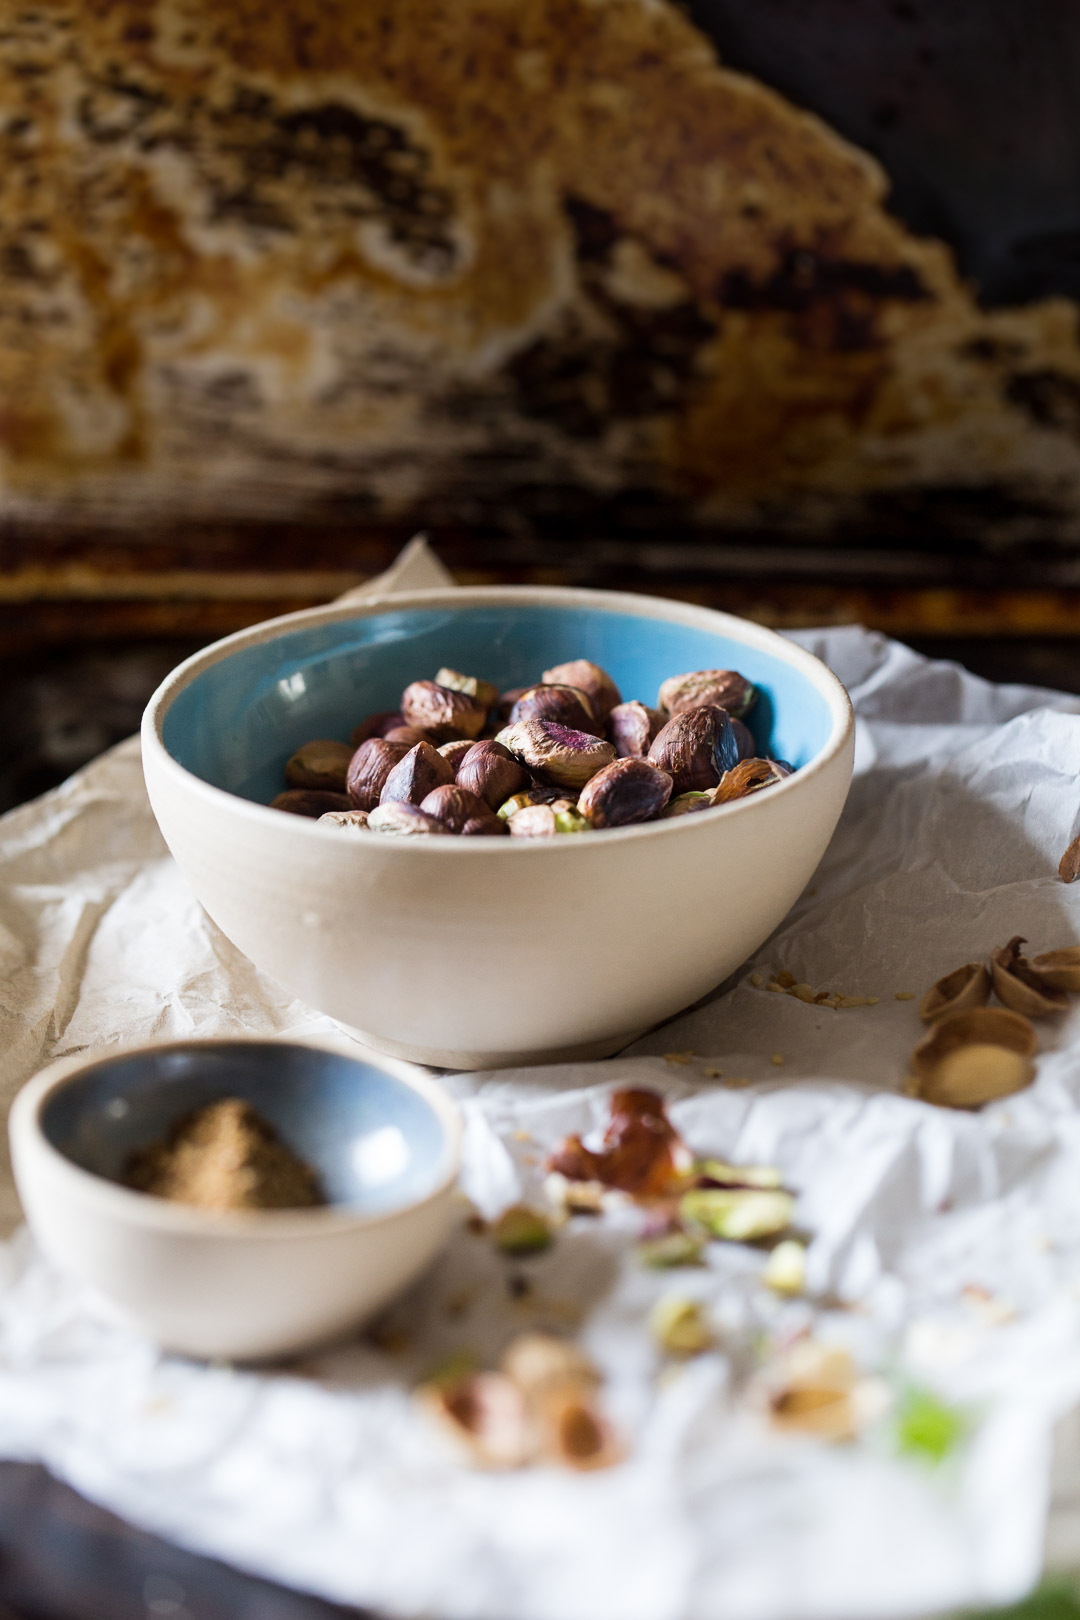
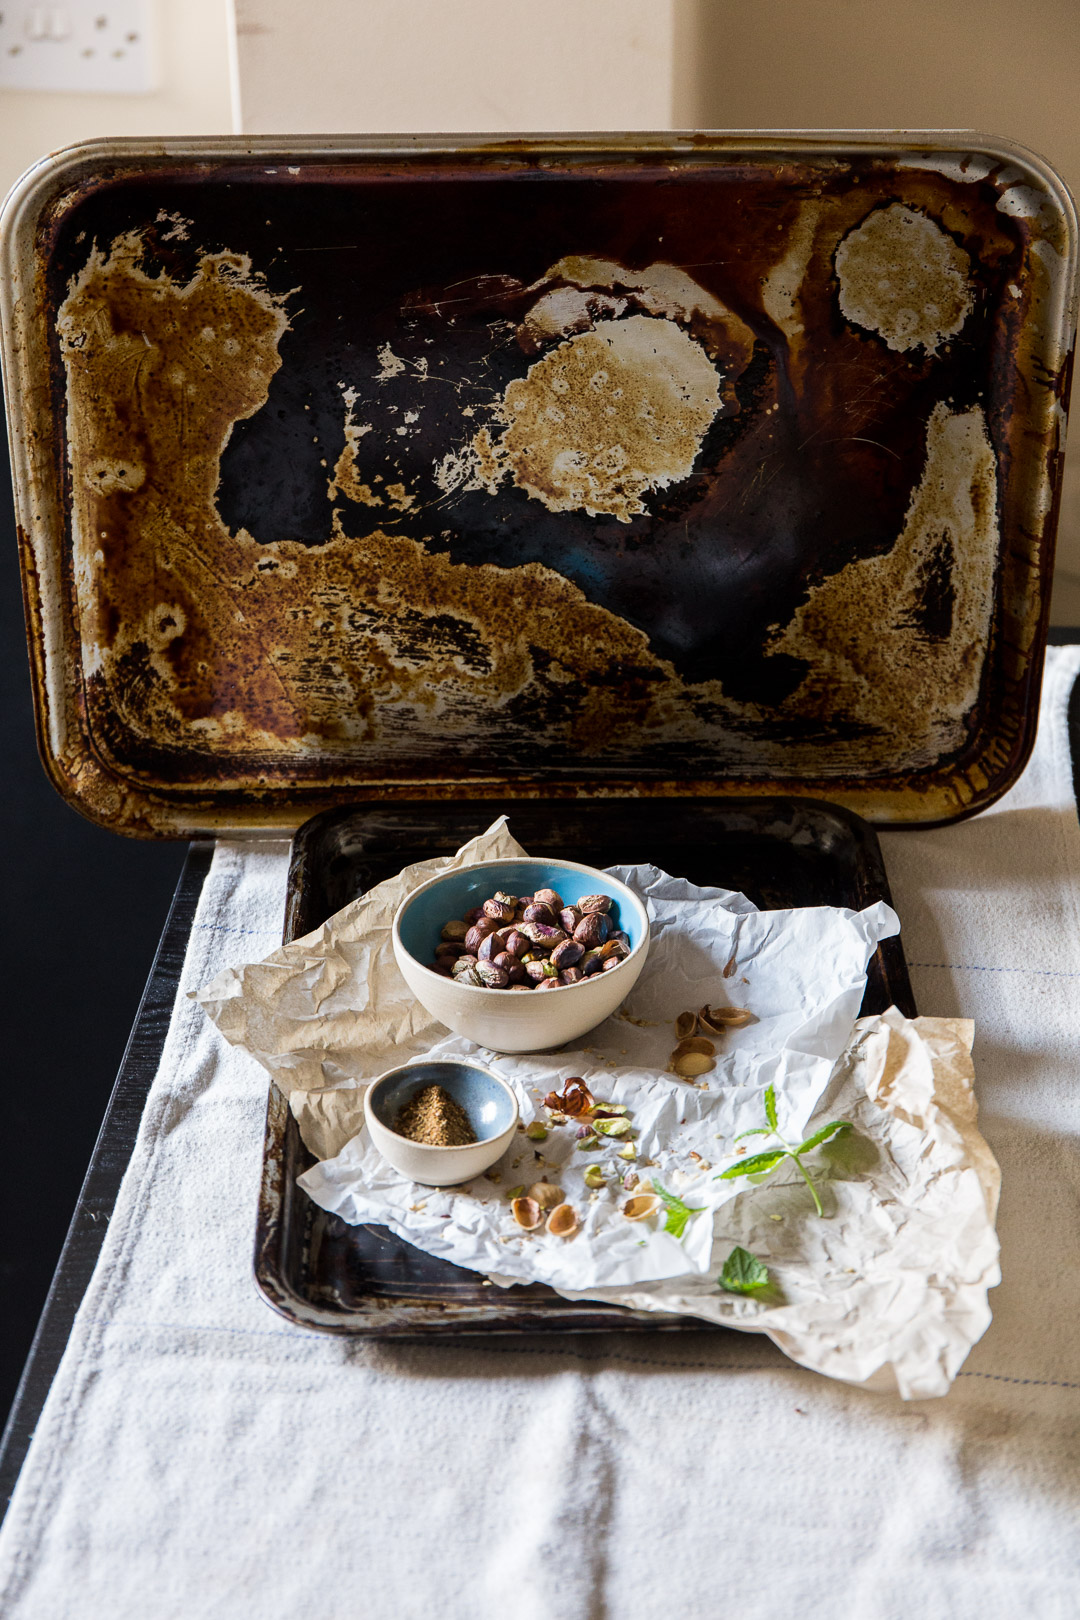
It started with us looking at our old baking trays and using them as an interesting food photography backgrounds. The shape and grunginess of them acted like a picture frame, making it really pleasing and the camera loves those colour textures.
If you get trays with a surround, usually ½-¼ inch high, they cast a nice shadow around the edge of the tray, especially when the light source is lower.
Ours have spent many hours baking in the heat of the oven with every conceivable food on them over many years. The finish gets tarnished, they don’t get scrubbed as well as they might. Or they get put in the dishwasher because we’re a bit lazy like that. You can buy or scrounge old baking trays from house clearances, relatives, car boot sales (garage sales in Canada) and they work a treat. But what if you wanted to create some backgrounds, destroying your own baking sheets. I’m here to tell you, it’s not as easy as it would seem.
Oooh! I just thought of another way. If a relative or friend has some nicely worn and grungy trays, offer to buy them new ones if you can have the old trays. It’s got to be worth a punt, right?
Creating The Look
Can I recreate that look… Yeah of course.
If I used paints then for sure I could create something like them but by using the same stuff that bakes on the deliciousness with our old trays, that’s a bit of a challenge. First of all how do the old trays get the way they do. They get scraped, bashed and the none stick wares off, thus allowing the fats and oils to bake in and stick around for a while. The grime also builds up over many trips to the oven, never properly getting washed off. So that was my approach. Just as well I can be a heavy handed so’n’so when it comes to this kind of thing.
I bought two types of trays.
The more expensive aluminium trays which I picked up from Nisbets, a culinary supply outlet.
I got cheap ones from Poundstretcher (Dollar Store).
The aluminium trays didn’t really need any prep but I did give them a bit of a scrub over with a scouring pad. The cheap metal trays were none stick as you’d expect. That needed a couple of sessions with the steel wool to get rid of some of that surface and rough it up a bit. I tell ya, those none stick trays take some scrubbing. The more of the none stick you can get off, the better everything will stick.
Layering Up
Now for the 1st layer. I recommend butter to start.
Get a cloth, sponge or even the butter wrapper and spread a thin layer around your baking sheet. Don’t get too precious about it, but you do want to give the whole tray a wiping of butter before it goes in the oven.
Have your oven nice and hot around 200-250c and pop her in the oven.
Depending on your oven it’ll need 40mins to an hour to bake on.
Then take it out, let it cool, then give it a bit of a wash.
I use a sponge with some washing up liquid, just to wash the surface. Most of the baked on butter will stay put. Rinse it off and add another layer of thinly smeared butter.
Back in the oven for another 30-40 mins. Repeat this until you get the desired effect.
This gives that mid brown colour. Don’t clean the corners and the edges too much, we want that to bake on more.
The other ingredient I found to be useful was old/used vegetable oil. We had some in a bottle for recycling reasons, so I tried a bit of that. It results in a much darker tone, almost black, when it bakes on. I’d recommend using butter to get a good base and maybe add a little veg oil around the edges, almost creating a vignette effect. If it doesn’t turn out quite how you like, the vignette is easy to add in post production.
After that keep using them as baking sheets. The more they bake and more stuff gets on them the more interest they will bring. You can also scrub them clean(ish) at any time and start again. If you scrub only some of it off and try again, it’ll build on whats left and you’ll end up with something new and unique. Remember to get the vignette effect, concentrate on the centre of the tray leaving the edges and corners a bit dirty.
Crackle
I came across an effect when I was trying to bake on the butter and oil onto my trays. After leaving them under a hot grill and forgetting about them, the heat of the grill started to crack the oily coating. This gives a funky crackle look which may be just what you want.
Set Up and Shoot
Now all’s that left to do is style your next food shoot on your baking tray and give that shutter a workout.
Don’t forget, these trays don’t have to have the food standing on them, like any shooting surface, they can be propped up as a backdrop as well.
It doesn’t matter if you cover most of the tray and only show the edges, after all they’re there to help things along, not steal the limelight.
Wrapping Up
Here’s what you need to do.
Get yourself some cheap baking trays.
Use wire wool to agitate and scrape up the surface, especially if they’re none stick.
Starting with butter, layer up a thin coating all over the sheet.
After an hour in the oven, take out and rinse off any excess.
Build up your layers until you have the desired effect.
The trays I bought were super cheap so if you buy something similar it won’t matter too much if it all goes a bit whatsname. Just scrub’em off and have another bash.
That’s it for my guest post, I hope that it’s been helpful for you and you’ll have a go at making your own trays for food photography backgrounds. It can take a bit of time but in the end you’ll have a unique prop for your food photography, and a bit of a stinky kitchen ;0)
I’d love to know how you guys go making these food photography backgrounds, so please leave me a comment below!
It’s been a pleasure. Thanks for having me.

Jonathan is a UK based commercial photographer specialising in the food and restaurant industries. His biggest achievement was getting the cover shot on issue 119 of Art Culinaire Magazine as well as shooting for two of their articles. His biggest influence is Joe McNally and shares his love for storytelling and techniques so that others can find their way along the path of photography, “Nothing makes me happier than seeing the penny drop in the eyes of my students. That light bulb moment. It’s the best”. Keep up with Jonathan via his Instagram, Twitter or Facebook page.



shibani
Lovely article Jonathan, I love old and tarnished baking trays for image backdrops too. I loved your way of preparing it. Thanks for sharing.
Jonathan Thompson
Hi Shibani, so glad you enjoyed it. I hope you have a go at this, I’d hate to think I was the only one stinking out my kitchen 🙂 Let us know how you get on, love to see your results.
Carlos Leo
Excellent article!
I was looking for this information. Perfect!
Jonathan Thompson
Hey Carlos, my Spider Sense was tingling, it must have been you. Glad you liked it.
Marisa Franca @ All Our Way
To think of all the time I spent scouring my baking trays so they’d be clean and shiny! I could be selling baking trays now for photos. We do have a terrific baking tray we’ll be willing to our kids — it is our bbq rib pan. We’ve used it so many times for ribs it’s retained the aroma. YUM!! Great idea, Jonathan, and Congratulations on you photo feature and cover shot!
Stella @ Stellicious Life
I’m always looking for more tips on how to make photography backgrounds.
I have a few well seasoned baking trays and what I would normally find sad that they can’t be scrubbed so neat anymore, is a great advantage when it comes to taking photos on/with them. I agree, they add wonderful texture and give the shoot a homey, antique kind of feel.
Jonathan Thompson
Hi Stella,
Sad baking trays are now happy, creative masterpieces. Think of it as their retirement gig 😉
Jonathan Thompson
Hi Marisa, thanks for the congrats, really made up 🙂
Ahh, the family heirloom rib tray. Better than anything else you could inherit. We use all our trays all the time, when you do ‘clean’ them, concentrate on the middle bit, that gives the edges a nice vignette. Remember it’s just a deeper level of delishiosity and only gets deeper.
I remember my Aunt had an old chip pan. It was properly broken in and almost black inside. My Cousin came home after living in Australia for a few years, thought he was doing her a favour by cleaning it out… You can imagine her face when she realised what he was doing.
Now I’ve saved you from all that scrubbing and you have a legitimate reason for keeping them in a creative state.
All the best, JT
Laura Bashar
I have some sad baking trays from 10 years of abuse that I use as backdrops. But I never thought of buying cheap trays and deliberately abuse them to get the same desired look! I’ll have to check out my dollar store! Thanks for a great post!
Jonathan Thompson
Hey Laura,
You know those days that you just need to get all those irritating things out of your system, that’s when you take to the baking sheet abuse therapy course 😉
Glad you enjoyed the post, let us know how you get on.
All the best
Jonathan
Deeba Rajpal
I’ve been using my old baking trays just like this, and I think they make a fab background. Moody, rustic and full of character. What a great tutorial Jonathan. I’m going to buy some more asap!
Jonathan Thompson
Glad you enjoyed it Deeba, and I’m glad to hear I’m not the only one who sees the benefit in grubby textured baking sheets 🙂 Send in photos of your new tray backgrounds, would love to see how you get on.
Kym Grimshaw
My old and weathered baking trays have always been my favourite backgrounds to use, I’d never thought to try and replicate them! Will definitely be giving this a go, can never have too many backgrounds!
Kym
x
Jonathan Thompson
That’s great to hear Kym, let us know how you get on. You’re right, who ever heard of too many backgrounds? Ludicrous! 😉
Kay Isabedra
Wow, I’ve been looking for a tutorial on this topic. Thank you so much for sharing!
Rachel
I know right! Jonathan was so lovely for sharing. Hope you can make something wicked. Please do share with us what you come up with!
Kiki
I kicked my own butt not so long ago because I accidentally put the one baking sheet that should not go into the dishwasher in there. I was going to chuck it but then decided to keep it as a prop… Reading your great post, I’ll just put it in the dishwasher again and then use your butter & oil tips.
Rachel
That’s great! JT have really made this easy to follow and super fun. Hope it goes well for you.
Life Images by Jill
why oh why did I throw out old baking trays when I was cleaning out our parent’s house! Doh! Thanks for the how to! Excellent.
Rachel
You’re very welcome Jill. It’s a bit like that right. Hopefully next time you’ll be able to save some 🙂
Xuyen Viet
I like the glass of juice. Really very attractive
Rachel
Great! JT takes great images.