Who’s ready to create the best food photography backdrop they’ll have in their collection? (Because this is a blog post, you can’t see that I’m totally fist-pumping, screaming…yeah baby! Me, me, me).
This post is totally going to make your week. I know it’s been a real game-changer to have the ability to create this super professional-looking food photography backdrop to add to your photography equipment pile.
Before we get into the how-to part of this post, I’d like to take a minute to go over the importance of a good food photography backdrop and why it will elevate your work.
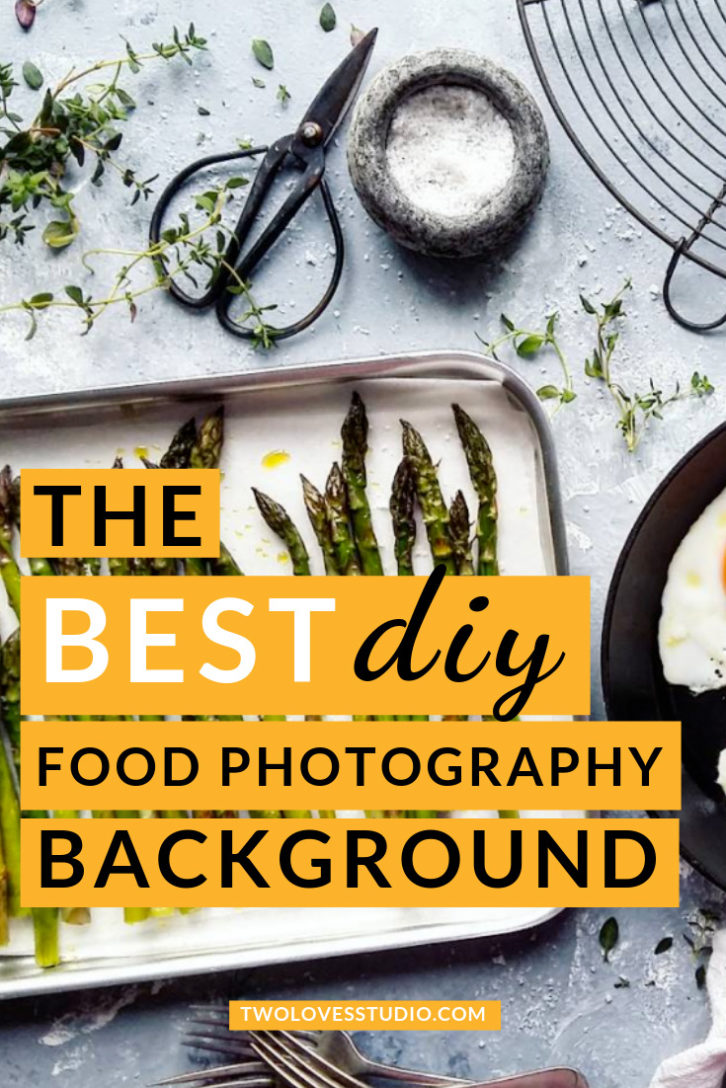
A food photography backdrop is the backbone of your shot.
Great things are built on a solid foundation, and your food images are no different.
The backdrop that you choose is the backbone of your food scene. It will set the tone of the story you are trying to capture.
Tip: Choose a backdrop that isn’t premium and says (without sounding overly dramatic) goodbye premium and hello mediocre.
Related: 3 Easy DIY Ways to Make Faux Marble Backgrounds
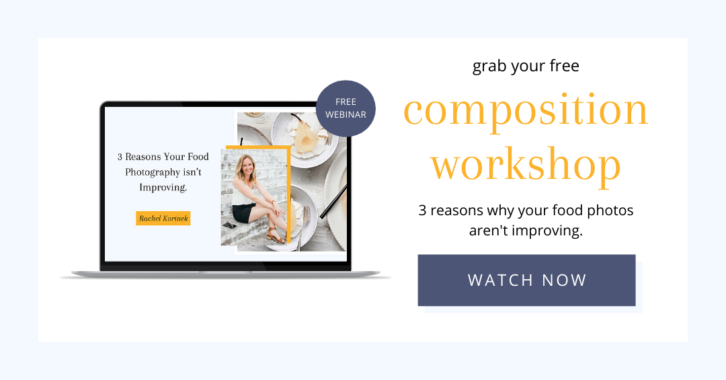
Must Do When Picking a Food Photography Backdrop.
- The key to a premium photography background is one that subtly adds to the overall feel of an image instead of competing with the food.
- Choose photography backgrounds that have inconspicuous texture and aren’t too busy with lines and fall within a neutral colour palette, whites, greys, hues of blue or desaturated browns.
It’s just as important to consider the don’ts:
- Stay away from warm coloured woods with yellow/orange tones.
- Food looks fresher, crisper and more enticing when the temperature of your shot is more towards the blue end of the spectrum.
- Warm coloured woods can be too saturated and overpower the other colours in your shot. Just flick through any prestigious food magazine and you’ll see a tendency to stick away from this type of food photography backdrop.
You can read more about How To Use Color Theory in Food Photography here.
I am delighted to have UK food photographer Bea Lubas on the blog for this collaboration post on food photography backgrounds. Bea’s work is known to show the power and beauty of simplicity, and her 4 step background tutorial won’t disappoint.
Make this backdrop in just 4 easy steps and less than 30 mins! Ready, set – paint! Let’s take your work up a notch.
Best Food Photography Backdrop How-To
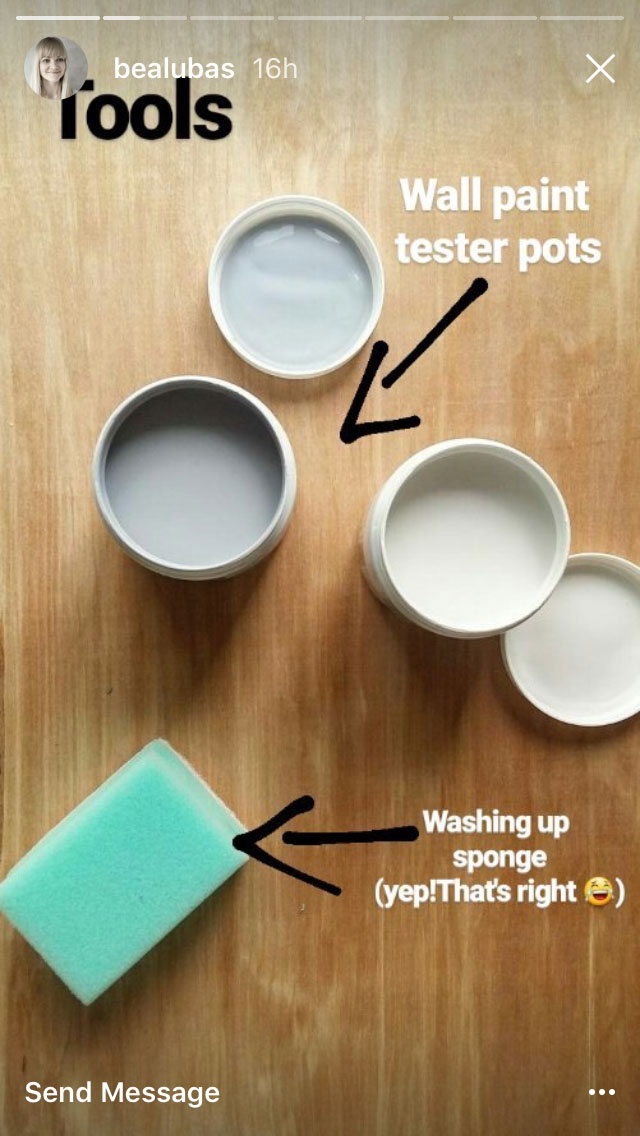
The Tools You Need:
This food photography backdrop doesn’t require a lengthy list of hard to come by tools. Rather, just a few simple, but effective ones:
- Wooden board
- A washing up sponge (yes, you read that right)
- Tester or sample size pots of paint. (TIP: Different shades of the same colour work great!)
Step 1: Use A Sturdy Wooden Board
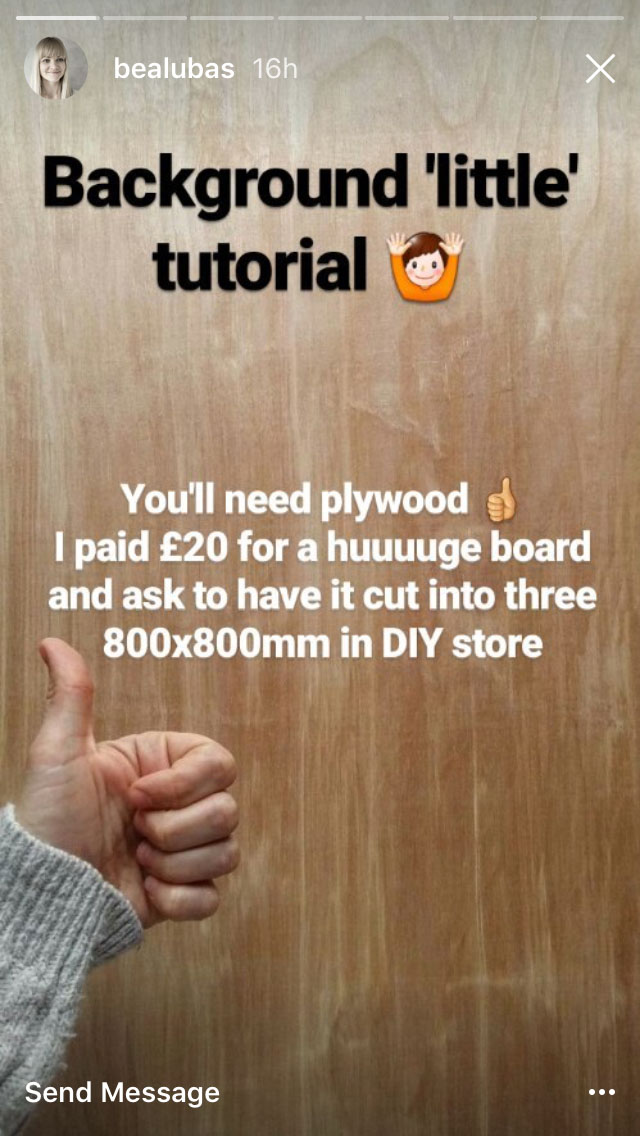
I go for the biggest plywood board available and ask to cut it into 800 x 800 mm at the DIY store.
800mm x 600mm would work great too. (If you are in the UK, B&Q has a great selection!) Go for at least 10mm thick as anything thinner might bend too easily.
Step 2: Add Your Chosen Colour
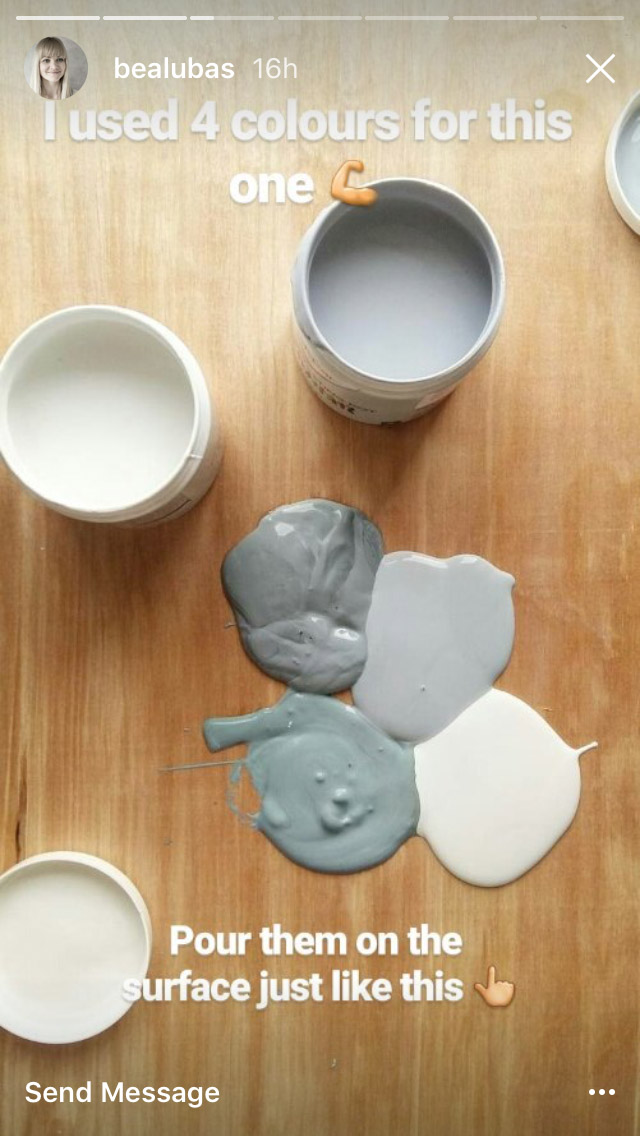
I use ordinary matt wall paints that I always get in small tester pots.
Go for at least three different shades and a pour small amount of each paint in the middle of the surface, next to one another. If you run out, repeat.
Step 3: Coating The Board
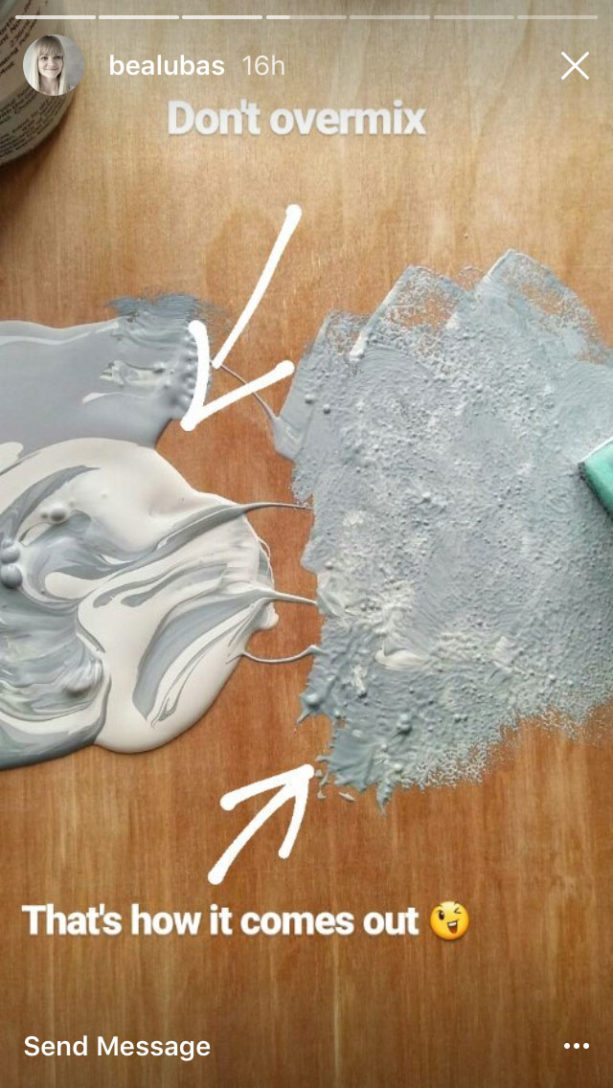
Blend it by using a sponge but DON’T OVER MIX.
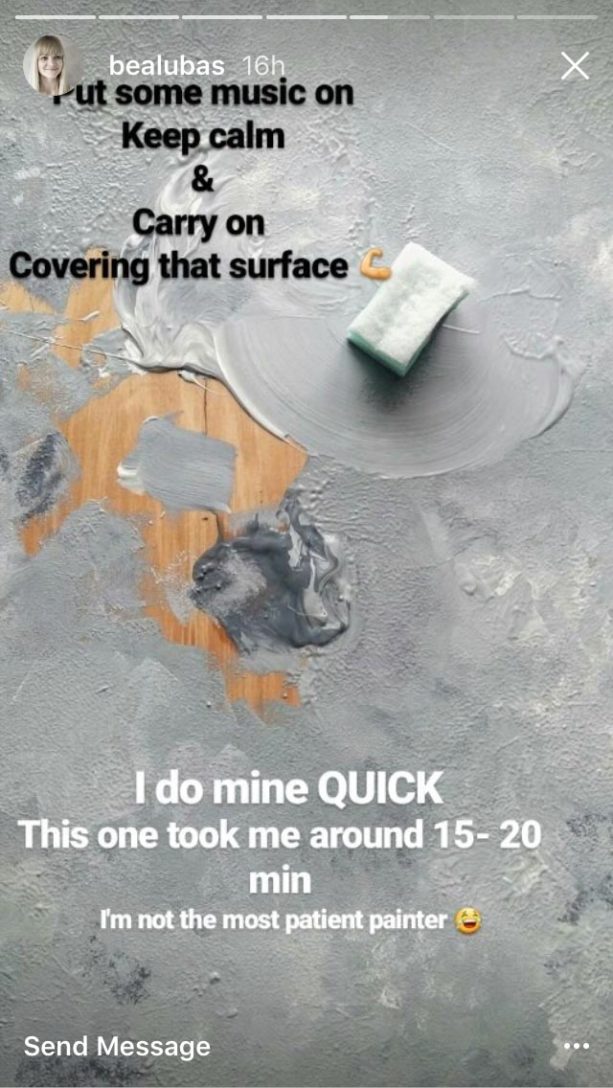
Dab it all over the board. Try not to use paint too heavily, just enough to cover the wood and don’t be too precise!
One coat is always enough. I don’t put any sealant on the top, just wipe it with a damp cloth after every use and it keeps fine. If, however, you work a lot with easily colouring food or spices like turmeric, you might want to put an additional layer of matt lacquer on the top.
Step 4: The Final Step is to Let It Dry
The drying time will depend on what kind of paint you use but for fast drying time, you can always paint it outside or leave it indoors by an open window.
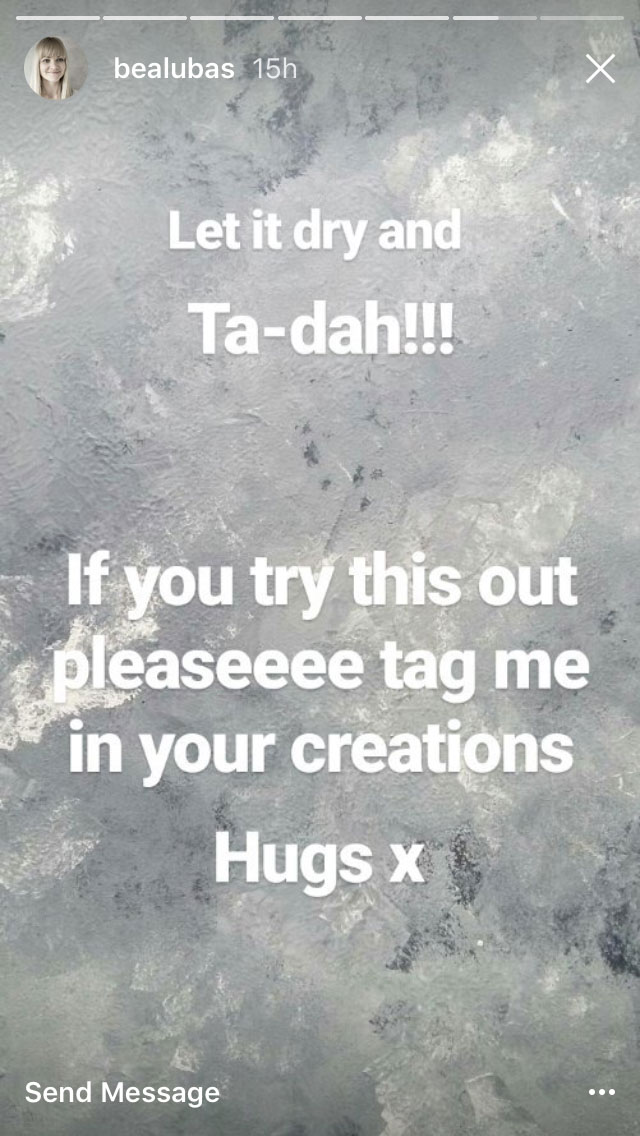
Tips For Painting: Don’t Forget Camera s See Differently to Our Eyes
Always shoot on it first! When I painted the first few boards I thought ‘Nah, it’s horrible!’ then I forced myself to test it and photograph something on it and suddenly I was like ‘OMG! I love it!’.
So don’t judge it before you try it.
TIP: Save yourself time and space by using both sides of the board!
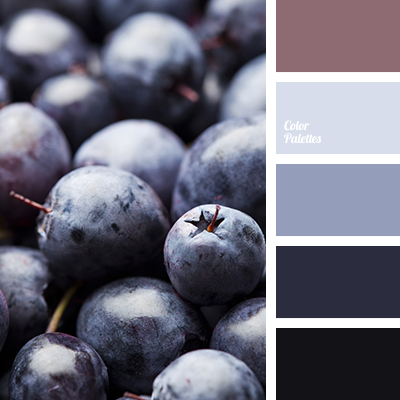
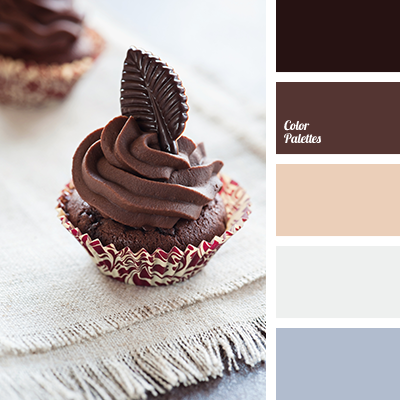
How To Pick Colours For Your Food Photography Backdrop .
If you’ve ever spent time flipping through the endless pages of amazing colour choices on site like Color Palettes, you may feel like me…overwhelmed with choice.
I usually pick colours that inspire me with the related photo. But rather, you should be picking colours that are going to work with the overall feel of the future images you will create.
Tips When Picking Colours For Your Photography Backgrounds
Tip 1 – Go for a neutral colour palette.
- Bright and colourful backgrounds are fun and definitely, have their place in food photography. But you can be sure that this background will compete with most of your food, leaving you with less opportunity to use it.
- If space is an issue for you, go for a neutral colour palette that will allow you to get the most use out of it!
- If you shoot for Instagram, you can read more about Instagram color palettes here.
Tip 2 – Desaturated, pastel or pale colours: Which One is For You?
- If
colour really is your thing, create it! Just choose pastel or desaturated hues of the colours you want to use. This will ensure that the stand out colours in your imagesare the food. - Remember that colours tend to dry darker and richer than you expect. Try a couple of shades lighter and desaturated.
- You can also add more coats later. To check out the backgrounds I’ve
used in my portfolio, you can see my work here.
Tip 3 – Cool based colours and hues.
- Food looks fresher, crisper and more enticing when the temperature of your shot is more towards the blue end of the spectrum.
- Adding colours with blue bases or hues will make your work more appealing. Think about how you can incorporate this into the colours you go for.
Tip 4 – Include a shade of white.
- Including white as part of your colour set can really lift and lighten your background.
- Not just in terms of the colour either, but the heaviness of the background.
- If you shoot a lot of bright and airy work, you’ll want to add white so that this doesn’t detract from the light and airy feel you’re after.
Tip 5 – Mix dark and light colours.
- Some of the best backgrounds mix light and dark colours. Just think about marble!
- If you go for light and dark colours with a similar base or hue, this could work really nicely for you! For tips on how to shoot dark food photography, read this post.
We’d love to hear what you thought of this step by step guide!
Let us know if you’ve got any tips on creating your backgrounds or any struggles you’ve been having when it comes to DIY for food photography backdrop!
Bea Lubas collaborated on this post. Thank you Bea for sharing your tips on food photography backdrops DIY.
Bea Lubas
Food Photographer
Hi everyone, Bea here. Thank you to Rachel for having me! I’m excited to introduce you to this super easy and effective method of making a food photography background. You don’t have to limit yourself only to photographing food on it, let your creativity be the guide. Enjoy! Check out Bea’s Cookbook.


Jonathan
How funny this is todays post by Bea. I’m just about to make some of my own again. It’s been a while so I’ll take all of these brilliant tips to mind as I create them. In the UK I found Wicks to be a little cheaper for the wood than B&Q but my branch couldn’t cut them down. I bought a smaller piece, half width ply wood, and cut it into 3 equal(ish) lengths in the carpark, as it wouldn’t fit in the car. Made sure I sanded down the edges as it can splinter quite easily. Will deffo tag you in when we use them.
Stand by, paint and sponges at the ready….. I’m going in!!! 😉
JT
Rachel
What great timing Jonathan! Would love to see what you come up with.
Leslie | Bessie Bakes
Thank you for this tutorial!! I remember catching this Instagram story from Bea’s IG, but it was gone the next day (obviously) and couldn’t remember just how she did it. I don’t want to pay $150 for just one board, so this is perfect! I made two boards recently from concrete board (which is way too heavy but has a nice look). I’m going to saturate it with more color using this tutorial since I found that the color fades when photographed. Thank you again!
Rachel
That’s so great Leslie! It is very true that boards can shoot less bright than expected. It’s a good tip that I have found useful as well.
Jo
Bea I made some of these the other day! I remembered how to do it from your Insta stories and they turned out so great. Marley even helped out and was stoked with her work ( which I had to re-do slightly). They come up so beautifully in photos.
Rachel
Oh bless! How sweet.
Janice
This is great, I’ve made some of my own boards but I love your marbled effect, will give it a go!
Rachel
That’s awesome Janice. Be sure to tag Bea on Instagram as I know she would love to see what you create!
Shibani
Thanks lovely ladies for this awesome tutorial… Going to make them soon and will tag you for sure…
Rachel
Woohoo! It’s such a simple, but fun tutorial. Can’t wait to see what colours you pick!
Life Images by Jill
thanks so much for this. I’ve been wanting to make some boards – and now I know how to do it! thanks!
Rachel
Well perfect timing then! Make sure to check out Bea on Instagram and thank her for sharing these amazing tutorial with us!
Jenn
I am going to try this over the weekend!
Rachel
Woohoo! I’d love to see what you create. Be sure to share a link for us to see.
Leandro
Hola!
Estuve buscando como hacer mi fondo.
Muchas gracias desde Buenos Aires!!
Manish
Hi..it is an amazing article that i have seen. I want to tyr it out. but before i do, i have one question, when i go to a store to buy wall paint, what kind of wall paint should i buy – water based like emulsion, distemper, paint or enamel or paint used to create textured wall. Please suggest.
SC
If I wanna put food directly onto the board, do I need to make sure the paint / board is food safe?
Rachel
You can definitely find food safe paint if that is a concern for you. Let me know how you go!
Kiki
I made two of these backdrops today – thank you @bealubas for the instructions! So quick and easy. I think this could turn into an addiction 😀
Rachel
I saw on IG Kiki! Looked gorgeous. It’s so easy and the results are perfect! So glad it worked out for you 🙂
Viosa
I want to make the backdrop but need to find a food grade paint. Has anyone thought about that?
Rachel
Absolutely Viosa. You could try to find a non-toxic, odourless and/or organic paint. I the UK there is a brand called Lakeland Paints that I have heard Bea mention which is non-toxic. Sometimes children’s paint is also food safe. Always check what your options are with your local hardware or paint store for the options in your region. If that doesn’t work, you can always put something in between the food and the background. Like a coaster that you can hide out of sight. Or sometimes I will cut a piece of baking paper to size/shape that isn’t visible underneath. Hope that helps!
Shikha Gupta
It’s really helpful.. So many bloggers I know but they doesn’t help me like this.. Thank you so much
Rachel
So glad to hear that! Be sure to tag me on IG when you make one to shoot on!
Renu
Thank You for this tutorial. I am a beginner in food photography and use it for my cooking blog. Still take pictures from my cell though. You mentioned b&q, I cannot see on their site, would you mind sending me the link. Thanks,Renu
Rachel
Hi Renu. I’m not sure what B&q is. Let me know so I can help you.
Annemarie @ justalittlebitofbacon
Hello! I just wanted to pop by and tell you we made a couple of boards, one light blue and one dark blue, using your tutorial and they came out great! My daughter (13) did the painting and we both picked out the colors. As soon as my husband gets a chance to make me some more wood backboards (he makes them with a handle for me), I’ll have her do some more colors. (Oh, and we coated them with a washable matte poly so we don’t have to worry about the paint – ruining it or eating it 🙂 )
As of today, I have one recipe posted using them, but I have a pile of others in the queue.
Rachel
Hey Annemaire! That is awesome. I love to hear that your daughter helped out. What a great project! I like to paint both sides to get two in one. I’d love to see your shots so come share with me on Instagram.
Vishal Bharadwaja Chunduri
hey, that sounds so good! I have been trying to get a “One backdrop that can suit a lot of shots” thing but could not. This looks quite interesting. I was thinking of a walnut brown color as well? Wouldn’t it look stunning? Do let me know with what you have seen in your experience. Also, with the backdrop you have told, how do you manage to clean the stains? Any tips, please!
Thanks in advance!
Rachel
I find that I gravitate to whites, blues, greys (both light and dark). You can also paint both sides, so have two boards but 4 choices! I think brown would look really nice. Some of my favourite shots use that colour. Many people use different things to seal boards. I haven’t had an issue with stains at all and I just use regular paint. I do find that tumeric can stain but most other foods can be swiped off easily.
Renu
Thank You for this. I created two of my DIY boards and I just love them using the procedure outlined by you. You can have a look on my blog page one in blue and other in pink(I just used the colour I love as I wanted a shade of red, it was an experiment). I am looking now for more colours , I read your other post about different colours but just confused.
Rachel
Amazing! I love the pink one. Some good colour choices are grey, blues and whites. You can use different hues (types of grey) to make something really nice. Grey works well with a lot of concepts so it’s a staple for me 🙂
Renu
Thank You for your reply. Yeah Pink is my favorite too and the way I wanted too. Iwill soon make two more and let you know. thanks
Thomas Nagels
Hey Rachel,
Thank you for this article, I will try to make one myself for sure !!
Rachel
That’s exciting to hear Thomas! I hope that you get many uses out of it 🙂
subarna dey
Thank You for this. it really means a lot to me……thank you
Rachel
You’re welcome. Enjoy.
Mandi
What a great tutorial, can’t wait to try it! I don’t have any hardware stores near me, do you think a thin artists canvas would work instead of the board?
Zeinab Obeid
I got cork boards ,which already colored,, and I started to give the white or gray touches with sponge
I’m just a beginner in food photography,,thanks for your tutorials it’s very interesting
Rachel Korinek
Oh, I like that idea! You could get some really cool textures with those corkboards. Thanks for sharing.
Lashonda Graziani
Grey. Trying it now.
Andraz
A really lovely tutorial. So simple. I’m starting today
My Favorite Food Photography Gear - This Jess
[…] can also DIY your own backdrops. Two Loves Studio shares a really great tutorial on how to make DIY backdrops. I haven't tried this yet, but am hoping to […]
BeatColor
I’m working as a real estate photographer, about 7 years, and found this guide on creating food photography backdrops fascinating. The detailed steps and practical tips, especially the use of simple tools like a wooden board and a sponge, are incredibly helpful. Beatcolor’s services might even enhance these DIY backdrops further for stunning food photography results.