This post may contain affiliate links from products and services we love and trust.
How to avoid reflections in photography is something we all want to know. One of the most often asked questions I receive is “how do I manage reflections when shooting drinks?”.
Today I’ll walk you through this virgin amaretto sour photoshoot. Along with sharing key strategies I employ that help simplify the challenges I face when photographing reflective glassware.
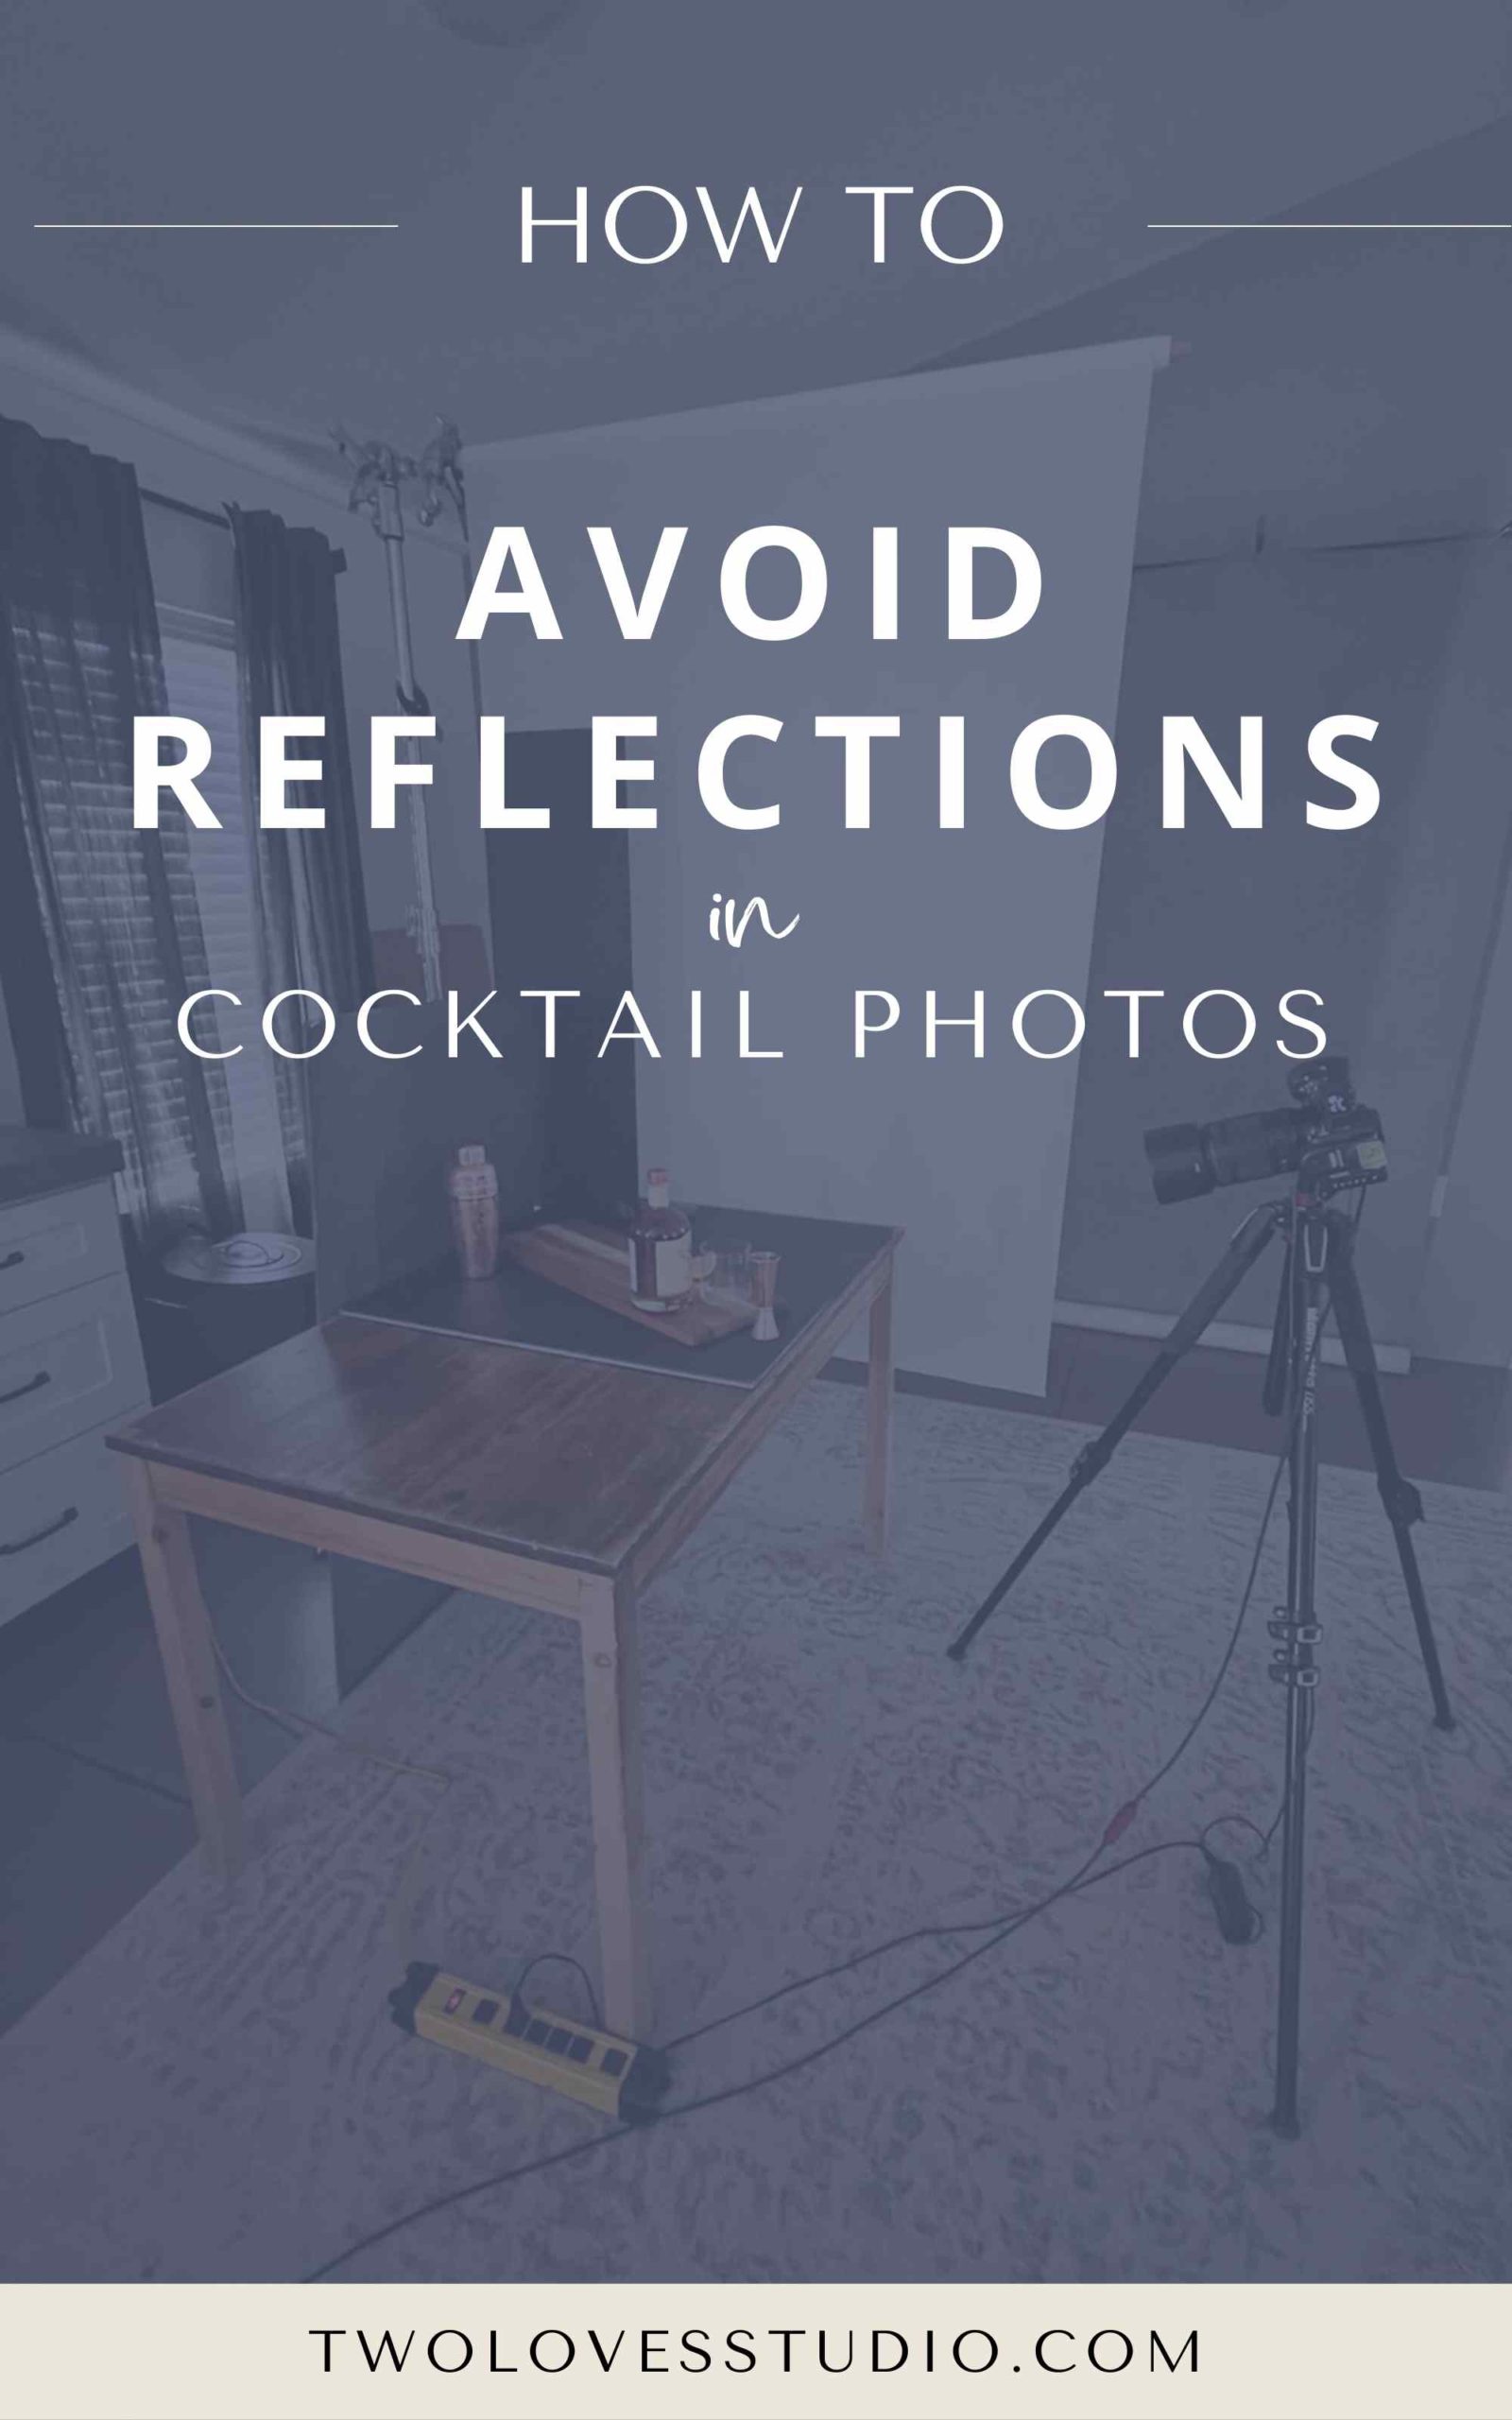
I primarily work with artificial light because of the control and consistency it offers. This particular photoshoot took place at 4 pm in late February, being in the northern hemisphere, meant a 6 pm sunset. I didn’t feel rushed, however, because I wasn’t relying on window light to illuminate my scene.
So let’s dive in!
Lighting Gear Used in This Tutorial
- Godox AD600 Pro
- 31’’ x 47’’ Glow EZ lock softbox
- Rosco Cinegel #3000 Filter
- Tough Rolux 48’’ x 25’
- C-stand
- Foam Boards & Clamps
I love Godox AD600 Pro-light for its ability to run either on battery power or an AC plug (for continued power), allowing me to shoot all day. It’s also powerful enough for nearly all food and product photography I do at 600WS.
Avoid Reflections in Photography by Selecting the Right Modifier
The magic when working with artificial light isn’t the light itself. It’s all about the modifier. The tool we use to shape and modify the light to get the look we desire.
There are endless options depending on what your aesthetic preferences are for lighting drinks. There’s no universal standard, only personal preferences and tastes.
I love soft light that reflects a clean straight line in the glassware and a nice subtle gradient fall off both in the highlights reflected in the glassware as well as the shadows in the overall scene.
To achieve this look, I utilise:
- A large rectangular softbox. In this case, a 31’’ x 47’’ Glow EZ lock softbox attached to my light via a bowens mount.
- As well as a large sheet of full-stop diffusion paper. I used this Rosco Cinegel #3000 Filter, Tough Rolux 48’’ x 25’ hung from the boom arm of a c-stand.
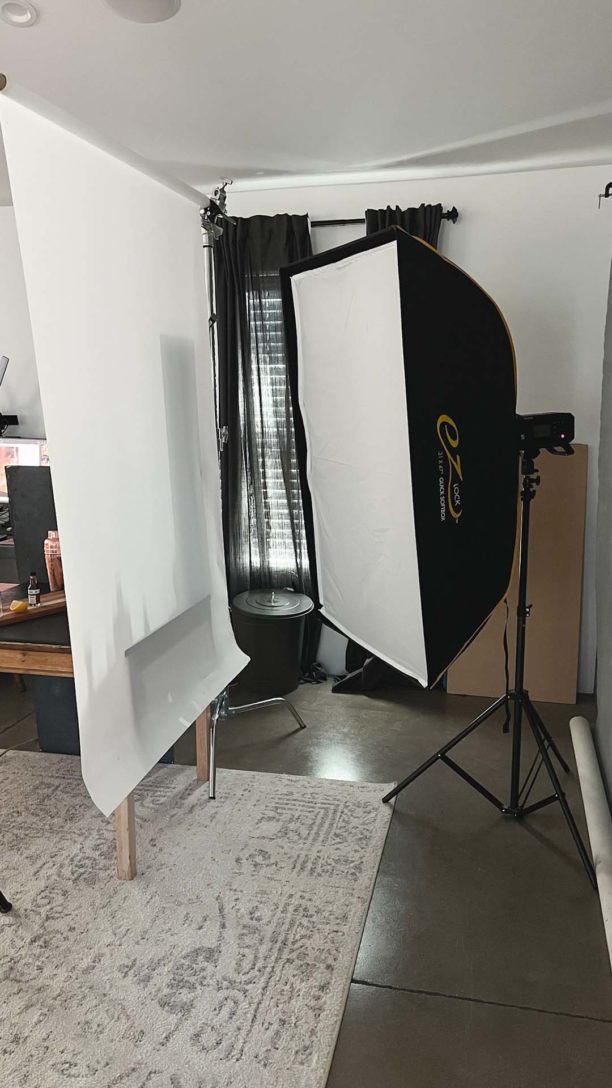
The softbox is large so it provides soft, yet defined directional light to project onto our scene. But the addition of the paper is the secret weapon that helps to further soften the light. It also helps to smooth out the reflections.
Sometimes when working with softboxes and nylon diffusion material there can be small wrinkles or creases in them. When photographing highly reflective objects, these wrinkles will be visible.
I once photographed super shiny chocolate candies for a chocolatier. All I could see in the reflections were the wrinkles in the scrim I was using. I avoid that issue altogether by using paper diffusion.
By Blocking Light You Can Avoid Reflections in Photography
One additional tool I used in this lighting setup was a strip of black foam core, positioned at the right rear of the scene. This helped to block the light entering at the back of the scene and created a shadowy effect in the background.
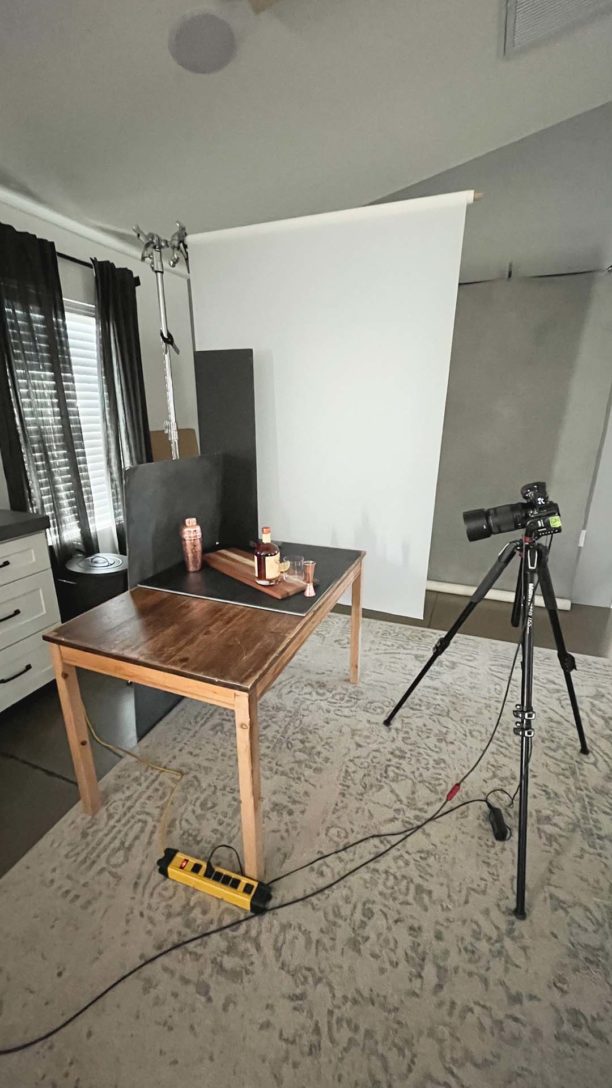
I prop up my foam core with a-clamps from the hardware store. You can purchase black foam core at craft and office supply stores. Then simply cut it down to the size you desire.
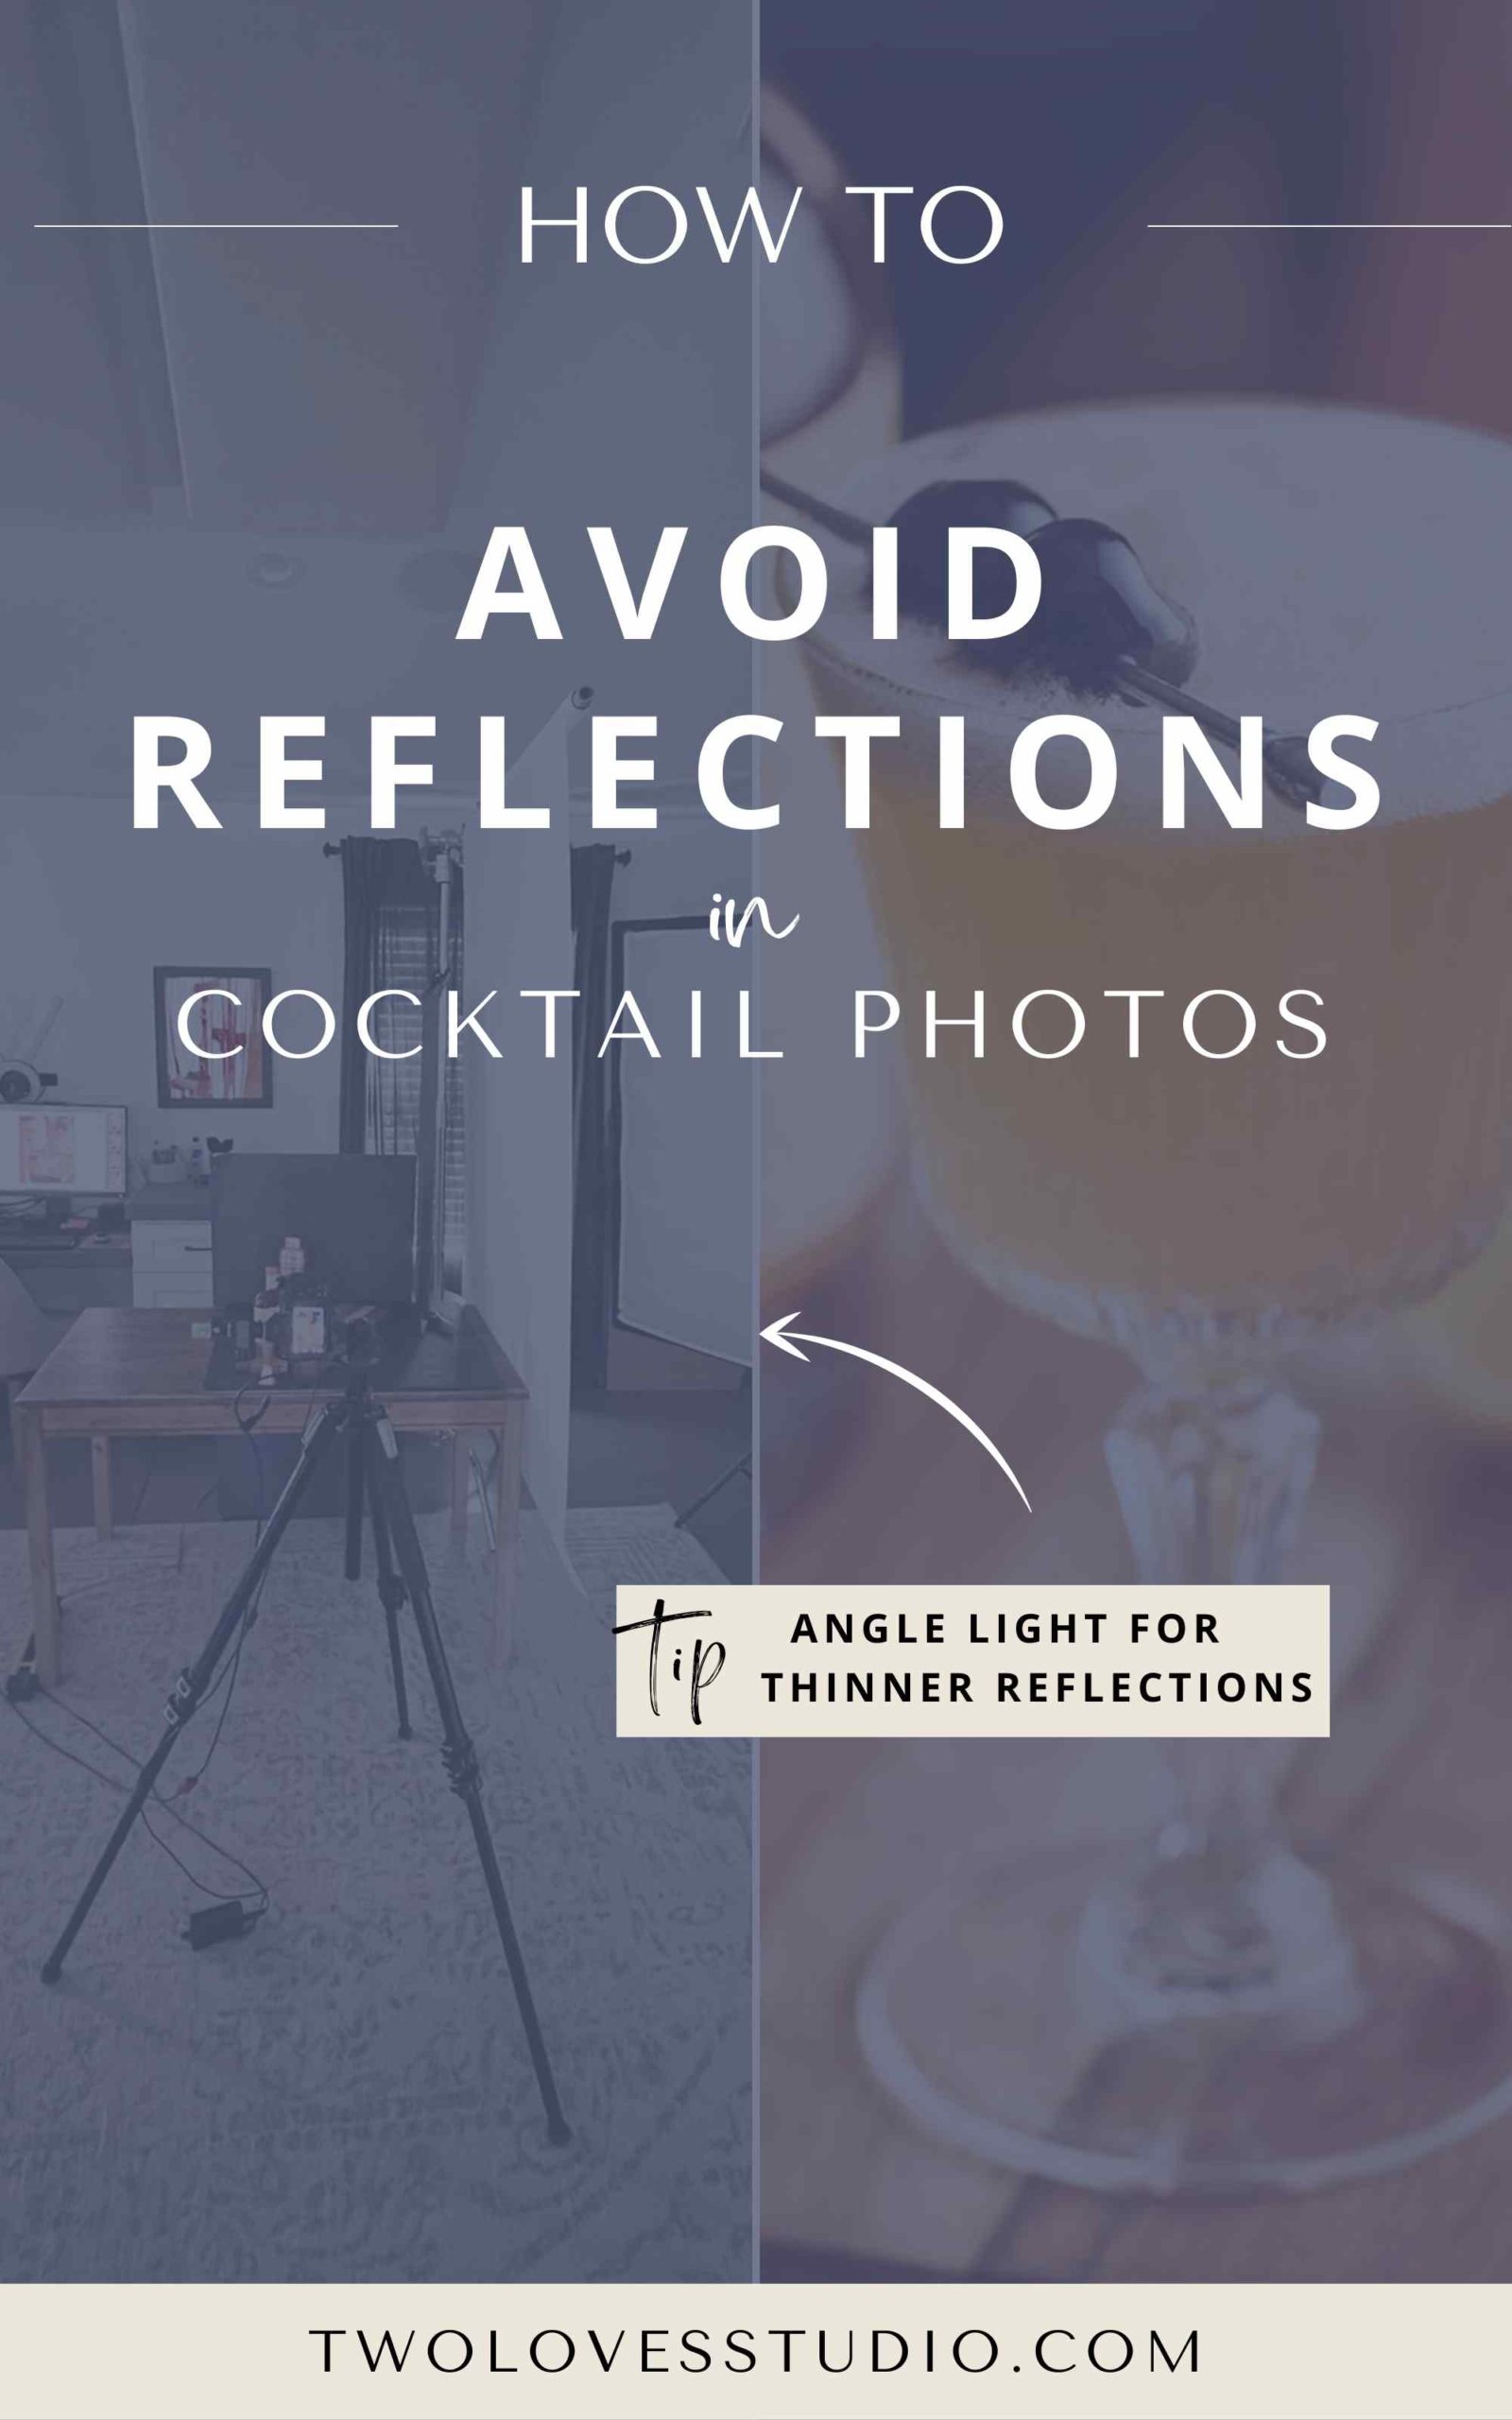
Positioning the Light: Angle The Light For Thinner Reflections
Notice how I have positioned the light relative to the diffusion paper in this setup. Do you see how I have angled the light? It’s not placed parallel to the paper.
You certainly could place it in a more parallel fashion. However, by placing it on this angle, it spreads the light so that more intense light is falling towards the rear of the scene and the rear edge of the subject.
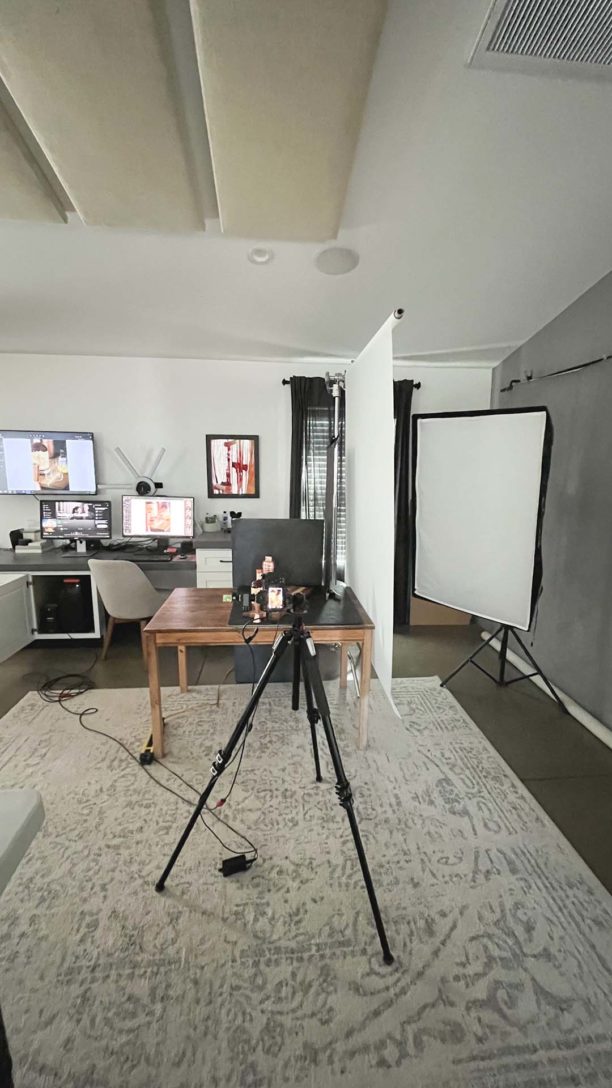
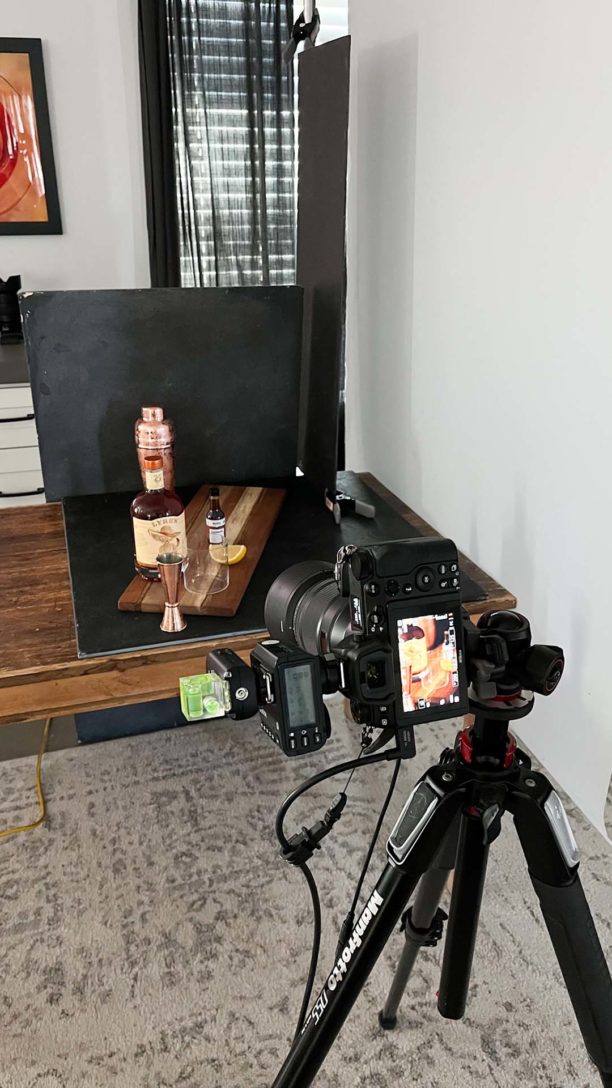
Then as the light falls off as it stretches to the edge of the diffusion paper near the front of the scene, it similarly falls off in the reflected highlights, creating a soft gradient of light. You can especially see this effect in the bottles in the background.
This positioning also creates a thinner reflection on the glassware as opposed to a wider band, which you see reflected as a thin strip on the right front of the hero glass.
Dramatically impact the look of your scene.
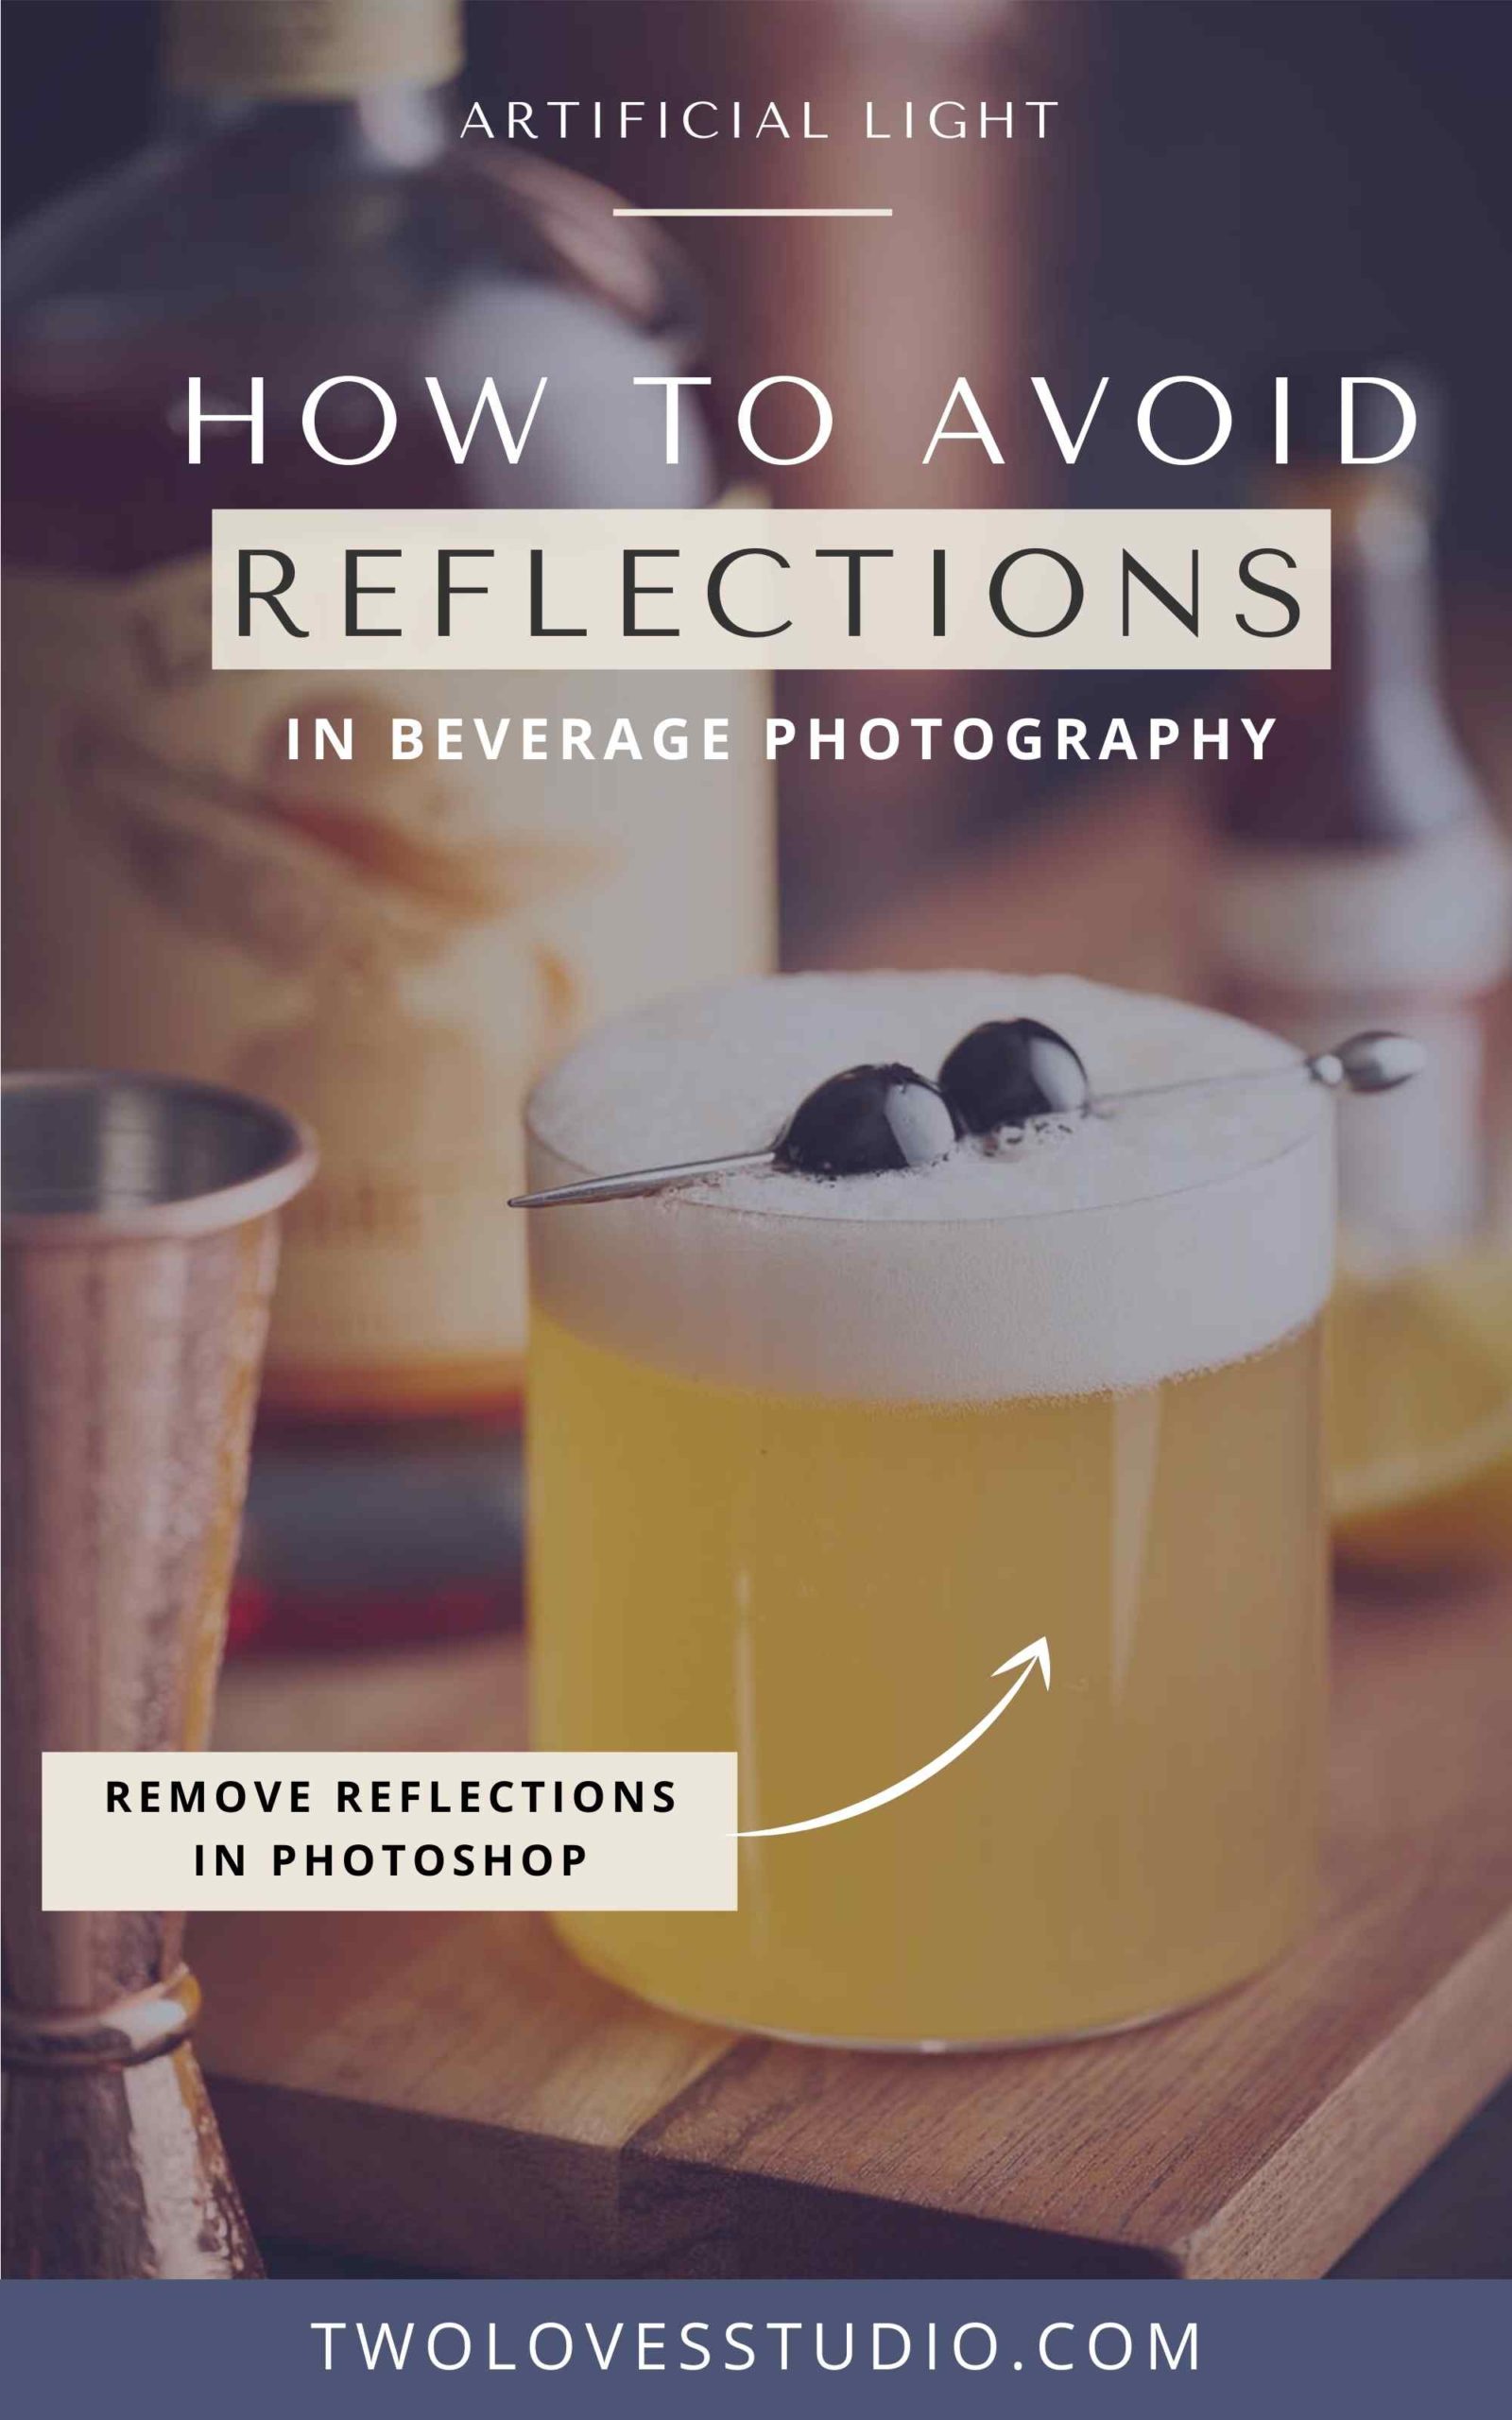
Subtle adjustments in the position of the light can dramatically impact the look of your scene. In addition, the little thin reflection on the left front of the glass, that’s actually the reflection from the jigger placed in the foreground.
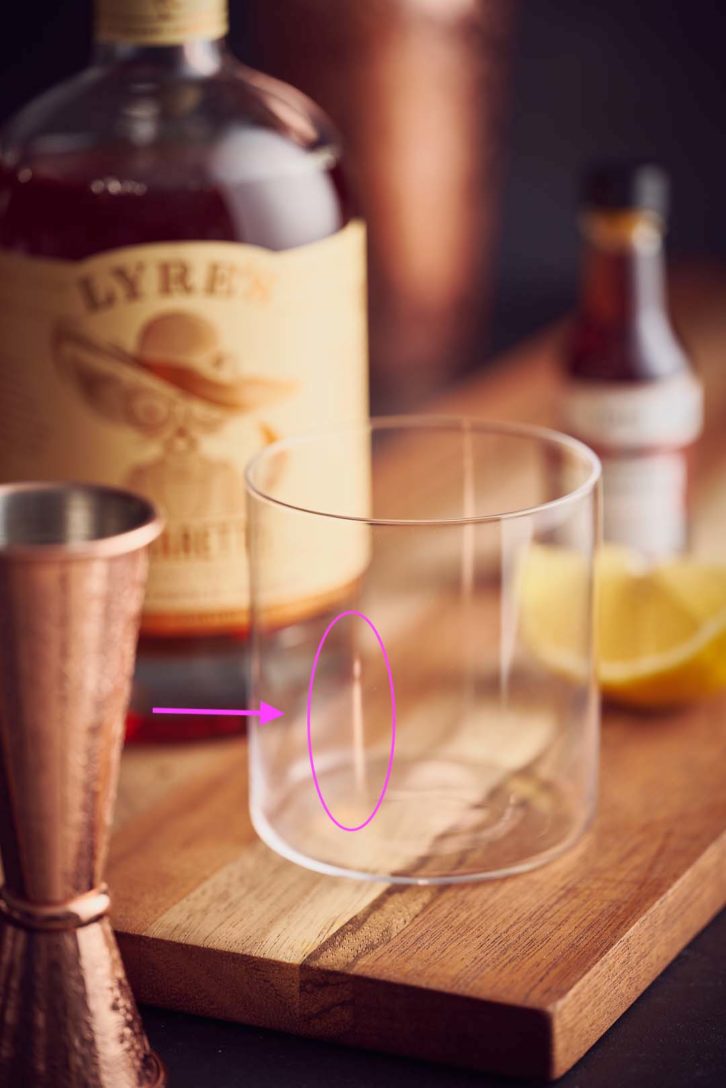
To eliminate that reflection, aside from removing the jigger which I think adds a nice atmosphere to the scene, it could be easily removed in Photoshop.
Choosing The Right Glassware Helps us to Control Highlights
When trying to avoid reflections in photography, lighting is the primary key to controlled highlights in any beverage scene. The glassware we pick will also have an impact. When I have the choice, I will choose a glass that’s easier to photograph and minimize reflections.
I started this shoot with an elegant, thin-walled old fashioned glass, appropriate for a drink like this virgin amaretto sour.
Once I poured the drink and added the garnish, the scene felt a little too simple and boring to me. I took this as an opportunity to try different glasses.
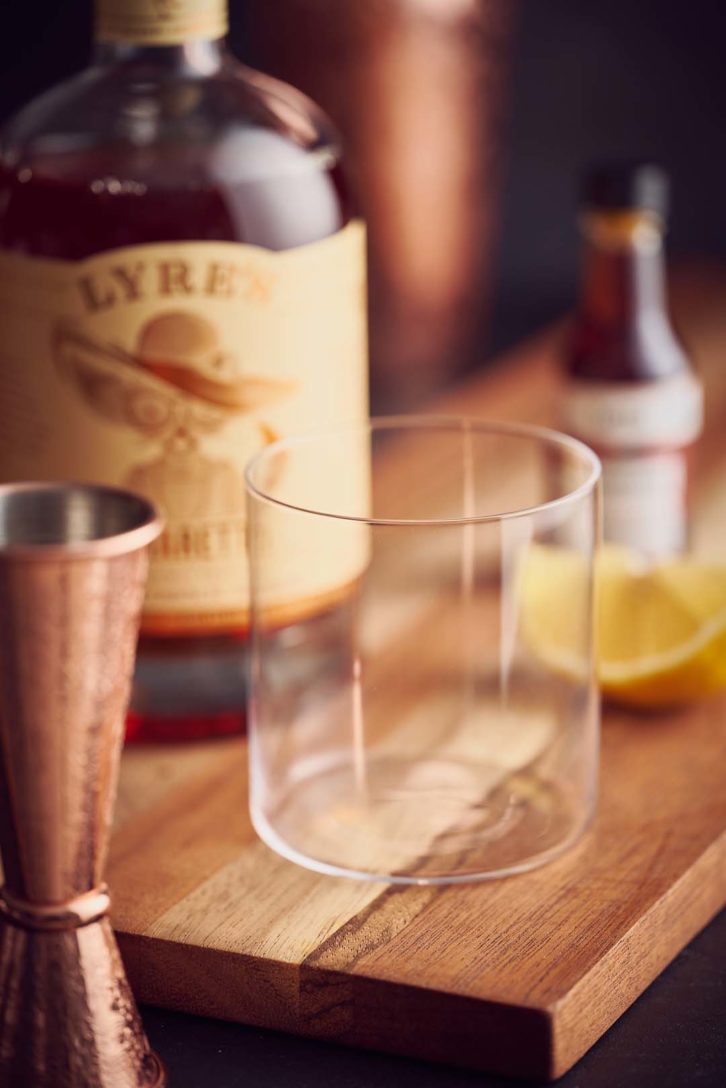
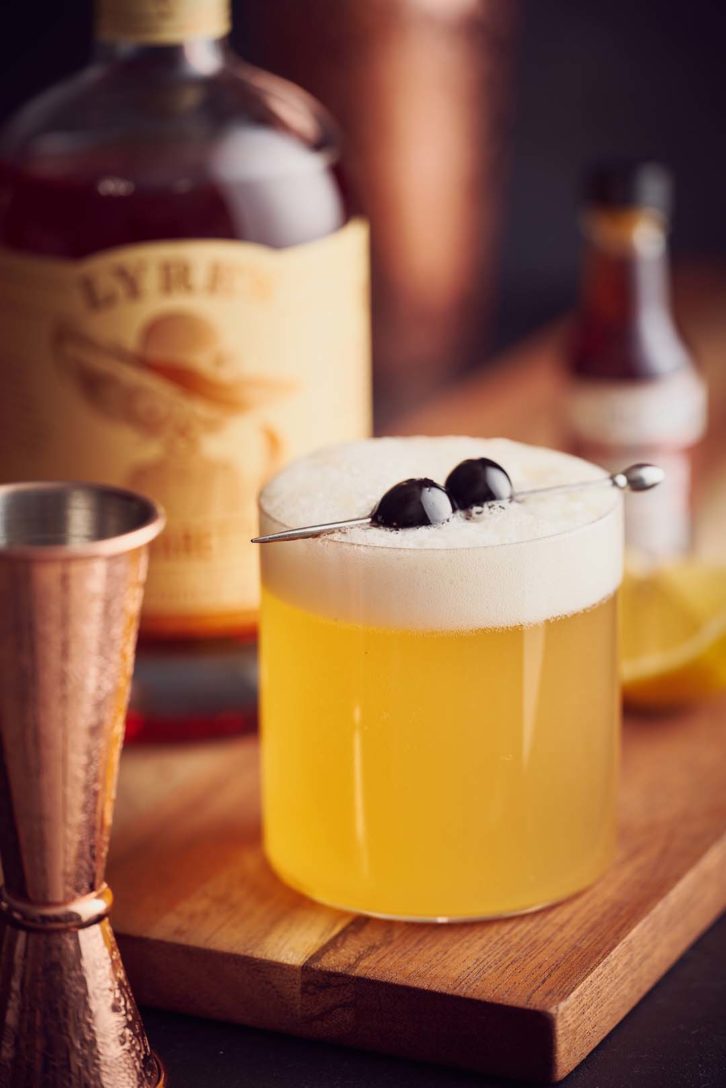
Next was an old fashioned glass with some texture, but still, I wasn’t in love with the shot.
I wondered if something with a stem might better fit the mood of the scene and create the visual interest I was craving?
My grandmother’s antique glassware was just what the shot needed in my mind!
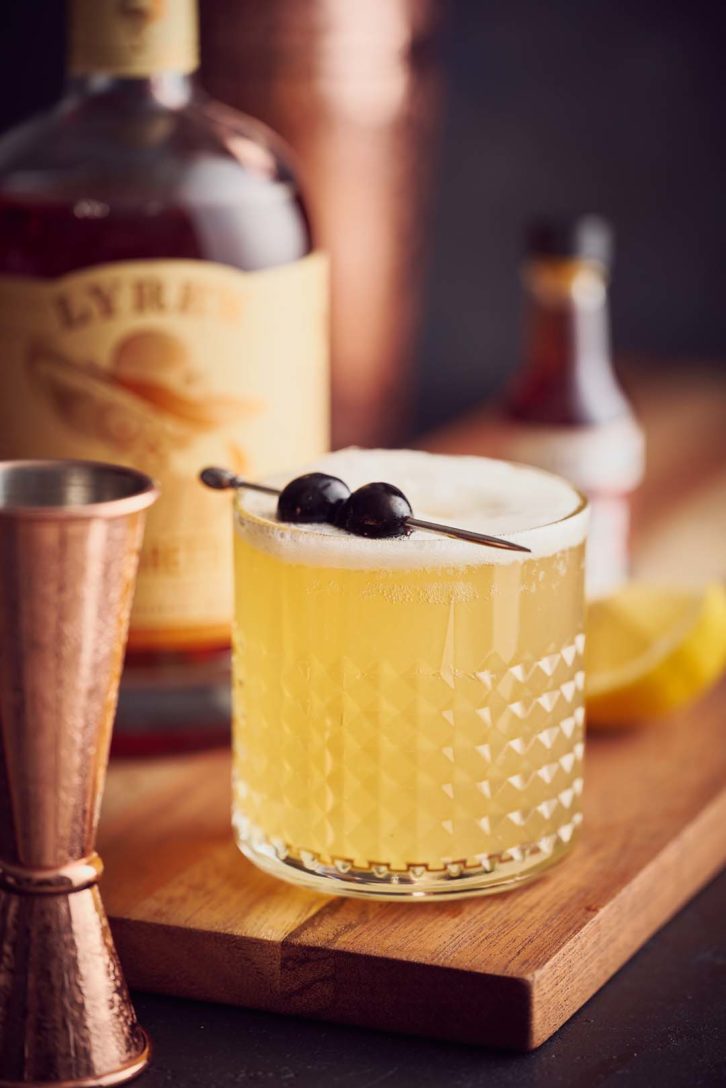
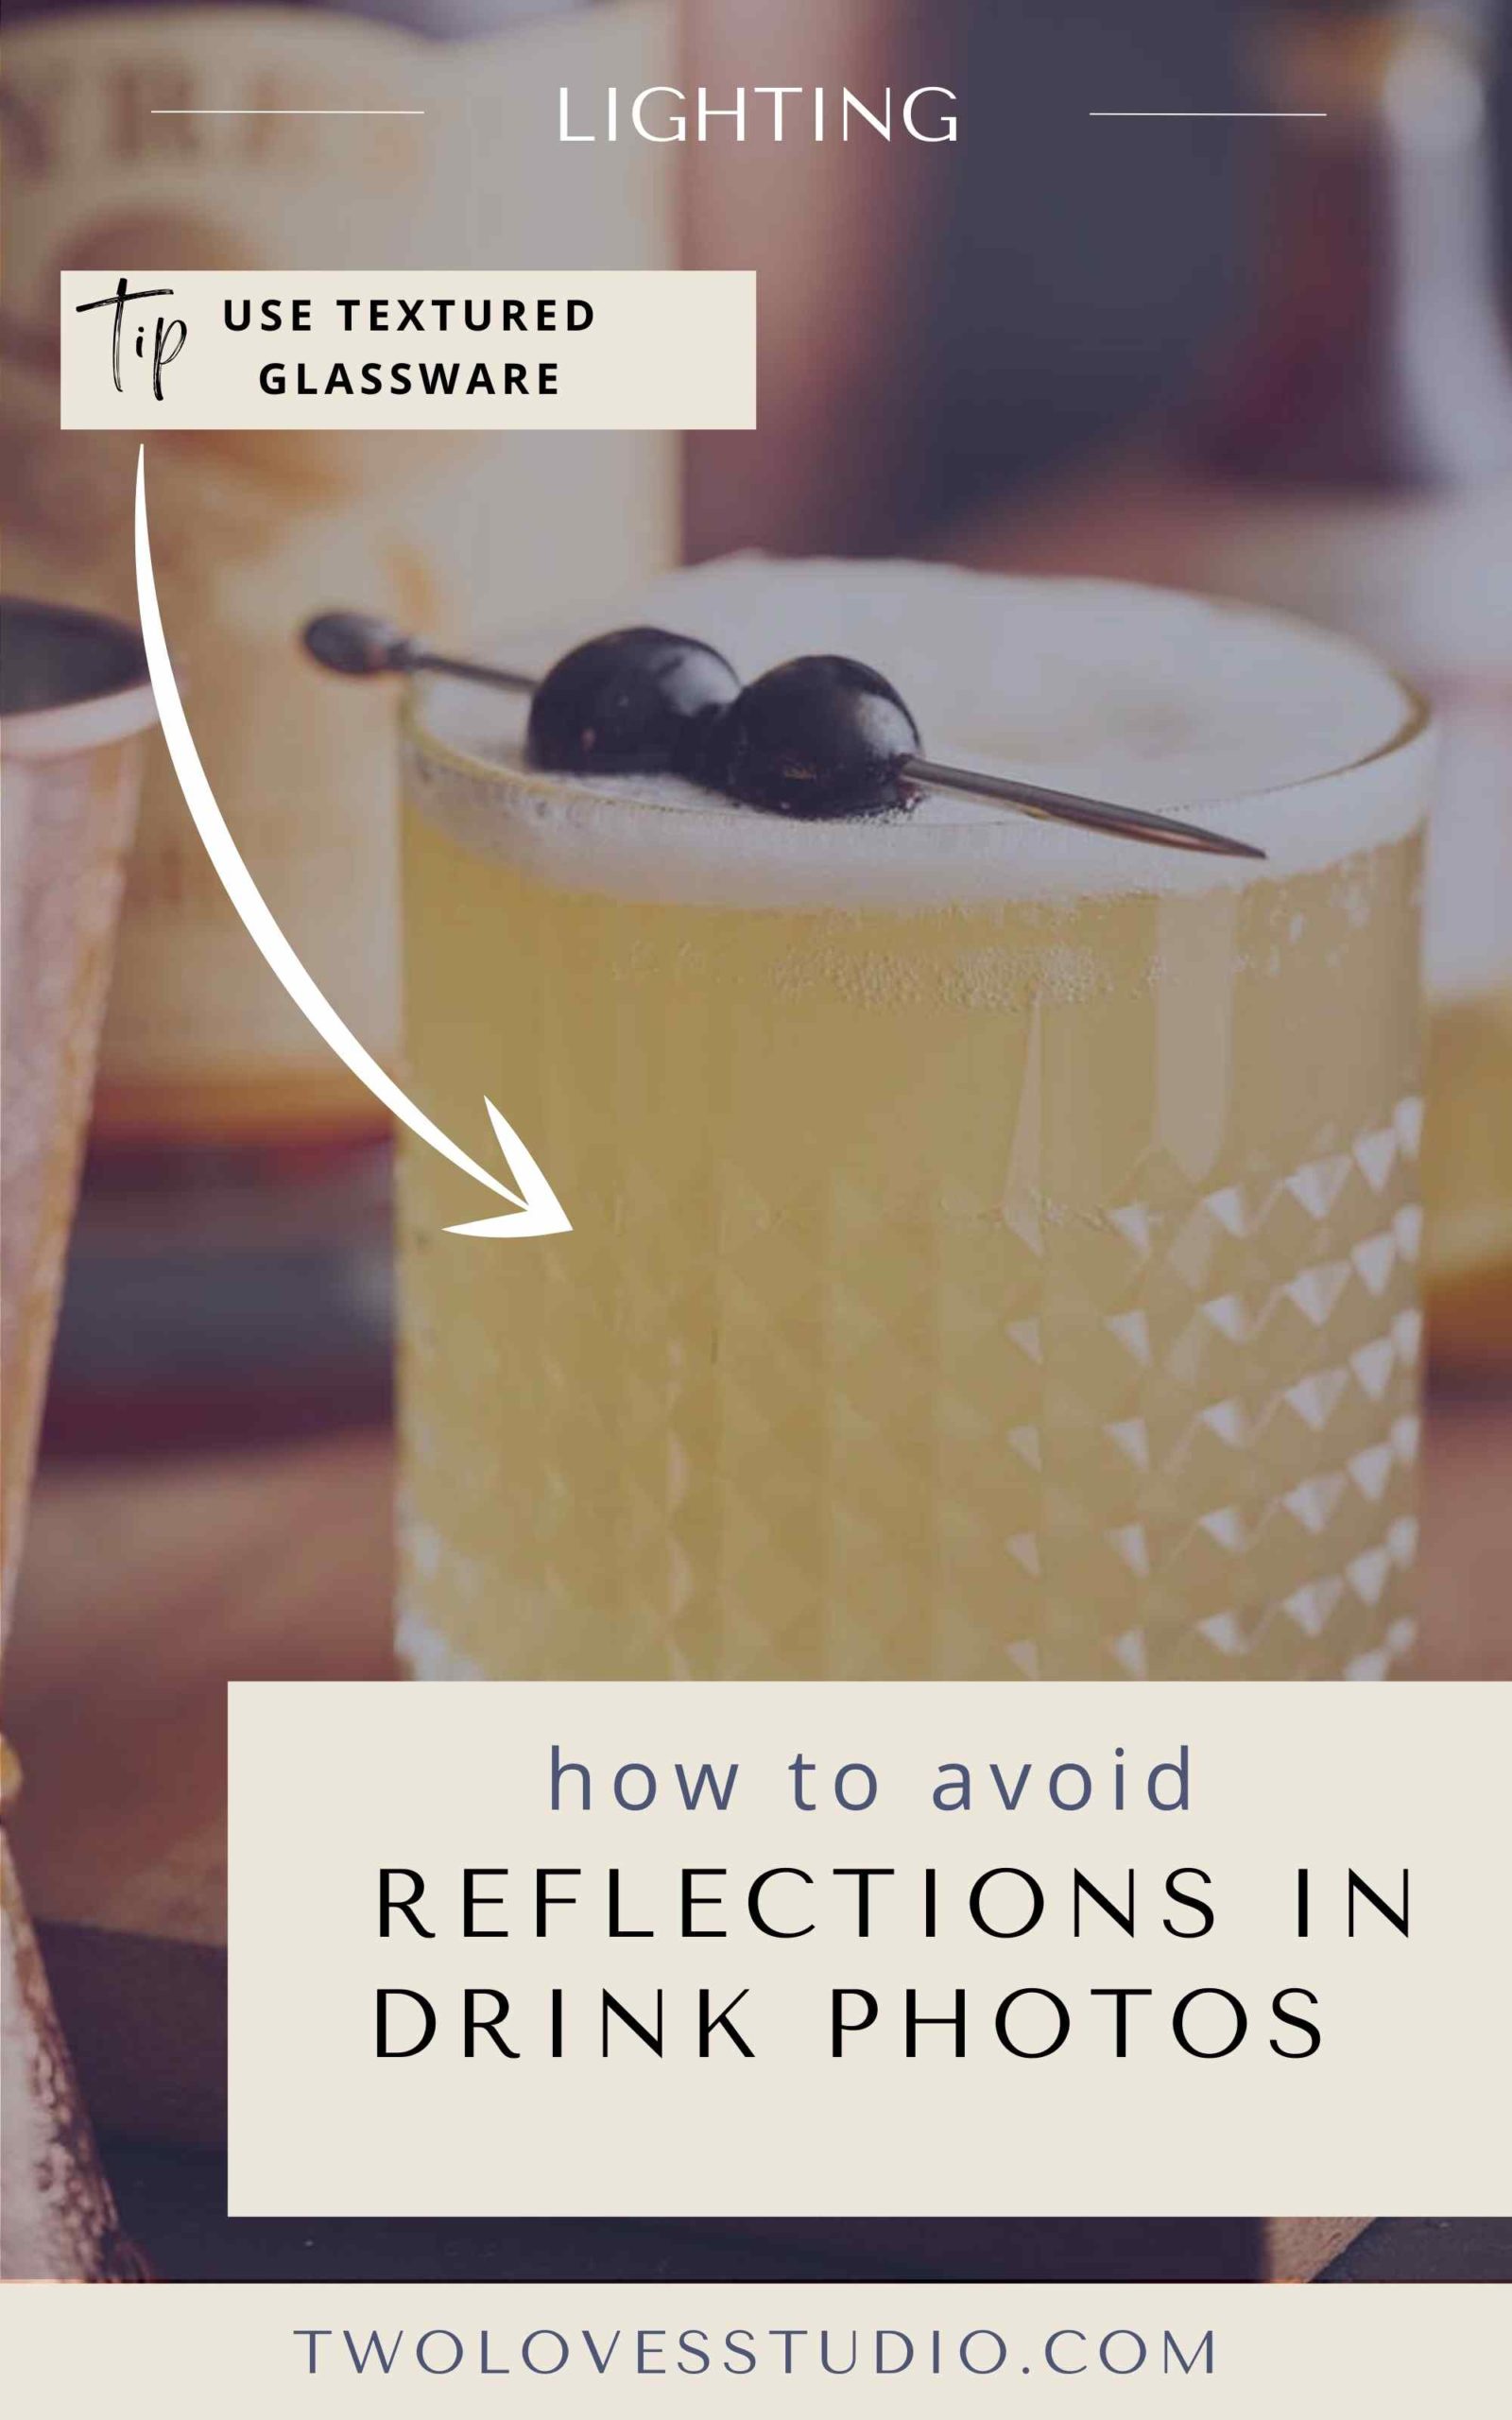
using glasses with some texture.
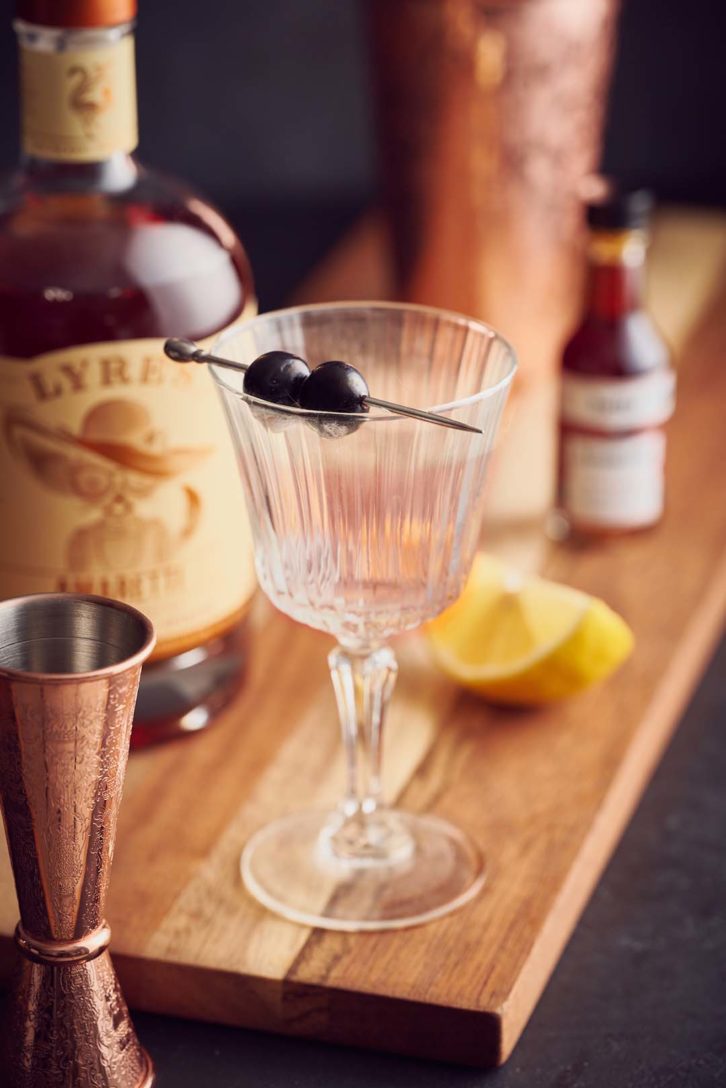
Also, notice, how the light interacts differently with the straight old-fashioned glass versus the textured old-fashioned versus the stemmed glass? Whenever there is texture or variation in the surface of the glass, it will break up the highlights and minimize the issue of reflection.
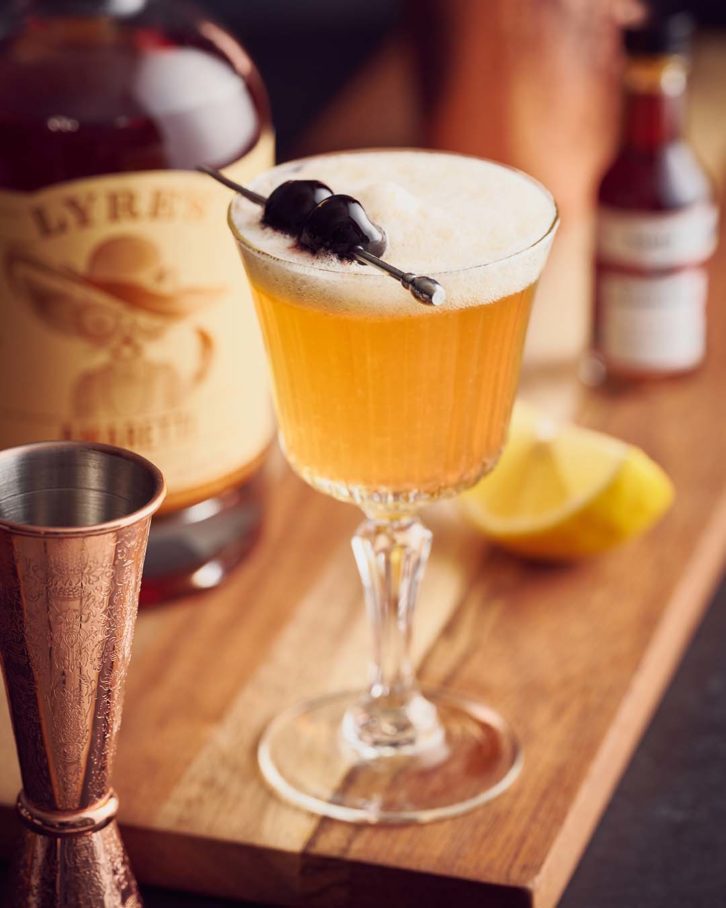
Granted, our lighting flattered the straight glass. If, however, you find yourself in a situation where the highlights in your current selection are giving you fits, and you have the flexibility to choose a different glass, opt for something with texture to make your shoot easier.
Next time someone asks you, “how to avoid reflections in photography when shooting drinks?” you can tell them it’s all a matter of lighting and glassware.
Joanie Simon wrote this post. Thank you Joanie for sharing your tips on reflection in beverage photography.

Joanie Simon
Commercial & Editorial Food Photographer
Creator of the popular educational platform The Bite Shot, which is a fun, vibrant, global community of photographers who love food and photography. Her signature online course, Artificial Academy, is a place for people with no prior lighting experience to learn to use artificial light for natural-looking and dynamic results.
You can enjoy additional education from Joanie on YouTube and at The Bite Shot.


Hotlens Photography
love those shots 🙂
Rachel Korinek
I’m so pleased! They are amazing, right? Joanie is so talented.