It can be daunting! You’ve got a new camera that’s not a point and shoot.
Or a smartphone.
And suddenly there are a few more modes in which you can use to capture your food with.
You’ve heard that manual is the way to go, but it’s a little scary.
And what about Auto, Av, and Tv? What does that even mean?
Let’s take a look at that now, as well as what mode you should use.
Don’t forget the recap at the end for a quick summary.
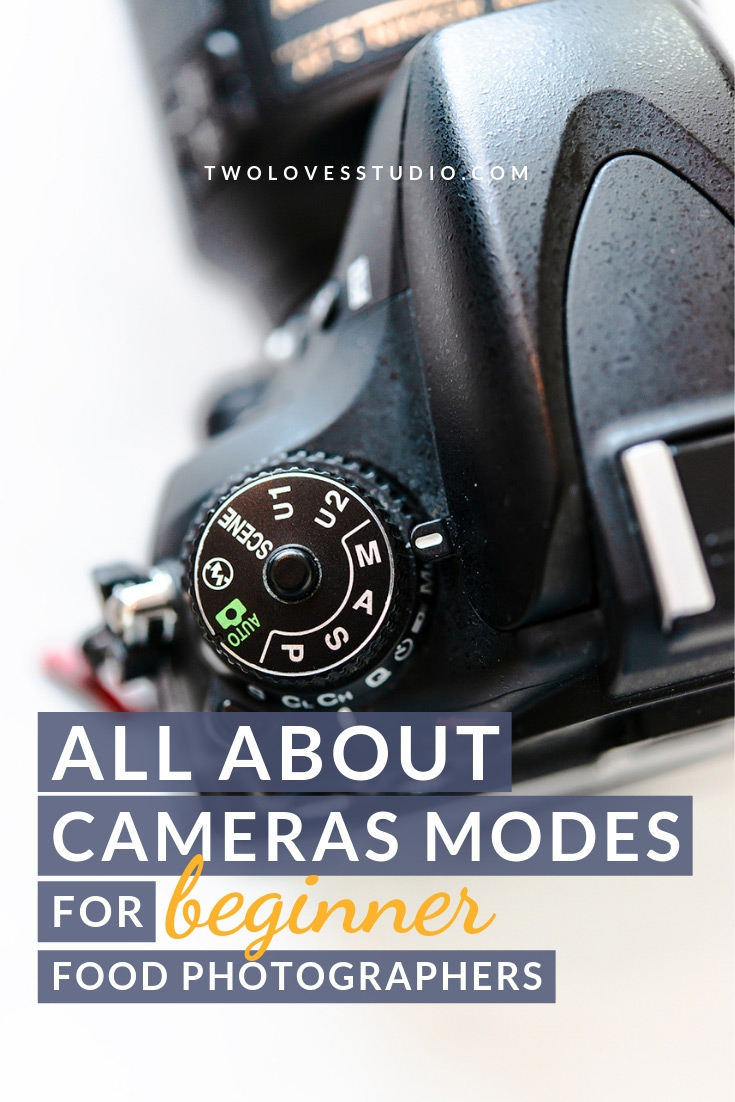
What Are The Camera Modes?
The modes that DSLR cameras come with are:
Auto Mode, Aperture Priority, Shutter Priority, Manual Mode.
If you’re seeing other modes like ‘landscape’, ‘night-time’ or ‘portrait’, it’s because that camera isn’t a professional model.
Professional DSLR’s only come with these four modes mentioned.
These modes allow us as the photographer to control certain settings. Like shutter speed, aperture and ISO to get the exposure we want.
Let’s look into each mode.
Auto Mode Will Automatically Set Your Settings
Can also sometimes appear as ‘P’ or program mode.
It’s labelled ‘auto mode’ as the camera will automatically choose your settings.
It’s deciding what your shutter speed and aperture should be based on how much light is coming into the camera.
You’ll have noticed if you ever used this mode, that as you move the camera around, the settings change.
And this is due to the fact that there are different amounts of light as you move the camera.
The camera is trying to balance the settings to get what it thinks is the optimum exposure.
It’s really telling you…what to do.
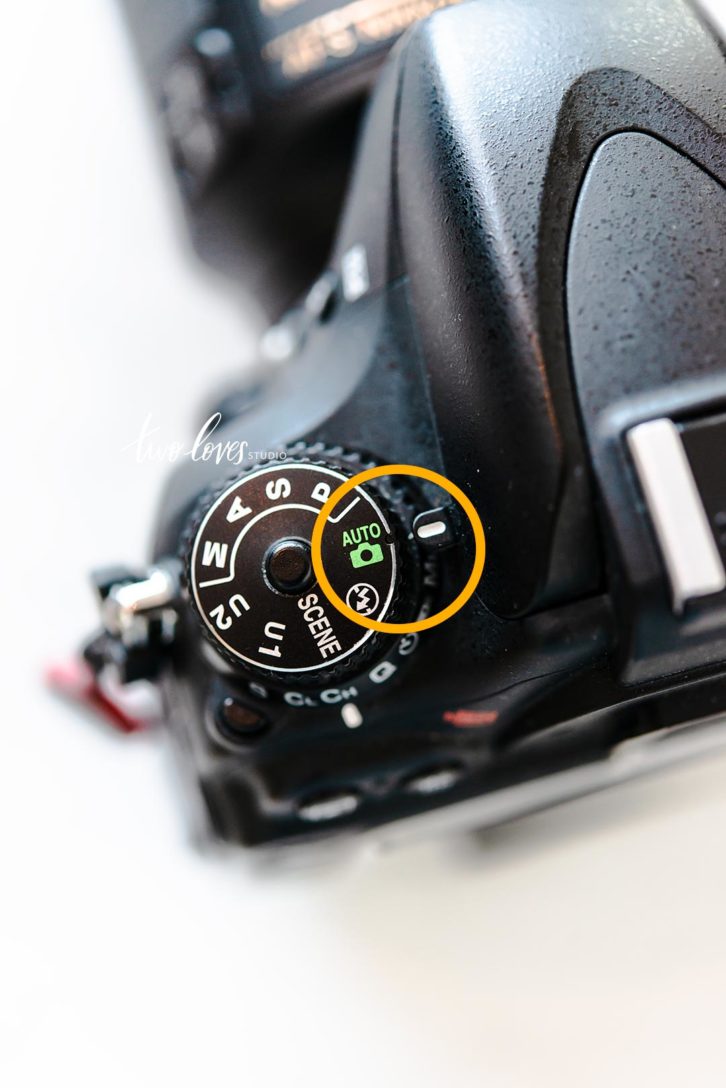
Aperture Priority Mode: Choose Your Depth of Field First
Will usually appear as ‘Av’ on your camera and stands for aperture priority.
The name gives us a hint as to how this mode works.
With Av, we pick the aperture that we want to shoot.
Whether we are choosing the aperture based on light availability or creative choice, we program the aperture.
The camera doesn’t change the aperture for us, only shutter speed.
It will try to pick the shutter speed it thinks will give us the correct exposure based on the aperture.
Increasing the shutter speed to make it faster if there is too much light.
Decreasing the shutter speed to make it slower if there is too little light.
Here you have a little more creative control, as you get to determine your depth of field.
Shutter Priority Mode: Choose How Much Light Enters Via Shutter Speed
Or Time Priority is shown as ‘Tv’.
This mode has the same idea as Aperture Priority, except with shutter speed.
So with this mode, you pick the shutter speed and the camera will pick the aperture.
The camera is choosing an aperture it thinks will help it get to optimal exposure.
If it needs more light, it will select a larger aperture, (our small numbers like f 2.8).
On the other hand, if it feels like it needs less light, it will select a smaller aperture, (larger numbers like f 8).
Manual Mode Gives You Complete Control, Not Your Camera
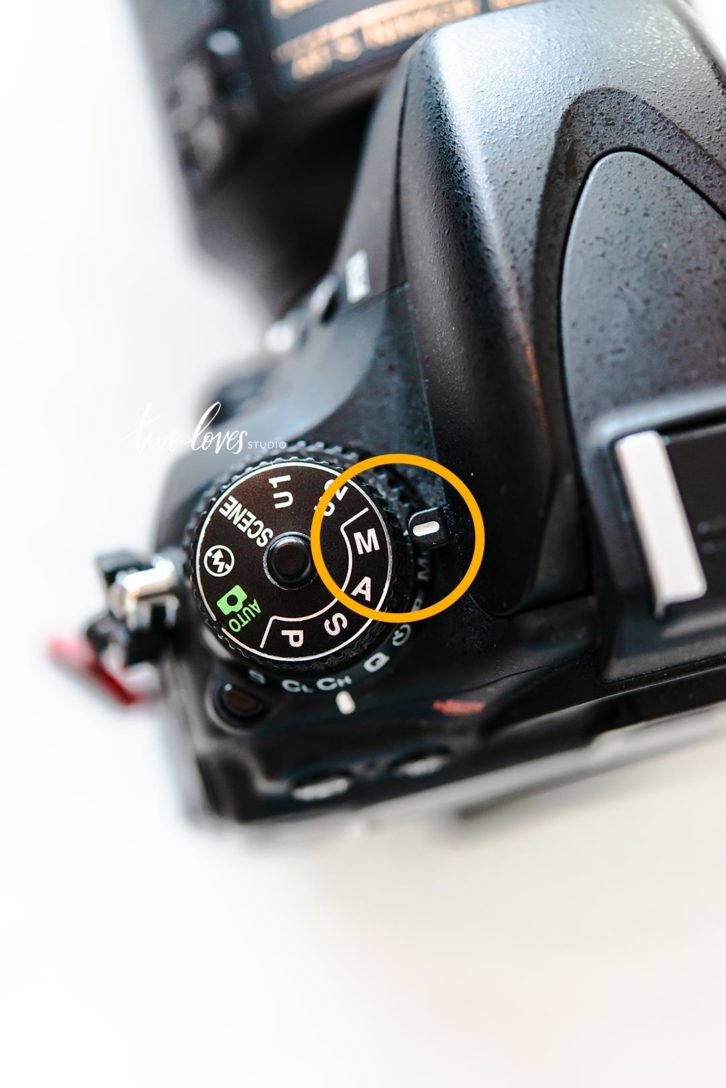
Lastly, we have manual mode, usually shown by ‘M’.
Just as it sounds, on manual mode we are responsible for all of our settings.
We select the aperture we want, the shutter speed and ISO that will give us the exposure we want.
This is where knowledge of the exposure triangle comes in.
It’s how we control our settings for the exposure we want.
Which Camera Mode Should You Use in Food Photography?
Ideally, you want to shoot manual.
Because it gives you the most control and creative freedom.
On Auto, you are letting the camera decide for you. It’s a powerful machine, but it’s not smarter than you.
It can’t be as creative as you.
If we break it down, at the core, the camera chooses settings that will give ‘correct exposure’. Or what it thinks is correct exposure.
But there is no blanket rule as to what correct exposure means. It really comes down to the concept. The story, the mood, what you’re trying to evoke from your viewer.
The camera can’t know that.
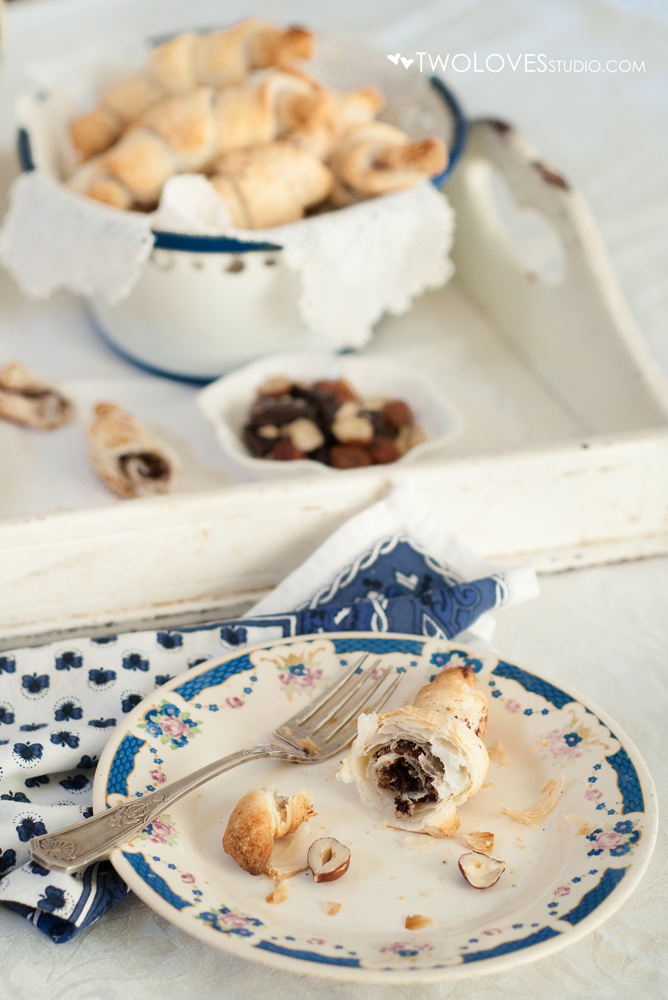
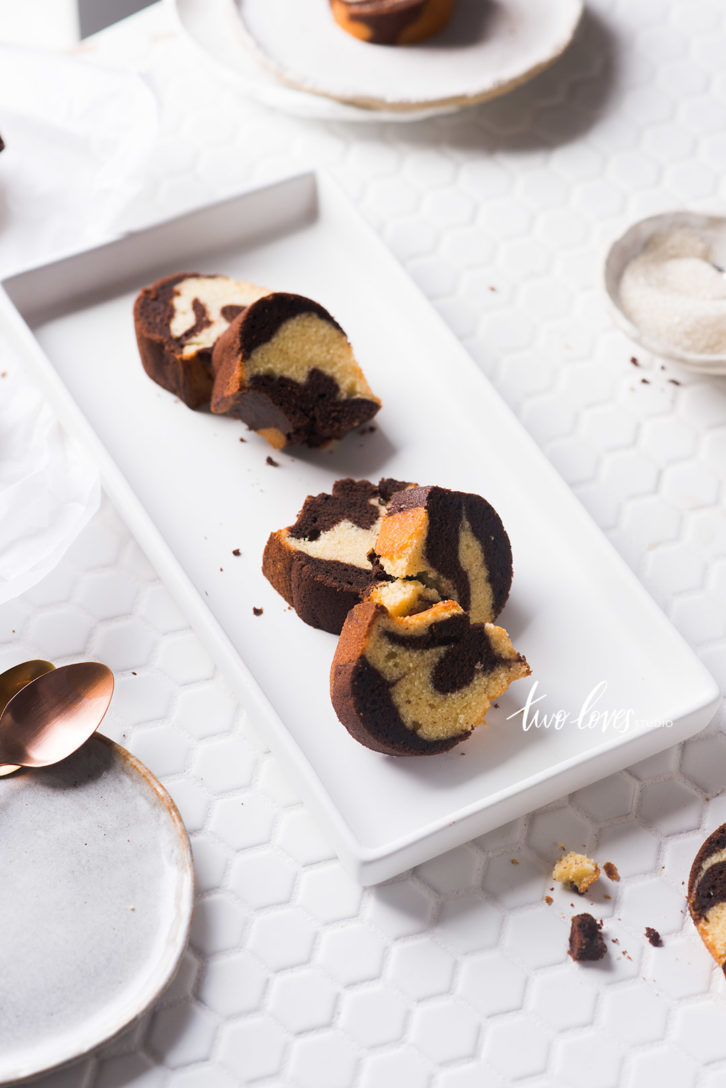
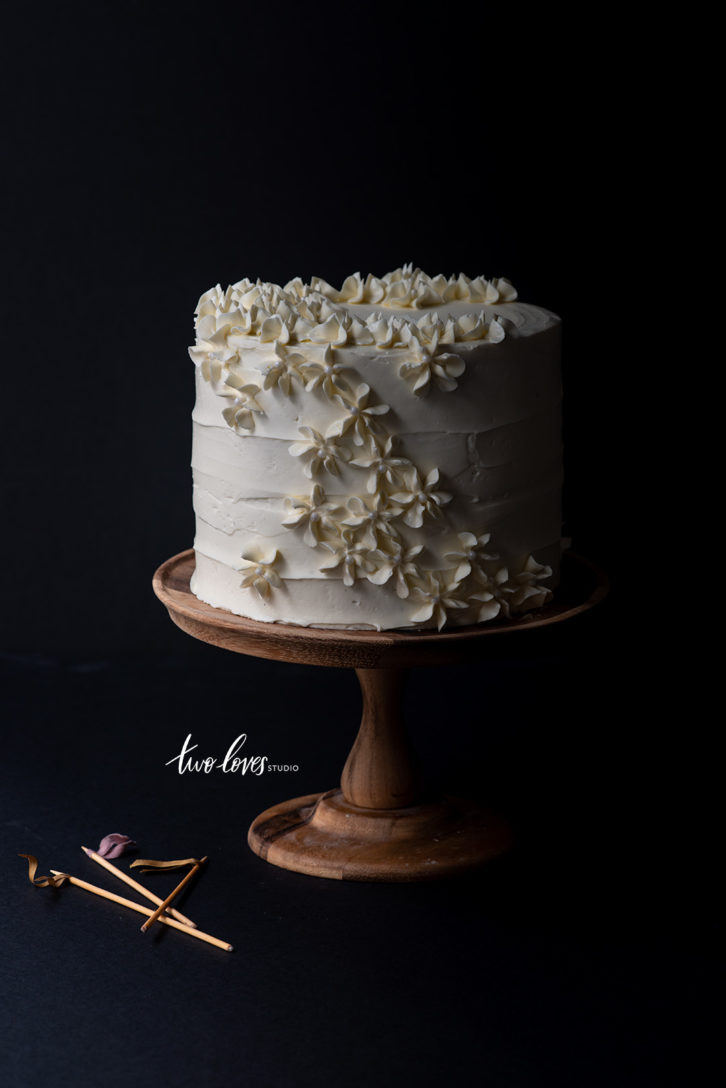
So the most creative freedom comes when the photographer chooses the settings. Like the above, for my bright work, I like to be in control of just ‘how bright’ the exposure is.
Our goal, therefore, is to shoot on manual.
Which Camera Mode Should You Start With?
Now that last sentence might have been scary. Shoot on manual! Gosh, that sounds hard.
And for the longest time, I was scared to shoot on manual.
But when I finally did, I was like…what the fudge did I not do this sooner! It’s actually easy.
The biggest thing that will help you shoot on manual is to know your exposure triangle.
Knowing the relationship will help you know how to change your settings.
I also think that getting into the habit of changing your settings will set you up for manual.
So I recommend getting off auto and using Aperture Priority.
Use Aperture Priority to start shooting food photography.
The reason I like Aperture Priority the most is that our food doesn’t move. (Mostly!)
How To Work Your Way Up To Manual
Setting our depth of field is a creative choice and helps with composition. Therefore being able to control that will make your images much better.
Then letting the camera choose the shutter speed for us.
This is a good way to build up to manual, as it gets you in the habit of changing and controlling aperture.
The best aperture to shoot your food on changes depending on the type of food. The lens and distance to your food will also dictate what is best.
So by shooting a range of food in Av Mode, you will get the hang of thinking about aperture and changing it throughout a shoot.
Once you have that under your belt, you can then move your way up to Manual Mode.
You’ve mastered which aperture to use, now you just need to also change the shutter speed to get the desired exposure.
Manual Mode Is Easier Than You Think
It is actually easier than you think.
In workshops that I’ve taught for beginners in the past, I’ve had new photographers who’ve never used a DSLR before shoot manual by the end of the day.
Because it all comes down to knowing the relationship between ISO, Shutter Speed, and Aperture. Our Exposure Triangle.
If you start by using Av Mode, you’ll start to understand how the camera is changing settings based on this relationship.
Then shooting manual will be a lot easier.
Recap
In a nutshell, here are the takeaways from this post:
- A professional DSLR camera will have four modes.
- Auto Mode. Where the camera chooses ISO, Aperture and Shutter Speed for us.
- Aperture Priority – Av. Where we control aperture and the camera controls shutter speed.
- Shutter Priority – Tv. Where we choose our shutter speed and the camera controls aperture.
- And finally Manual Mode. Where the photographer sets ISO, Shutter Speed and Aperture.
- I recommend starting to shoot food photography with Aperture Priority.
- Shooting on Manual Mode is where we want to aim for.
- Knowing the Exposure Triangle will help us know how to change our settings in manual mode.
Lesson
If you’re shooting on Auto, it’s time to move to Av or M.
- Set your camera to Aperture Priority.
- Think about what is the best aperture (depth of field) to shoot your food subject on.
- Choose that aperture and take a shot. Take note of what the shutter speed is being set to.
- Then roll through your apertures from highest to lowest, (from smallest number to largest).
- Compare how the camera is changing shutter speed each time.
- When you move to manual, instead of the camera knowing what settings to change it to, you will!
Thanks for taking the photography fundamentals series! See all the lessons in this series here.




Adhyayan
Thank you so much, this was really helpful as i just got my first dslr(nikon d5300) and decided to go Manual, right away. But somehow i wasnt getting the sharp focus on the subject. I guess i should start with Av mode. And learn my way through
Rachel
You’re welcome! Thanks for stopping by. Many things can contribute to soft focus. You can check out a post I did on troubleshoot tack sharp focus here.
Adhyayan
Thank you so much, it was really helpful!!?
Rachel
So glad to hear that! Thanks for stopping by 🙂
Helen Blossom
This is what I was looking for. Thanks for the article!
Best wishes
Helen
Rachel Korinek
So great to hear that Helen! Thanks for stopping by.
Daiokan Th
Thank for sharing information for beautiful food photography
Rachel
You’re so welcome Daiokan 🙂
walker
Thanks you so much blocky blast is sharing!sshdfgsdgfgasgdf thanks you so mục is sharing sfahf thanks you muc