I stated Two Loves Studio back in 2012 to document my journey into food photography and everything I was learning.
Back then, there was little on the world of food photography. Anything that was on the internet was written for an absolute beginner. And there’s nothing wrong with that.
The problem was, what happens when you devour and conquer beginner topics?
Where do you turn from there? That was my dilemma.
So Two Loves Studio quickly morphed into writing and educating photographers in our community intermediate to advanced concepts.
I vowed that I wouldn’t write about beginner concepts, because you can find them everywhere. But as it turns out, photographers in our community weren’t laying the foundations properly.
And to succeed, strong foundations and practice are the secrets, (not so secret, but everyone tries to skip this part. It doesn’t work).
So you can powerfully implement the more advanced concepts in this blog, let’s get our basics covered first – with a food photography twist!
How Photography Fundamentals 101 works.
This is your ultimate guide to building those foundations. There are 12 lessons all of which you can navigate from this page. This is your launch pad.
Ready, steady, excited – go!
The Truth About What You Really Need For Food Photography.
Photography is an expensive hobby. There are times when spending the money matters in getting a quality shot. And other times, not so much.
Having a passion that I can work on has made my life a million times better.
People either go one of two ways.
They spend way too much money on gear and never on education and creative pursuit, or they spend almost nothing.
Your passion is your life. It’s worth investing in.
Your first lesson is to get clear on where you should spend your money.
No matter what stage you are at.
If You Want To Be Great At Photography, Practice is The Secret.
It’s that old cliche of ‘practice makes perfect’.
Love it or loathe it, it’s true.
There is no skipping this part.
Great photography takes work. But why should work and practice not be enjoyable?
You’re in it for the long haul. Your passion is your life, enjoy this time at the beginner.
Creative discovery is the best.
Your second lesson is to get real about practice and the exercises that will help you make the most of your practice.
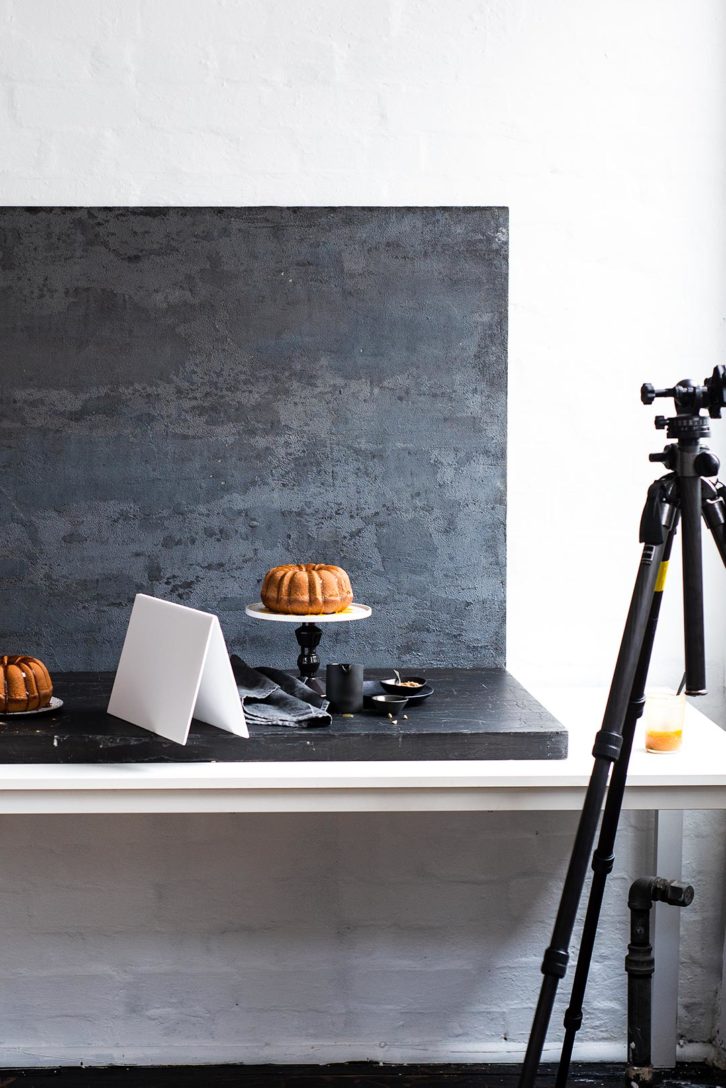
The Basic Light Setup For Food Photography.
I’m going to get right down it to, photography is science. Light is science.
There are some badass physics principals that govern light. (Not to scare you but it’s the truth).
Your third lesson is to do these exercises with natural light.
And yes, they are your typical light exercises but guess what – hardly anyone takes the time to do it and that’s a mistake.
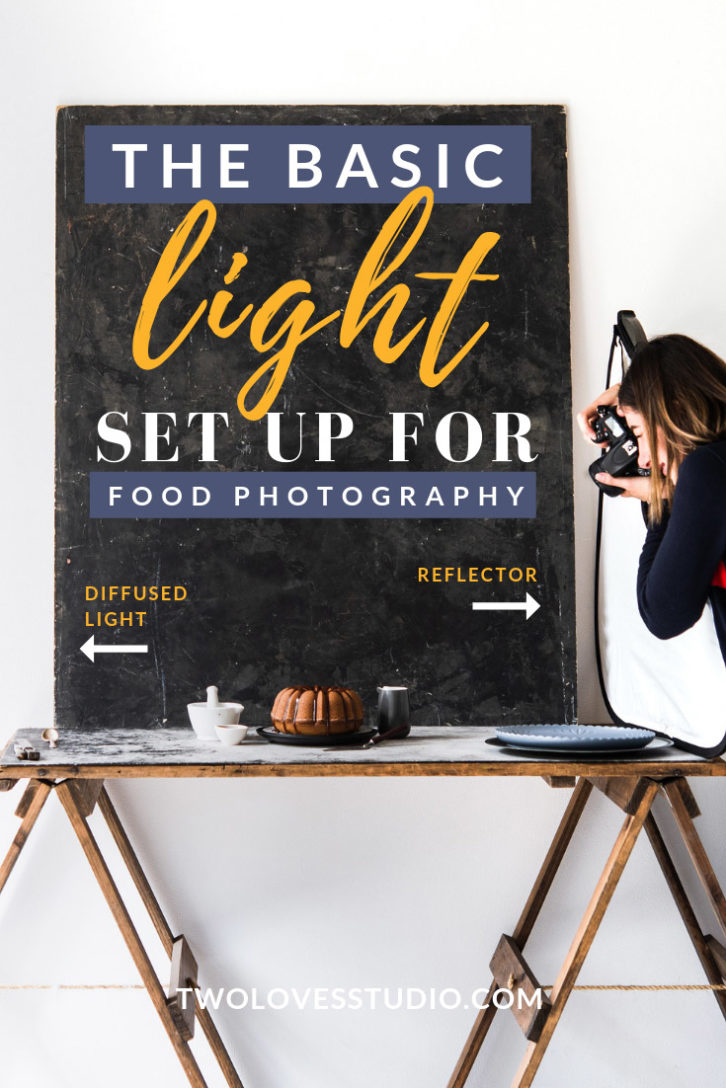
Although having a camera helps, you don’t need to have one to do these exercises (it’s something I do every day with just my eyes too!).
The Real Deal About DSLR Cameras For Food Photography.
Now we’re getting to the good part. The camera you need!
Now, I’m not here to disappoint you, but I can’t recommend a camera for you.
And the reason is that the models and sensor technology are always changing.
The bells and whistles to entice you to upgrade too.
In this next lesson, I will share with you what basics your camera needs so you can excel with your new skills.
What is a Camera Sensor? Quick Guide For Food Photographers.
Continuing with our lessons on cameras, one of the biggest gaps in understanding is about camera sensors.
This is kinda a crucial concept in the beginning stages of our journey.
It influences the quality of our images and our lens choice will impact our composition.
In the next lesson, we will look at what sensors are and the two types.
So before we get into the conversation on full frame and cropped sensors (say wha???….) our next lesson is to look at what sensors actually are.
Full Frame vs Cropped Sensor. Which Is Better For Food Photography?
Now to me, the best camera is the one you have in your hand.
I truly believe that we are smarter and more creative than our gear.
I’ve had both types of cameras in my life and shot with both and ended up with the same results.
At this point in your photography journey understanding what the difference is between the two and what impact that has on your lens choice is crucial.
Not only in allowing you to make the best investment in gear but also how it is going to impact your composition.
So let’s get savvy with what both of these are.
Everything Food Photographers Need To Know About The Exposure Triangle
In this lesson, I want to cover what exposure is and the Exposure Triangle.
This is going to help you get off shooting auto-mode and into manual.
And it’s seriously not that hard.
I’ve taught workshops where students have taken a camera out of its box and were shooting manual that same day.
In this lesson, we are going to read my ultimate guide to the perfect exposure.
The exposure triangle is simply the relationship between Shutter Speed, Aperture and ISO that helps us get the desired exposure in our images.
Quick Guide To Metering For Food Photography. Which To Use And When.
As you start to get into photography, you’ll hear a bunch of jargon and be like, what?…
In this next lesson, we’ll look at what metering is and what types of metering you will find in most DSLR cameras.
I will also recommend the type of metering you should use for food photography.
Metering, in a nutshell, is used to measure the brightness of a subject.
The camera will measure brightness in different parts of the frame individually. There are different types of modes we can use, which measure different parts of our image.
If Your White Balance is Terrible, Read This.
Is a very crucial concept in photography and kinda complex to achieve.
It’s a simple idea, but I’ve found that it’s oversimplified and left many photographers in our community struggling to find perfection.
The human eye is amazing at balancing, but our equipment isn’t always.
So there are different methods we can use to correct white balance.
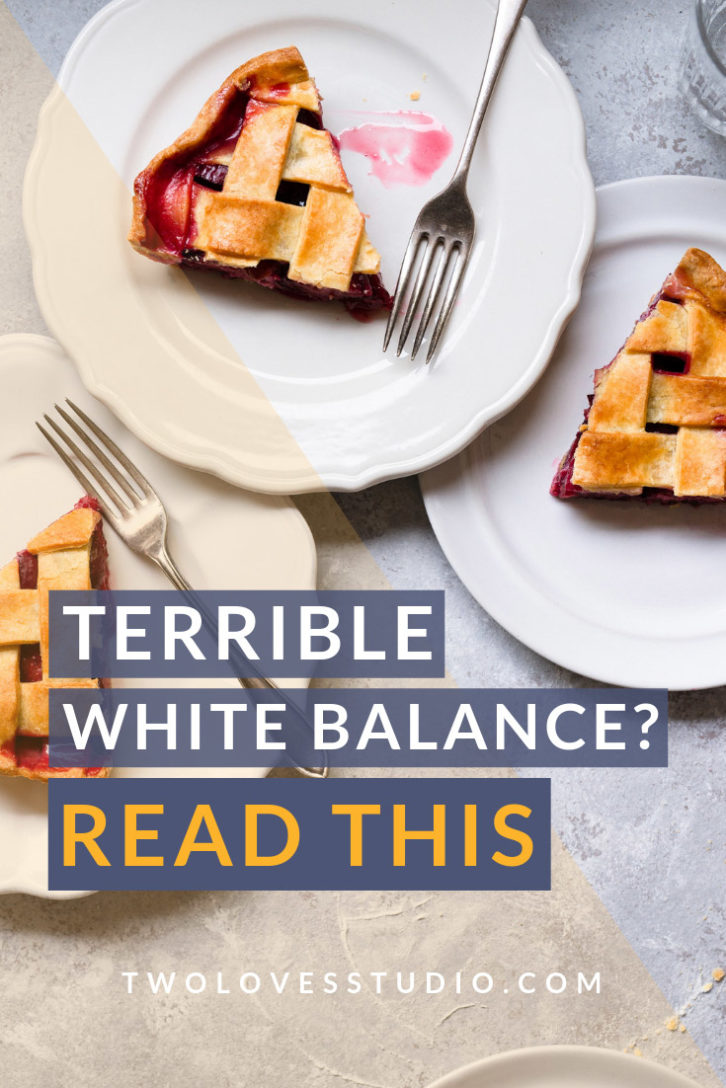
In this lesson, let’s get savvy with what white balance is and the different types.
Why Focal Length In Food Photography Can Improve Your Images.
Is a concept that a lot of beginning photographers skip over
Focal length matters and can be influenced by things like the camera’s sensor.
Focal length also matters for our lens choice and composition.
So in this lesson, I want you to understand what the definition of focal length is how it affects the angle we shoot in food photography.
Two Types of Distortion That Can Harm Your Food Photos.
Have you ever looked at a photo and said, something just doesn’t look right?
As a new photographer, we are learning so many things.
It’s hard to be able to get down to the nitty-gritty and look at everything in our frame to make sure it’s perfect.
In food photography, it’s important to minimise technical mistakes so that the viewer can connect with our subject.
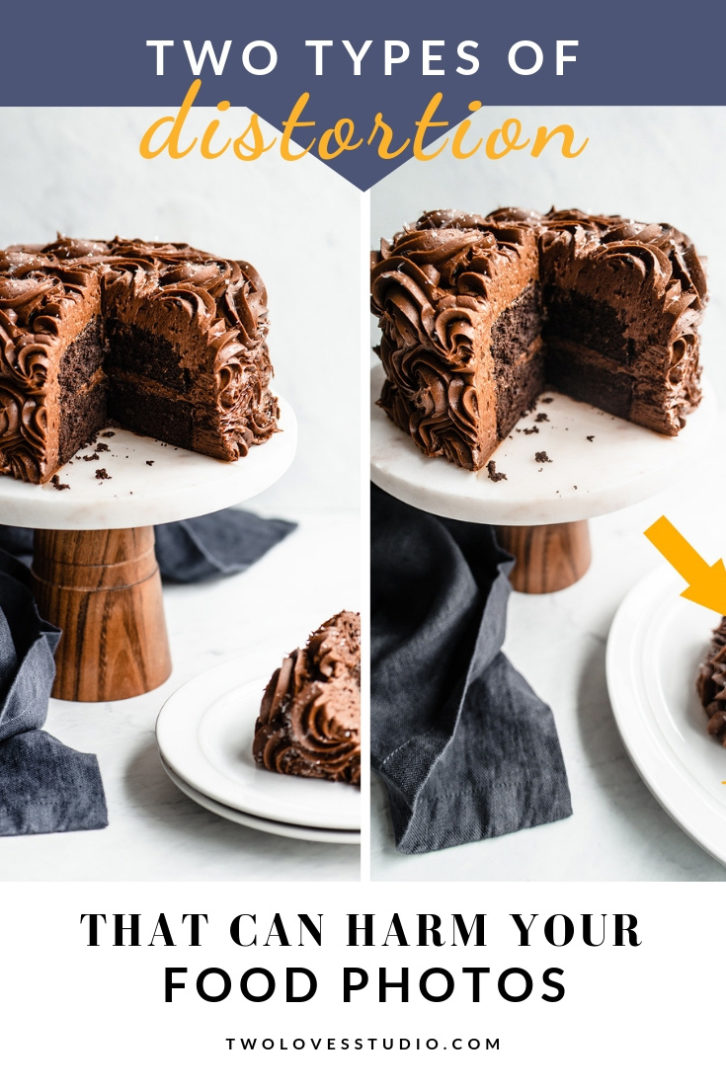
One of the biggest technical mistakes that’s overlooked is distortion. Caused mainly by a combination of a lack of understanding but also gear limitation.
So in this lesson, we are going to look at the types of distortion and the lens and the most common lens and angle pairing for food photography.
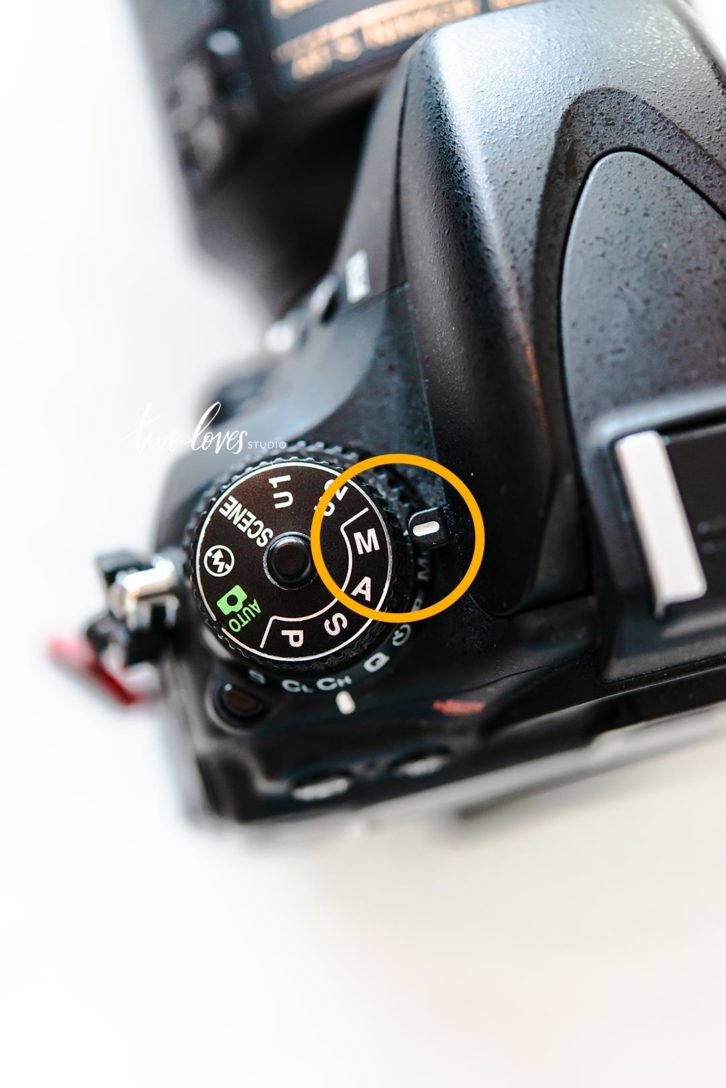
All About Camera Modes For Beginner Food Photographers.
We have a couple of options to choose from when it comes to what modes we’ll use to shoot.
Auto, Aperture Priority, Shutter Priority and Manual.
So which one do you use? Which is better?
And how do you start to use these different modes and work your way up to manual?
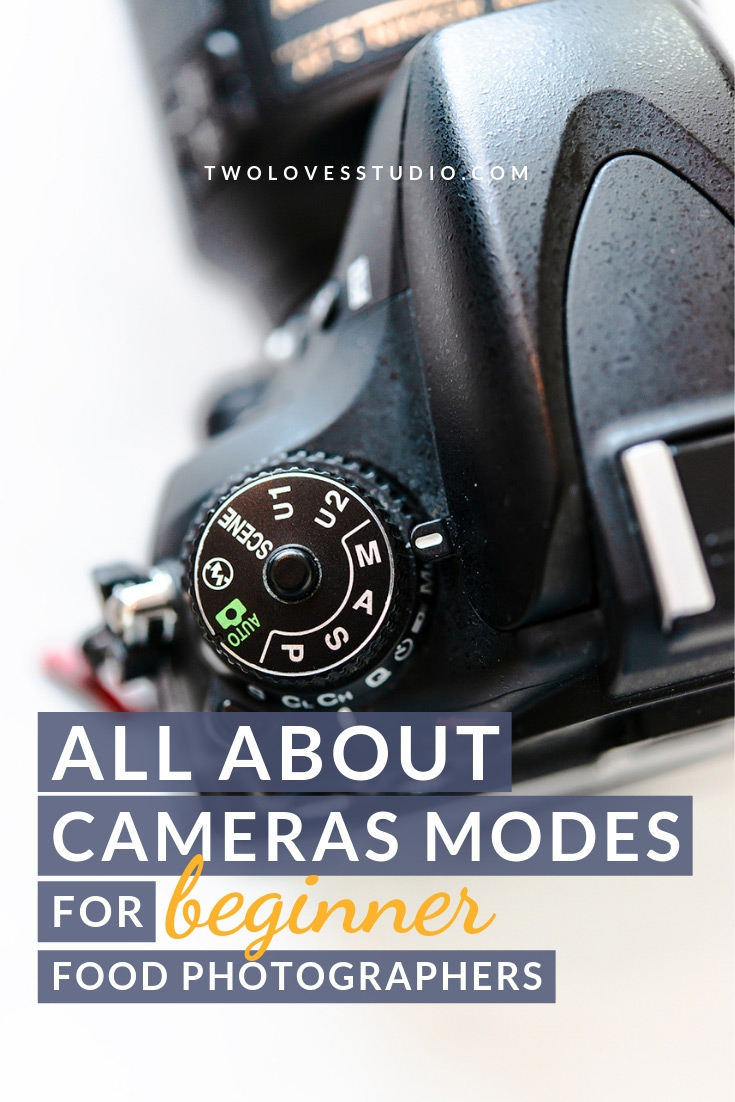
Here we’ll take a look at what each mode is, what it does and I’ll recommend which ones to use.
Congratulations on making it this far! You’ve covered some of the most important basics when it comes to photography and uncovered some nuances found in our niche.
Now you’re ready to take your passion to the next level.
Sign up for my 7-Day Free Food Photography Course here.

