Ever wondered how food photographers create those really bold images of still life or dark food photography?
The answer is so simple, you’ll be shooting away like a pro by the time you’ve read this post.
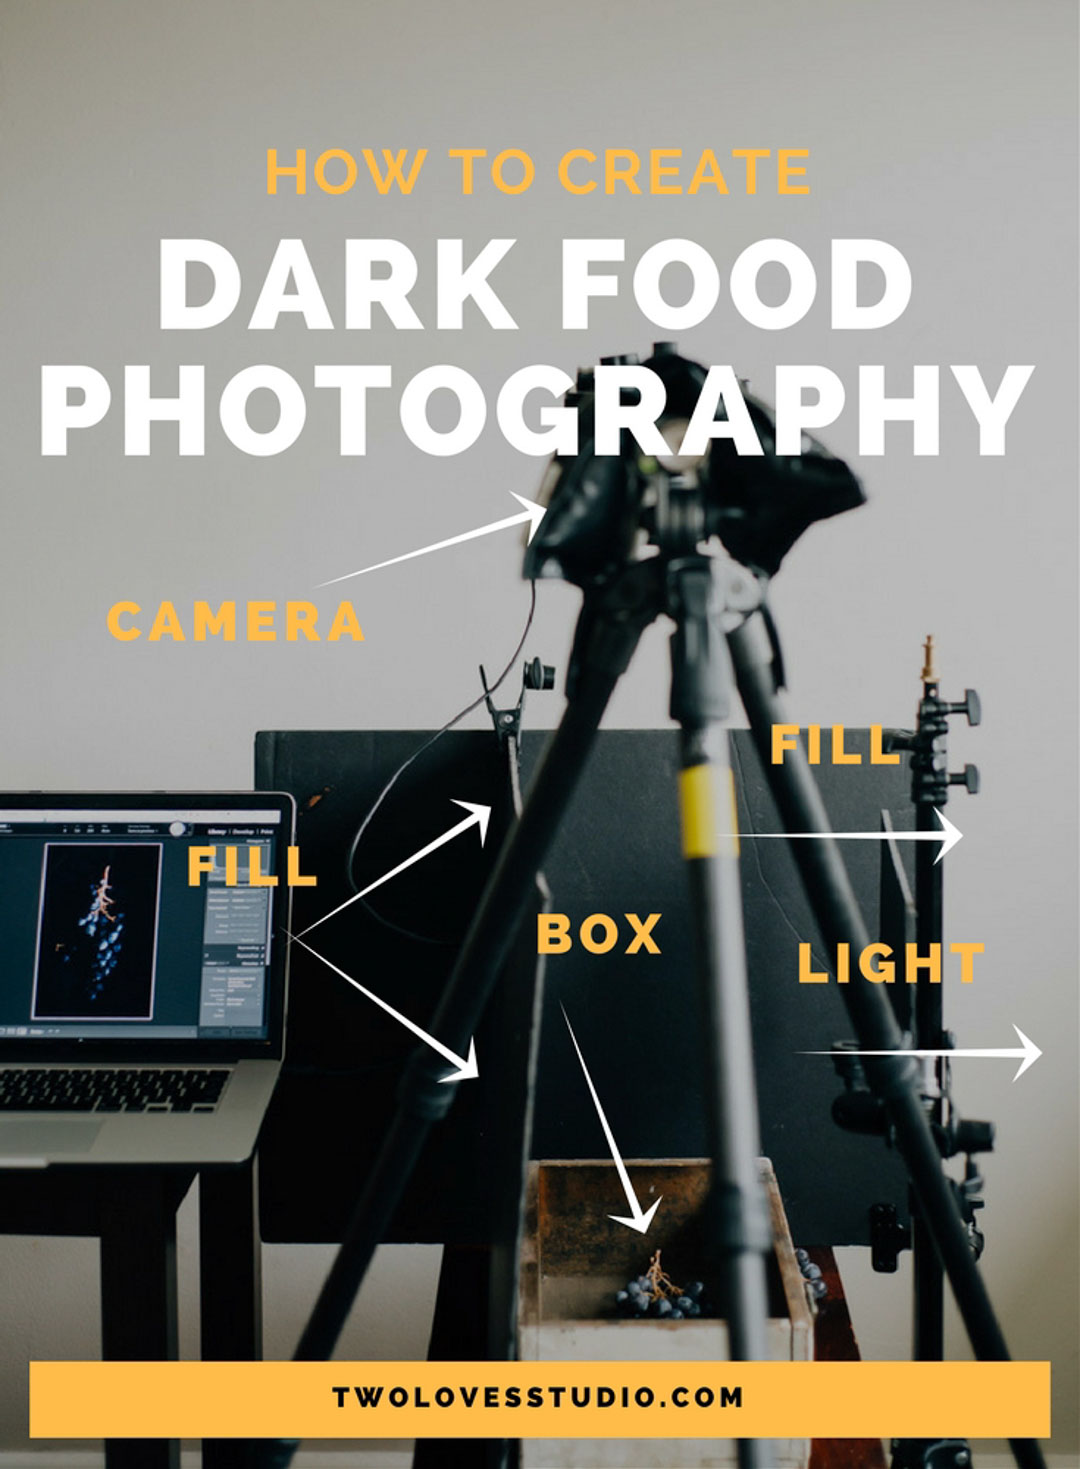
All you need is a box surrounded by negative fill. Then you’ll be shooting dark mood photography just like this.
Dark Food Photography: What You’ll Need To Create
To get this look you’ll need the following:
- Deep Box To Shoot In
- Negative Fill Cards (Black Foam Boards)
- Clamps or Sticky Tack (Blue Tack)
For best results use an old wooden box if you have access to one. The texture of the box will add to the image.
Your box should be deep enough that it will create shadows at the bottom of the box and the subject inside.
If you would like to read more about light modifiers or not sure what they are? Check out this post.
The Set Up Of Dark Food Photography
The setup for shooting in a box to create dark food photography is just a matter of placing your food in the box and surround it with negative fill (black foam core).
To set up, place negative fill cards around your box to reduce light bounce into the box.
For this dark food photography setup, your focus should be on the placement of the black foam core.
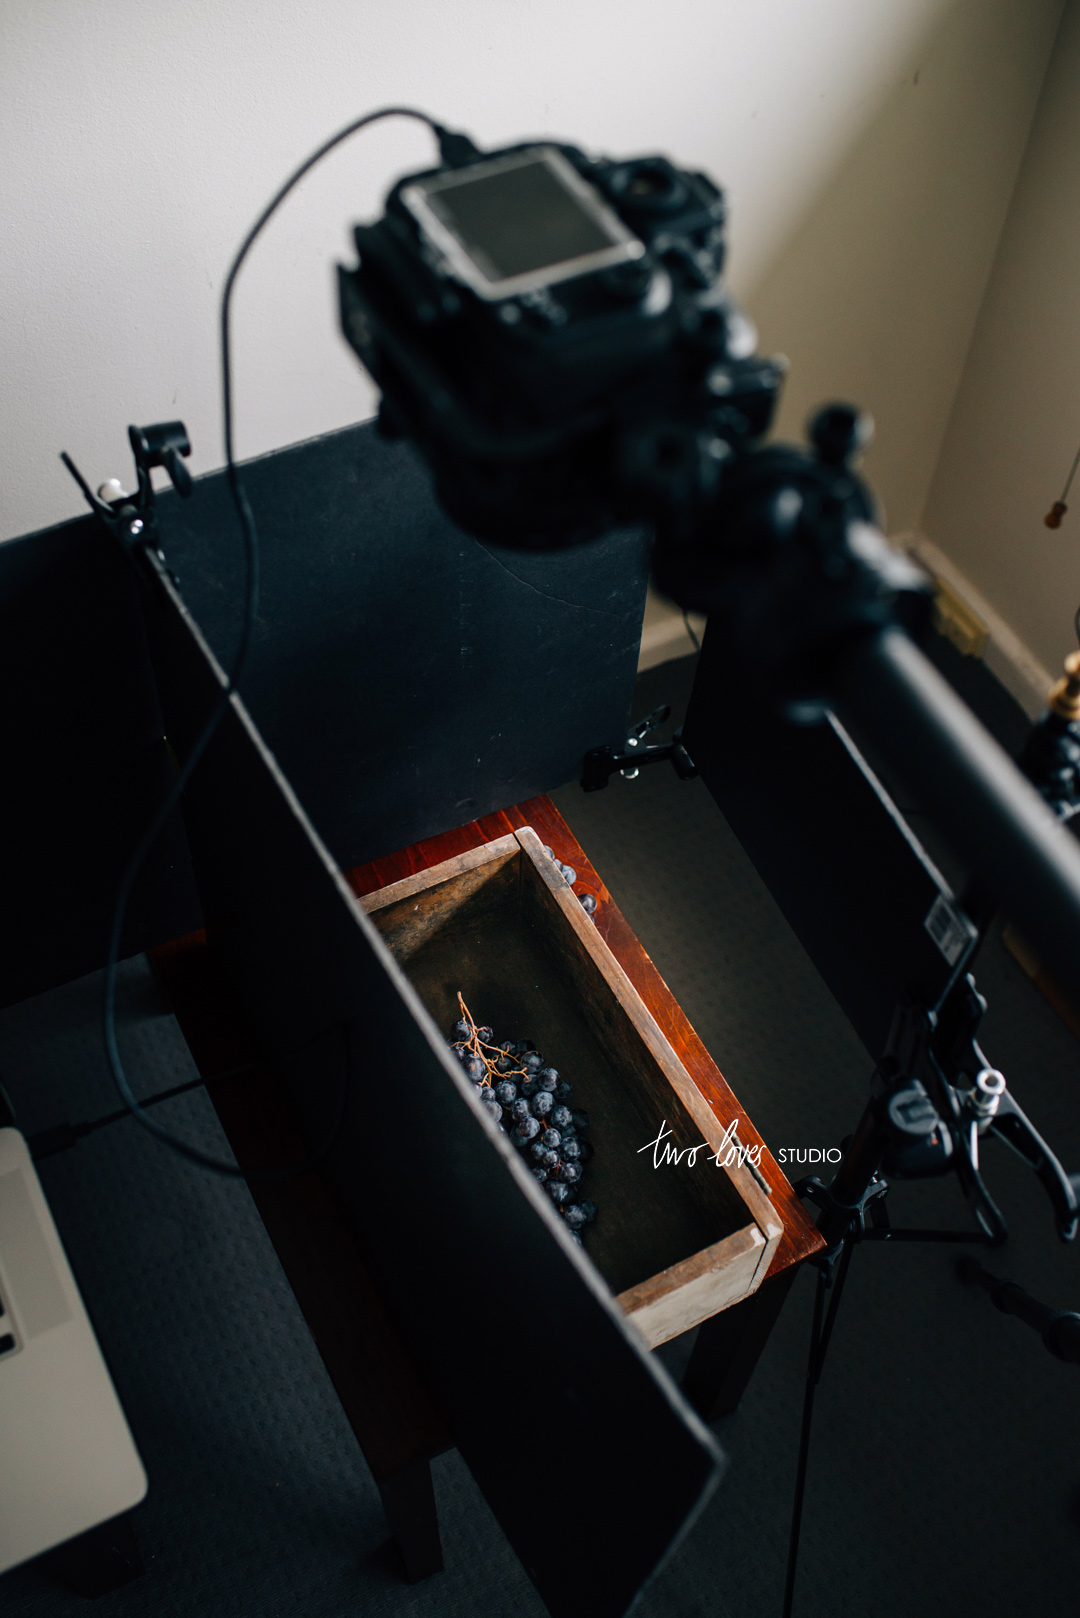
Negative Fill Card 1
Your first negative fill card should be placed on the opposite side of the light source to reduce light from bouncing back into the box.
Negative Fill Card 2
Your second negative fill card should be placed at the back of the box. I’ve done this to reduce the light bouncing from off my white walls back into the box.
Negative Fill Card 3
The last negative fill card to create dark food photography has been placed between the light source and the subject. This is to reduce the light falling onto the subject.
You’ll want to play around with the distance from the light source of this negative fill card to see how it reduces the light.
DOWNLOAD THE FREE
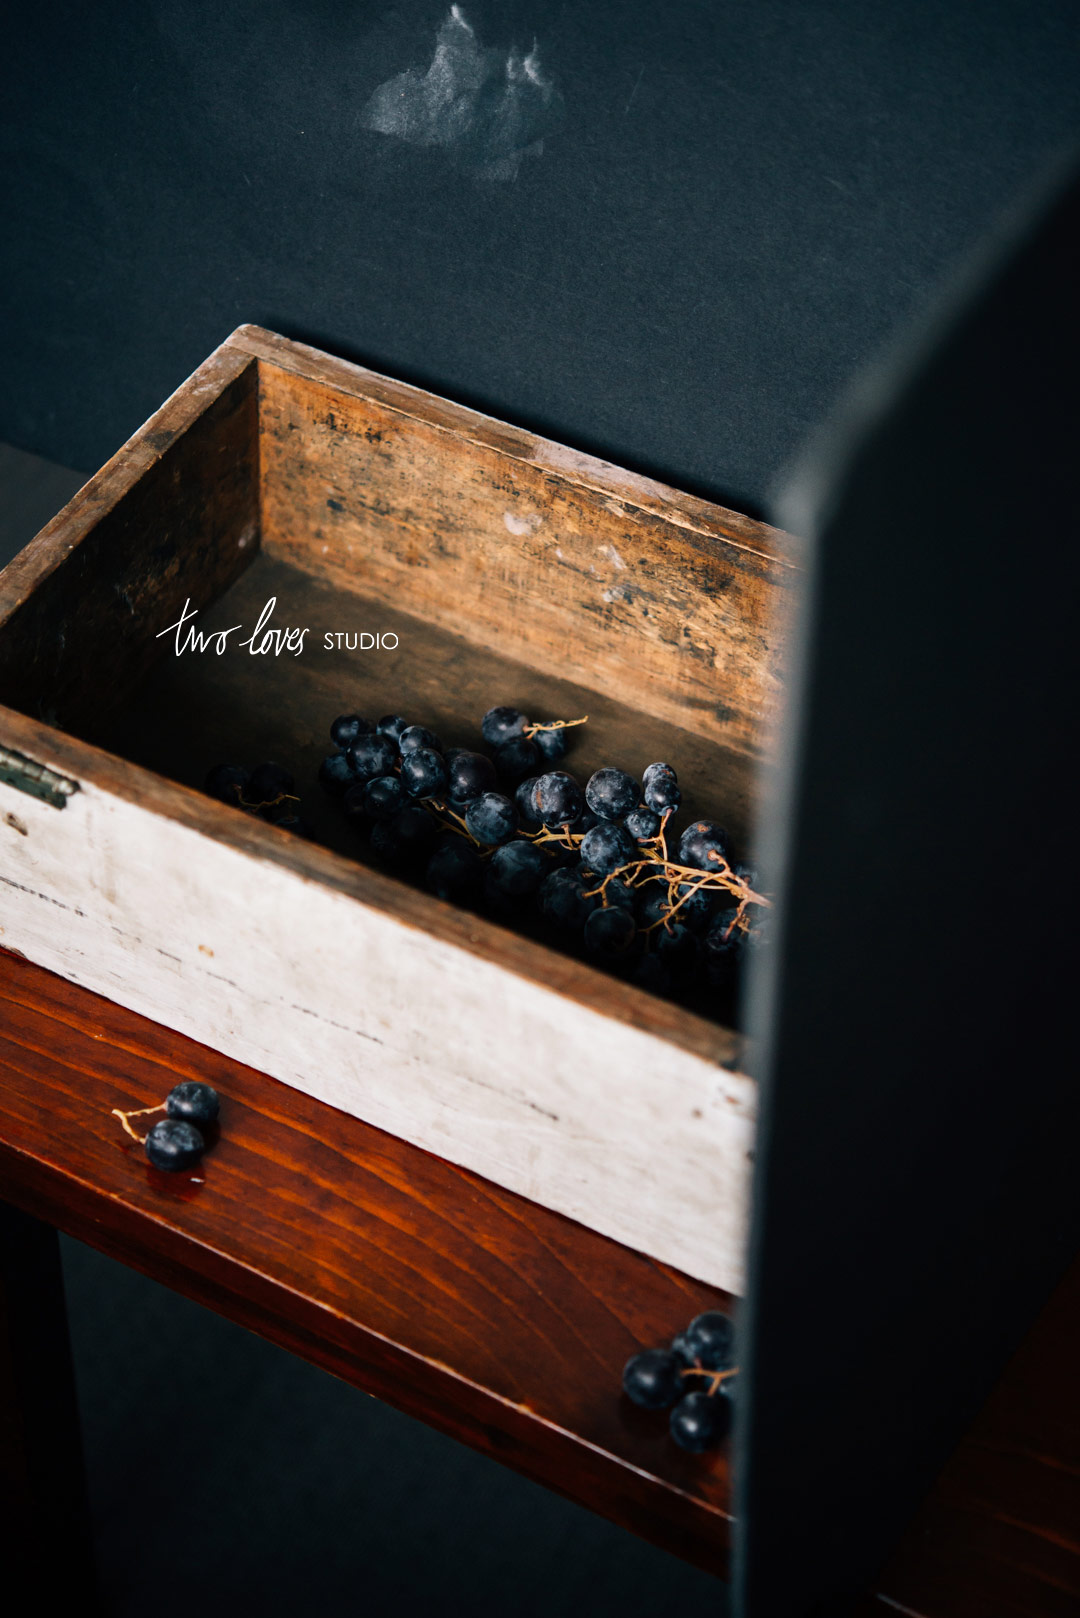
In these dark mood photography surrounding images, if you look closely you can see how the light is falling on the grapes in the box.
The result of moving the negative fill card 3 changes how the light is falling onto the subject. Below you can see the box has more light the further the card is from the box. The closer the card is to the box, the less light and more shadow.
Play around with the negative fill card between the window and the subject to increase/decrease light.
Read: How To Manipulate Natural Light At Home
The Dark Food Photography Results You Can Create
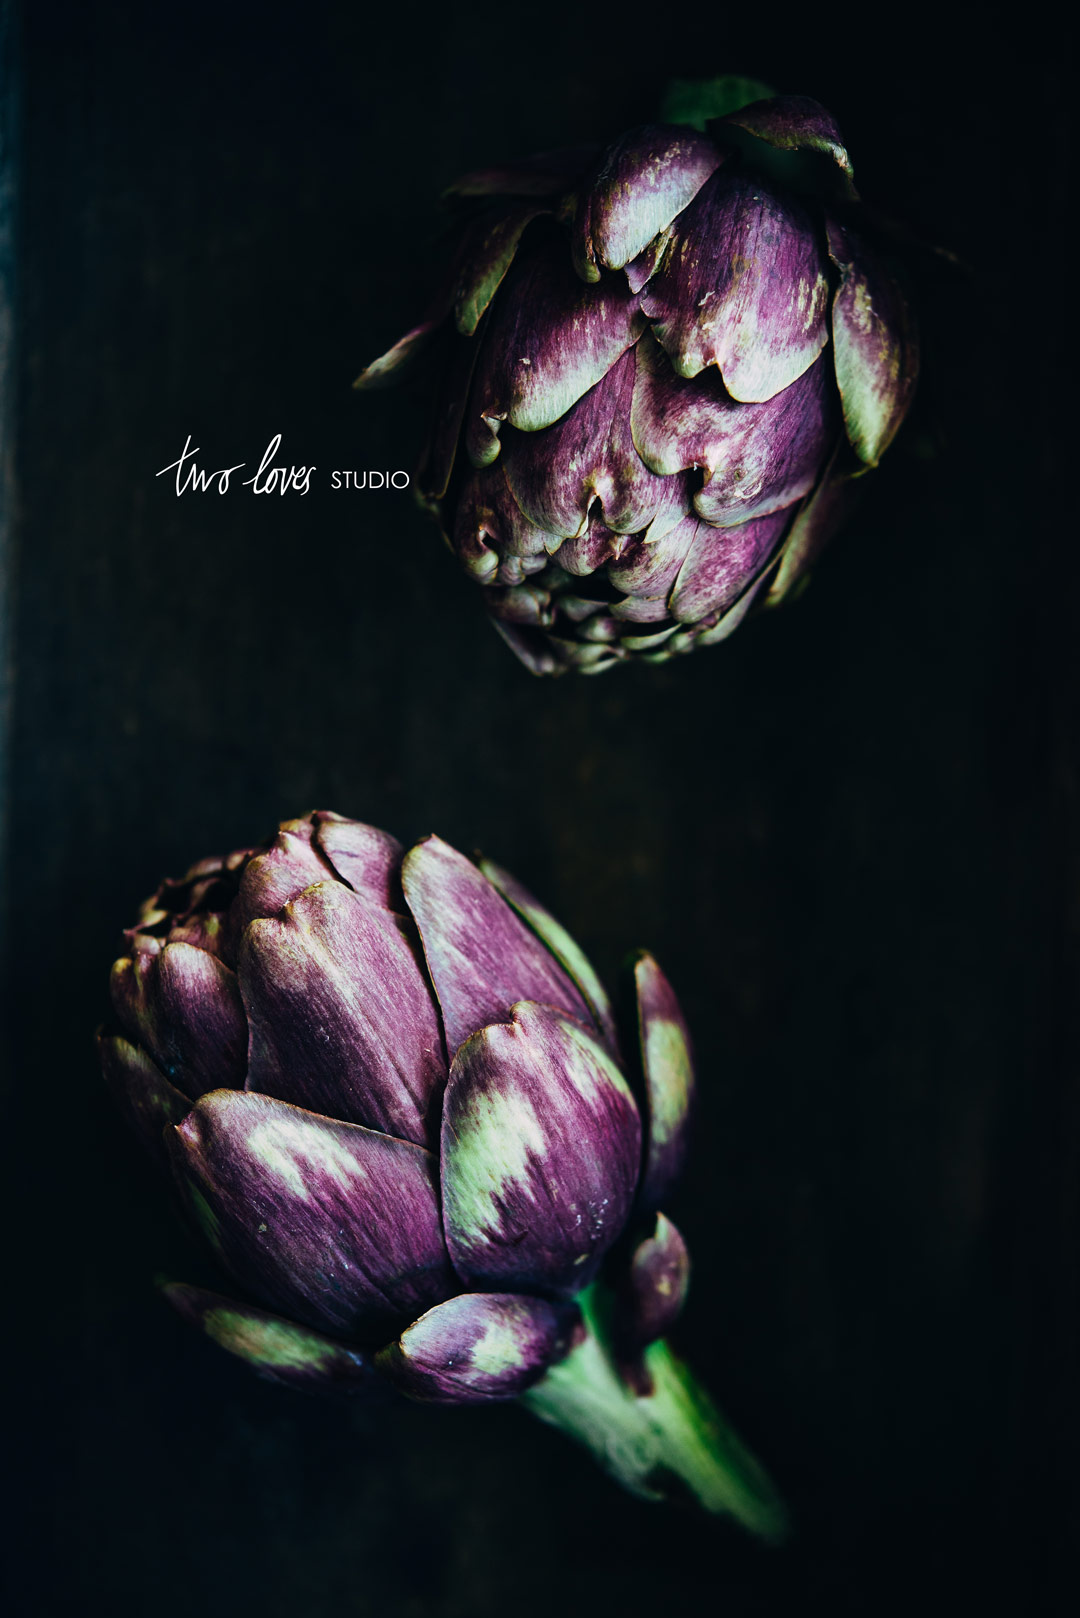
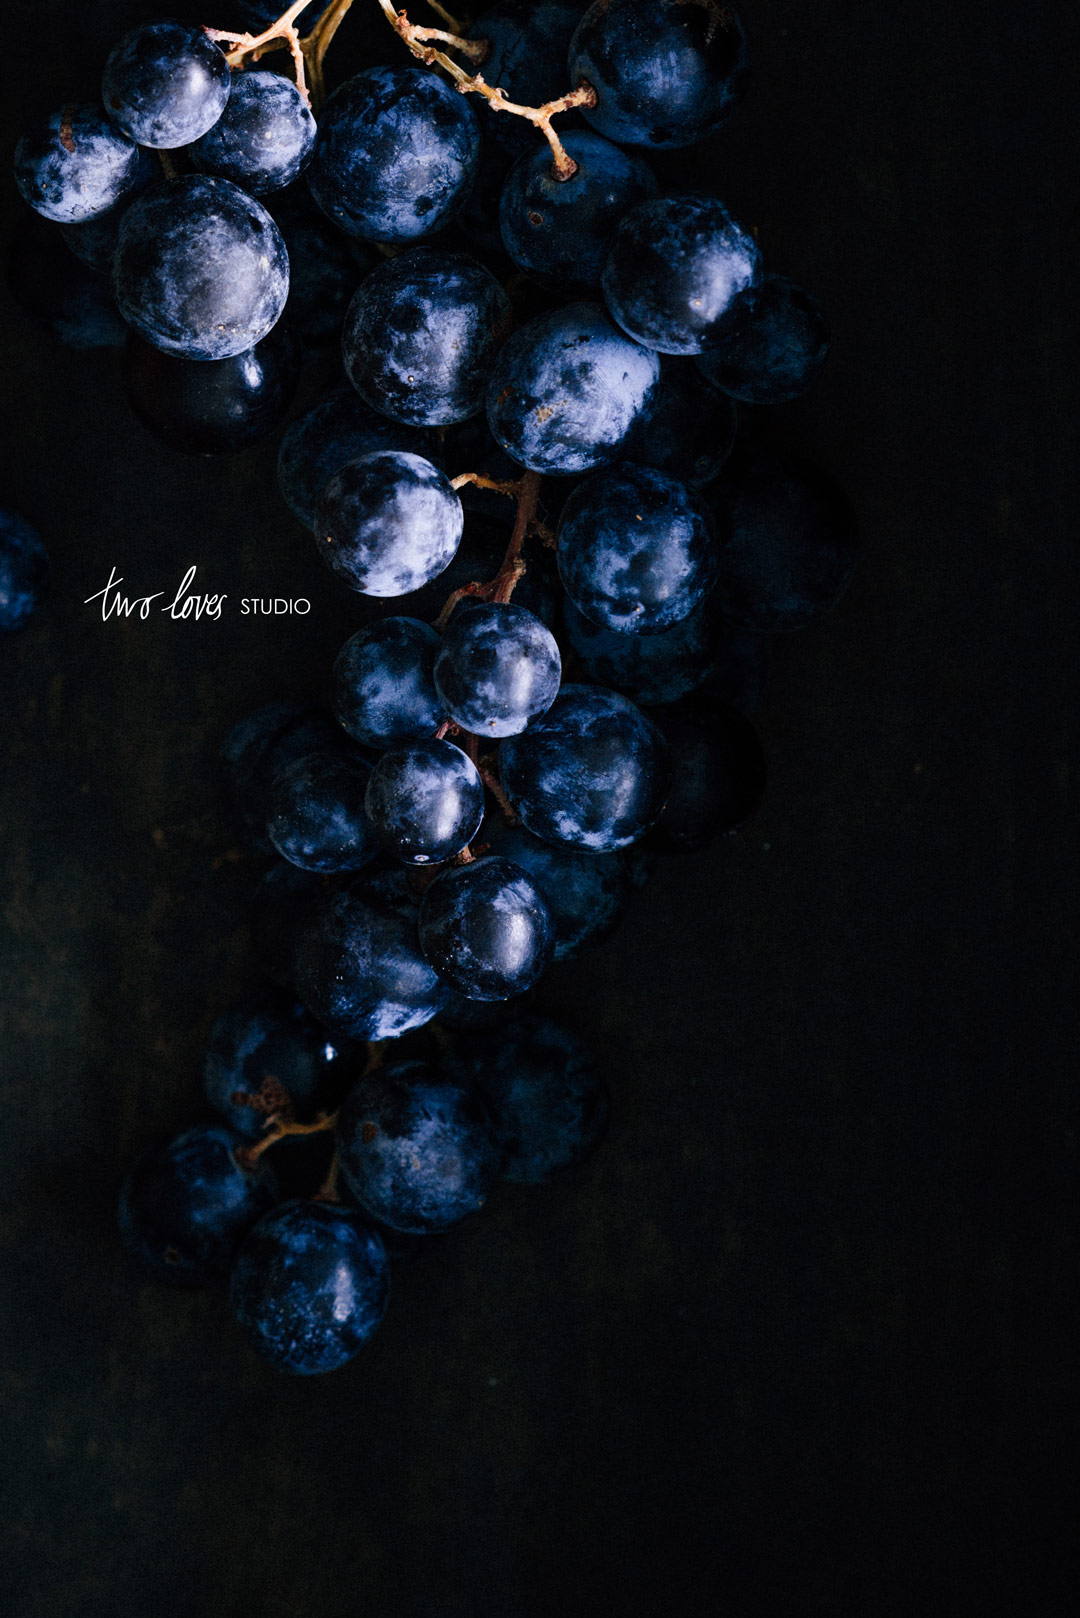
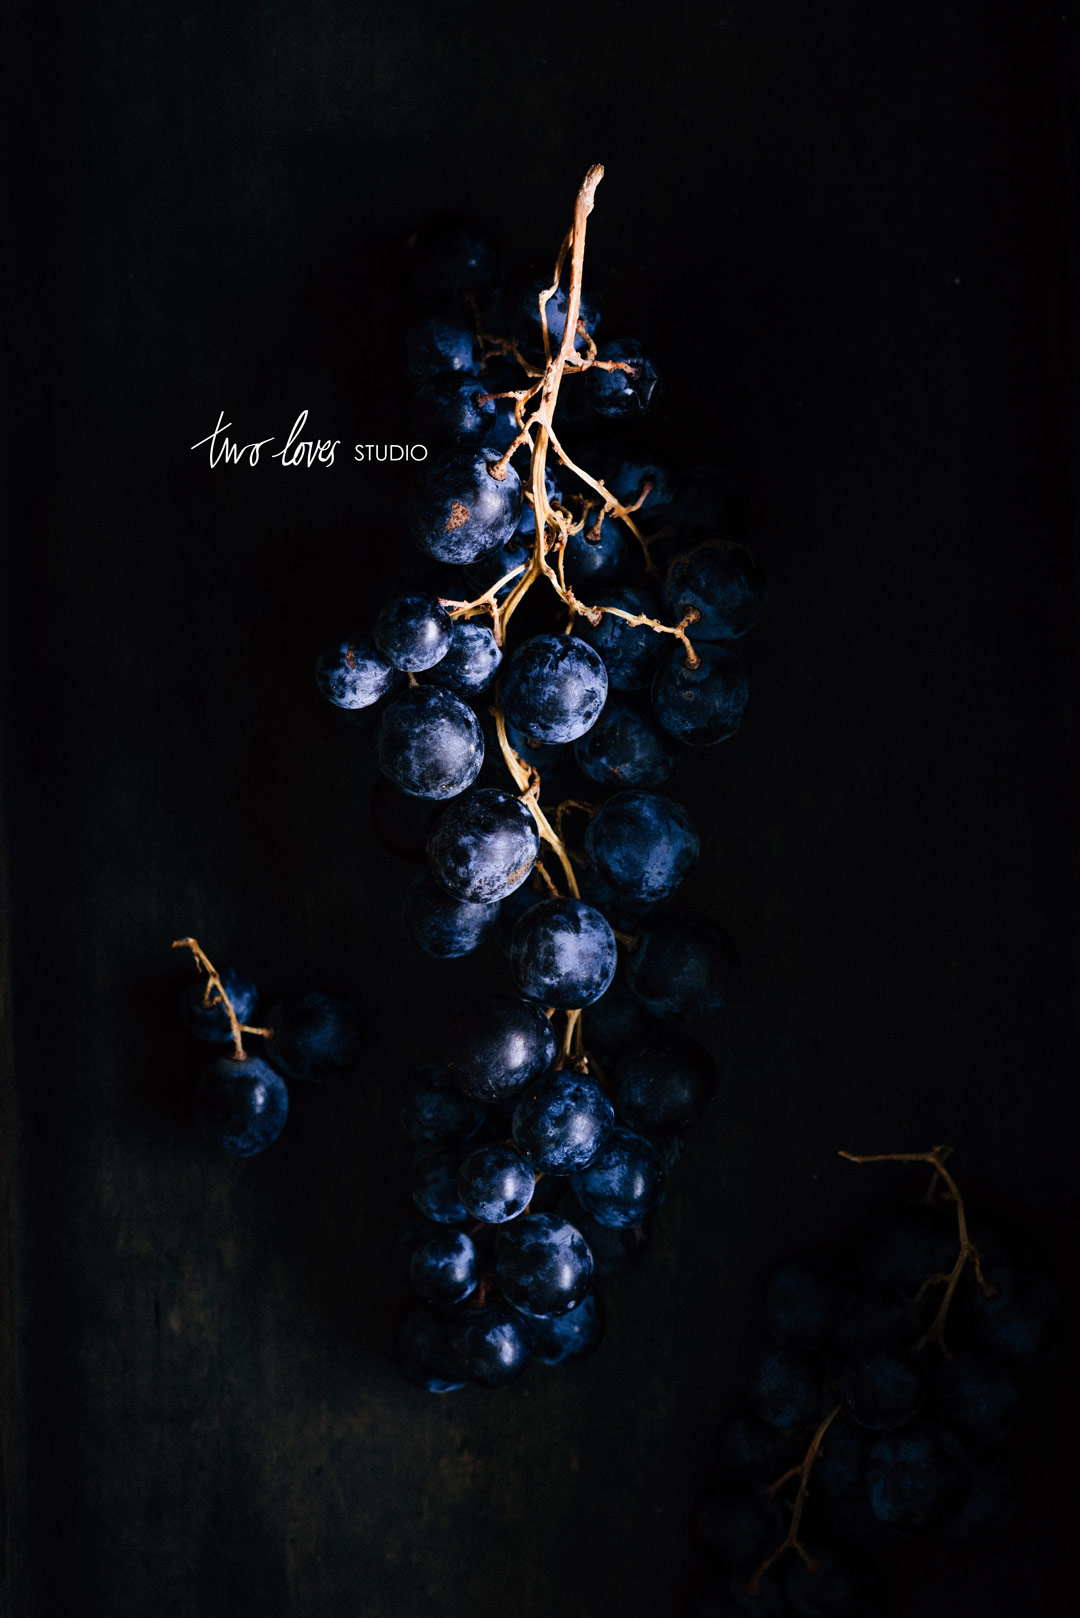
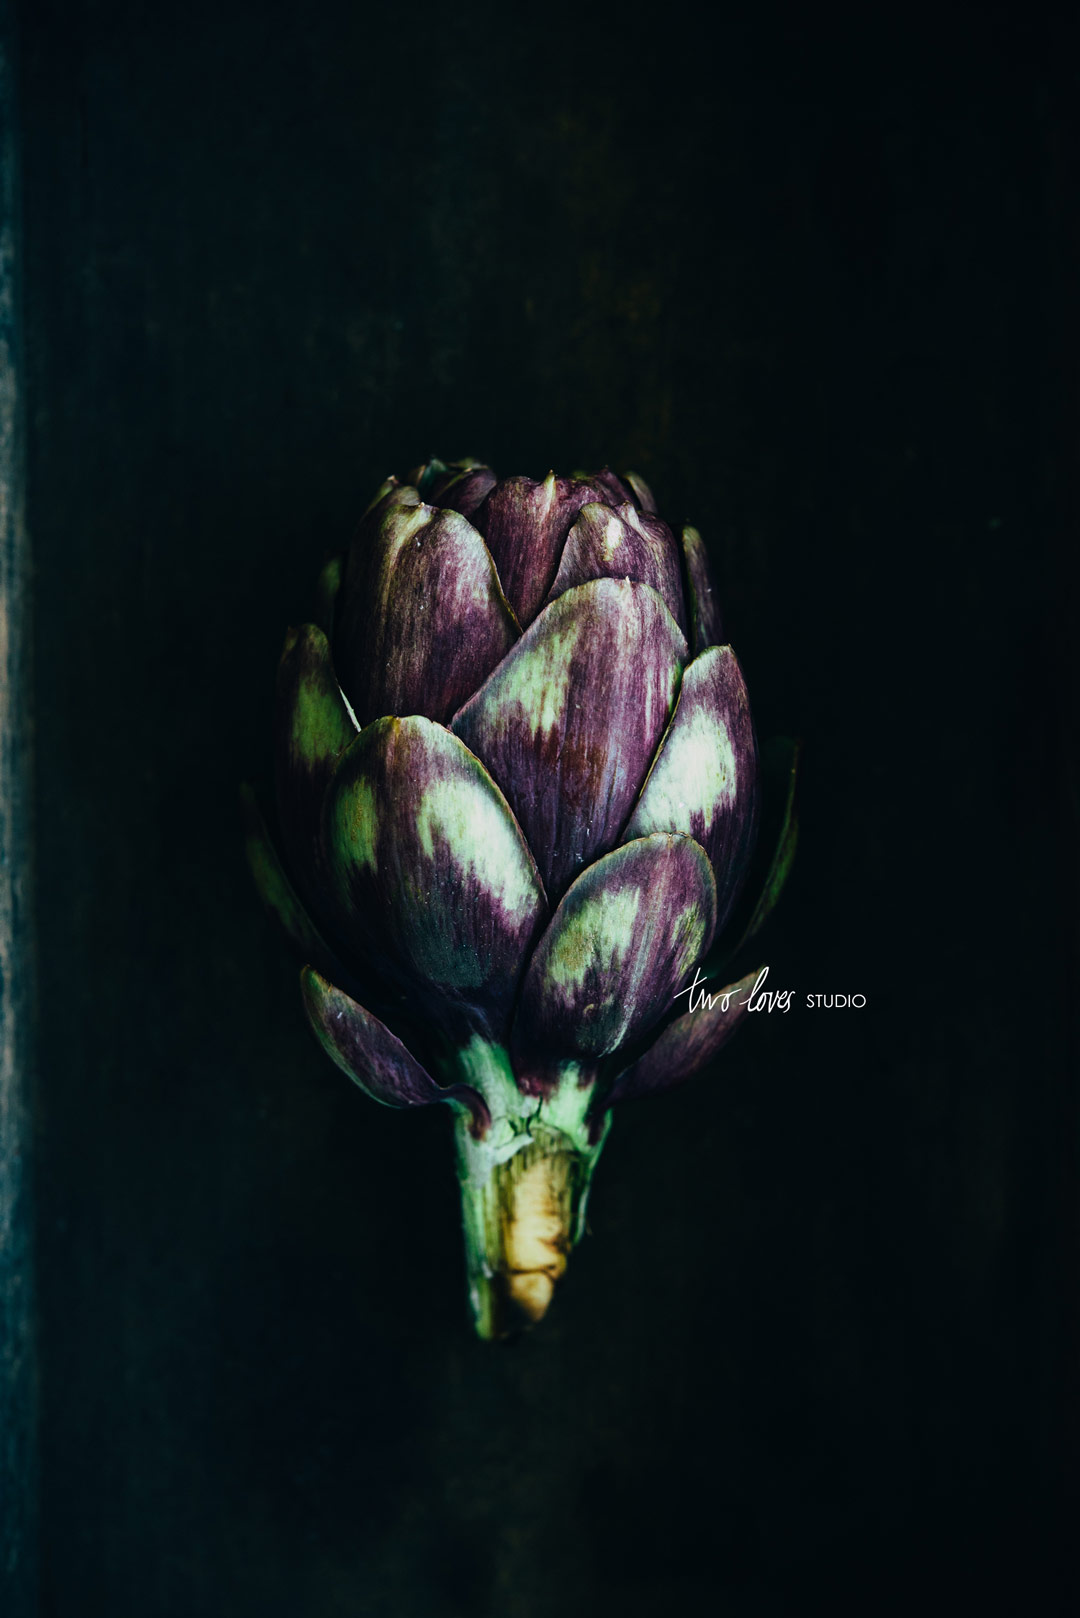
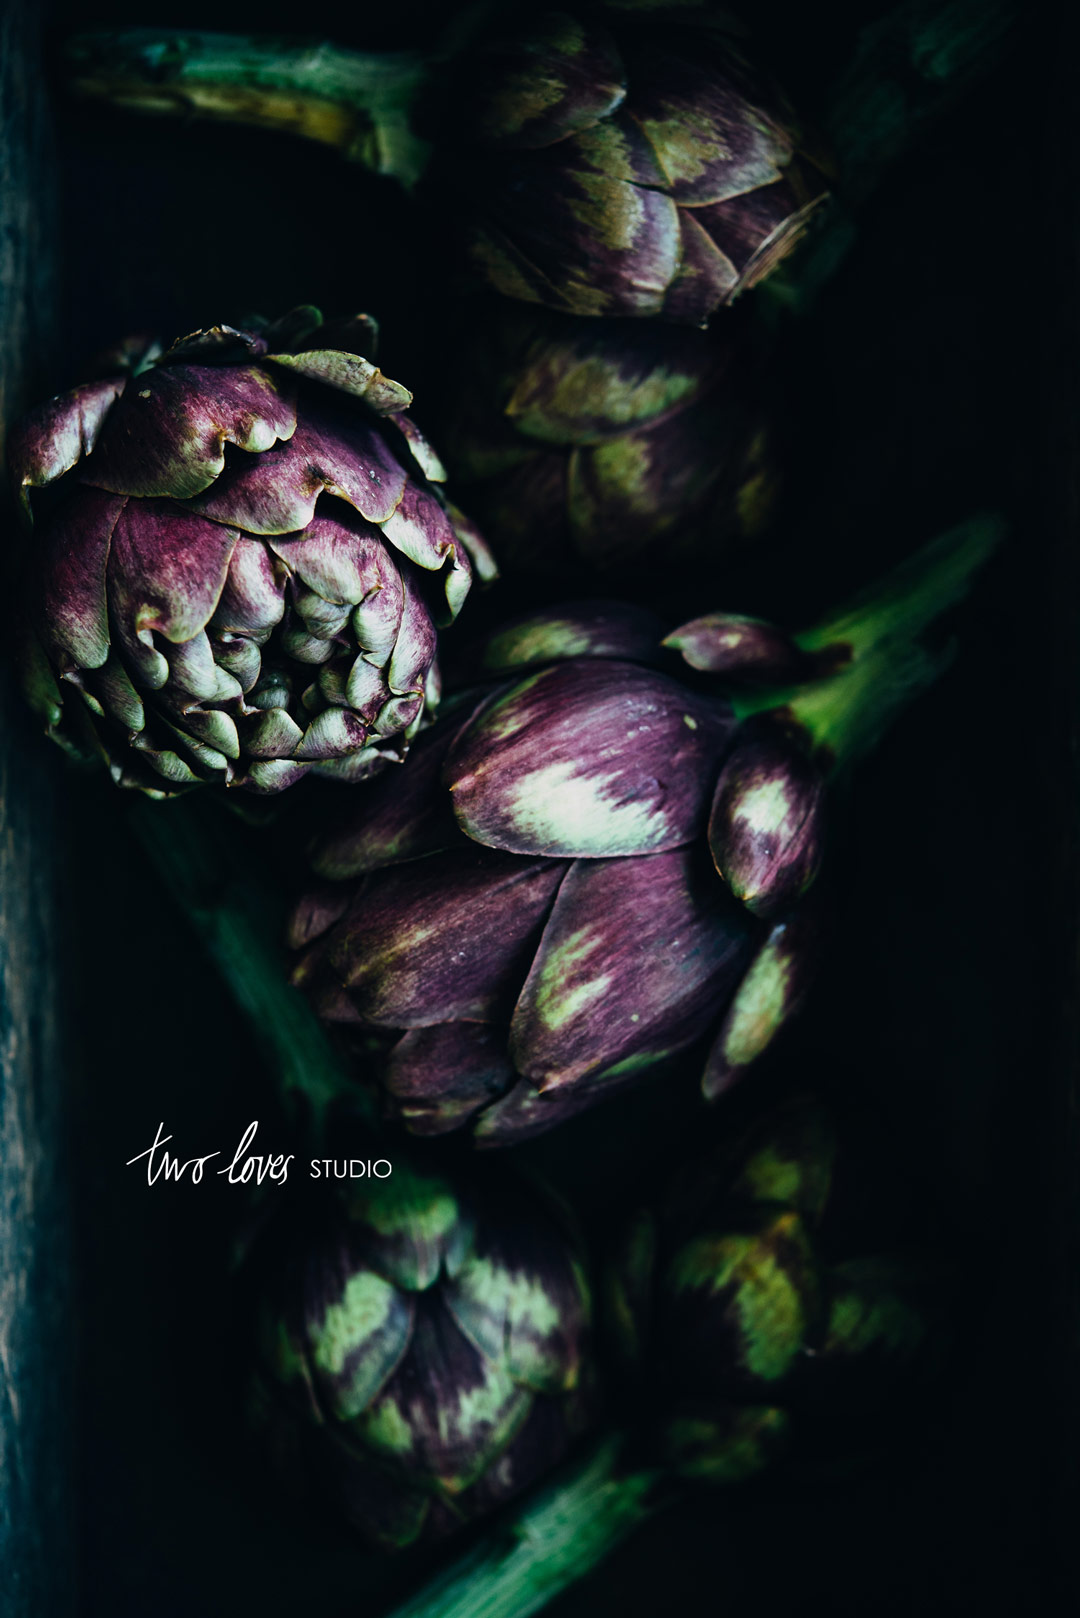
From the set-up above, these are the shots that I captured.
I love the depth and the dark space.
I feel like it draws me in, whilst not detracting from the bold statement of the raw beauty of the grapes and artichokes.
Are you ready to create dark food photography or still-life images? Once you’ve shot these images, I have some tips for how to edit dark images!
Check out the YouTube tutorial.
Have an old box you’re excited to put to good use now?
I’d love to see what you come up with. Leave a link in the comments below so we can all take a peek at your work!
RELATED: How to Recreate Moody Natural Food Photography Lighting



Melissa
Oh i can’t wait to try this rachel. Can you advise on the equipment you use in this shoot to hold your fill card? So sick of falling reflectors onto my set knocking glasses of liquid over. Also your tripod type ?sorry for all the questions. Ha.
Rachel
Isn’t that the worst? It does make for a better story than I just broke my favourite glass wear washing it up (doh!). I have a few Manfrotto 5001B lighting stands. Just helps with the hands free. My tripod is absolute gold but doesn’t come cheap. It’s a Gitzo carbon Fibre Tripod. Ball head is additional.
BUT, you don’t have to spend so much money. When I first started I used a clothes rack (like this) to clamp my reflectors too, or hang a sheet to diffuse.
sharon benton
I looked at the Gitzo tripod, as it came highly recommended – and it’s a very nice tripod indeed! However, just starting out, I decided to go with Enduro. It was about 1/2 the price and is very stable. It holds my 5D Mark 3 very well. It may be a little heavier, but that means I just get a better work out setting up and carrying around – right! LOL! I’m very happy with it. Maybe one day, a Gitzo…
Rachel
Yes it’s not necessary to get the best all the time. You get something you can afford and that will work. Then you see what you like and what functions are missing and go from there. It’s better to have a cheaper tripod than none at all (and when I say cheap, I just mean not expensive!).
Tim Walter
There’s never enough help holding modifiers. When shooting on a tabletop I use large metal bookends and magnets. It works great.
Rachel
You’re on the money there Tim! Love the problem solving. What a great tip. Get on this everyone!
Marisa Franca @ All Our Way
I ditto what Melissa said! I have some clamps but for some reason, I can barely open them and they won’t hold the cards. And now that I have a heavier camera my tripod is all wrong. It’s a really iffy thing if I try putting my new one on there. The head on the tripod isn’t very versatile. I like the idea that your head has that long reach that looks over the box. If I would try that with my tripod you’d see the legs. 🙁 Nicole from The Spice Train does some really great shots with the dark moody look. I always think it’s great to expand your wings. I’m looking forward to seeing what you’re doing. Now to find an old box 🙂
Rachel
SO many feels there Marisa!
If you can see in the images, I have a 5kg (10lb) sand bag on the top of the tripod to stop it from falling top down (as yes the camera is super heavy and will be unbalanced).
I know what you mean by seeing the legs. Mine actually can be taken apart so that you can swap the side in which the arm extends to avoid this. This kind of feature will be available on better models of tripods.The Manfrotto 055 series can do this.
Yes those clamps can be really tight to get open, I do hear that. You just need something simple like this, which I have seen at a couple of dollar stores.
Yes she does! Super cool.
Justin @ SaltPepperSkillet
I love this and can’t wait to try the setup! So beautiful.
I did something similar with grapes a while back, but not completely boxed in. You can check it out on my IG at https://www.instagram.com/p/BHBIg4yDZ84/
Rachel
Oh great! So simple and such rewarding results. I totally think this is something to hit up before halloween! Awesome image! How beautiful is that light?
Jonathan Thompson
Love these shots Rachel, you’ve no idea how long this kind of shoot has been on my to shoot list. Maybe your long distance kick up the proverbial is what I’ve needed.
Rachel
Oh great! I kinda do. Like me it has been a year in between shots, time just gets away from us. This is for sure a long distance kick up the bum! Those cherries you shot for the baking tray would be killer in a box like this! Mmmm, that gives me an idea for the summer.
Jonathan Thompson
Thanks Rachel, the Murdered Cherries are quite popular and the set up on the tray was almost accidental. I have trouble with cherries after living in Canada. The Okanagan cherries are soooooo good in the summer and I can eat my way through a bag of fresh cherries no trouble at all. The tiny little packets you see here in a supermarket are pretty sad. Home sick for Canada again, it’s been a trait this year. Time to save up for a trip.
Brynley King
Rachel! You are seriously amazing!!! This is so stunning!
Rachel
Fun hey Bryn! Lovely to see your face around here xx
Meg @ With Salt and Wit
They are beautiful! Would you mind sharing your settings? I always have trouble with dark photos as my photos always turn out under exposed. Exposure is always my problem! ugh.
Thanks!
Rachel
Hey Meg! Happy to share the setting I used to capture this shot. The thing is though, my settings aren’t really going to help you. See the settings I used worked for the light I had, (time of day, intensity, direction, distance from light source etc), the depth of box, look and concept. You could take my settings into any other conditions and you wouldn’t get the same results. What will help you is really understanding the relationship between your settings, ISO, aperture and shutter speed. If you aren’t shooting manual, the camera is deciding the settings for you and it’ll never be able to capture what you’ve envisioned. My hope is to offer some 1:1 coaching later this month so that’s something we could chat about so hopefully you’re on my list!
For this shot: ISO 200, f/5.6 at 1/4 sec.
Feel free to email me if you’d like to see something about this up on the blog!
Alejandra
Thanks indeed for sharing Rachel! I love it!
I’ll take the challenge to create an A – Z project of fruits and veggies this fall as you suggested on your post “5-steps-to-discover-your-food-photography-style” and applied this technique you shared.
Thanks again, your amazing!
Rachel
You’re welcome Alejandra. That sounds great. All the best with it!
Justin @ SaltPepperSkillet
Hi Rachel,
Watching the video was super helpful to see how you work. My question is about using the gradual filter and then the adjustment brush. Was the gradual filter necessary since you ended up masking out the details anyway? Or do they work together? Thanks so much!
Rachel
Hey Justin! Thanks for watching, glad that you found it helpful. Great questions. There are so many different ways you can approach editing and none are right or wrong necessarily. Essentially, you’re correct, you could just use the adjustment brush. I tend to start with the gradient filter as it allows you to gain control and even up the particular item that you are targeting (which in this case was exposure and shadows). By using this tool I was able to get a more even playing field to tweak to what I needed. If I used the brush I would have had to be careful that I was applying the correct level of decreased exposure to that side of the image, as there was a large difference in exposure. My work flow is to get things even and then work from there so I do use those tools in conjunction with one another.
Justin @ SaltPepperSkillet
Hey Rachel. That really makes sense to do it in that order. 🙂
Rachel
Perfect! Sometimes there is a method to the madness.
Helen
I happened to stumble upon your blog and this has been such a huge inspiration and help in understanding more about food photography. I love the way you write, it’s like I’m talking to a friend. Self-teaching myself is hard but it’s neat when there’s helpful sites like these. Thanks for sharing Rachel 🙂
*subscribes*
Rachel
Hey Helen, I am so pleased to hear that. That’s so kind of you. I try just to be myself when I write. Happy to have you along for the journey.
Leslie | Bessie Bakes
Thank you so much for this post!!! What a beautiful look you have created with the dark shadows. Would you have any suggestions if I wanted a similar look and feel for a head-on shot of someone holding a loaf of artisan bread? I’m only using natural light currently, but I do have one Lowel ego light. Would you need a large black background, and one in the opposite side of the light just like you have here?
Leslie | Bessie Bakes
Oops, here is my correct website in my name for reference. I’m wanting to do a large header photo on my home page and replace the existing one.
Tim
Do essentially the same thing, but larger (and vertical). Black velvet (and black labs) is the best light sucking material, and that’s what you want – light sucking.
Rachel
Cheers Tim! Well put. Great advice for people.
Leslie | Bessie Bakes
Thanks Tim! I don’t have any black velvet, but I do have black linen. I’ll have to see if it sucks up enough light. I have a couple pf pieces of black foam boards too that I can use.
Tim
There’should nothing like velvet, but foam core is a good second. Good luck and have fun.
Rachel
Tim has some great points here. What you are trying to by replicating the ‘box’ on a larger scale is ‘suck’ the light and stop it from bouncing around and creating fill. Most of us shoot in our houses and we have nice bright white or light walls. This will create a lot of fill light and light bouncing around as we shoot. Think about the box, this is the opposite. You’d want to suck up all the light and have a dark background, and sides. Does that make sense for you? Do you have a moodier room you can shoot in? Or corner of your house outside that doesn’t get too much light? There is video on editing this image in the resource hub if you haven’t had a chance to look at it!
Leslie | Bessie Bakes
Thanks for the response Rachel! Now that it starting to get darker earlier in the day where I’m from, I can definitely find a moodier spot in my house. I’ll have to check the light in different areas, but I think it should work.
Kiki
Hi Rachel, I finally tried this yesterday. For a first try, it turned out quite well.
I did encounter a few snags, one of which was that with my 50 lens I’d really need to make the tripod higher, but then I didn’t get all 3 legs to have the same height, as apparently my tripod doesn’t have notches. It always seems to be crooked when I don’t extended to the whole 1st stop. If I pull it out further, I’m not tall enough to look through properly, so I’ll have to get a little step-on stool.
For my next try, I’ll have to fiddle with my fill card 3 more, definitely need a little more practice. Also, I didn’t have a dark box, so I lined a paper box with black photo paper; the result is very dark, so not sure this is the best thing. I need to find something else to use.
Did you shoot this with a 50 lens?
Thanks for the inspiration – it really made me want to get into this more!
Rachel
I often have to use a step stool as well. That is quite common. It can take practice to get a tripod level there is a little trick that I use to make sure the camera is. I don’t think it matters if the tripod isn’t bang on level as long as your camera is more or less so. I used my 85mm for this to get nice and tight. To get this look you will need to edit the image. Have you checked out the editing tutorial in the resource library?
Ian - DigitalPhotoForest
Hi Rachel
I’ve only just come across your site and the tips on here are super useful. It really helps to know that we can create such amazing things at home with something so simple. The paint is drying on my box right now! Can’t wait to try it out.
Thanks for the great site and tips.
Rachel
Hey Ian! Thank you so much for those kind words. It means a lot to me that you stopped by to try this out. Please do share some image with me and the community. We’d love to see what you’ve been up to!
Joe
Hi Racheal
Can you send me the links to the videos of the light room of you doing dark food photography.
I have a food art exhibit in August and I want to use this technique in some of the photos. I very seldom see artist using the technique i find it very artistic.
Rachel
That sounds great Joe! I would love to see what you come up with. You can find the videos in the Resource Hub. I can see that you have access, so you can simply log in with the password and should be able to find them. If you’re having trouble with the Resource Hub, send me an email to let me know.
Jenny
Very nice work and interesting method.
I also do dark food photography, but with another technique.
Rachel
Right on Jen! Would love to hear your take on this!
Jenny
Hi Rachel,
I use two or three daylight luminaires and a repro stand, and then I work with the focus stacking method. My aim is not these wonderful, atmospheric images that you create with natural light, where border areas disappear in darkness and blurring, but as clear as possible representations of my plant objects. For me it’s about almost scientific accuracy in my photos, but nevertheless they should not be too “sterile”, which is why I have read your guide with interest. Thanks a lot for this!
Cecilia Hsu
Hi Rachel,
Thank you for sharing, I saw the previous response about the camera setting, ISO 200, f/5.6 at 1/4 sec. Did you use remote control for the shutter to avoid hand shaking and blurring picture? Was it natural light or artificial light? I love dark photo but struggling with the cameral setting and light source. Thank you so much! 🙂
Rachel Korinek
Hey Cecilia, I believe that I didn’t own a remote at the time this was taken some years ago. I would have either done ‘self-timer’ on the camera or taken the photo with the computer as I was tethering. Those are both options to you if you don’t have a remote for your camera. It also helps to have a story tripod. As you can see in the photos, I was using a sandbag to help secure the tripod. This was with natural light. If it was taken with artificial light, the shutter speed would be much quicker. I hope that helps! 🙂