This post may contain affiliate links from products and services we love and trust.
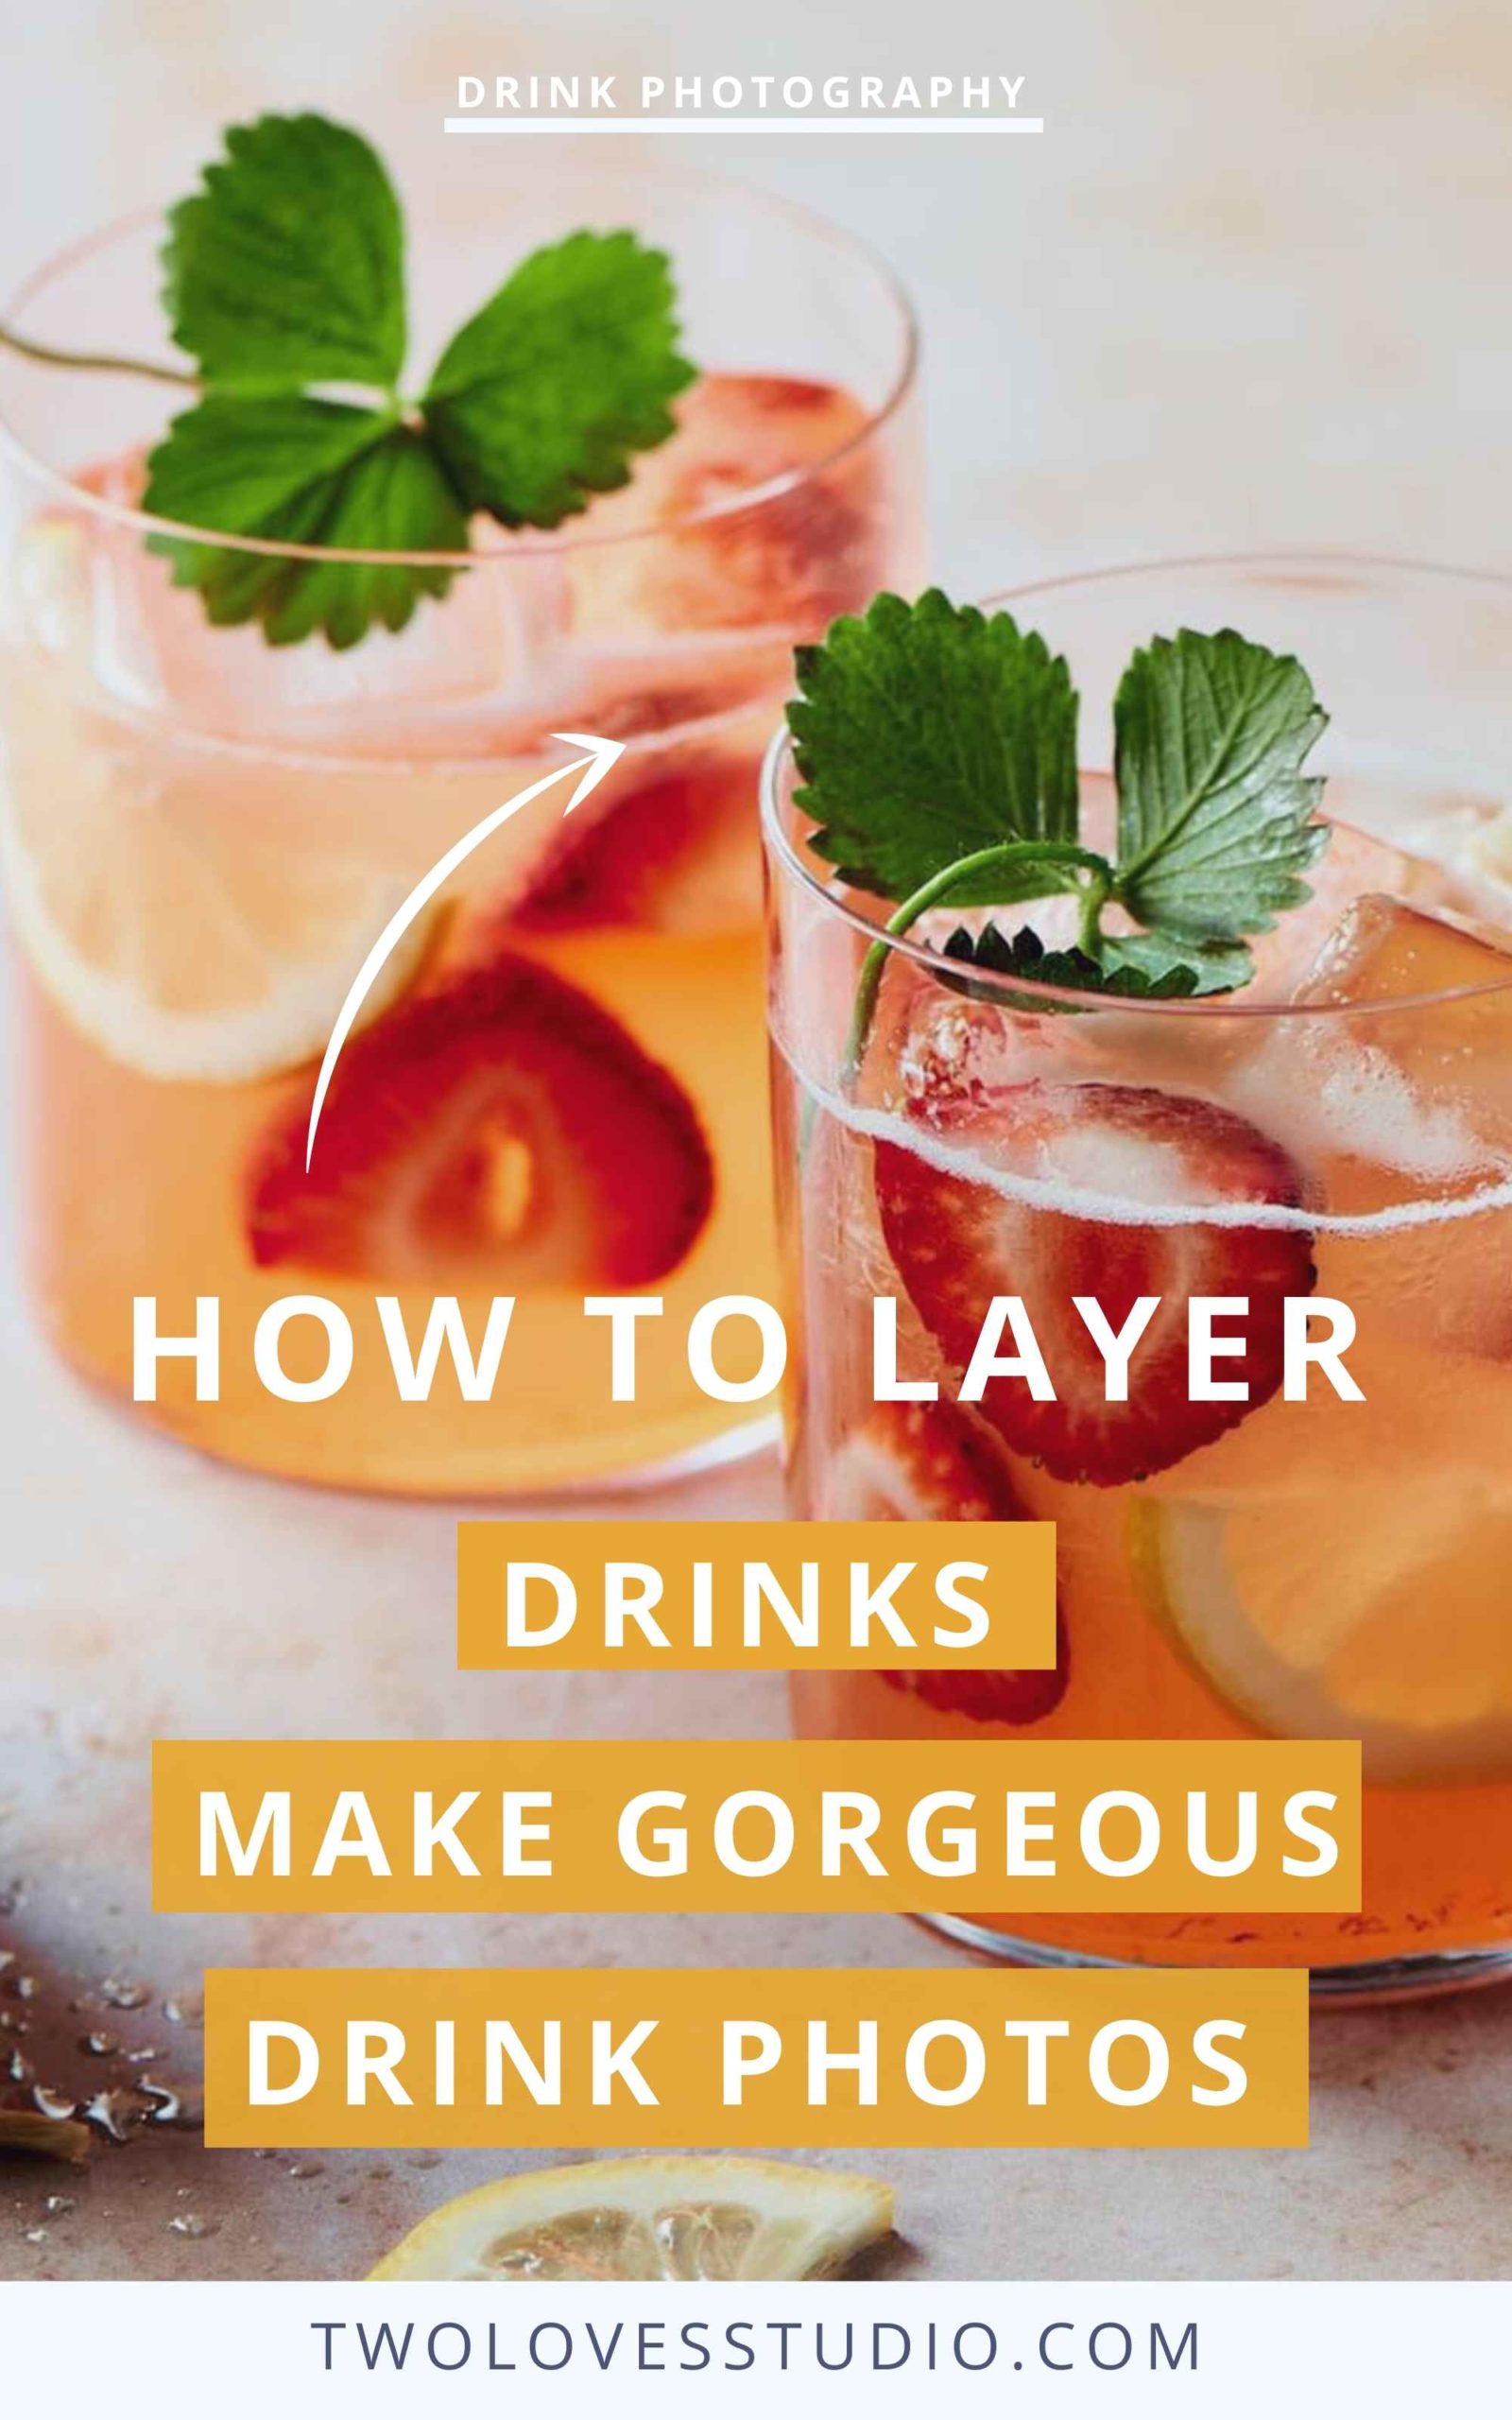
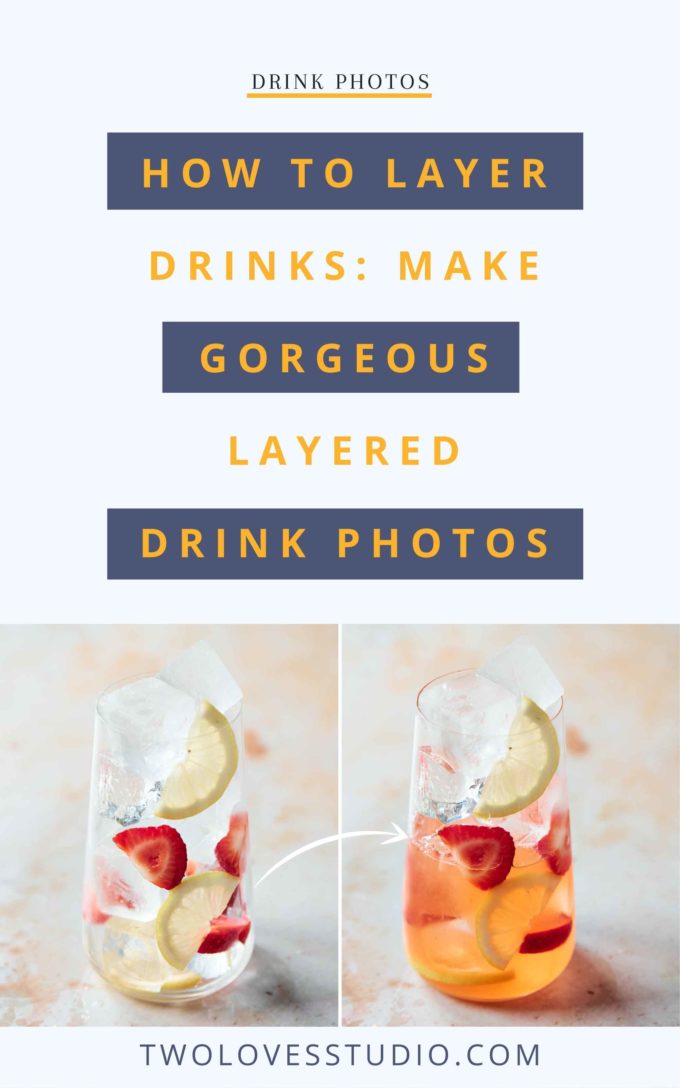
Have you ever wondered how to layer drinks? Do you often find the ingredients and ice that you use when you layer a drink float to the top of the glass, leaving the top crowded and the bottom vacant? This doesn’t always look good.
There are only two main secrets when you layer a drink. Sounds easy enough right? The trick, in this case, is to get the ratio of ice, ingredients and liquids right.
Add more ice and less liquid.
The two styling elements I focus on are super simple and I want to share them with you. The way the layering works is to layer the ice and your chosen fruit slices, then carefully and slowly pour in small amounts of liquid at a time.
Done!
In this post, I will show you how to create the perfect multi-layered cocktail.
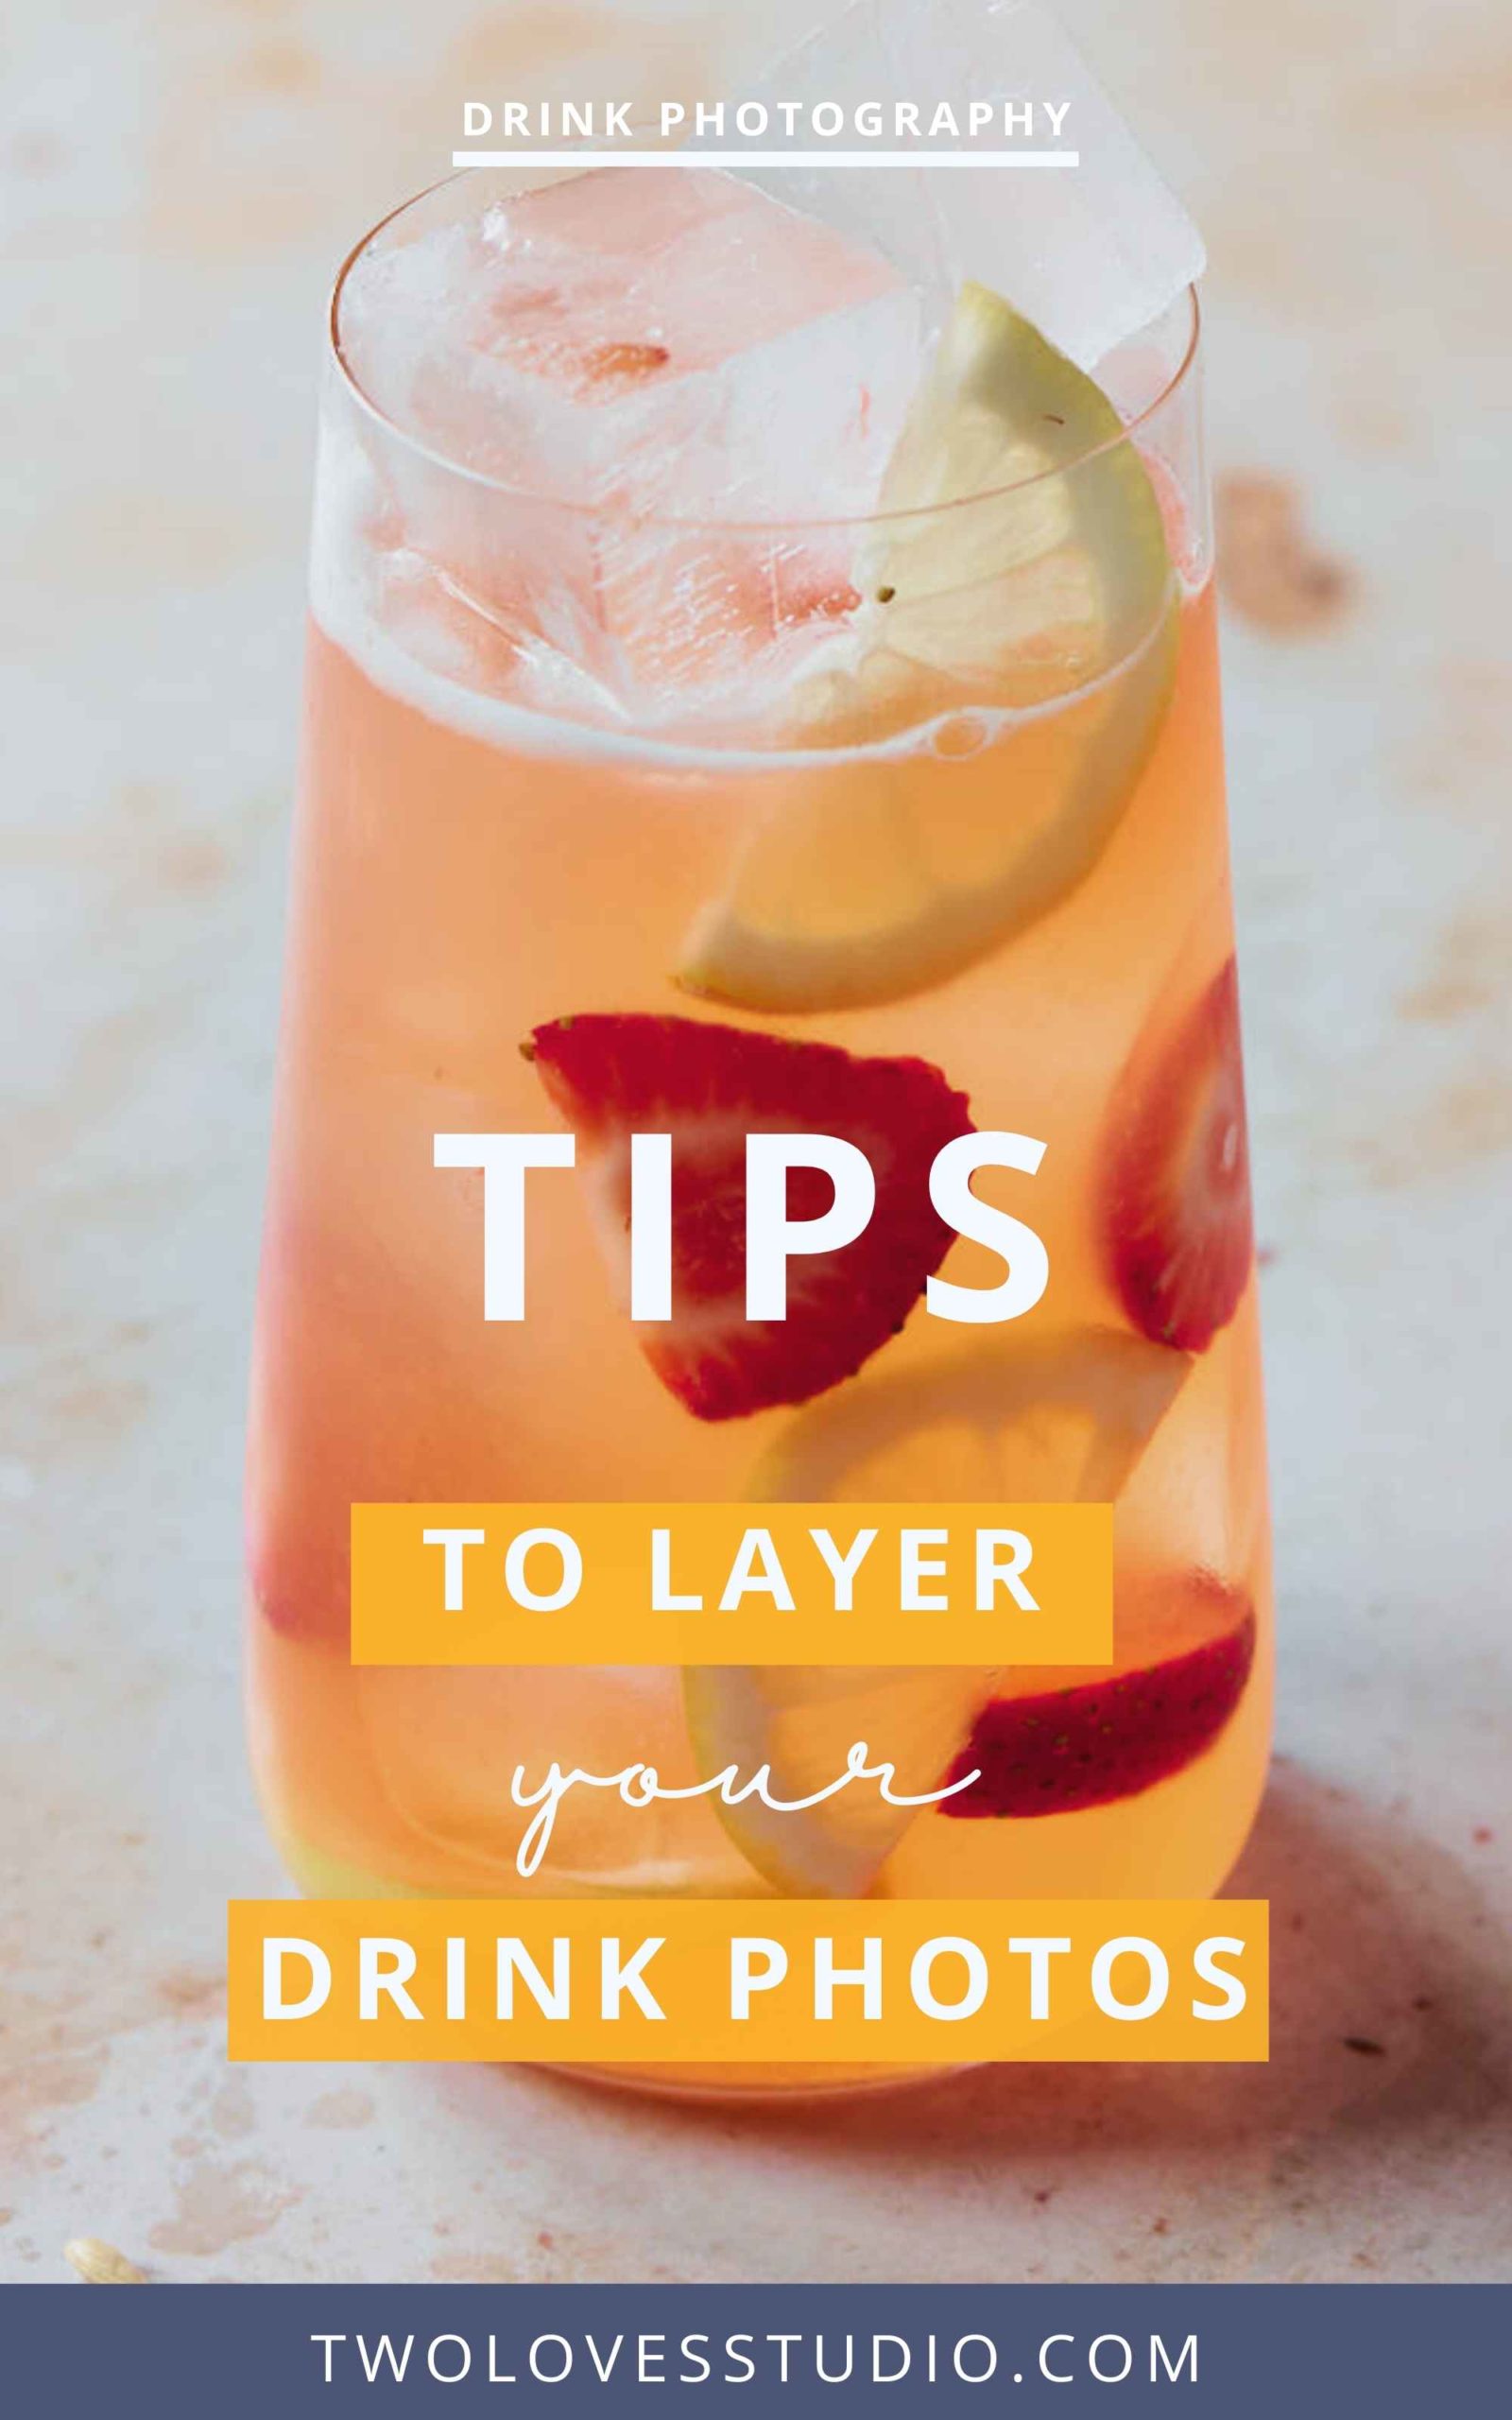
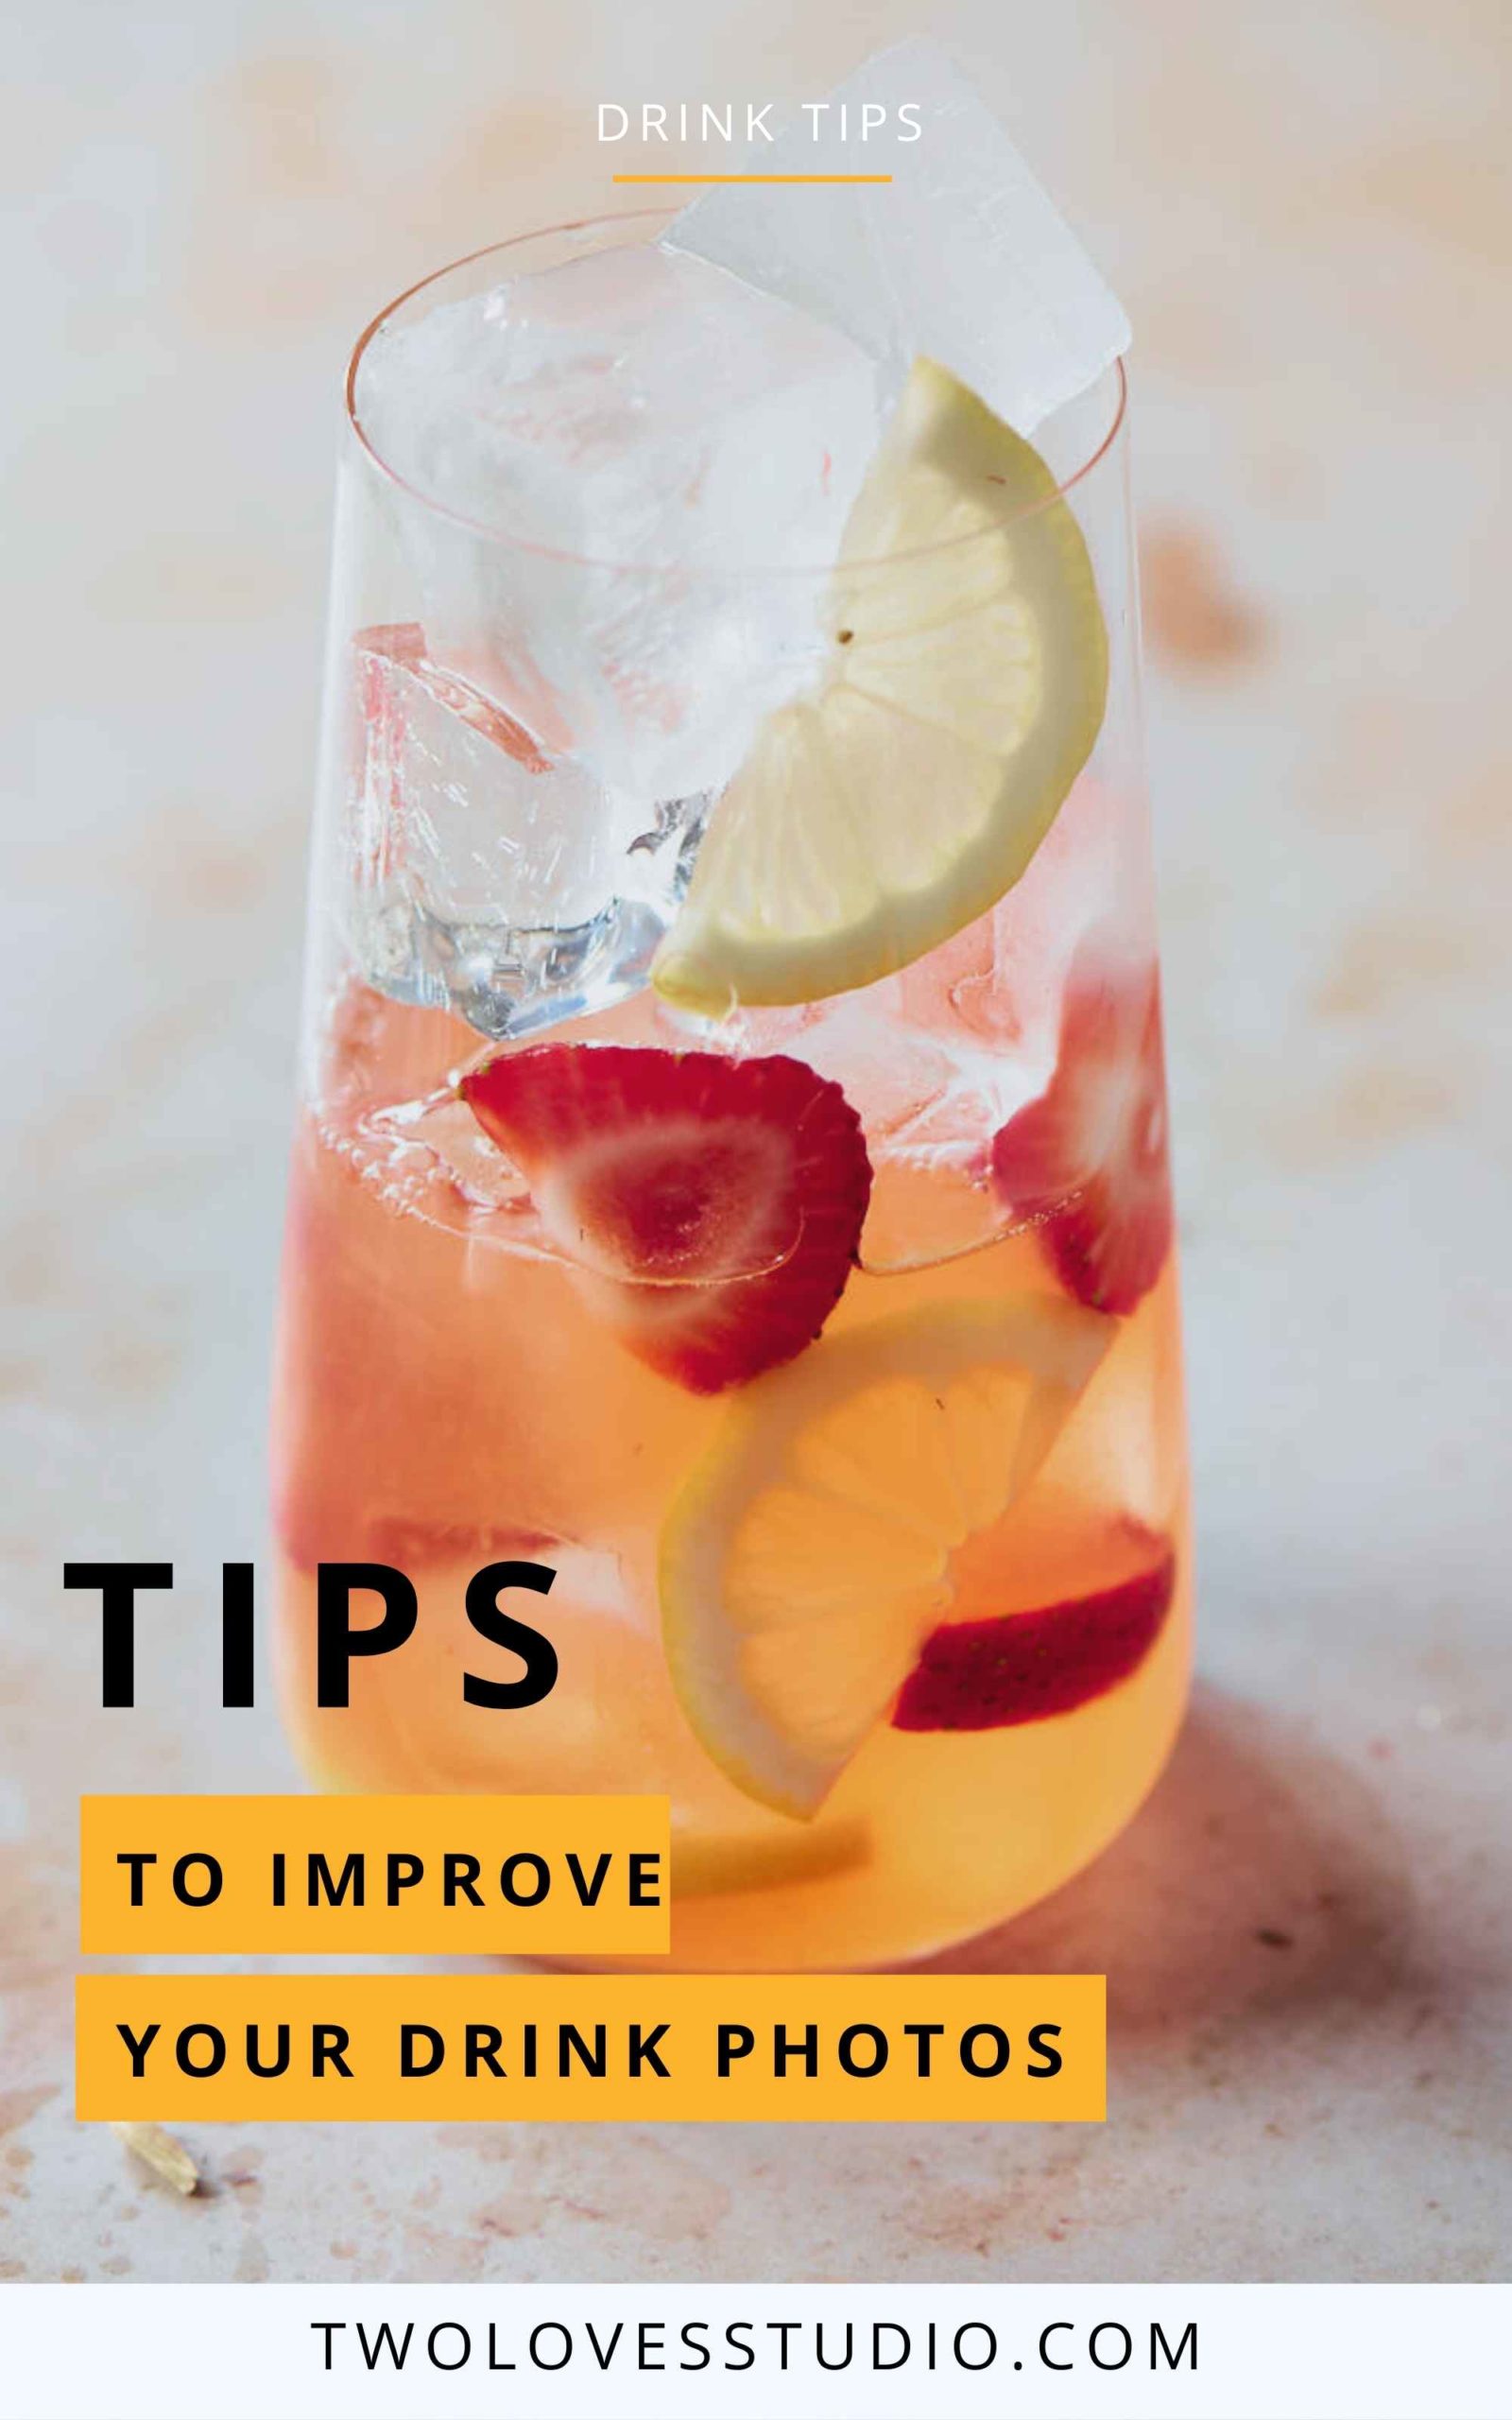
Learn more about drink photography: Tips To Improve Your Drink Photos
Step-by-Step: How To Layer Drinks
Let’s break down how to layer all of the ingredients, including the ice and liquid.
Before we start, a top tip is to use irregular ice. Irregular ice ‘packs’ nicely into a glass to create the perfect buffer and prevents fruit slices from floating all the way to the top of the glass.
- Try to use small broken ice at the bottom of the glass, layer a few peices of fruit.
- Add more ice and more hero peices of fruit.
- Layer hero ice cubes and nice peices of fruit on top.
- Make sure to have some ice peaking out of the top to help keep everything in place.
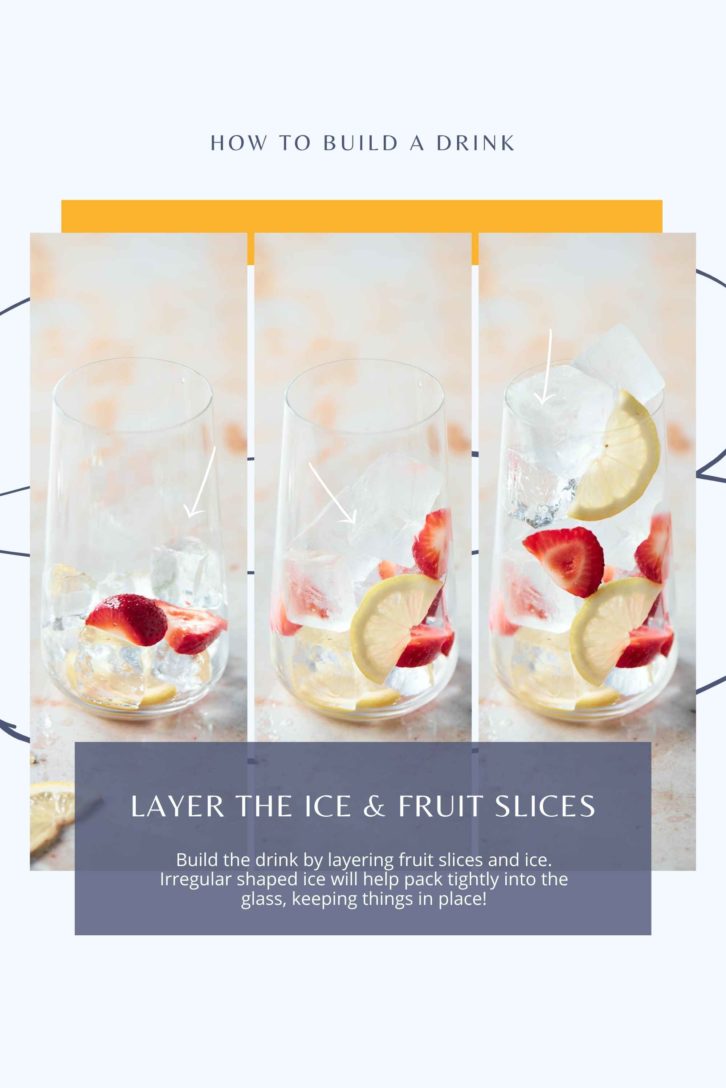
When it comes down to it, always think fruit – ice, fruit – ice, fruit – ice.
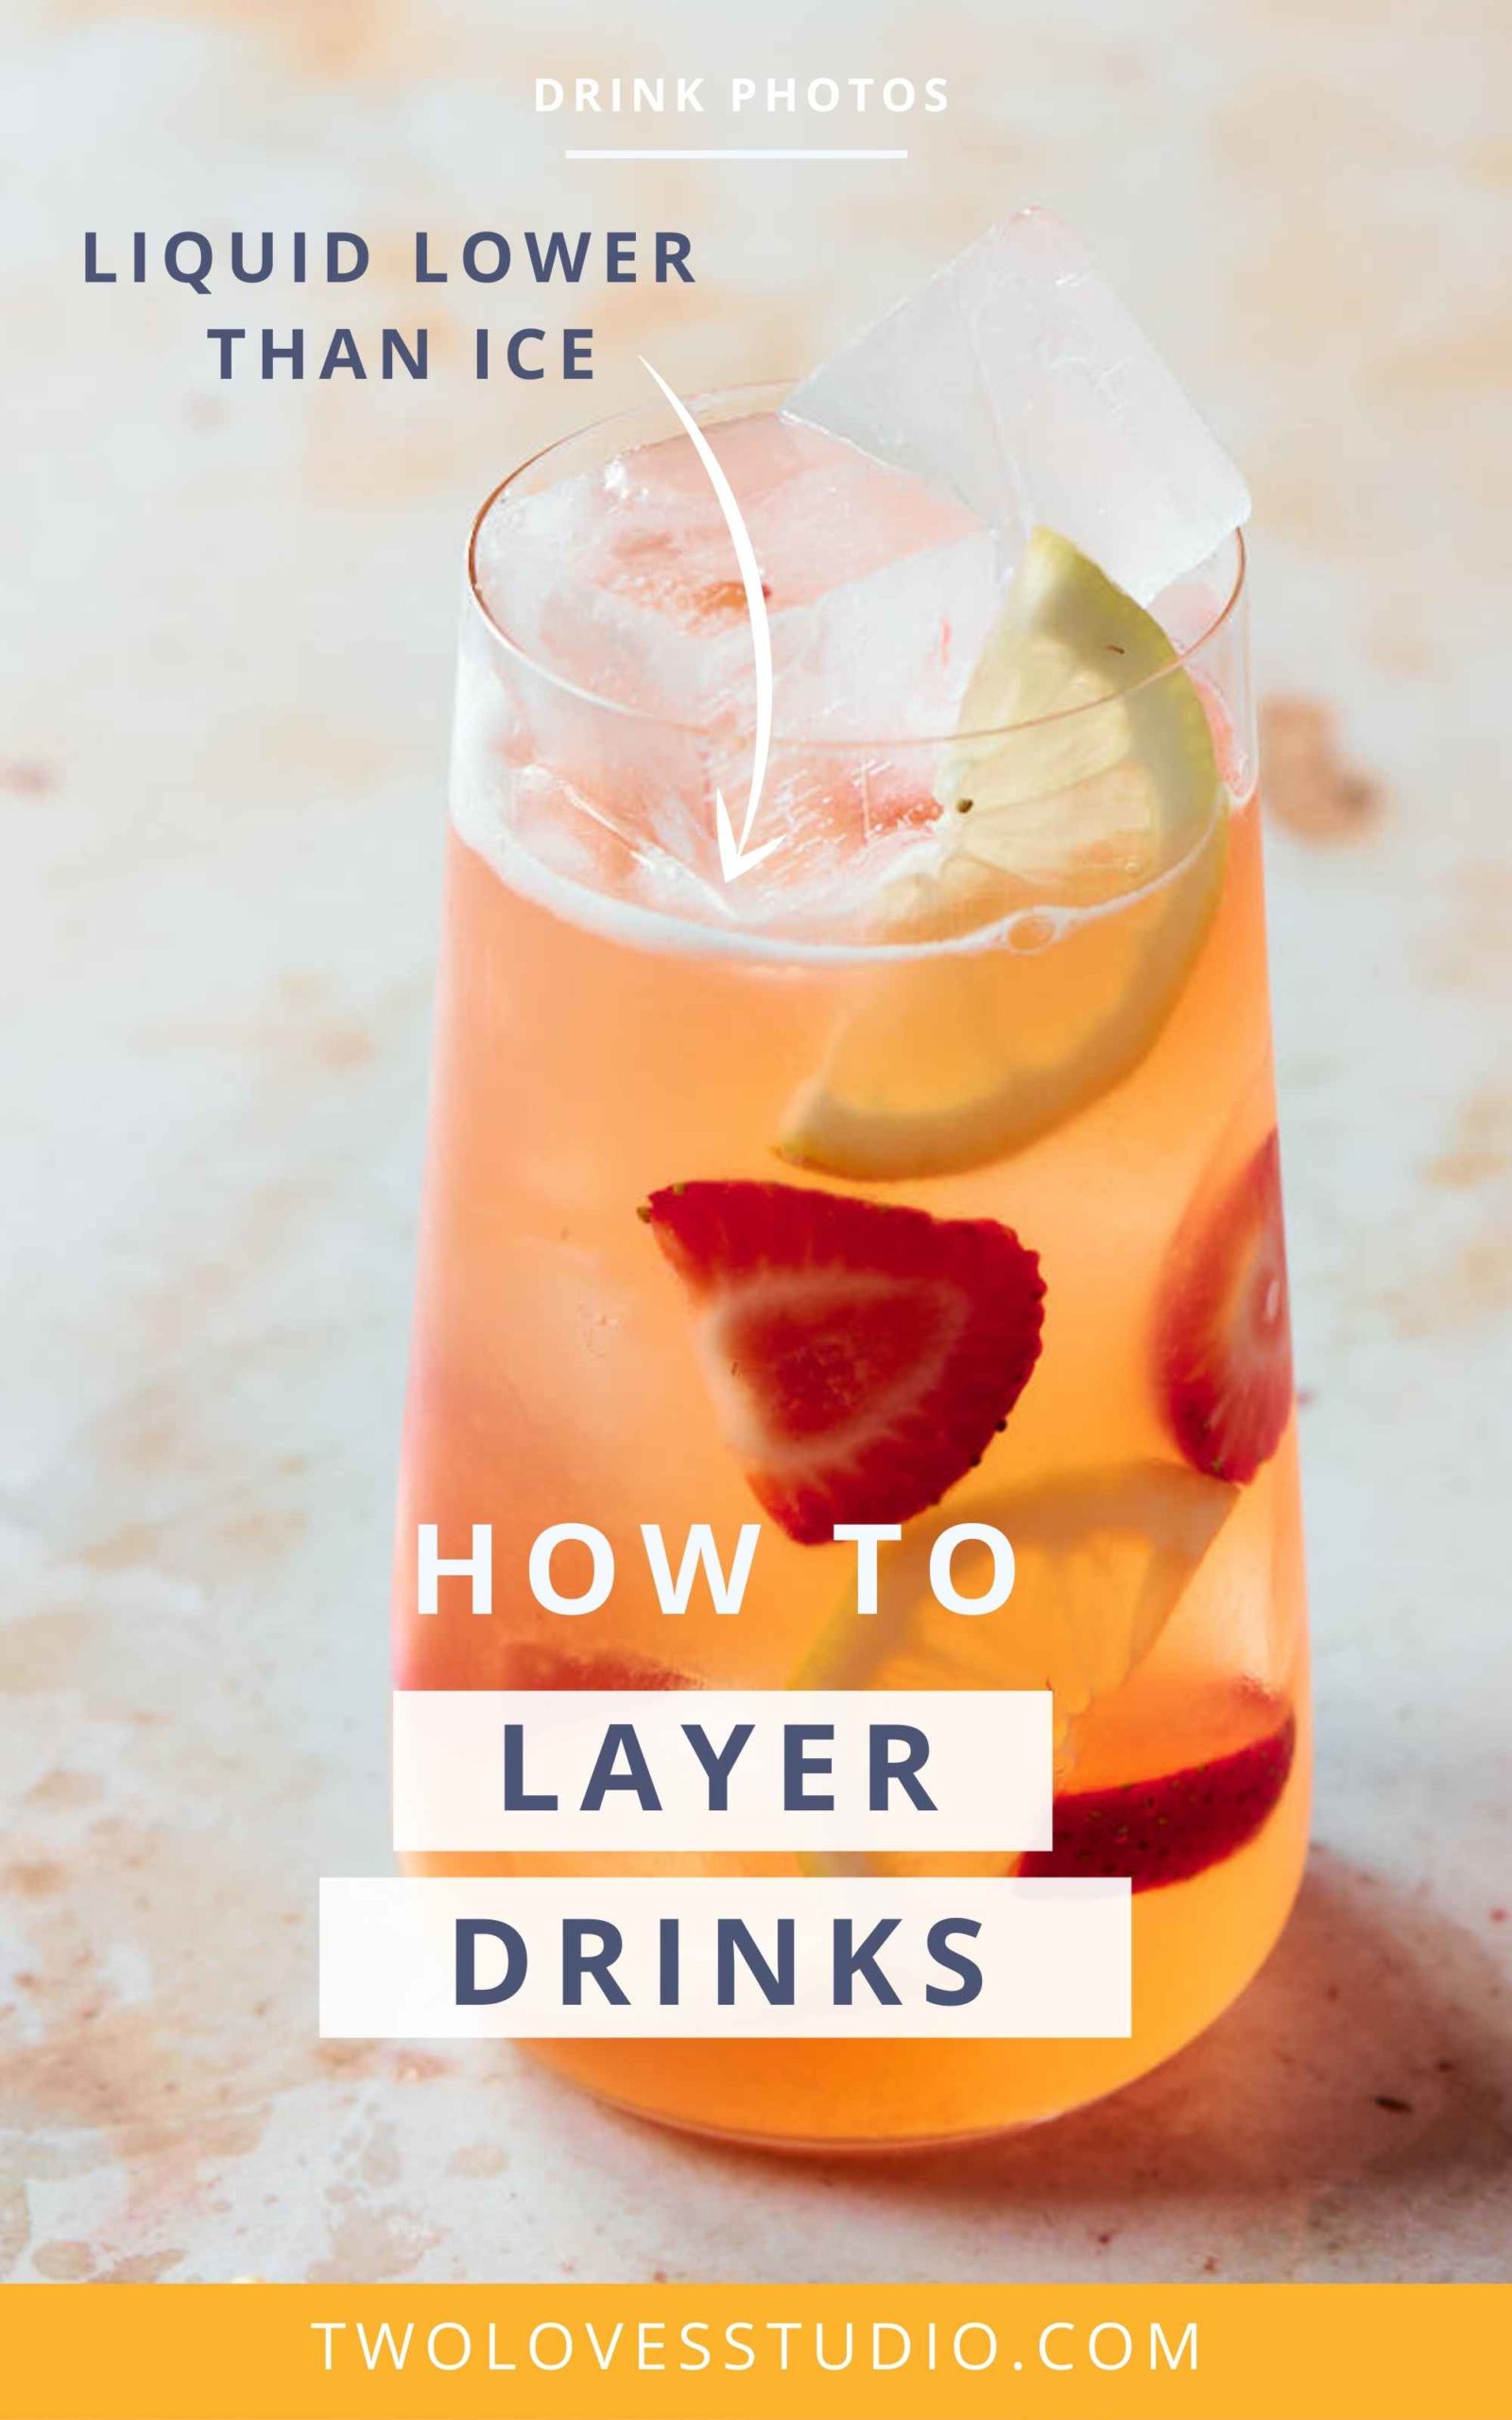
Layer Drink Tip: Your Liquid Level Should Be Lower Than The Ice
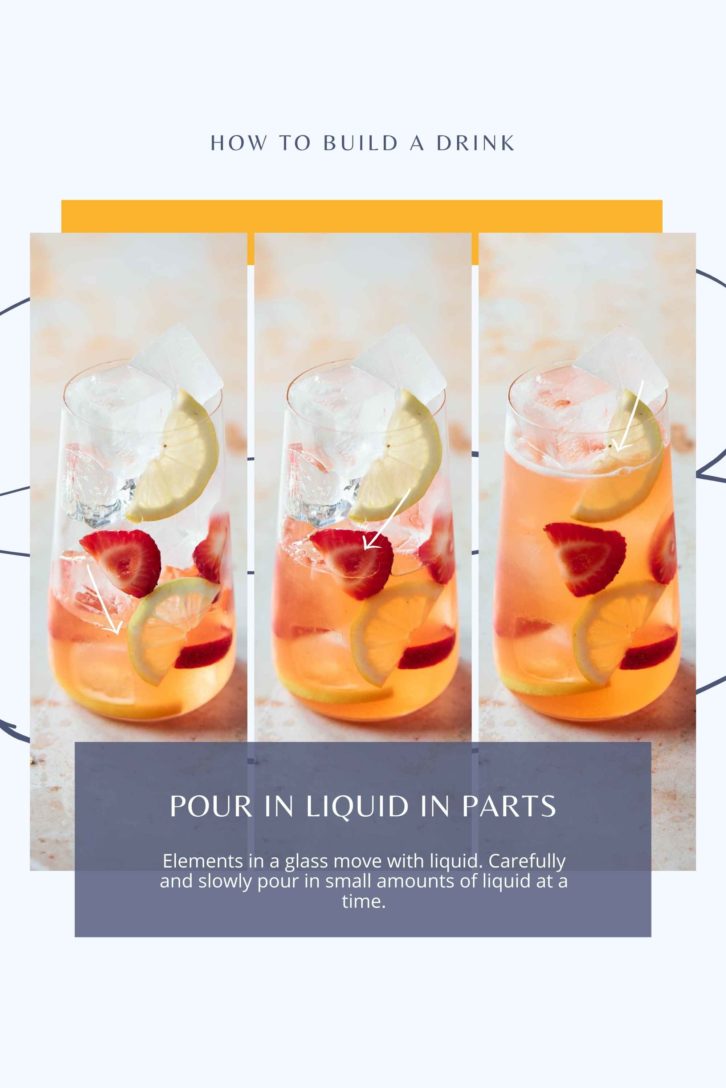
We’ve all seen it. You layer a drink and you’ve got things where you want them and it’s starting to look good. Then there is the point where you add the liquid and all of a sudden, things are floating. Take note of this tipping point next time you pour a drink for yourself.
The key to stopping unwanted things from floating to the top of your glass is more ice and less liquid. The more liquid you add, the more room there is for the fruit slices to go swimming around in your glass.
The more liquid you add, the more room there is for the fruit slices to go swimming around in your glass.
Aim for stopping it before it happens.
Good To Know: Colour Of Liquid Can Change
When working with specific recipes or brands to layer a drink, you need to remember that the colour of liquid can change with the lighting we use, the glass we pick or the amount of ice.
In this case, you need to get creative to bring the colour back to the true recipe. For example, more liquor or syrup could be added to the photos.
Always do a test glass to make sure the colour can be corrected if you’re adding more syrup for example.
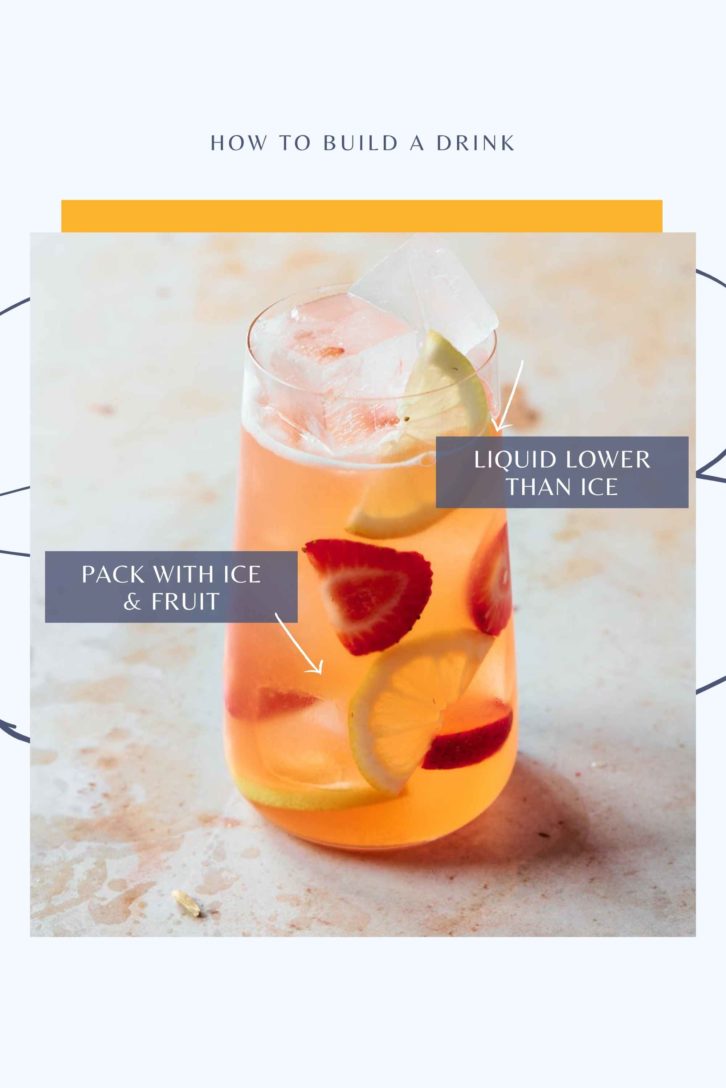
Small or tall glasses, this works. Build. Fruit – ice.
For more ways to style photogenic drinks, grab my e-guide.
Two Loves Studio was not paid to write this post, however, it may contain affiliate links. If you purchase an item from an affiliate link, we do get a commission on the sale which helps us run this site. Only affiliates for products/services we believe in appear on this site.
A tall or short glass is great for a layered cocktail. The deeper the glass the more liquid you can add and layers you can create.
Layer your drinks with your chosen fruit than ice. Use small broken ice at the bottom.
Choose your glass, then layer fruit – ice, fruit – ice until you reach your desired amount. Then pour your liquid on top in parts slowly.


