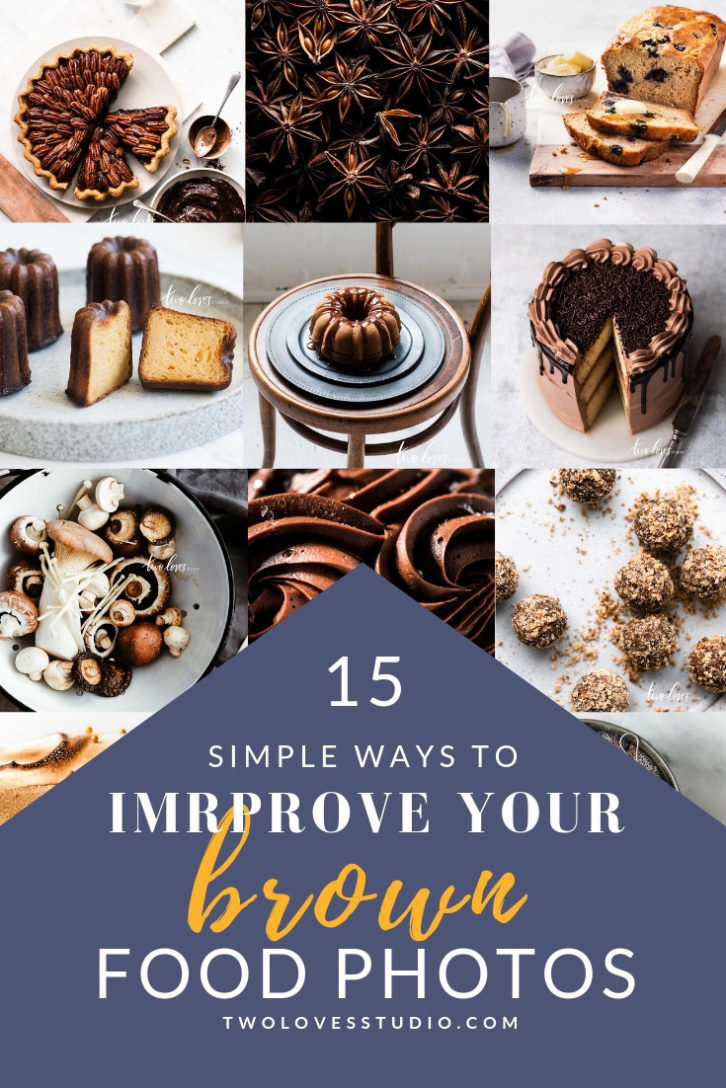
When I first started as a food photographer, I was scared of brown!
How do you make it beautiful? It’s not the most appealing colour, or is it? I’ve been shooting food for over 5 years now and I’ve learned a lot of tricks along the way that will improve your brown food photos.
I even did a brown food photo project just to prove how beautiful brown food is. So soak up all the tips, check out just how photogenic brown food can be and let’s get styling!
And need I say that these photos are just of brown food!
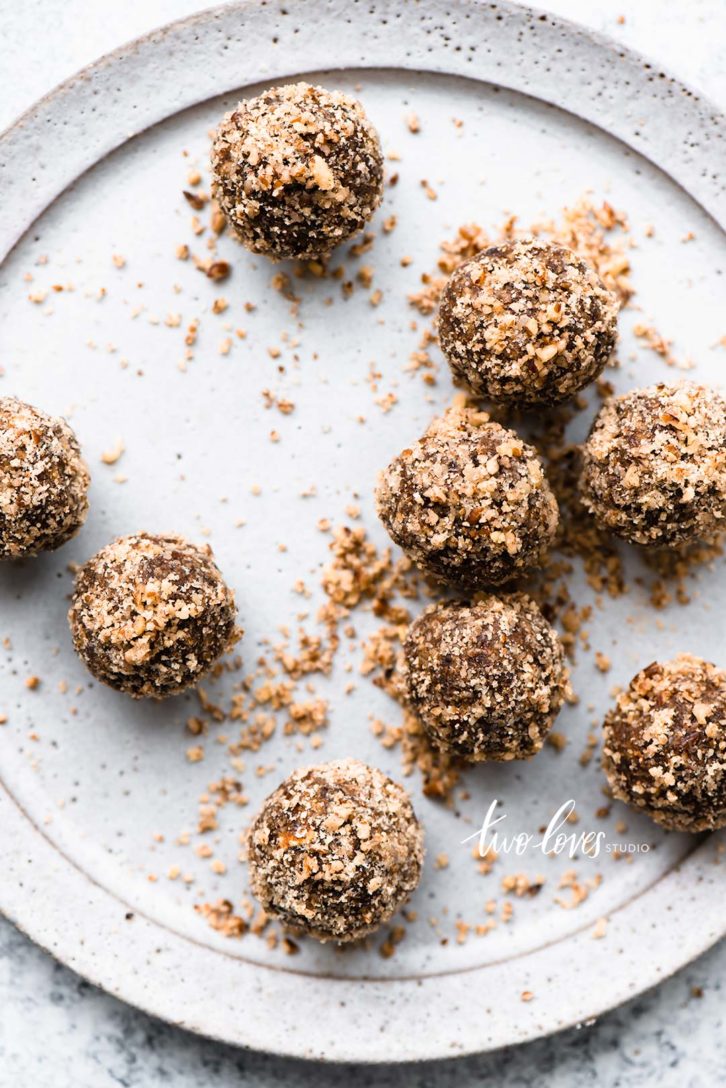
1 – Focus on Capturing Texture
One of the best things about food photography is that we get to shoot texture!
Texture in food is what allows us to look at an image and feel just like we were eating it! We know from the texture just how much we’d enjoy devouring each piece.
Focusing on the texture of your food is a really simple way to improve your brown food photos. If you take a look at each one of the images in this post, you’ll notice different textures present in each subject.
Next time you’re face to face with brown food, stop for a sec and really look at all the texture there is to capture.
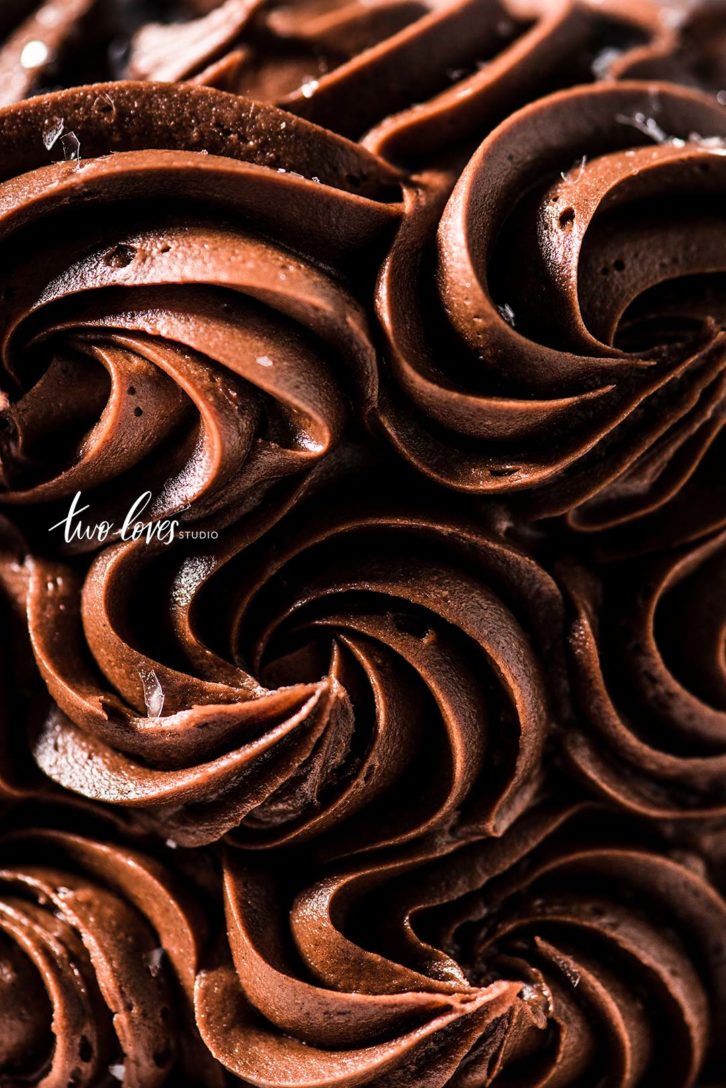
2 – Use Hard Light To Define Shape
There are two types of light, soft and hard. Soft is used a lot in food photography.
Hard light can be more dynamic and interesting for subjects that aren’t as pretty. Hard light has defined shadows. These type of shadows can be really powerful in defining a subject.
As photography is a 2D image and we want to make the viewer feel like they are there ready to eat your food, shadows are important in creating dimension.
Here I’ve used hard light to help shape the texture in this icing.

3 – Improve Your Brown Food Photos With Interesting Patterns
Patterns are all around us. Even in our food.
Patterns are a great composition technique to use to create interest and improve brown food photos.
In food photography, if you’re using a lot of small subjects that come together to make a larger dish/recipe, you can arrange them to create interesting patterns.
4 – Think About What Type of Light Suits Smooth vs Rough Food
Now we touched on using hard light to reveal texture in your food. Let’s go one step further here.
One of the simplest ways to improve brown food photos is to capture it in flattering light.
Stop for a moment and think about your food. Is it a rough food? Or is it smooth? Remember how I said that light will help define texture and take a 2D image to a 3D one?
Well, we want to be exploring out subject and find the light that best matches it. Is your food smooth? Maybe soft light will complement it.
Learn more about lighting with my e-book on natural light.
5 – Spend Time Finding Hero Subjects
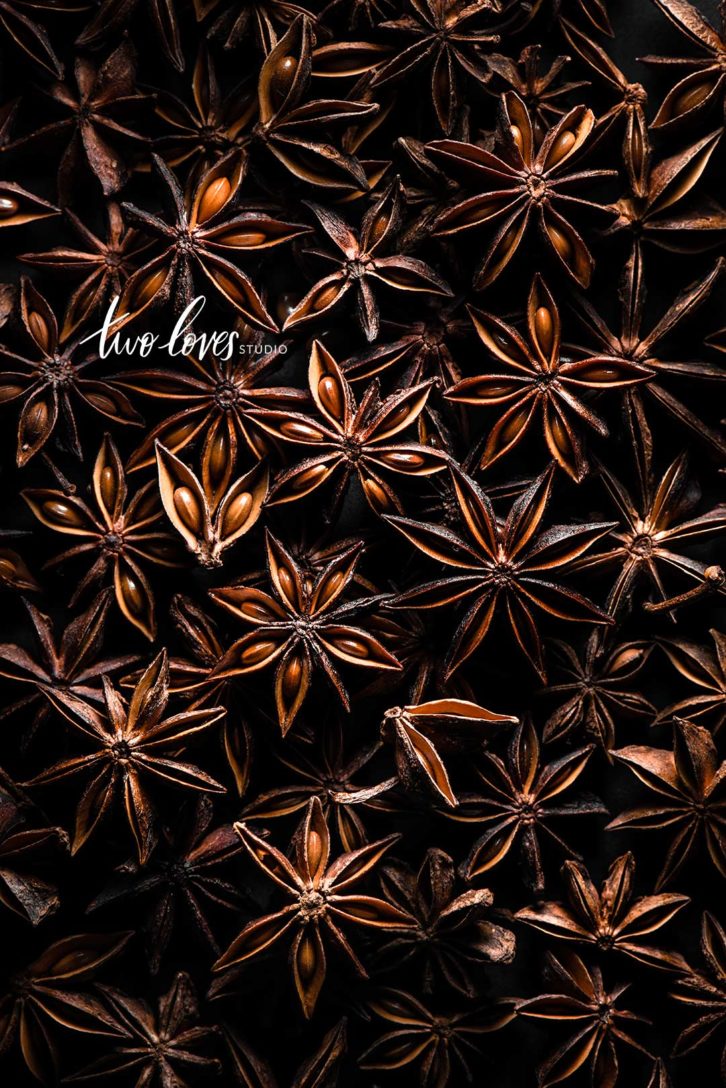
This shot is one of my all-time favourite!
And the reason it’s so eye catching, even for brown food, is that the subjects are ‘hero’ subjects. It’s essential in food photography to spend time looking for the best subjects.
That can mean buying more than you need to! Here I purchased a couple of large packages of star anise so I could go through and find the best looking ones. If you think about it, these packages go through a lot. The chances of finding whole ones intact are slim.
Whenever you are prepping for your shot, spend time finding the heros, set them aside and use them front and centre in your shot.
6 – Choose Subjects That Have Interesting Shape
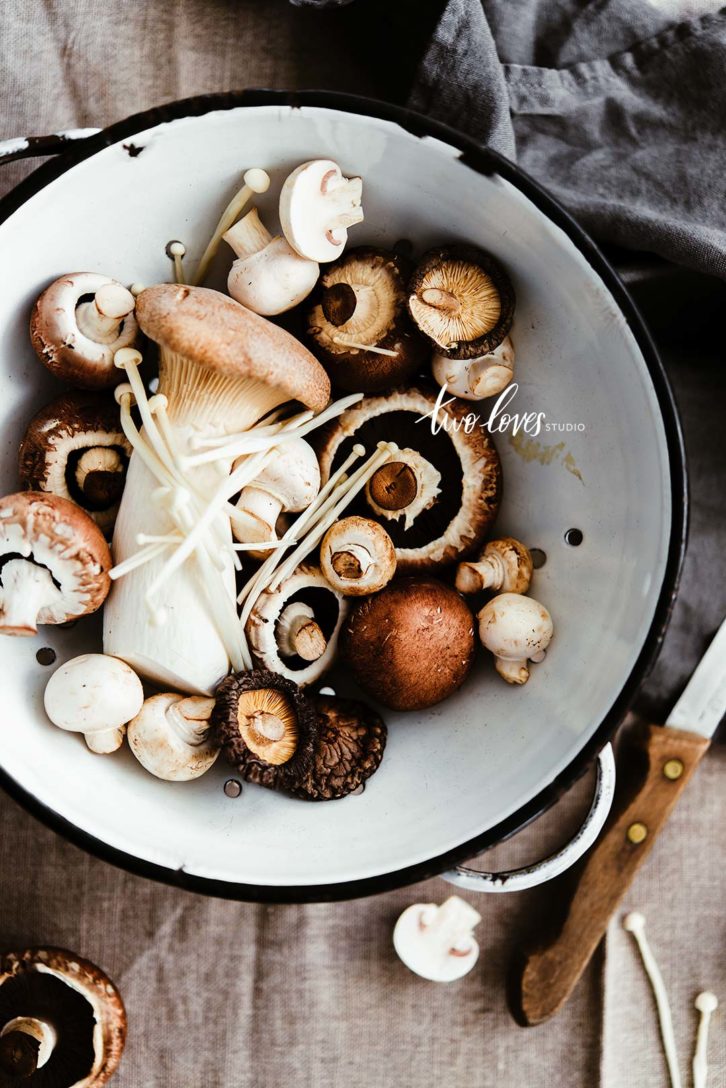
Shape creates interest. It can be expected or unexpected.
If you have power over the shape of your food, think about this before the cooking stage.
Can you pick a vessel that will give your food shape? That will give your food interest. Do you think a square cake will look better than a round cake?
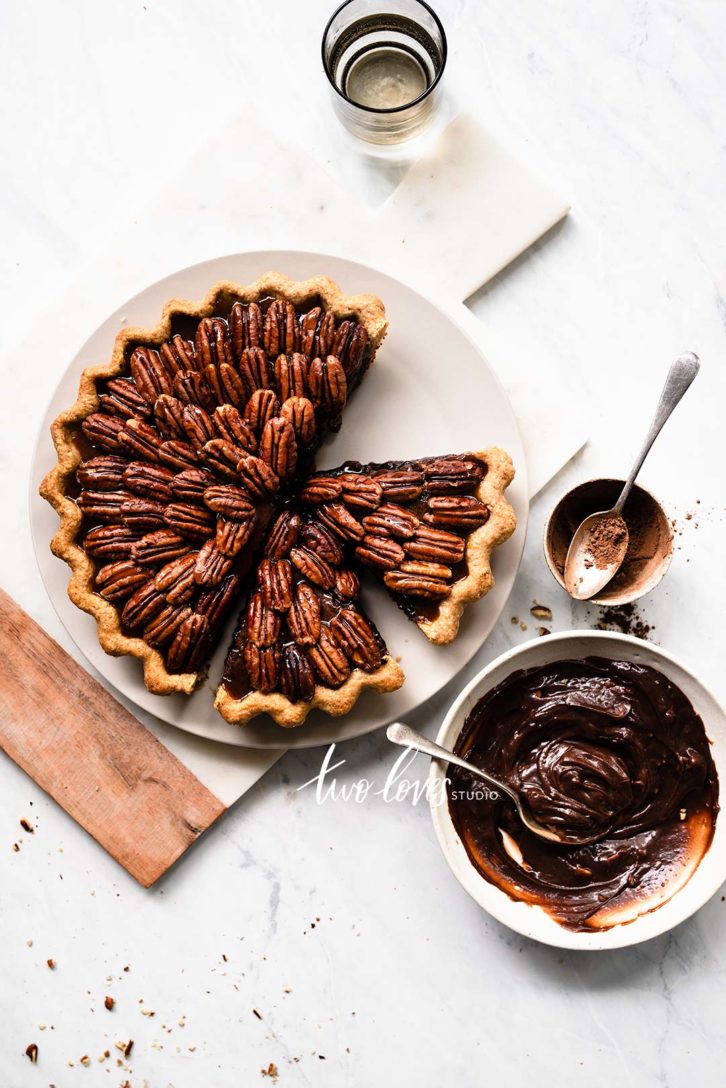
And what about the shape of the food itself? Pecans are one of the most photogenic brown foods! Their shape is just so interesting. So think about how this can apply to your food.
7 – Capture Your Subject From an Unexpected Angle
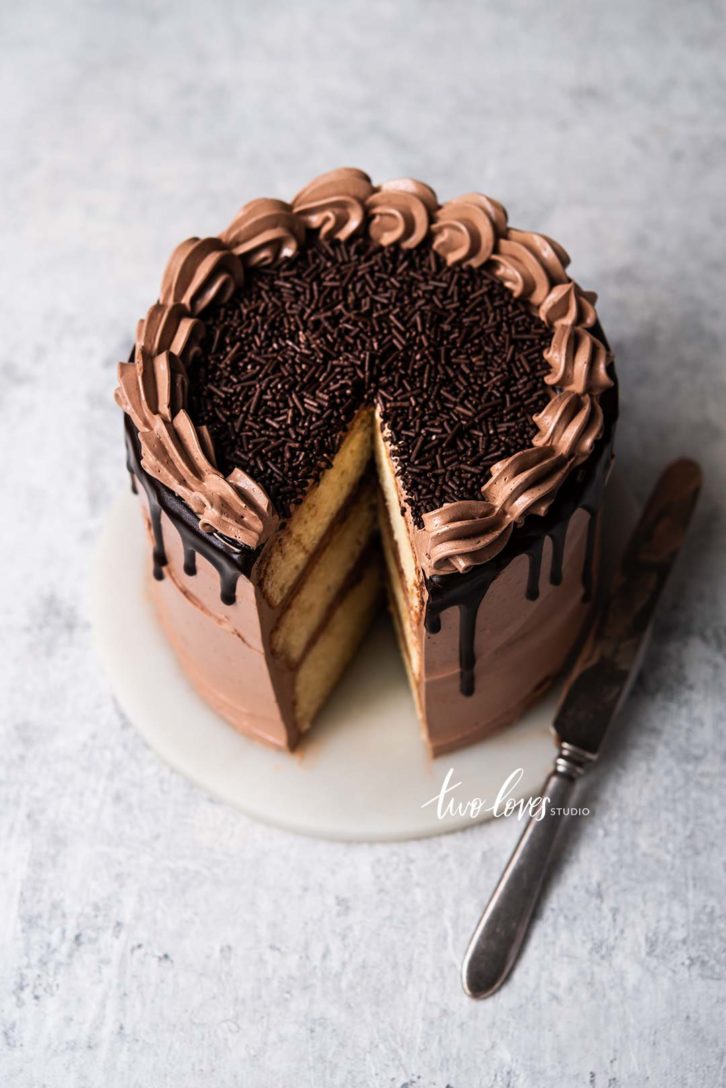
There are three main types of angles in food photography, straight on, 45-degrees and overhead.
Then there are all the angles in between that we choose depending on our subject. When I started teaching myself food photography, I shot food at every angle so I could work out what the hero was for each dish.
Because I explore the subject so much, I can find interesting angles. Be sure to explore with the camera to your eye before you set yourself up on a tripod.
What I love about this cake shot is that cakes aren’t typically shot at this angle. They are usually shot from a much shallower angle. But since we have such beauty on the top of the cake with the sprinkles, I couldn’t help but want to see more of that.
8 – Get Up Close and Shoot With A Macro Lens
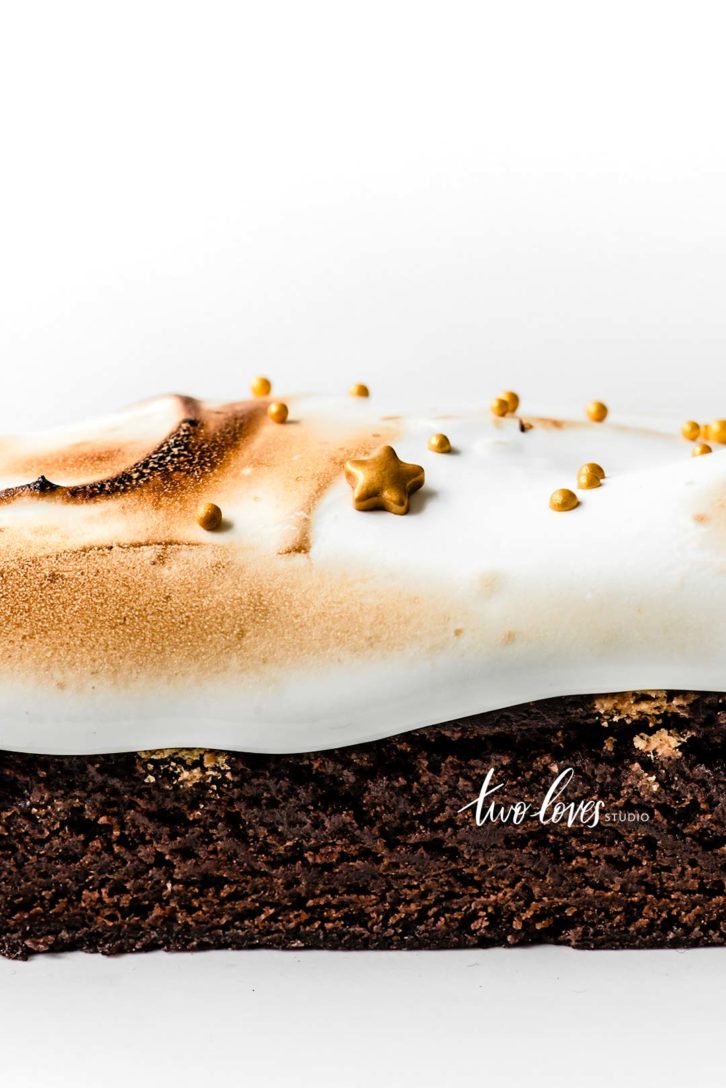
Don’t be afraid to shoot your brown food with a macro lens. Getting up close and personal with our food helps us, again, show texture.
Which is important right? Yep, you get it!
Now, I usually recommend that as well as capturing an up-close shot that you also capture one with more space. This helps to create a set of images that can tell a story.
Can’t you just feel the chewiness of this graham cracker crunch layer?
Related: Which Macro Lens Should You Buy For Food Photography?
9 – Create Unexpected Compositions
That’s right! Think outside the box.
How can you take your subject and make it more interesting? Will your audience expect to see this a certain way? Can you share it differently?
Think about the light, the angle, the lens you use, the layers you add, the mood.
This shot is really just a simple dulce de leche spread over a cake and captured up-close. Read more about improvin your cake photos.
10 – Get Minimal With Your Props
I started #GetMinimal as a way to help
Now, you might be wondering how getting minimal with props is going to improve your brown food photos?
Well, trust me, it will. It will force you to stop adding more props to the frame and think again about texture and dimension. Instead of props, focus on light, composition and the angle you want to shoot.
Have you noticed that a lot of these shots are actually in line with getting minimal? Less props equals more space to think about making the food your hero.
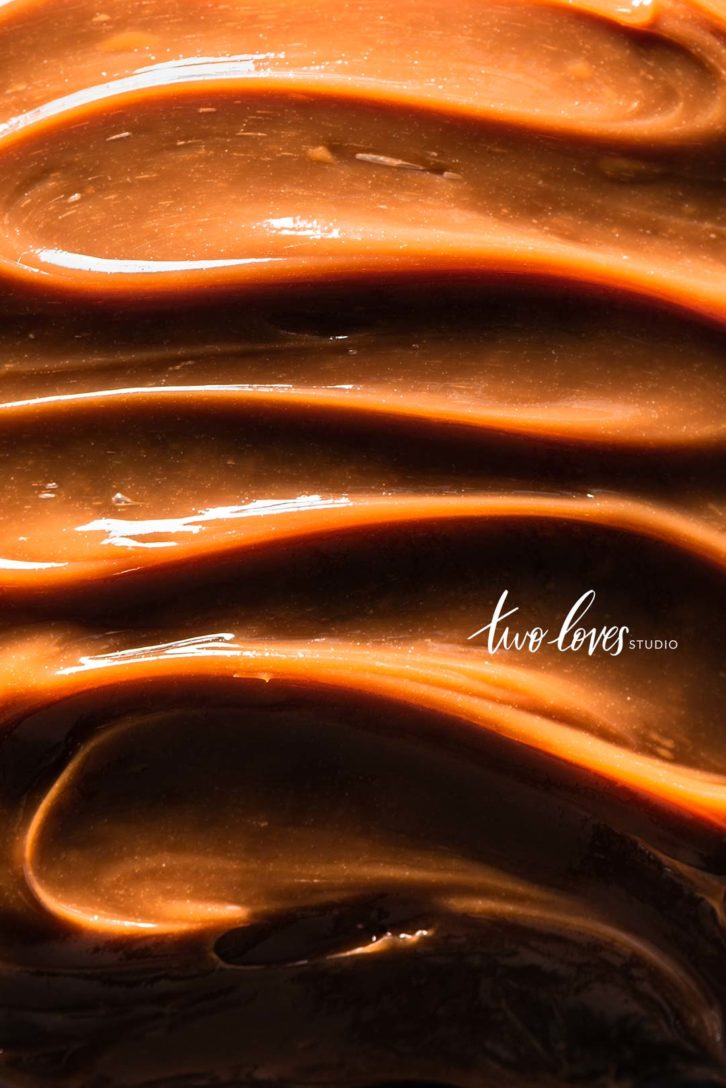
11 – Capture That Swoon-worthy Shine
Probably the best thing about brown food is that it usually involves a gooey and sticky sauce! Delish.
And you can’t beat the shine that specular highlights pick up on brown food. To get that perfect shine, you will need to combine angle with direction of light.
Also make sure that your subject is nice and fresh, freshly spread, preferably warm so that it’s ready and easy to spread of pour.
It really just speaks for itself right!
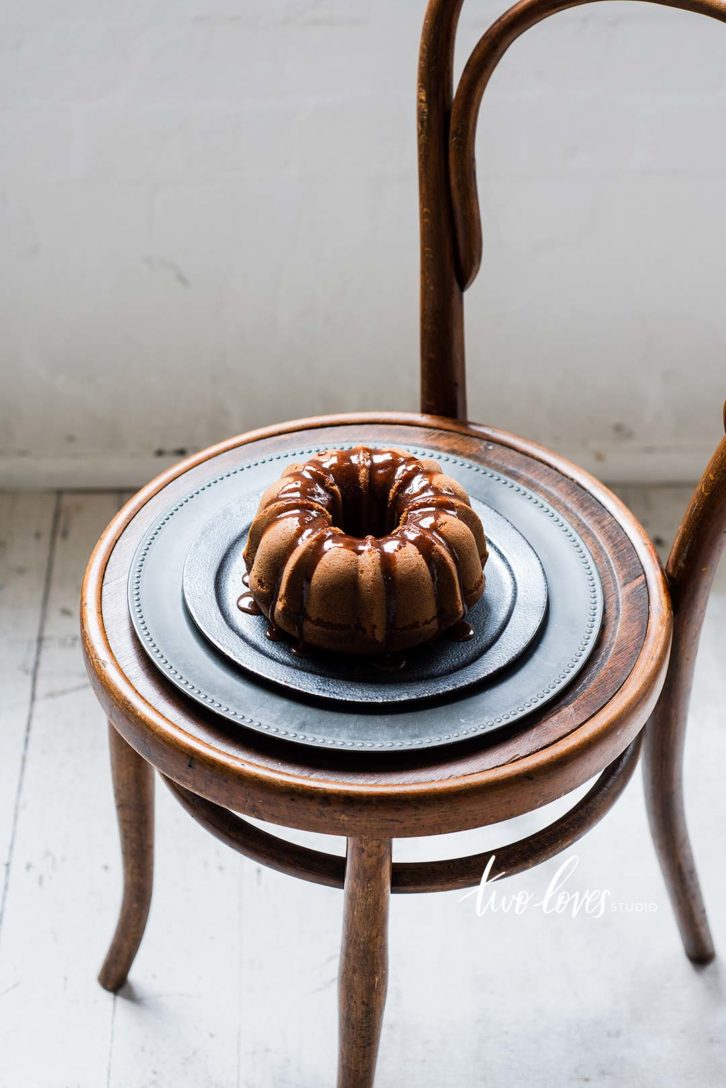
12 – Shoot With Backlight
Backlight is one of my favourite types of lighting. It provides beautiful shots no matter what your subject.
It can be a go-to if you find that you need to improve your brown food photos.
Keep this tip in your back pocket for when things aren’t working. Maybe exploring the subject with a little back light magic will do the trick.
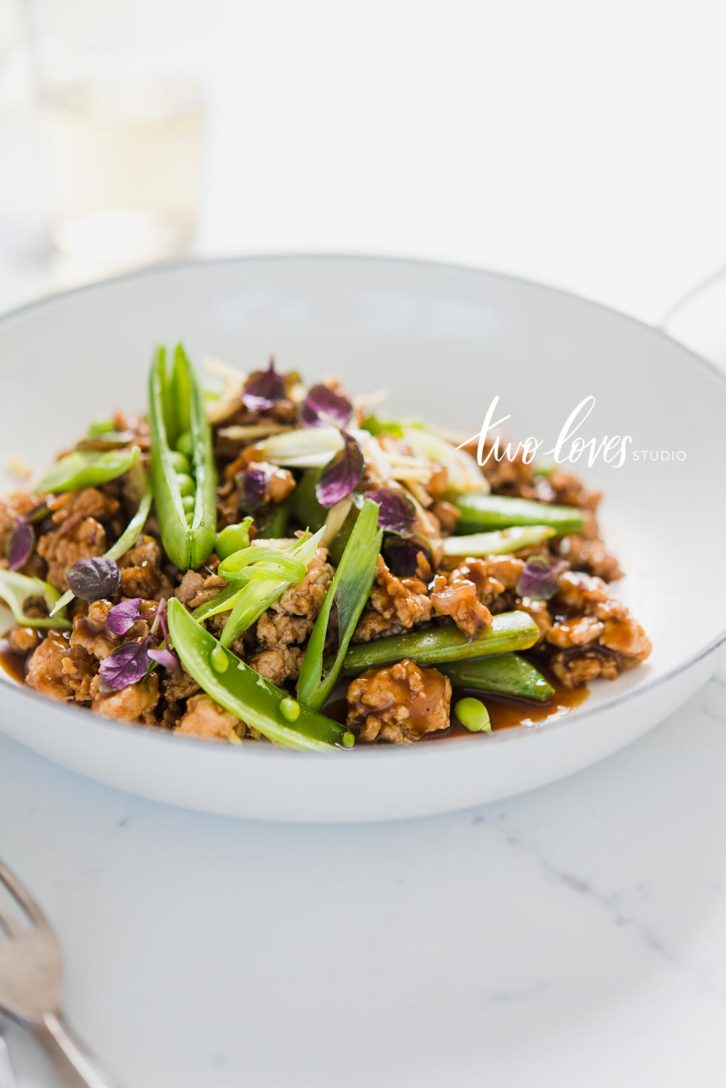
13 – Be Sure To Add Drips and Drops
It just wouldn’t be food photography without drips and drops right!
People go nuts for a good drip shot. Think about if that will suit your dish and incorporate that perfect drip when you have the rest of the shot set up.
It’s important to make sure that you have the shot before you attempt the drip, because often you can’t take it back. The shot will get messy.
14 – Add Cracks and Powered Sugar
Works wonders for sweet brown foods. And creates so much more interest than just a brown cake.
Rustic and homemade will never go out of fashion.
Where you can, cracking this cake made it more interesting to look at. Suddenly there is this layer of interest. And a dusting a powered sugar never goes astray either. Check out my composition course for more details.

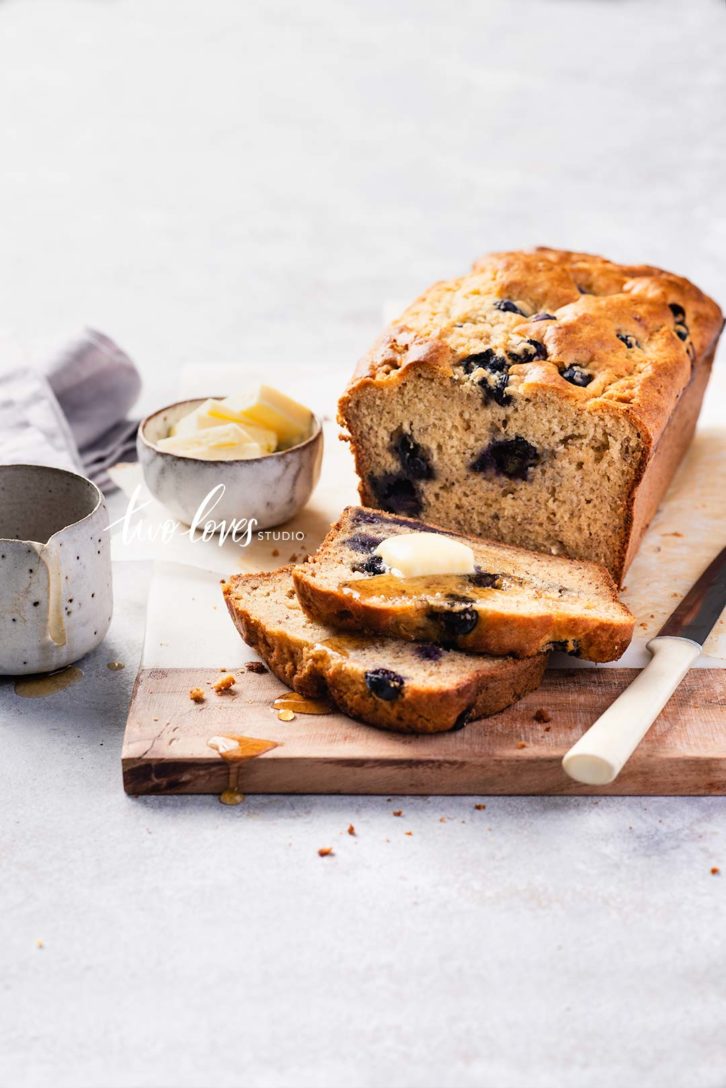
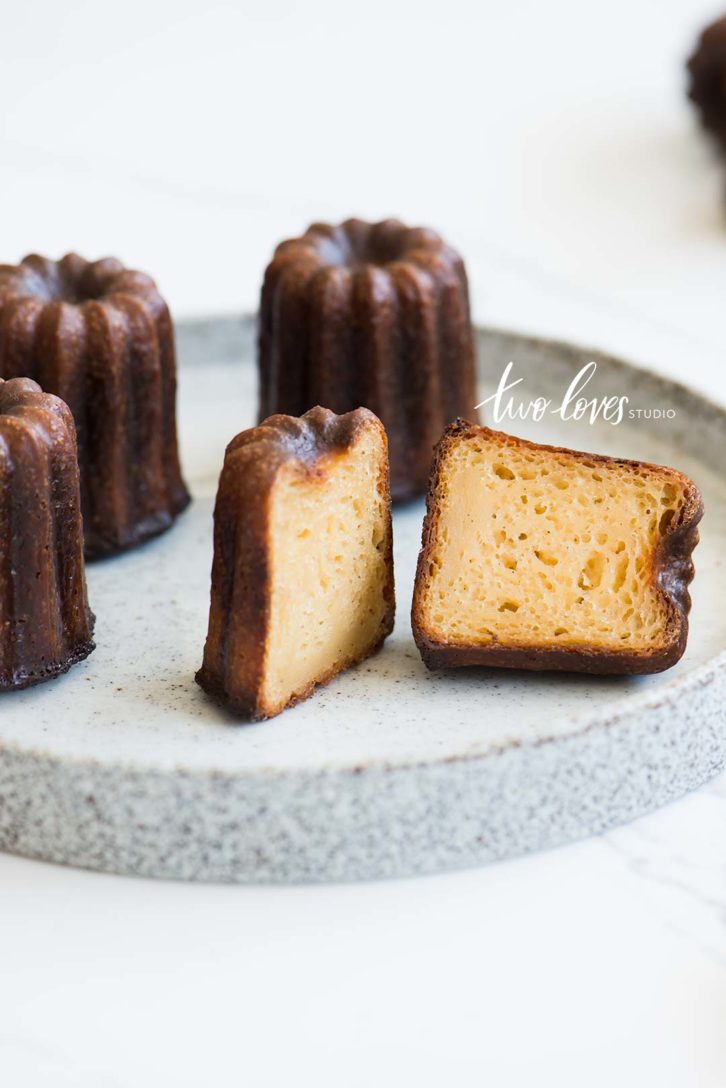
15 – Cut Your Subject Open To Reveal Texture
Hopefully you aren’t sick of me talking about texture because it’s just so important on food photography. But this tip is about cutting open your subject to reveal just that.
Think about having one part of your food exposed to the inside so that the viewer will want to dig in. That’s the part they are really craving.
You can even just do this is one of your hero subjects to get your viewer excited.


Lucie Beck
Hi Rachel,
Such a perfect tips, thank you so much for sharing! Especially with textures, actually so normal to think about but didn’t realised it.
x Lucie Beck
Rachel
Right! I totally understand. Sometimes we do these things naturally and don’t realise. Thanks for stopping by and reading the post Lucie.
Whitney
Your photography has always been my favorite. It’s simple but striking and absolutely stunning! Thanks for sharing these tips on shooting brown foods. I found them to be really helpful!
Rachel
You’re so very welcome Whitney! Glad you enjoyed the tips. Brown food can be so pretty right!
RompePalle
There’s nothing like “powered sugar” huh? Personally I prefer battery-powered sugar, but I’m thinking of making the move to solar power pretty soon.
Anas Cherur
Hi Rachel,
Amazing food photography, love from Dubai?
Rachel Korinek
Thank you so much Anas 🙂
Nancy
This is such a good post! So much detailed, specific and useful information, I am really impressed! Thank you so much for sharing.
Rachel Korinek
Thanks for reading Nancy! Brown food can be super beautiful right!
Mateja
Thank you for such a detailed post! Not just this one, pretty much all of them on you website. It’s very useful and motivating to go through your content when starting out in food photography.
Rachel Korinek
I am so glad to hear that you found some inspiration here Mateja! x
Azadeh
Thanks a lot .All the tips and examples are so great and really useful.
Rachel Korinek
You’re so welcome! Thanks for stopping by 🙂
Luciana
Thanks Rachel for this post and tips!
I have some shoots programming with “Alfajores & Dulce de Leche” in a few days (Argentinian best sweet jiji) and will help me a lot.
Hope to capture colors and textures right!
Once again many thanks and greetings from BsAs-Argentina ??♀️