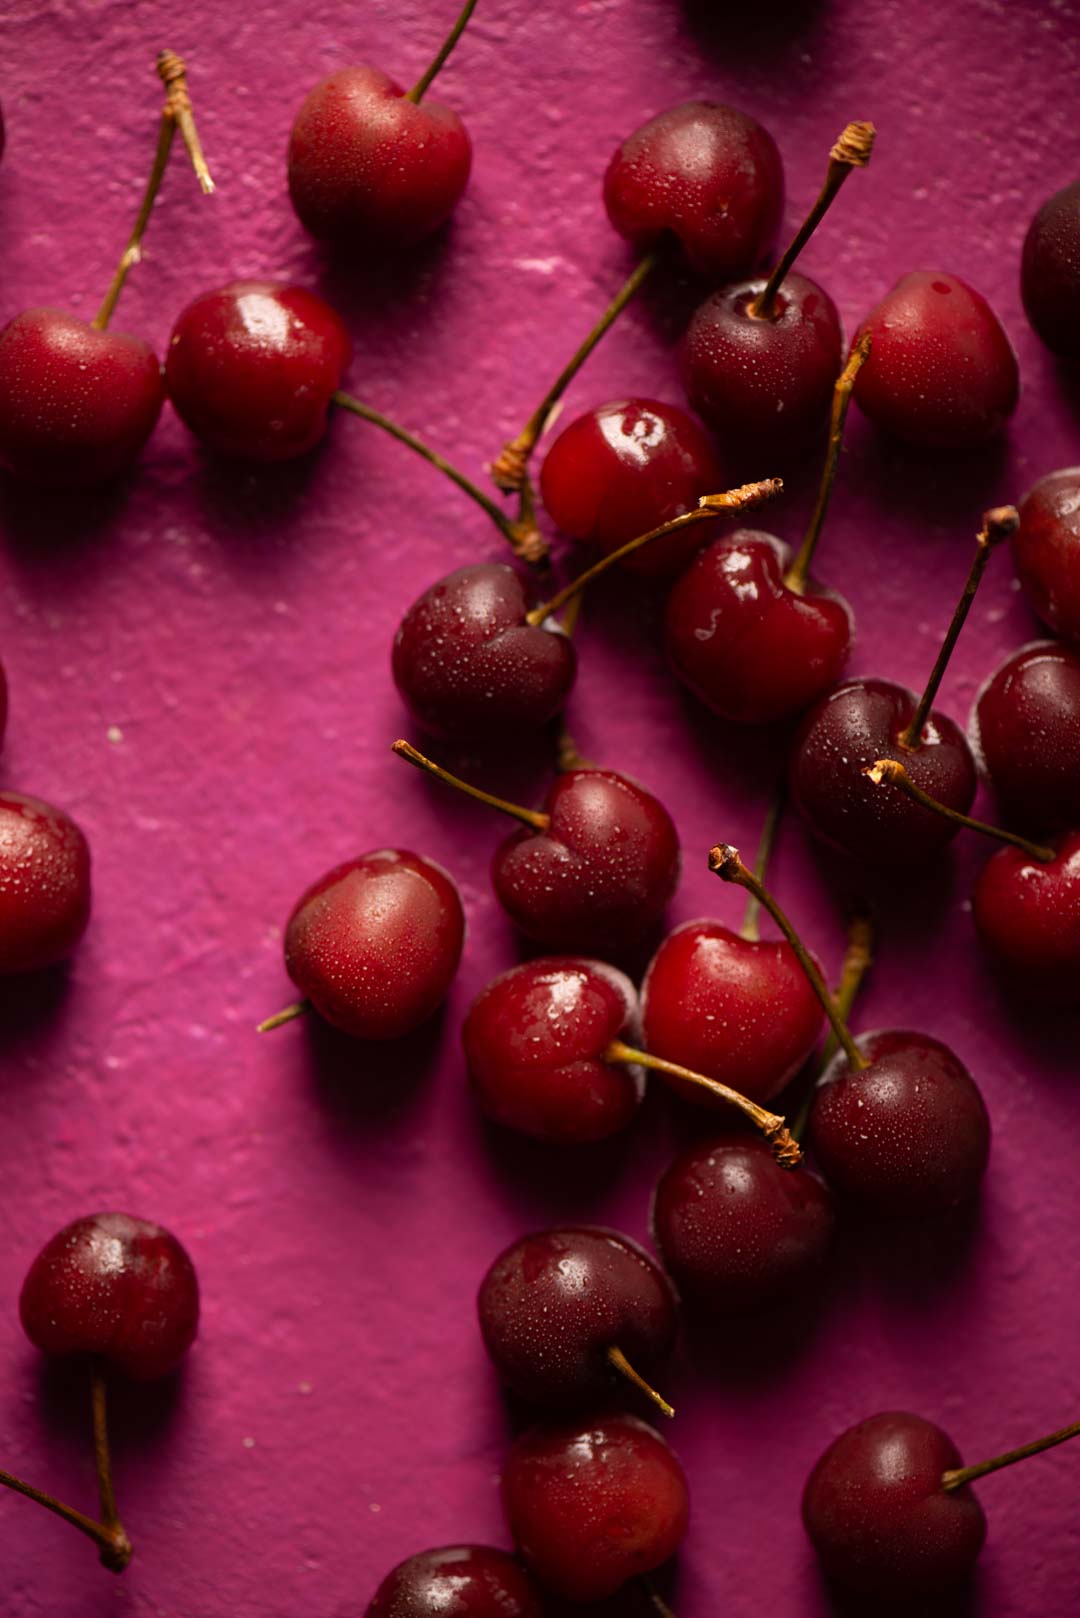
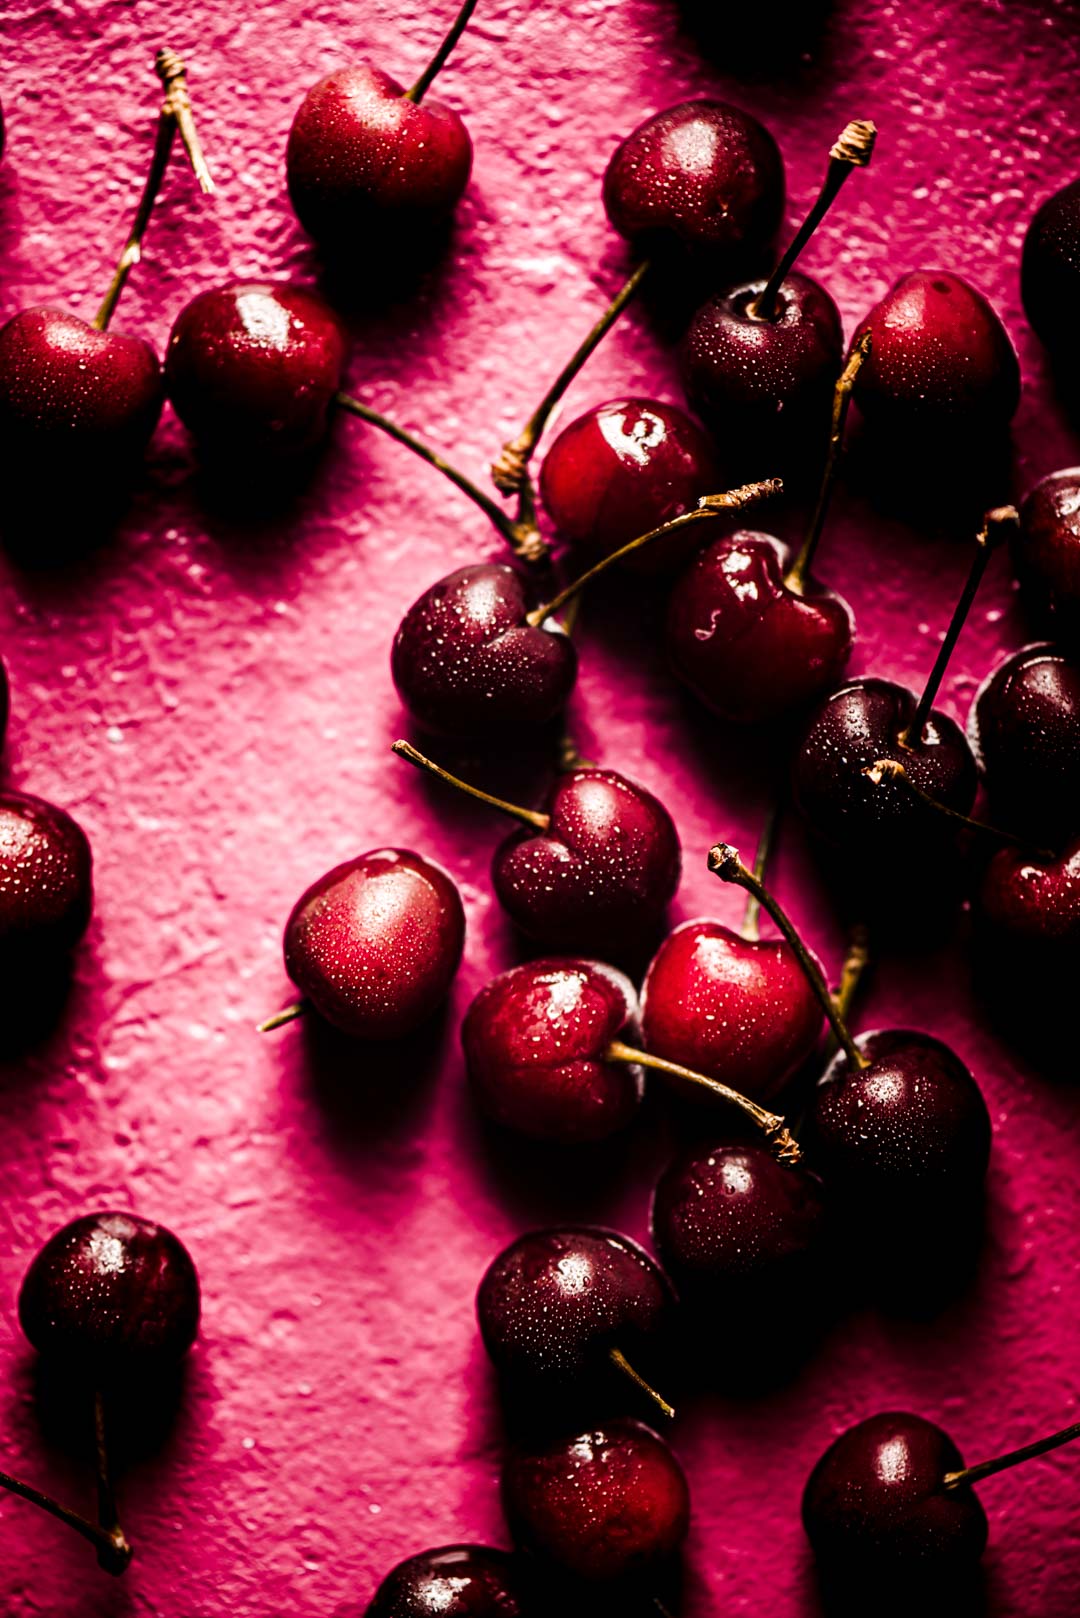
Before we get into this conversation about Lightroom food photography presets. I want to preface this post with the statement that I am not against presets. I have presets and I use presets. Both made myself and purchased.
Lightroom food photography presets are amazing. But if you don’t know how to get the full potential out of them, then they could be holding you back.
Now, I don’t blame anyone for thinking that presets are a one-stop solution, after all that’s how they are marketed to us. We’re all on a time crunch and looking to find ways to cut our workload.
If you think presets are a one-click solution – then I want to empower you to get more out of your Lightroom presets and by extension your creative vision.
So read on my friend!

Lightroom Photography Presets: Why Your Photos Still Look…Well, Not Good.
Instagram is a wonderful place and lately, I have noticed that I am being bombarded with ads about buying Lightroom food photography presets.
It seems like everyone is flogging them. It makes me cautious to buy them, as presets aren’t as simple as making a whole bunch of edits and pressing ‘save’, and selling them.
There are more factors to take into account things like color rendering and process versions.
Global vs local adjustments and not all adjustments should be saved in a preset. Learn more about accurate color here, and why you’re doing it wrong.
So if you’ve just purchased Lightroom food photography presets, (that aren’t cheap) then why don’t your images look like the photographer’s work that you purchased them from?
Good question. There are so many reasons why. But the biggest things is that the equipment and light you use will affect your files. And the data in those files.
Therefore you’re most likely to have an image that contains completely different data to your muse.
So it’s kinda hard to get your images to look like theirs. But I think that is a good thing. If we all shot the same things, had the same style, saw the world in the same way – then we’d all be out of a job.
Our individuality is what makes us special.
That’s what I teach in Lightroom Magic. I empower my students to create a workflow and editing style that is right for them. You can check my masterclass out here.
So now that we know the data in our RAW files affects how presets will look, are they any other ways that presets could be holding us back?
Let’s find out.
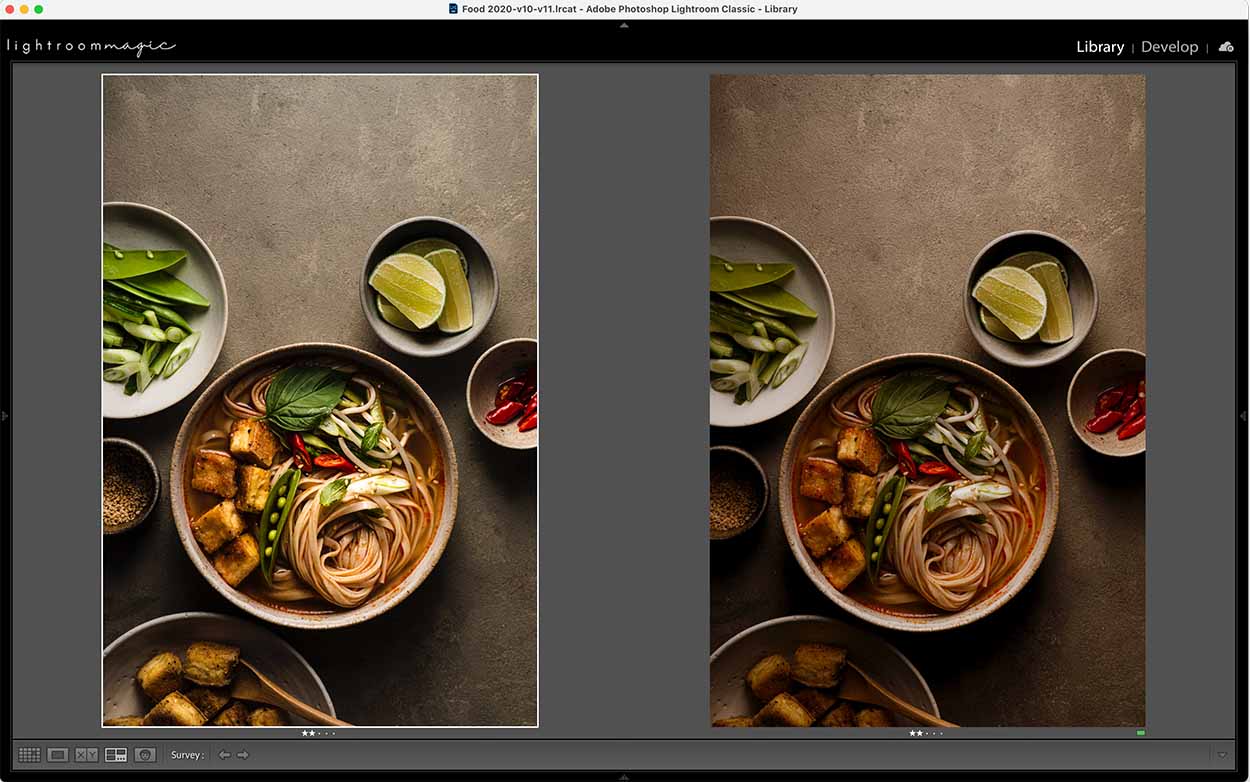
Lightroom Photography Presets Don’t Take Into Account Exposure and White balance.
At least they shouldn’t. Exposure and white balance are two sliders that shouldn’t be saved in style presets, (there are two types which we will get into in a moment).
They have to be adjusted and assessed before and after preset application.
Now there are over 6 ways you can adjust for exposure in Lightroom, and it goes far beyond just the exposure slider.
Lightroom food photography presets should always be a step in the process, not the step. This means that you don’t want to apply a preset and move on.
You still need to adjust for exposure and white balance. And getting perfect or technical white balance goes beyond just the eyedropper tool. As exposure and white balance are individual to the image and depend on a lot of influences, they really need to be assessed across your image set every time.
Relying on your style presets to do this for you won’t be giving the love your RAW files deserve.
But hold, up… I hear you saying. Can we go back to those two types of presets again? Sure, can!
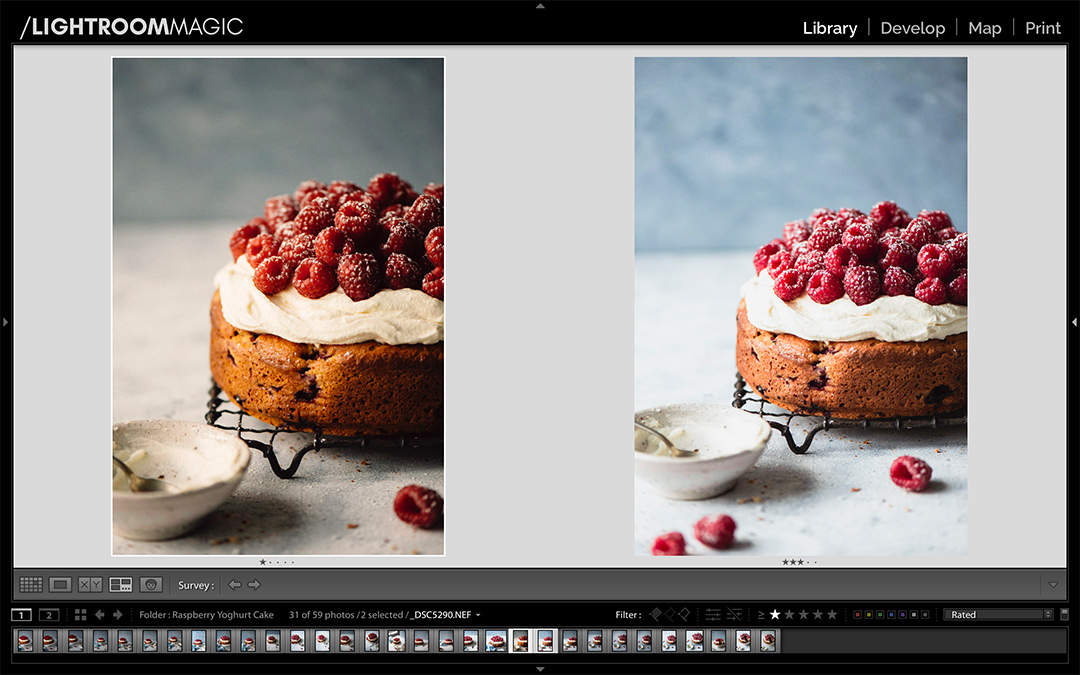
There are Two Types of Presets
So yes, there are two types of presets.
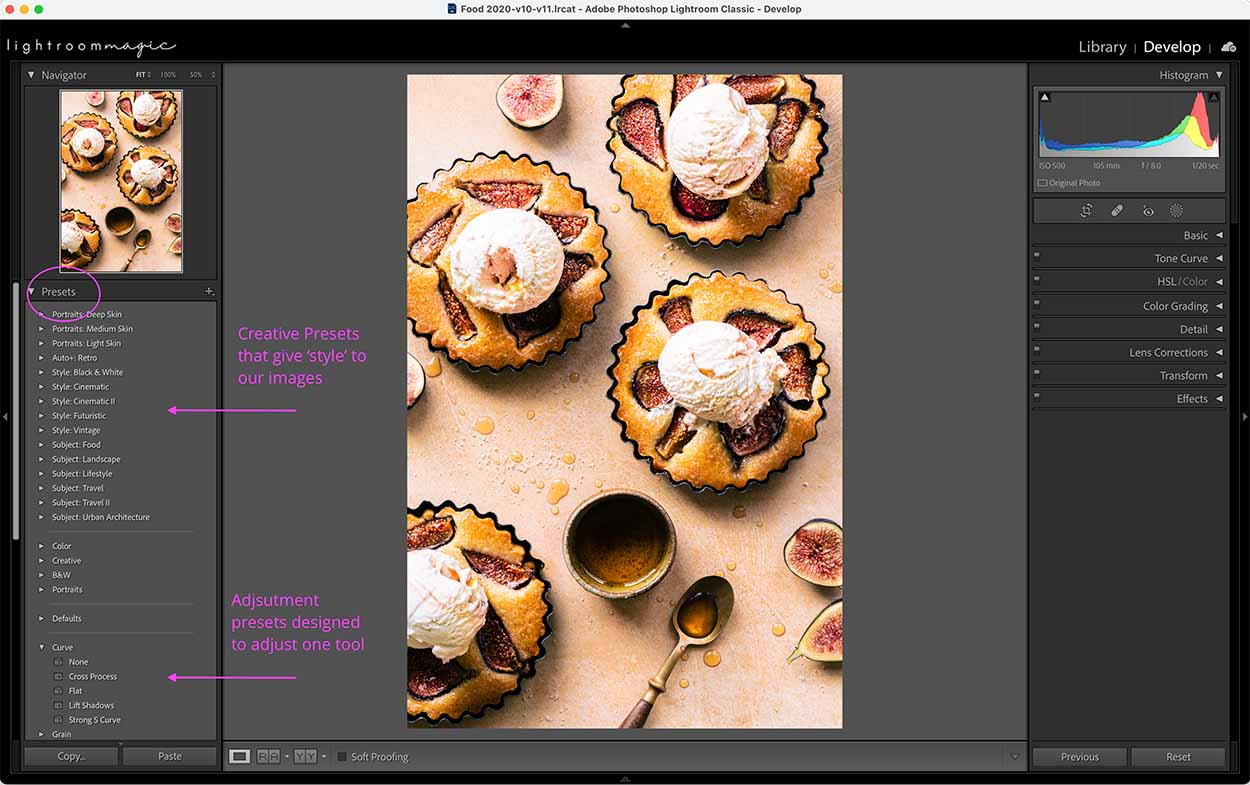
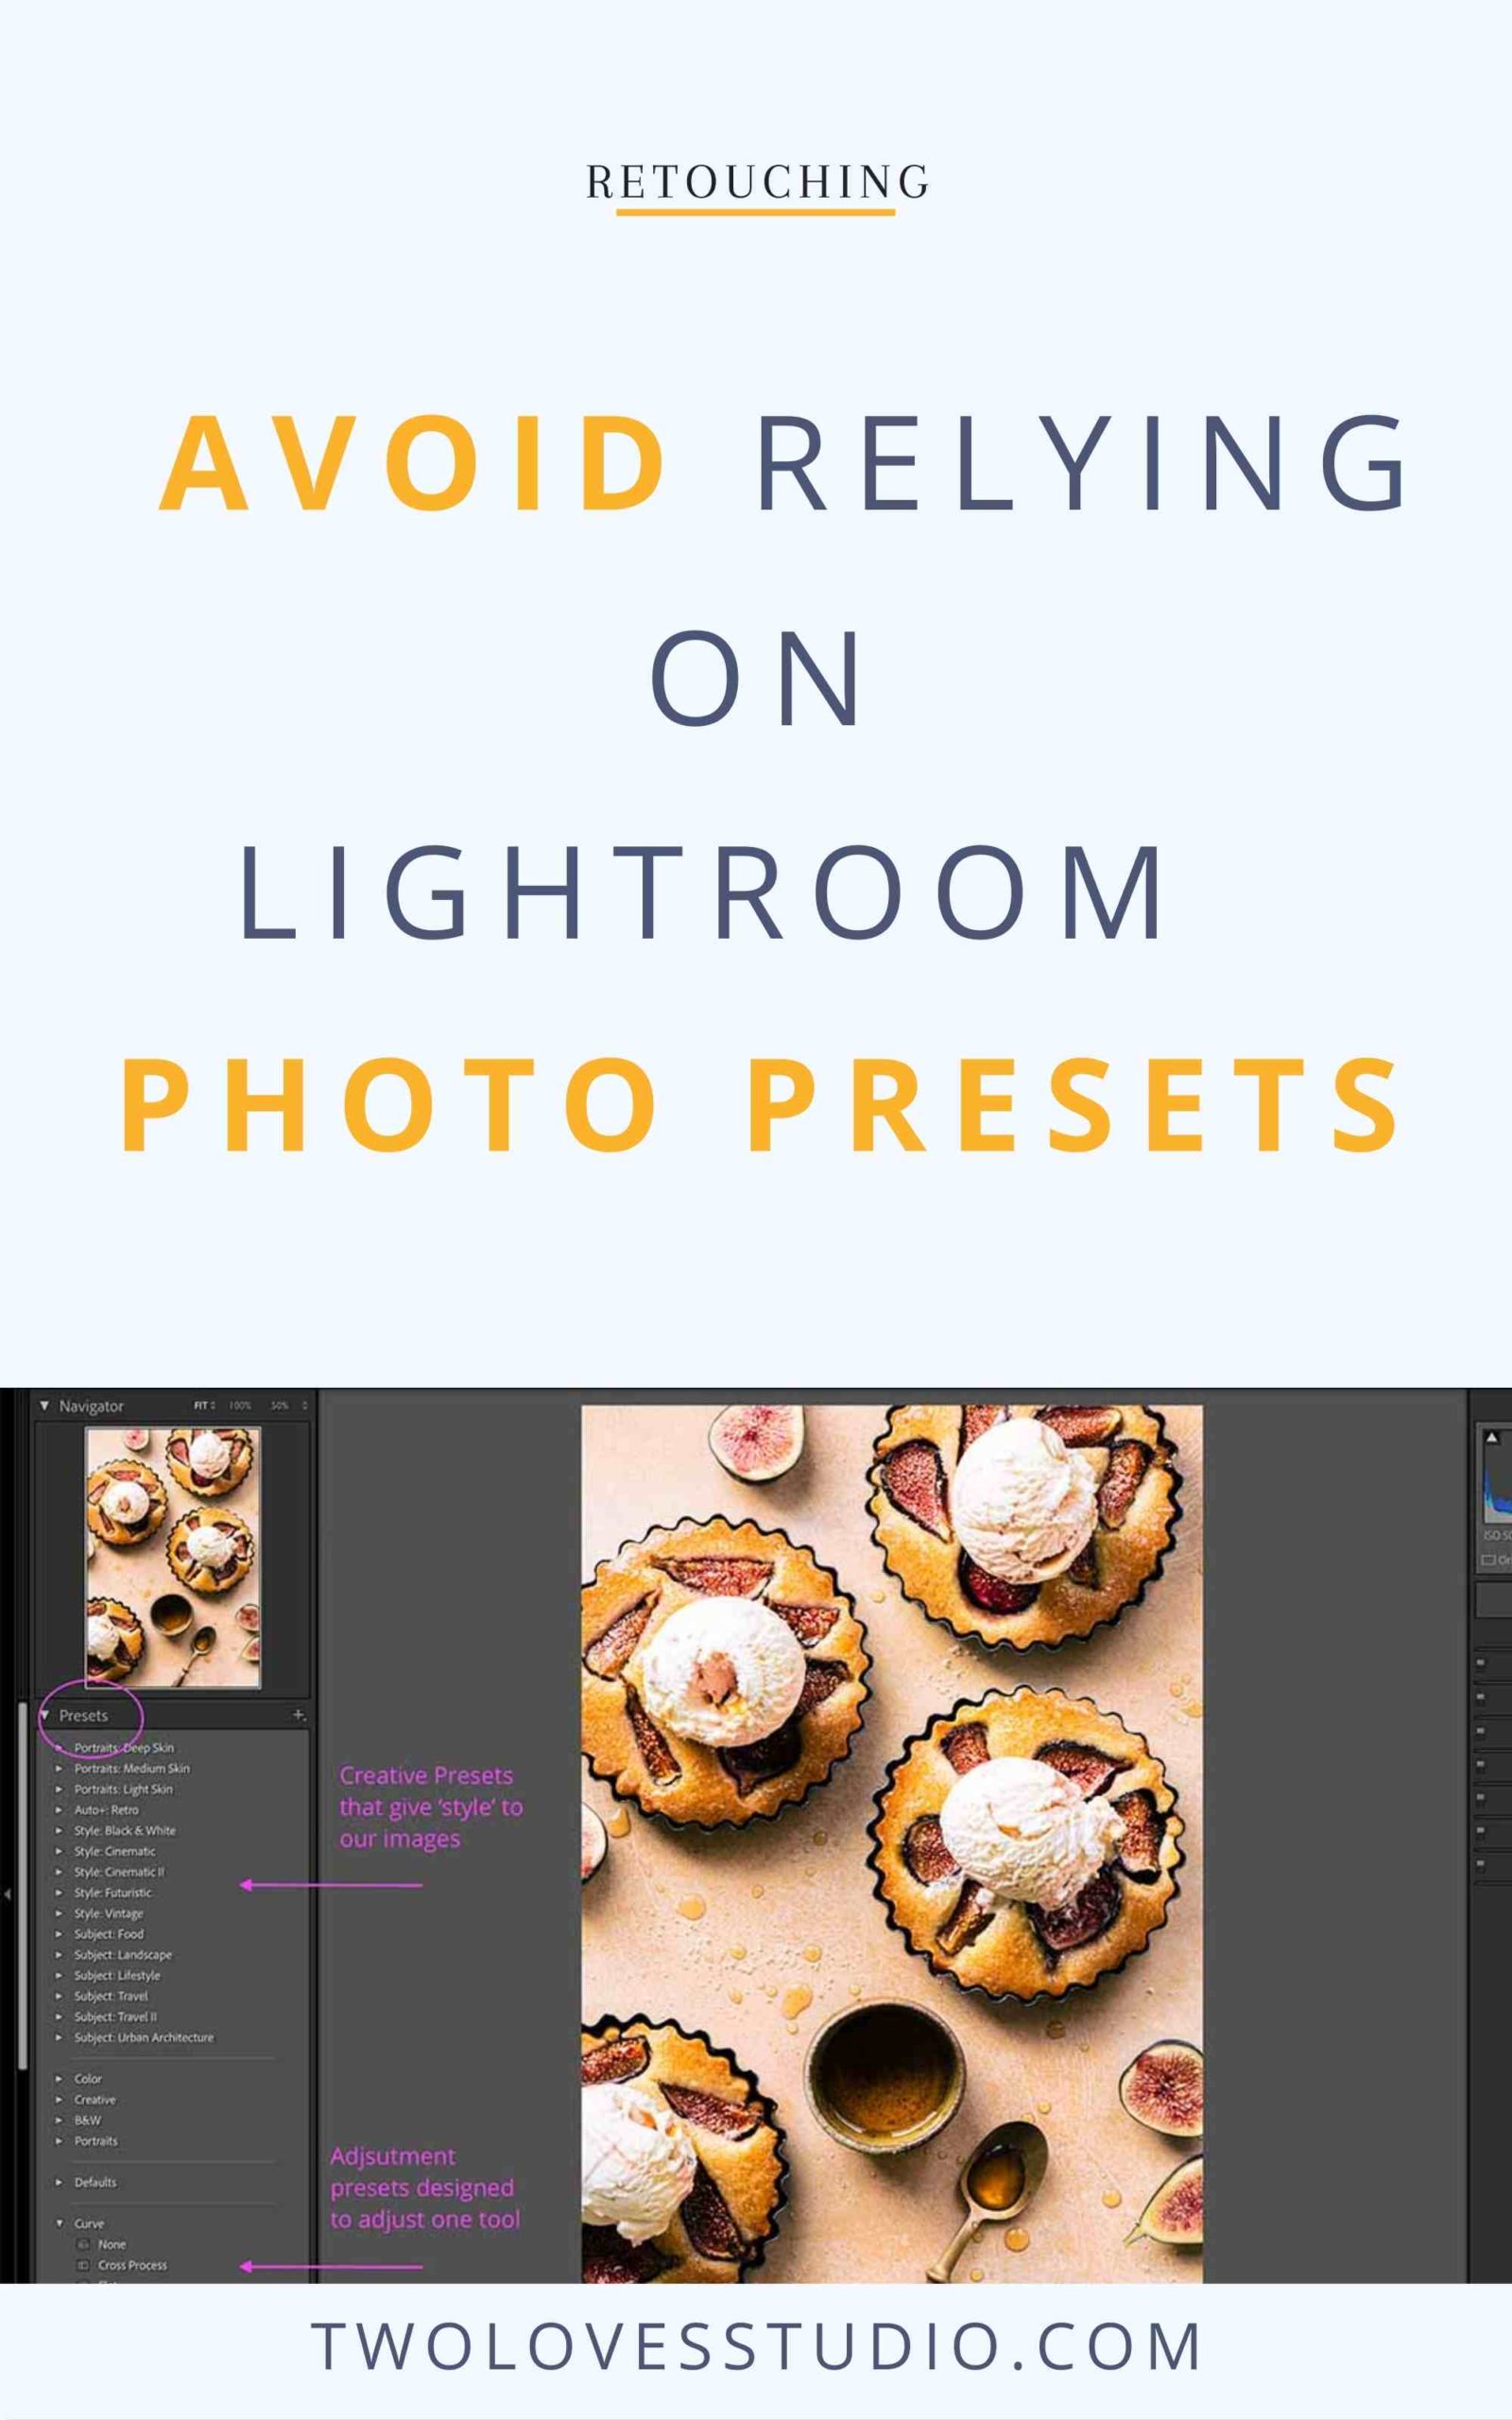
The first is style presets which is what we typically think about when we hear the word ‘presets’. Style presets are really what they sound like. They are a bunch of adjustments that are saved to help us get a certain ‘look’ or ‘style’ to our editing. They result in a stylised editing look.
The other type of preset is what is called an adjustment preset. It is a specific adjustment that is saved because it’s commonly used in your workflow.
Adjustment presets don’t have to have a ‘style’ to them. It could just be an adjustment that is saved to increase exposure for example. Or selecting ‘cloudy’ white balance – that’s a preset!
Oh, now I see it’s clicking!
So is one better than the other? No. They are different. They both have their place in editing.
What I can say though is that it’s worth thinking about style presets for food photography and if they are actually enhancing your work or holding you back?
Now I won’t speak for every preset, I’ll let you make this choice. But savour this thought for me.
In food photography, both editorial and commercial, food colors should render accurate. As accurate as they are in real life.
In most instances where we are shooting food, especially paid shoots, clients and brands will want a strawberry to look red. Not orange. Looking at you VSCO presets.
And this is a big problem.
Style Lightroom Presents Don’t Always Give Accurate Colors.
Instantly I can tell when someone is using Lightroom food photography presets like VSCO. Or even presets made by influencers on Instagram. (side note, if you’re on IG come and say hi!).
Why? Because their reds are orange and their greens aren’t quite right. This is a signature look of some of the filmic presets from VSCO.
And again, there is nothing wrong with VSCO presets. I have them too. I love them for travel photography. But for food? Well, again, we want our strawberries to be red, not orange.
There is just something about our brains that say, strawberries won’t taste right if they are orange.
I think that comes down to thousands of years of survival mechanisms. When fruit is brown, we know it’s not safe for eating. If chicken is pink, we know it’s not safe for eating.
Even these days with yellow watermelons, there is something that I can’t get on board with. My brain is too ingrained that it should be red.
The moral of the story here is that if your Lightroom food photography presets don’t allow you to get accurate colors, then they could be holding you back.
The way forward is to use your presets, but be empowered to know how to calibrate and correct colours. You can read more about that here.
And then sometimes all the rules are meant to be broken in any niche of photography. So the real power here is to be in the known, then break the rules when it’s called for.
Simply breaking the rules cause we don’t know any better is a missed opportunity.
Style Presets Totally Miss Out on the Best Part of Editing.
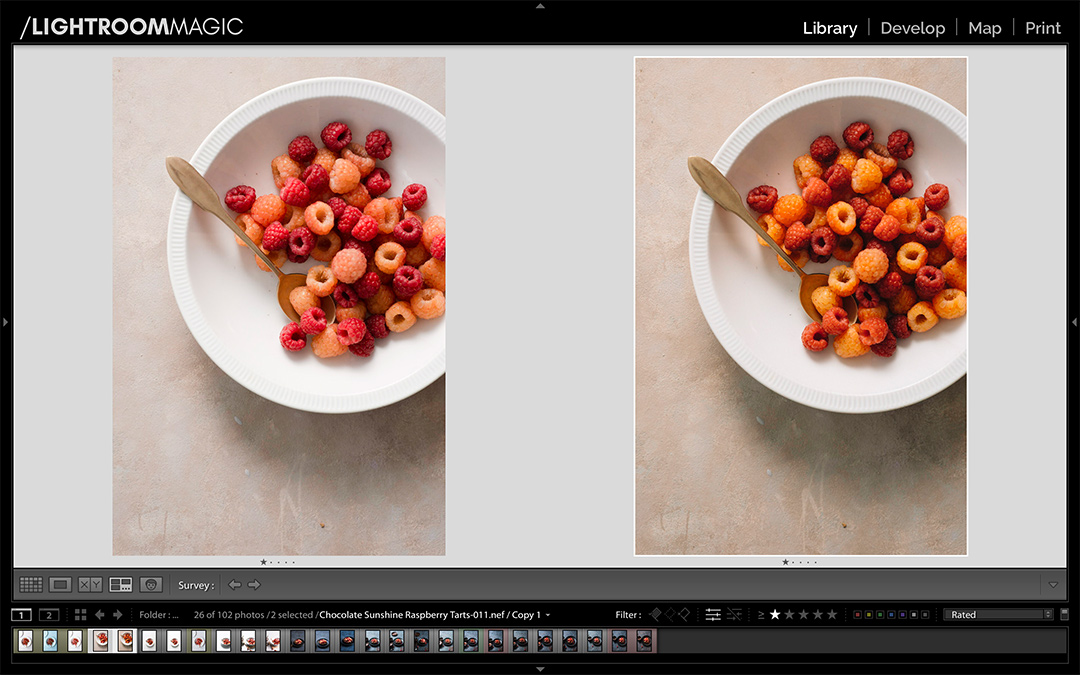
Ain’t that the truth. Style presets don’t take into account local adjustments, fine-tuning, retouching and masking. This is how we turn a good photo into a great one.
And style presets completely miss this step.
Adjusting locally is the best part of post-processing. It’s consistently my student’s favourite part of Lightroom Magic.
RELATED: Lightroom For Food Photographers
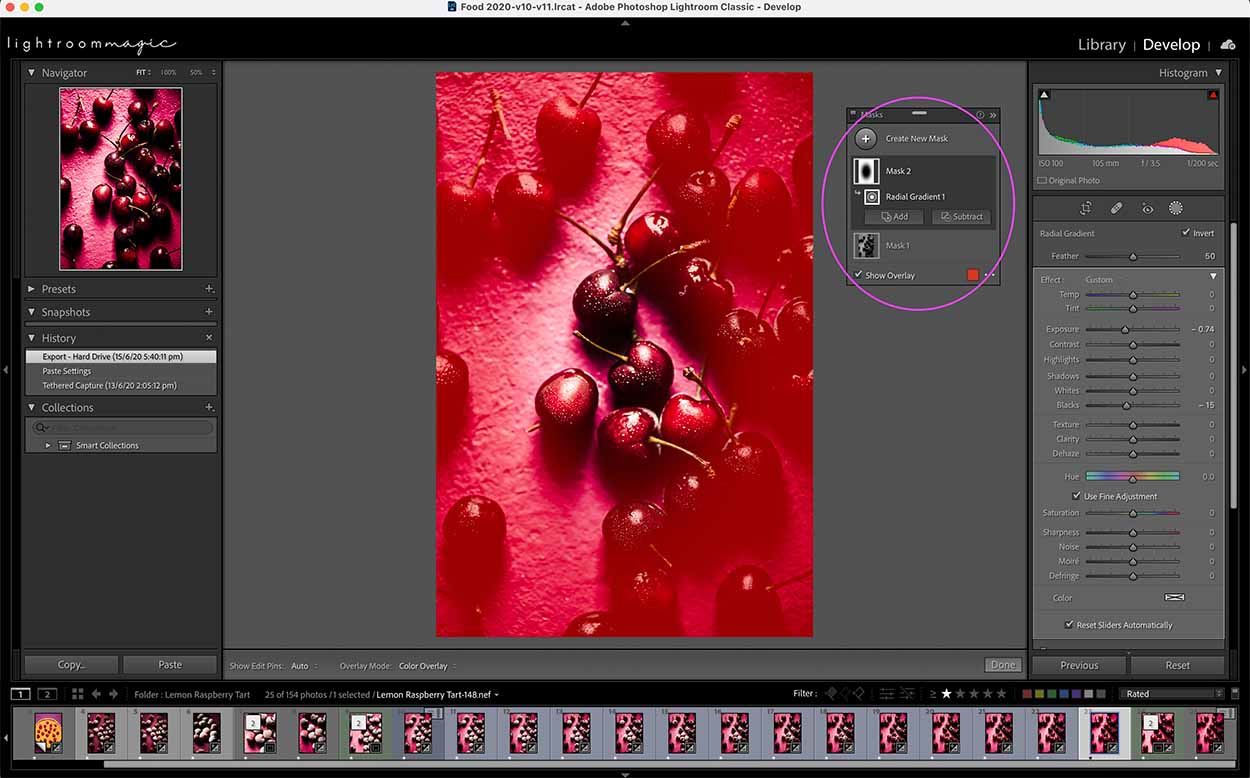
So on this point alone, if you aren’t able to powerfully use local adjustments or masking, then you are missing a great opportunity to put that special sauce onto your images.
Unlocking this part of editing will allow you to get the most out of your images, fix any situation but also to help you highlight the impact areas of our hero dish.
Now in terms of colour, there is so much that we can do locally with color too. Check out this article if you want to learn more about advanced ways to edit color.
Why Re-create Another Photographer’s Vision?
I’ve been there too don’t worry. I’ve been completely taken with another photographer’s style and wanted to be just like them. But really I soon got bored of that.
One because of the first point that we covered in this post. It’s near impossible to recreate their style. And because I knew that I wanted to explore my full potential.
Part of making a great image is bringing your vision to life through editing.
I think we all see the world and creativity so individually that it would be a shame to not express that fully in our editing. It’s part of the reason I don’t sell Lightroom food photography presets.
I’d rather empower you to edit to your full potential. I’d rather you take my courses and not need me again, because you have all the information and knowledge to create exactly what you want.
It’s exciting to see creatives bring that to life in their own unique way. That’s something really special that you can’t replicate.
So why not create your own vision instead of re-creating someone elses?
I am hoping that this didn’t scare you off Lightroom food photography presets, cause that’s not my intention.
Use presets! They’re great. But understand that they are just one step in an editing process. Each file will still need to be assessed for correct exposure and white balance.
Each file will need to be calibrated and go through some kind of color adjustment.
Use Lightroom food photography presets as a starting point, then bring your vision to life with the editing secrets that create food photography you love.
If you liked this post on Lightroom Presets, check out more posts on editing. Be sure to also check out my Lightroom Magic course.


Nicole
Are there any presets out there you would recommend, that can give you a clean, strong start, rather than skewing the colors? They can be a helpful learning tool combined with an in-depth knowledge of Lightroom, but it’s hard to find presets out there that aren’t overly stylized. If you could point us to any examples that would be great!
Rachel Korinek
Hi Nicole, I personally don’t use presets for my food photography because I don’t think they get the colours accurate for food. It’s one of those niches where colour is really important. Hence why I don’t tend to recommend them for food. Have you tried to reset the colour on the presets that you have? Then you could resave the preset to omit any colour adjustments that you don’t like.