This post may contain affiliate links from products and services we love and trust.
Macro lenses for food photography are wonderful at capturing sharp details of texture. Which is what we all love about food photography.
Yet many food photographers are so frustrated by the focus of their marco lenses. I often hear ‘my macro lens has issues, even at f10 it’s not sharp’.
When it comes to focusing for tack sharp subjects in macro food photography, there are a few things to consider. This goes beyond just increasing your f-stop. I just love how gorgeous my 105mm Nikkor Micro is and I’d love for you to also have great in-focus shots.
For a quick overview, here are the 11 tips:
- Use a tripod for still life and food photography.
- Don’t just rely on autofocus. Use manual in LiveView.
- Know when to use your VR function and when it can contribute to blur.
- Reduce any possibility of camera shake.
- Shoot with a fast shutter speed.
- Understand that macros appear darker at closer distances.
- Consider the Plane of Focus of your subjects and the angle you’re shooting at.
- Ensure that you have a grasp on the correct DoF for the distance your at.
- Capture a range of apertures, it can help you identify other issues.
- Use the centre focus point if using autofocus.
- Use your macro for the focal length.
Read on for more and start shooting impeccably sharp shots!

Use A Tripod For Macro Food Photography
In some other niches of photography, it’s advised not to use a tripod in macro photography. But still life and food photography are different.
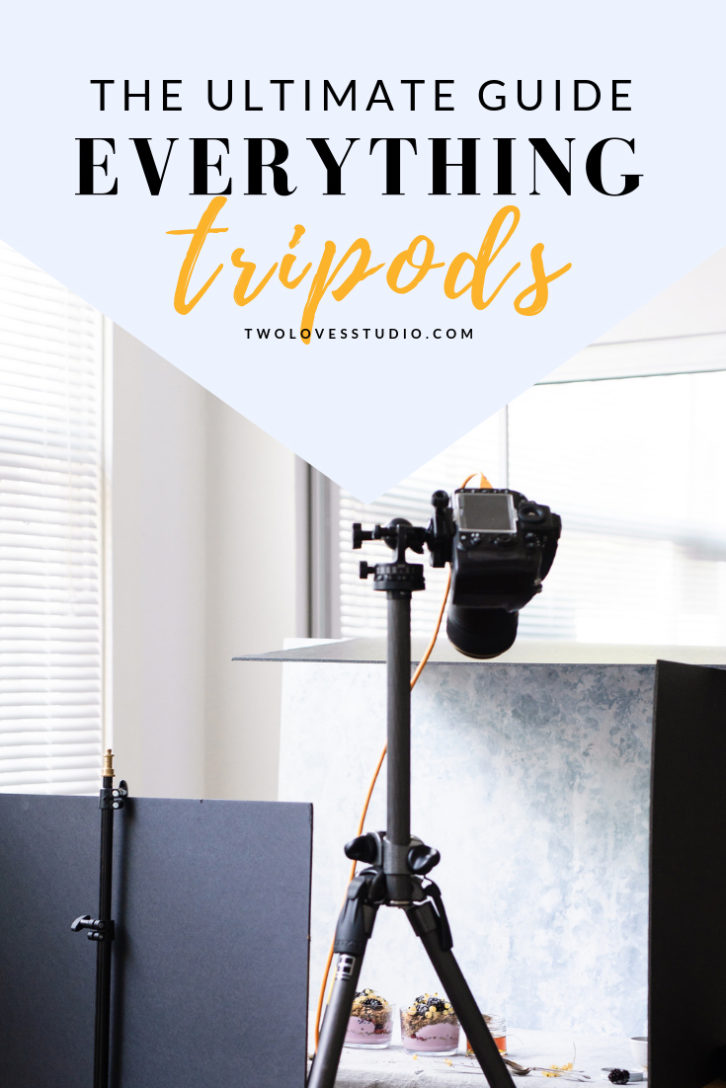
Using a tripod in macro food photography is good for a few reasons. The first is that to get those gorgeous in focus shots, your number one job is to reduce camera shake and get correct focus.
Adding a good sturdy tripod to your shooting workflow will help you be on your way to sharp shots. But there is a little bit more to it which I will elaborate on in the next few tips.

Don’t Always Rely on Autofocus
Macro lenses are notorious for not having the best autofocus or incorrectly focusing. Whilst there could be a number of issues with troubleshooting tack sharp focus, it’s worth exploring other focus methods if you find auto isn’t cutting the mustard.
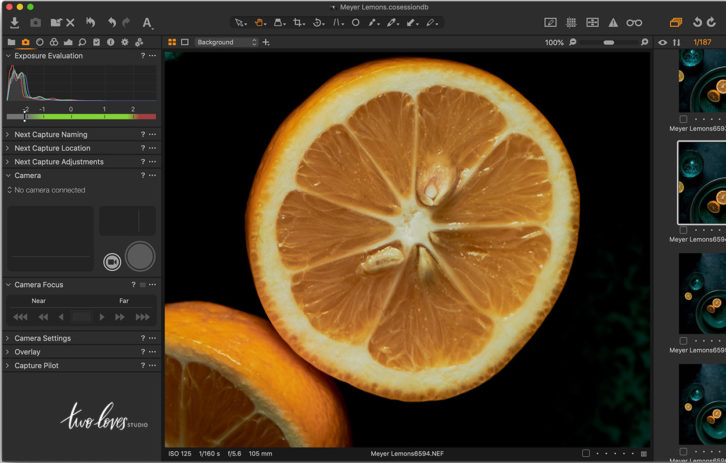
Instead of using autofocus, try manual focus. Now you will find it hard to know when it’s in focus by just using the viewfinder. If your camera has LiveView, I recommend zooming into an area in the frame that you want to be in focus and manually focus.
That way you can control the magnification you can see for focusing the area you’re after.
If you also tether whilst shooting and can’t use LiveView at the same time, I recommend pausing your connection. Manually focus using LiveView, then turn autofocus off to stop the lens trying to focus further.
TIP: this works really well if you have the shot, and just need to play with light or capture the image in focus. If you move subjects around or re-style, you’ll need to make sure you haven’t moved the subject out of the area you focused on.
Know When To Use VR in Macro Food Photography
When it comes to macro lenses, VR stands for ‘vibration reduction’. Some pro lenses come with this feature, and it’s certainly a nice to have.
The way VR works is that it reduces vibrations what can cause focus issues or blur from camera shake. It stabilises hand-held shooting.
As it’s designed to stabilise hand-held shooting, it is possible that if you are on a tripod, it could be contributing to camera shake as your tripod nor camera are moving.
A rule of thumb that I like to follow is, turn VR ON for handheld shooting with your macro lens, and turn VR OFF when on a tripod.
Reduce The the Possibility of Camera Shake
Most of the time when we are using a macro lens, we are are shooting something up close. So the slightest amount of movement will be quite obvious.
Reducing camera shake is so important for any sharp images. But especially for macro food photography. As smaller objects are larger in the frame, blur is noticeable.
Camera shake can be a rabbit hole. So many things can contribute. If you’ve ever shot on location numerous times, you’ll have experience a range of things that can get in the way of a sharp image.
These situations have helped me troubleshoot and reduce camera shake. At a glance, here are some things to think about:
- Make sure your tripod is sturdy and stabilised.
- Use a timer to avoid shaking the camera by pressing the shutter button.
- Ensure you have a fast shutter speed and sufficient light.
- Check out the stability of your setup. Bouncy floors or unstable table legs can contribute to camera shake.
- Turn off VR when using a tripod, OR use VR when handheld.
- Shoot on continuous high speed when shooting handheld.
For more tips check out this post on camera shake and troubleshooting focus.

Shoot With A Fast Shutter Speed
You’re probably thinking….well dah! But this can be a challenge for those who shoot with natural light.
Depending on your mood and concept, you may be faced with a low light situation. And to counterbalance that, you’ve used the exposure triangle to get your desired exposure. Which, has resulted in a slow shutter speed.
If you’re finding that using your macro for macro food photography is an issue with focus, one of the first troubleshooting options after reducing camera shake is shutter speed.
Now if you’re using artificial light, that’s easy. You can increase your shutter without compromising exposure. But if you’re not, well then you either need to get more light onto your scene or change your settings.
Ideally a lower ISO is better for quality images, but in the case of troubleshooting, increase your ISO so that you can shoot on 1/250 sec. Whatever ISO you need to do that, make it happen.
If you find that a faster shutter speed is what you need for tack sharp shots, then you’ve found your issue. If a faster shutter speed makes no difference then read on my friend!
Macros Are Darker at Same Aperture to Other Lenses
The way that aperture works is that it changes with distance. There isn’t a real need to understand the science behind it, but just know that distance has a huge role to play.
At closer distances your aperture will appear to be darker than that same aperture with another lens from farther away.
This is why you might have thought to yourself, “I’m shooting at f/2.8 but it’s so dark!”. Because at that closer distance, it’s not actually behaving like what you normally see with an aperture of f/2.8.
If you’re already struggling with low light, getting closer to your subject can give way to camera shake issues as you need to compensate for low light.
This is a situation where you will want to increase your ISO so that you can have a faster shutter speed. Then any noise correction will be done in Lightroom. I teach how to correct noise issues in Ligthroom Magic, my online masterclass about editing food photography.
Consider The Plane of Focus And Angle
A very common misunderstanding when it comes to macro food photography.
This mostly stems from people believing their is something wrong with their macro lens as it’s soft and blurry, but not from camera shake.
Whilst the Plane of Focus affects all subjects and is crucial in any kind of photography, it’s amplified at macro levels due to the close distance.
The Plane of Focus is parallel to the camera’s sensor. And anything on that plane in your scene will be in focus. Anything above or below, (behind or in front) will be out of focus.
So consider where the Plane of Focus is in your scene and is it touching your subjects or not. If not, then you will need to make those subjects be in the Plane of Focus by changing their placement, changing your angle or changing where you focus in the frame.
To get savvy with the Plane of Focus and tips for macro lenses, check out this post I have linked it.

DoF Becomes More Shallow The Closer You Get To Your Subject
In a nutshell, that’s all you need to understand here.
The closer you are to your subject, the shallower DoF field becomes. It’s why when you’re shooting with a macro at f/8, it still looks super shallow.
As we’re naturally closer with our macro lens, you’ll want to shoot at smaller apertures (larger numbers). It’s common to just shoot on the apertures you’re used to shooting with other lenses from further away.
But f/4.5 is going to be very shallow. It may even appear out of focus, the DoF is so thin.
Don’t be afraid to try out f/16 or f/22 with your macro for up close shots.
To read more about how DoF is affected by distance, check out my blog post on the DoF section of the Plane of Focus.


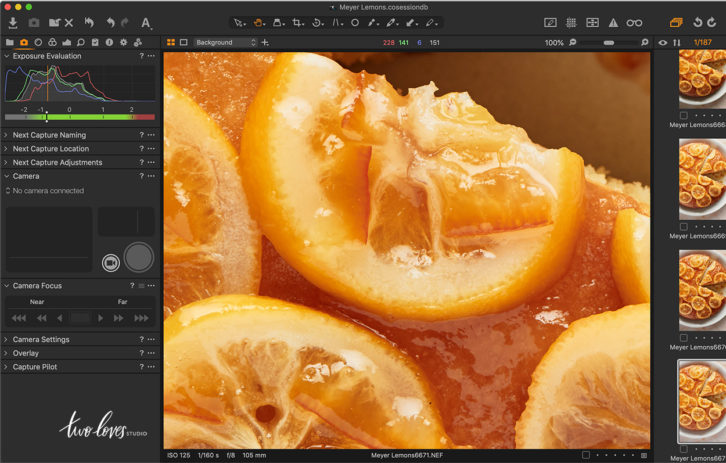
Here the 85mm is further away and cropped in post-production to get the same size in the frame. The effect of distance can be seen at similar apertures.
The f/3.0 looks almost blurry in the 105mm shot as the DoF is so thin.
Capture A Range of Apertures To Help Identify The Cause
As troubleshooting focus can be tricky, it’s best to not shoot too shallow.
I recommend that if you have a new lens, or are starting out in food photography to capture a range of apertures.
This will help you identify if DoF is the issues, if it’s focus or something like lens calibration.
If you’re finding at f/16 that your shots are still soft, and you’re convinced your setup is stable and can rule out camera shake. It’s then easier to determine if the issue is focus, like autofocus or back-focus (even the opposite front-focus).
This is where you may need to have your lens calibrated to ensure the focus is spot on. Calibration is being able to compensate for either back-focus or front-focus.
Where the focus is shifted behind or in front of the focus area.


Use The Center Focus Point
Without drawing a blanket statement here, most cameras have the best focus in the middle of the frame.
The center focusing point is typically more sensitive than those on the outer edge of your frame. Using this point will, therefore, allow you to get more accurate focus when using autofocus.
It’s much harder to do the focus-recompose method with macro photography as DoF is so much thinner at these close distances.
In situations where I am troubleshooting focus, I may put a subject in the middle to use this focal point to rule out what might be causing the issue.
If you’re a considerable distance from your subject, using this method with autofocus has worked for me to get super sharp shots at a 45-degree angle.
Related: Which Macro Lens Should You Buy?
Use Your Macro Lens For Its Focal Length
Macro photography doesn’t just have to be about getting close to your food.
Narrow macros like 90mm-105mm lenses can allow you to use their minimum focusing distance to get closer than a prime of the same focal length.
For example, I love my Nikkor 85mm 1.8. But it has a very restrictive minimum focusing distance. SO that’s where I would use a macro instead.

I am usually about 1m (3ft) away from the subject, so not shooing up-close macro shots, but it allows me to capture 1:1 subjects. Something that isn’t possible with other lenses.
Lauren Caris from That’s Sage wrote a post explaining this a little more.
And at further distances, the macros are still bang on sharp. It can also help you with your composition.
Do you love shooting with your macro, or have focus issues got you down? Let me know in the comments to see if I can help you get those tack sharp shots.
Two Loves Studio was not paid to write this post, however, it may contain affiliate links. If you purchase an item from an affiliate link, we do get a commission on the sale which helps us run this site. Only affiliates for products/services we believe in appear on this site.


Sharon Rausch
I can hear good sound thank you so much for sharing nice post.