This post may contain affiliate links from products and services we love and trust.
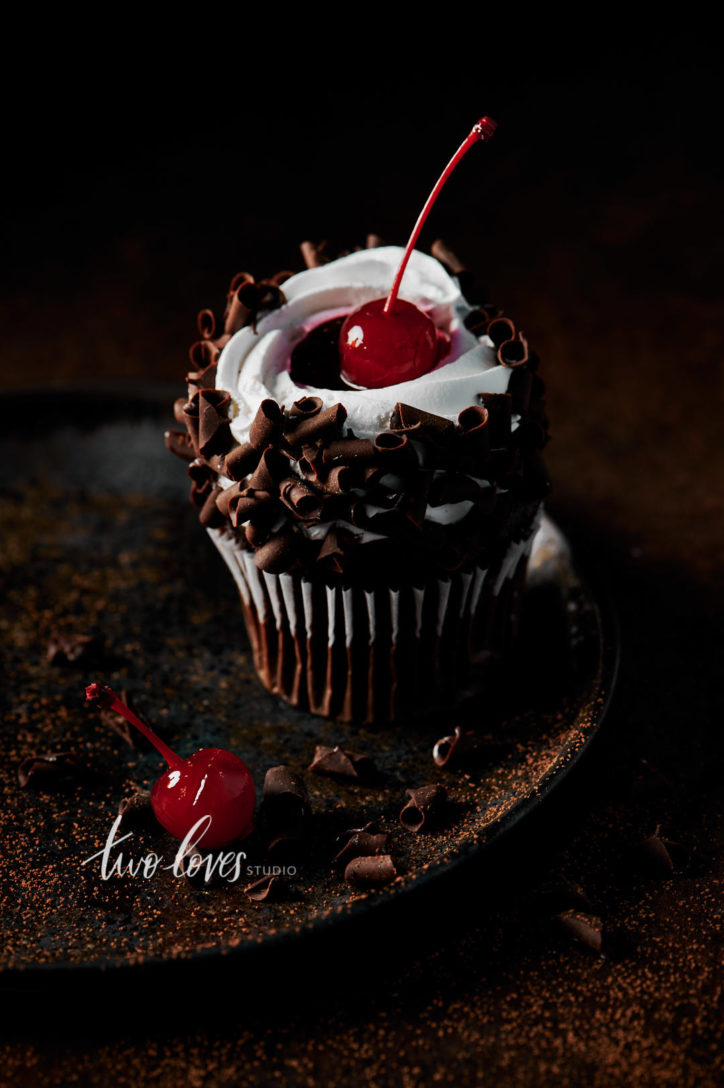
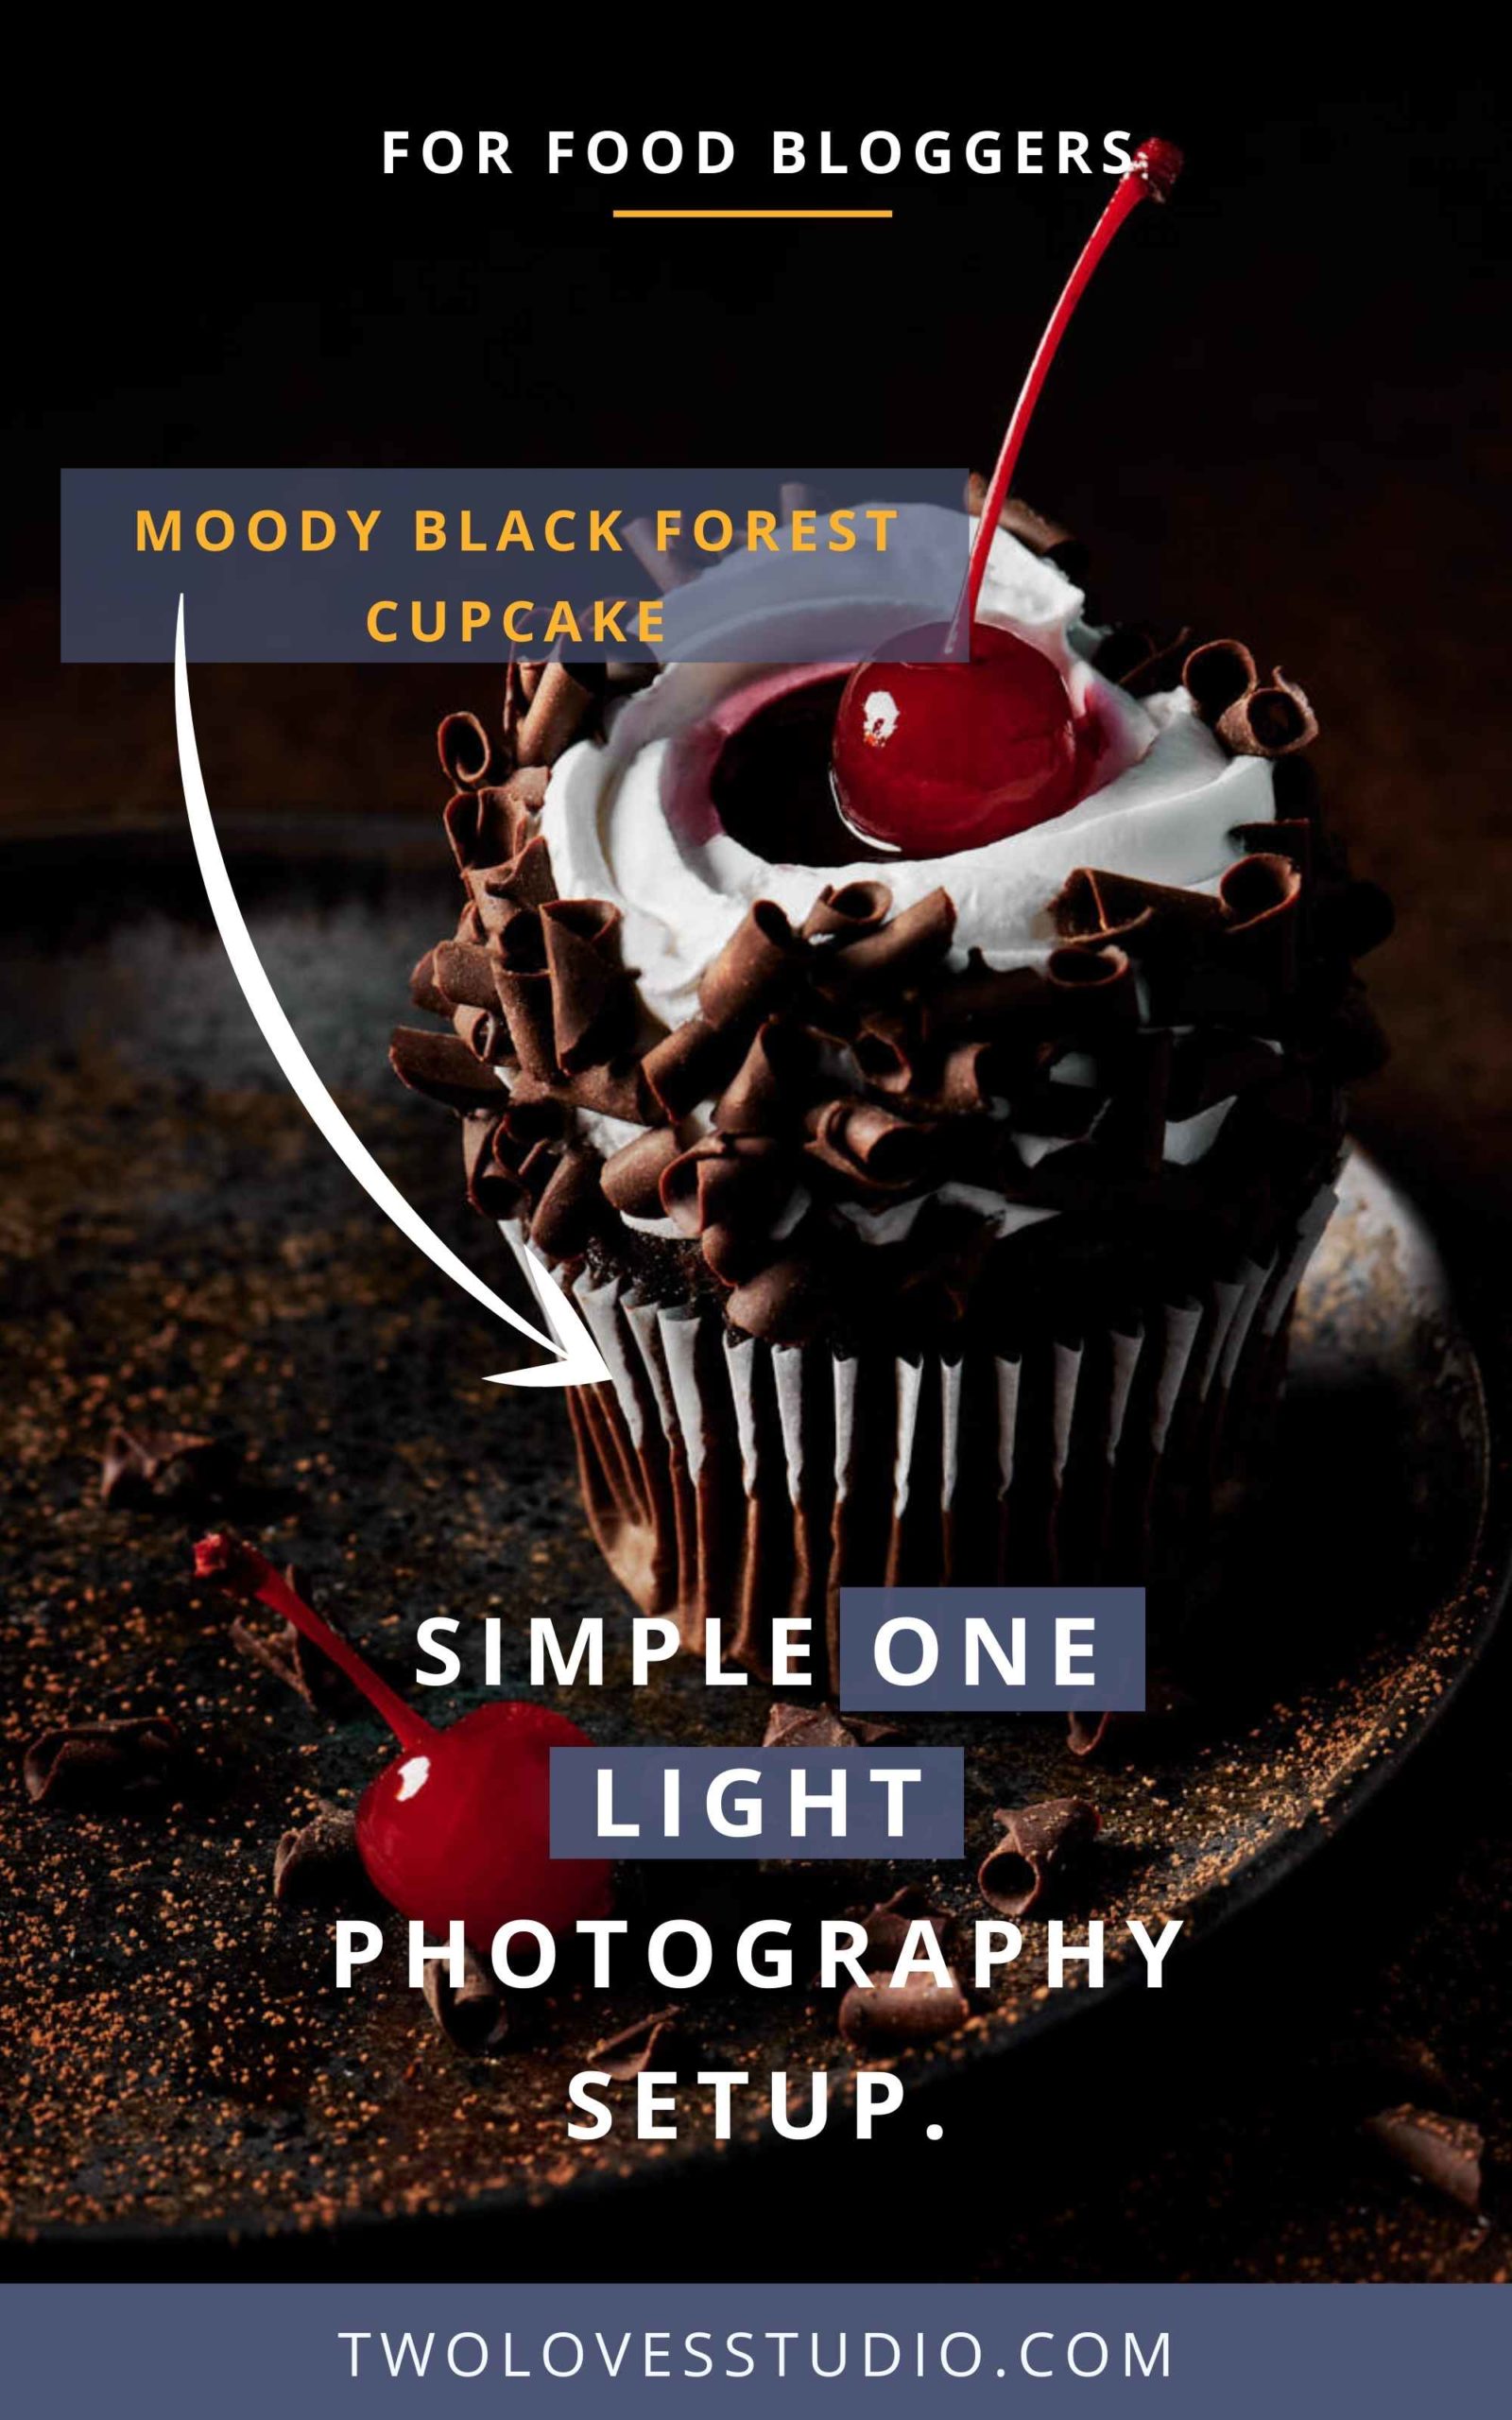
This is one impressive cupcake! Come behind the scenes of this Black Forest Cupcake shoot. I knew I wanted a minimalist shot with a one-light photography setup that would highlight its texture. I think there is so much to look at visually within the cupcake.
To help with the rich feeling of the subject, I wanted the background to be a decadent brown. Almost morphing the subject into that feeling.
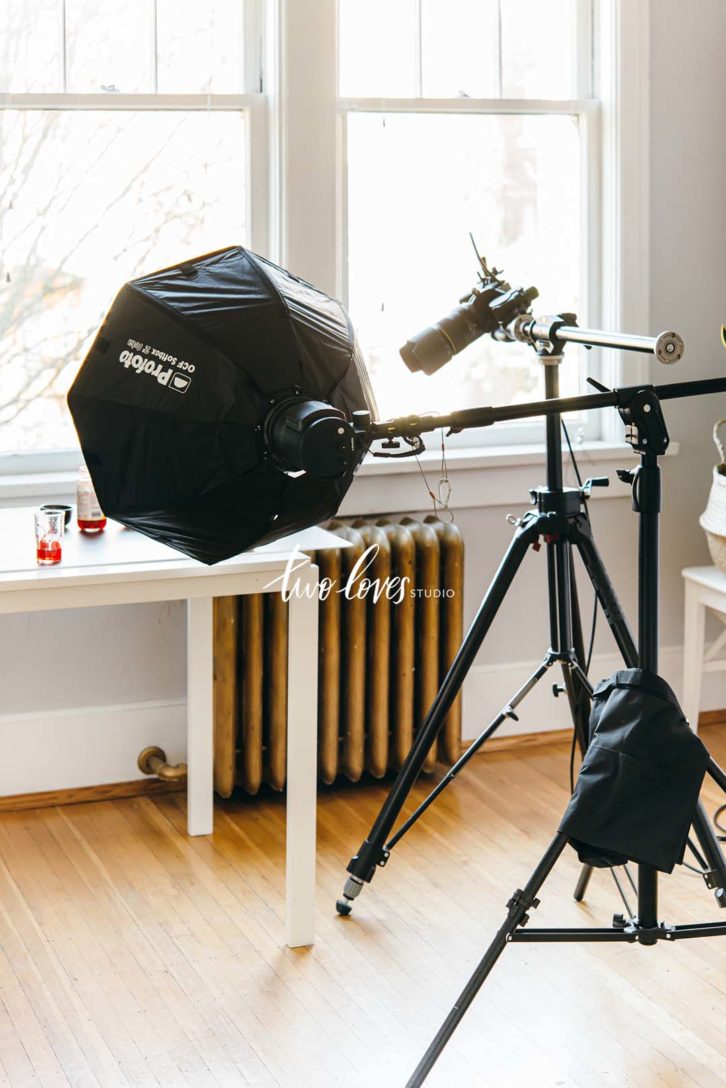
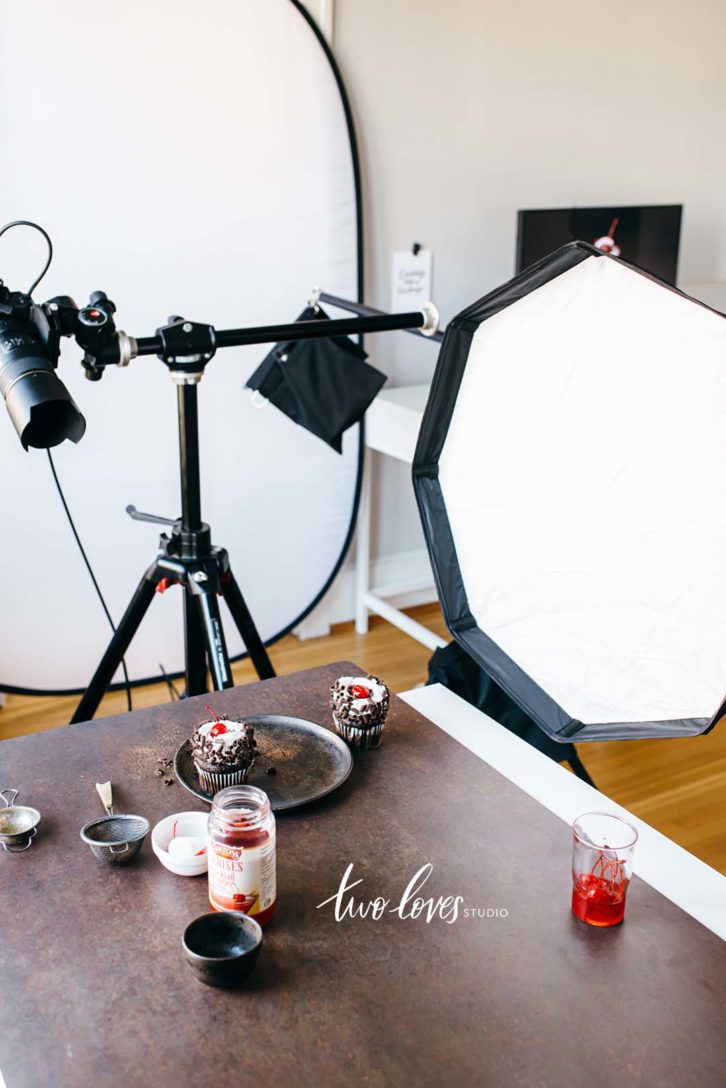
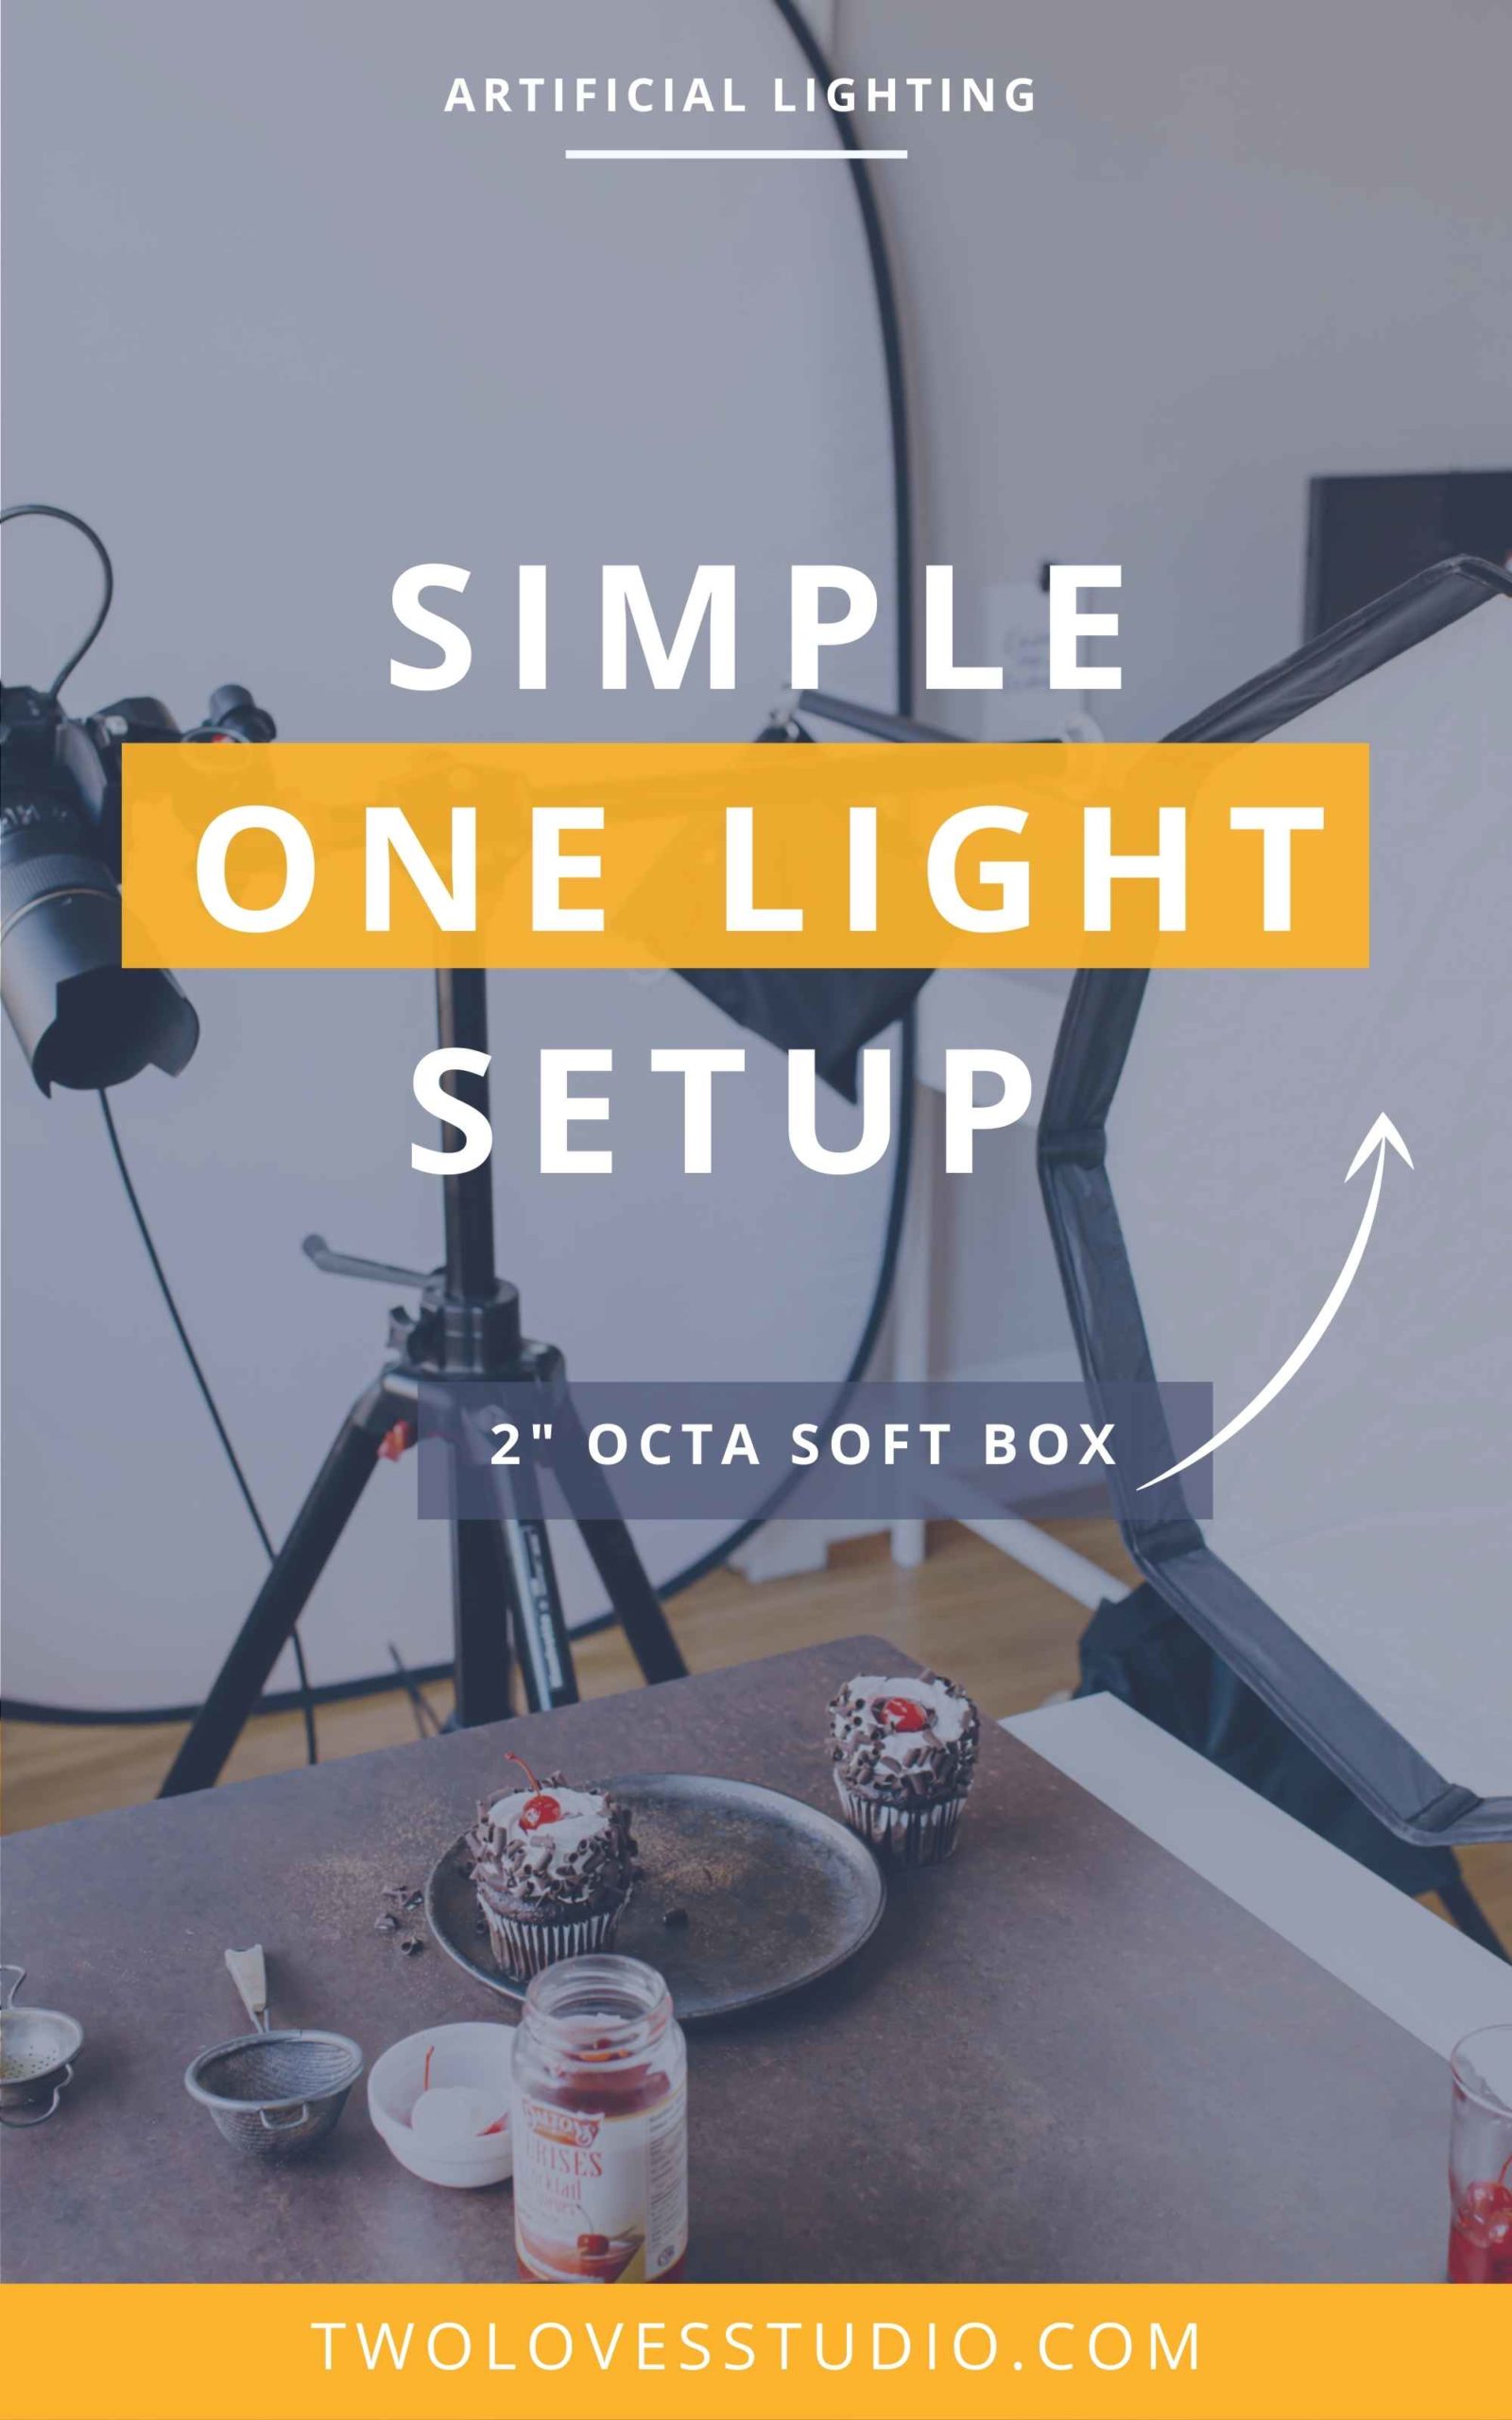
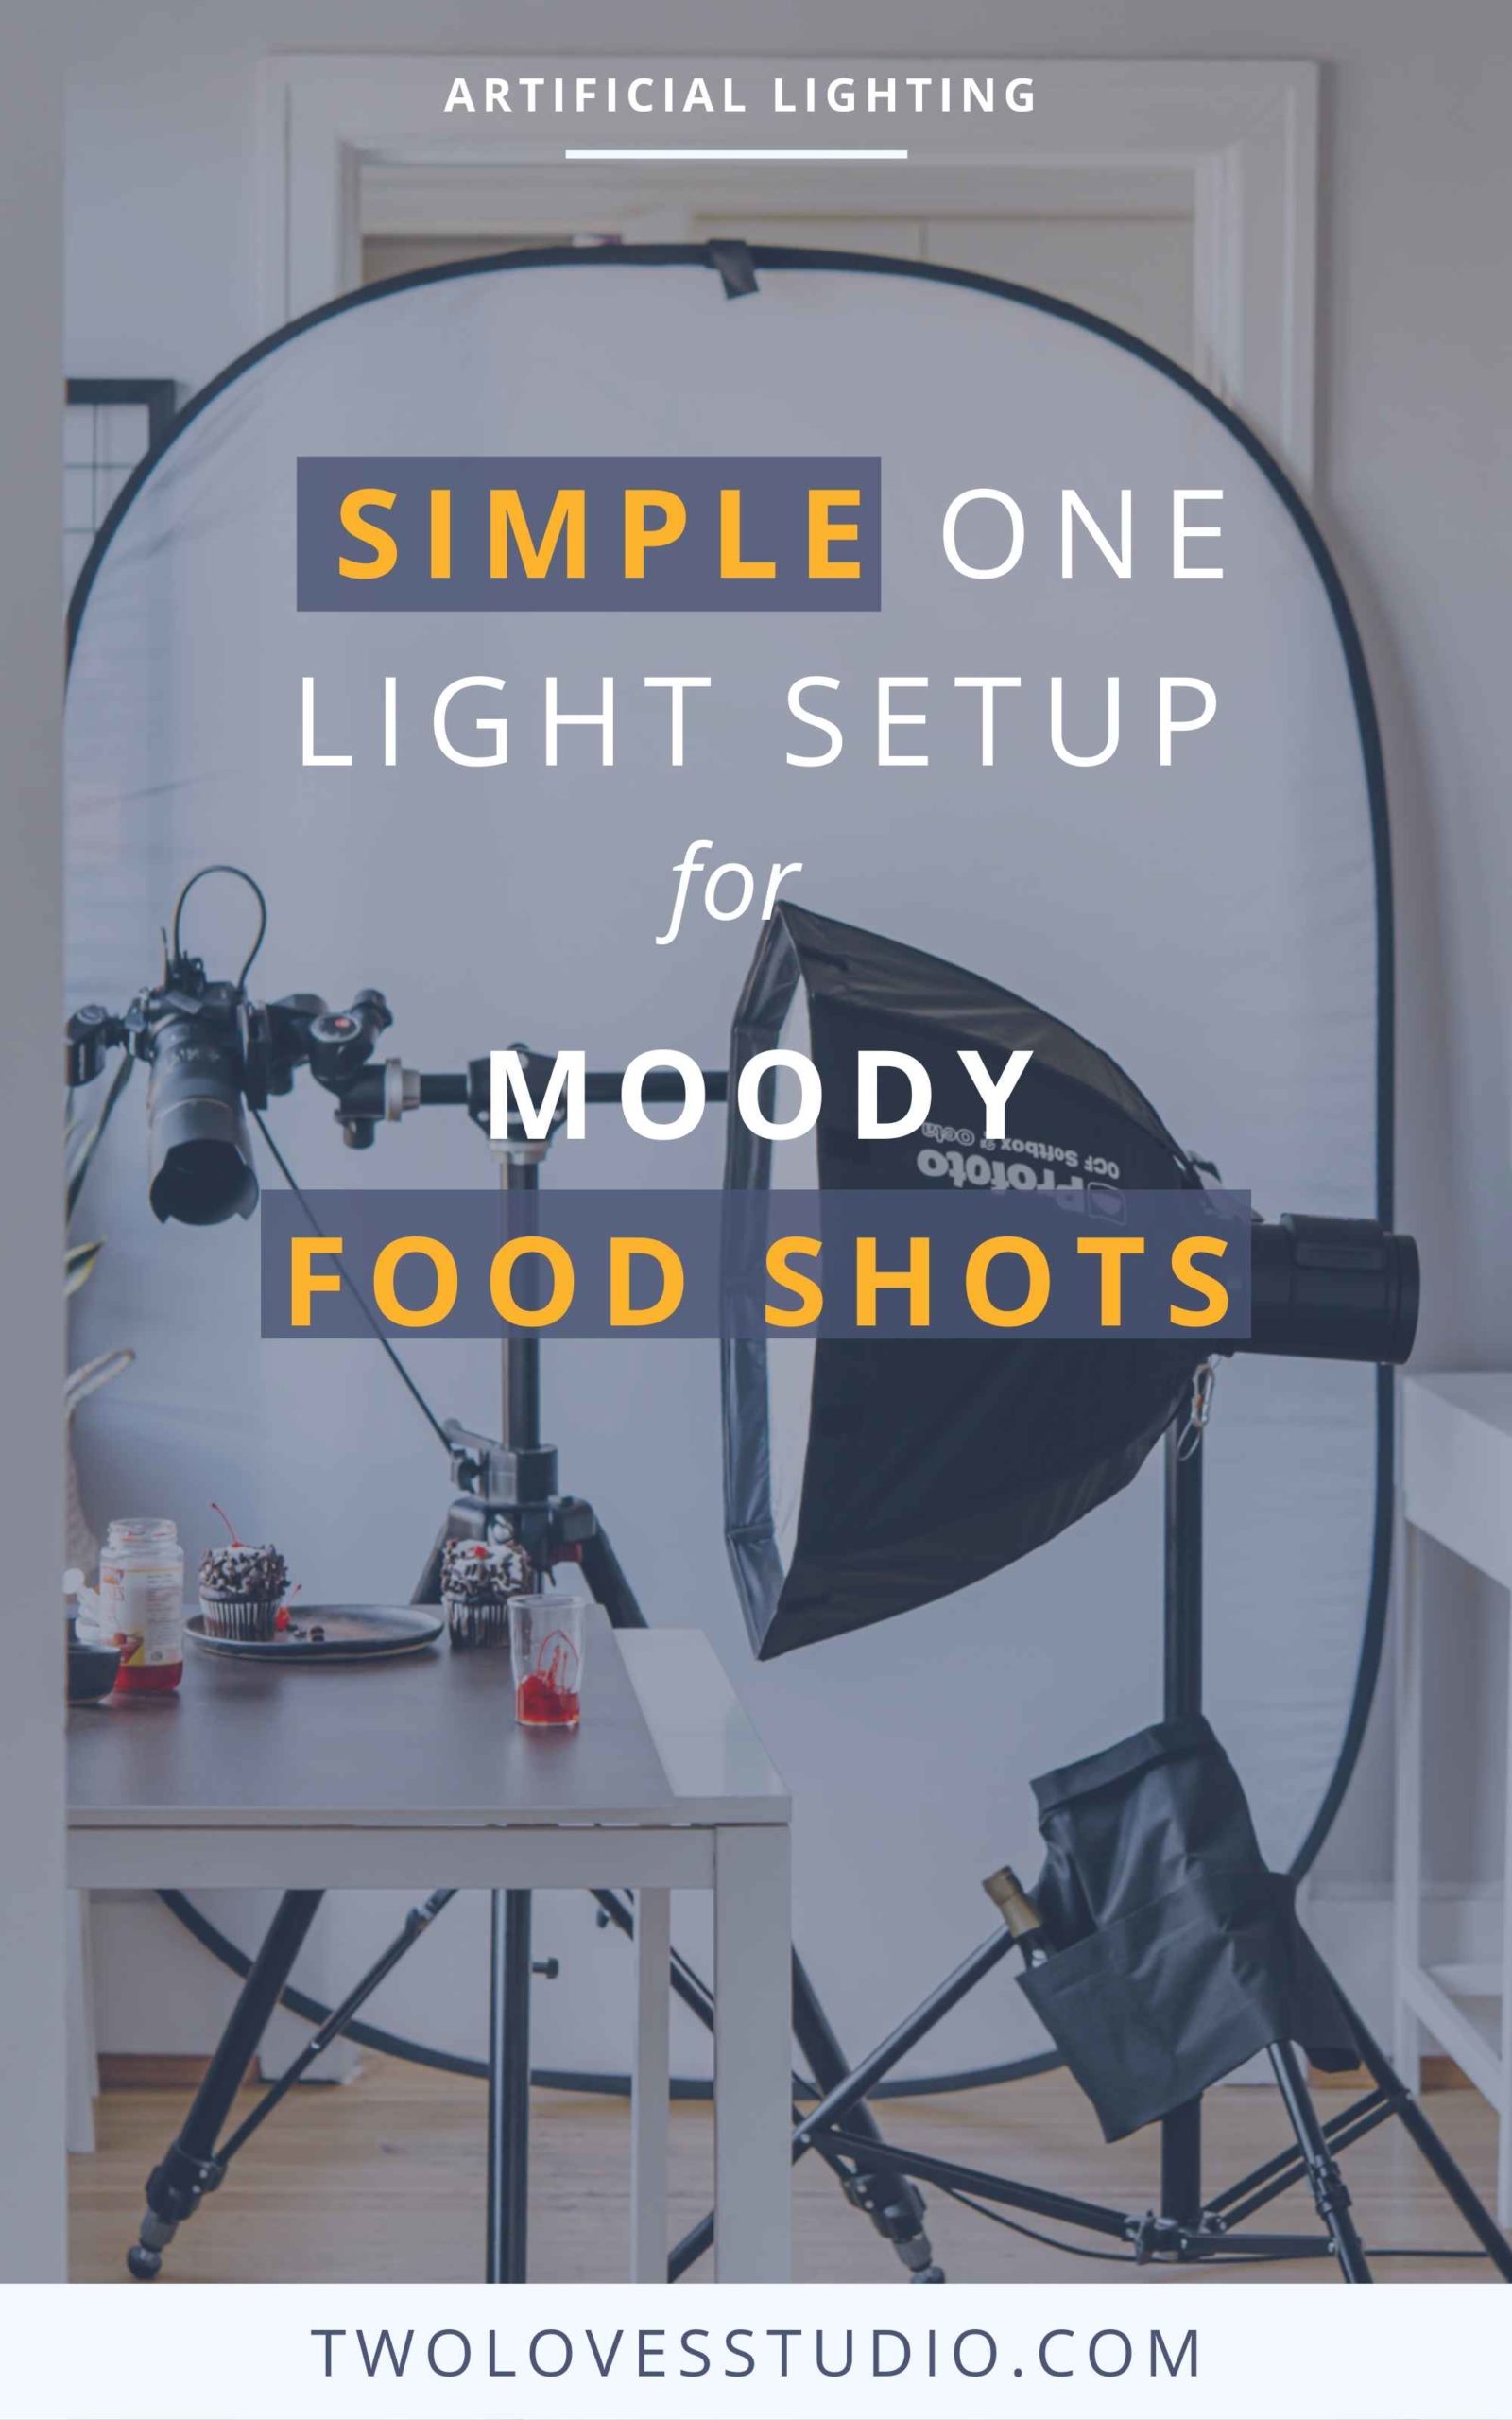
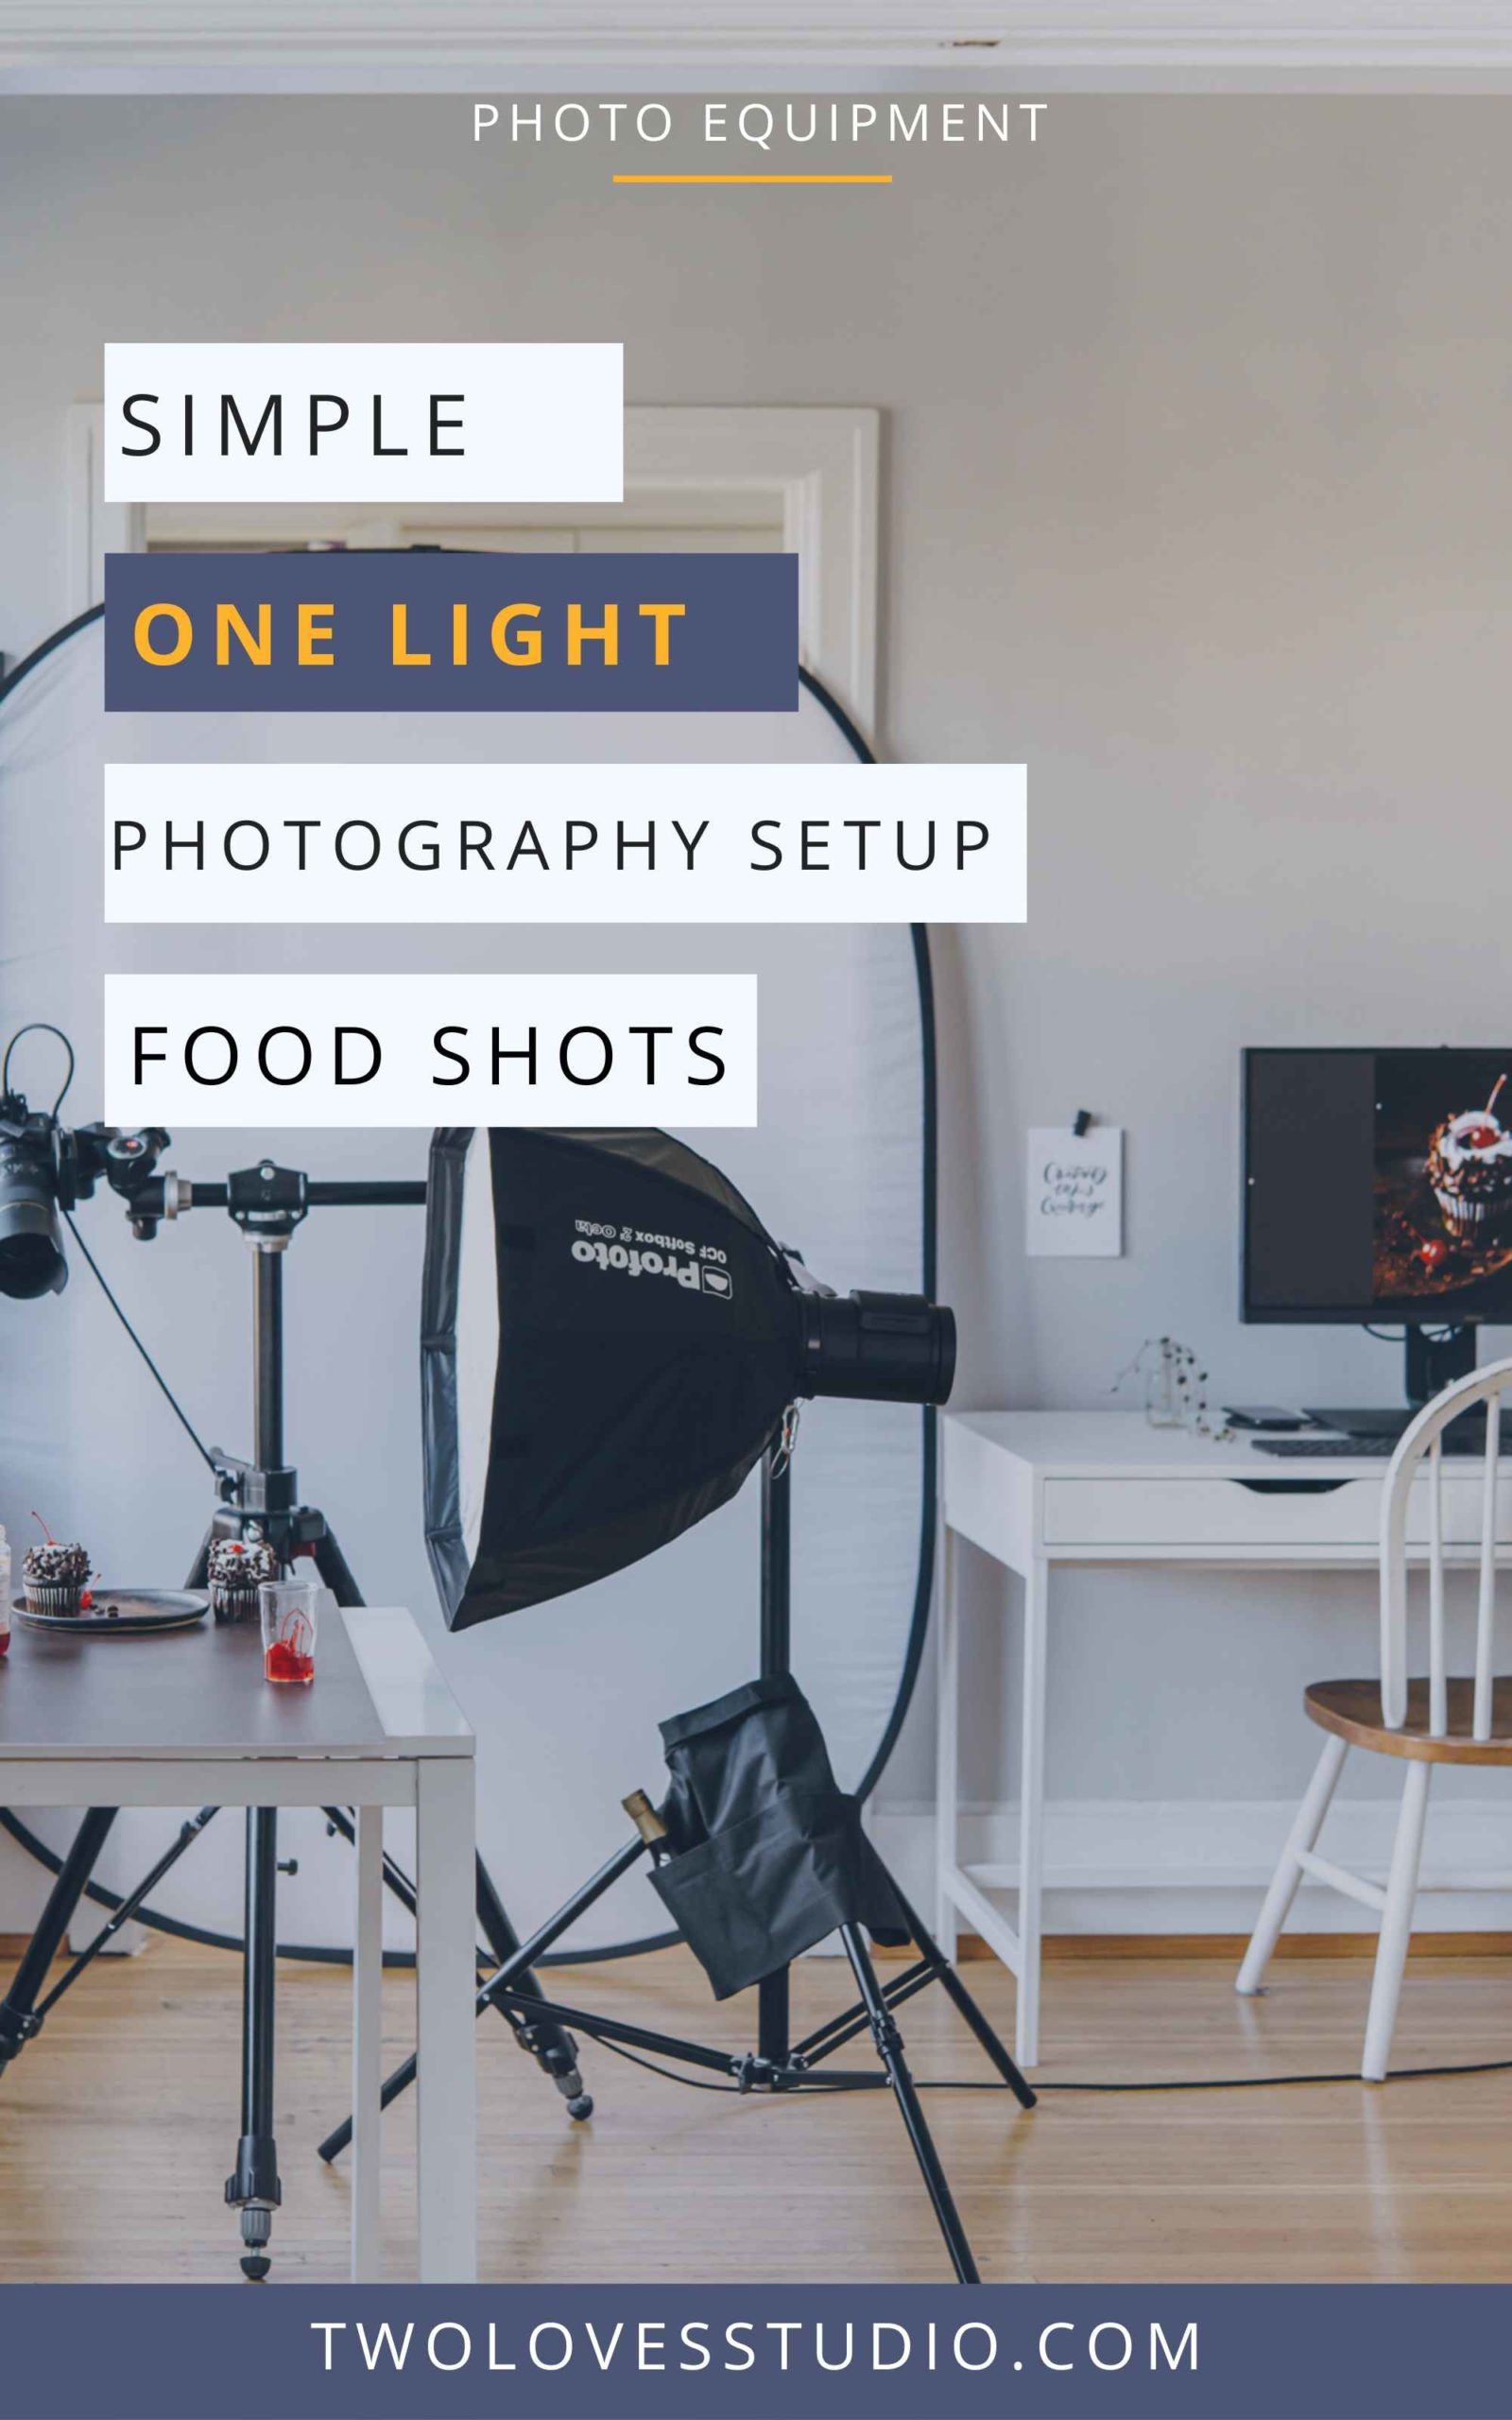
Sticking with the one-light photography setup, I decided to use a small 2’ octa softbox.
Gear I Used to Create This One Light Setup
I used three main pieces of equipment for this shot:
This isn’t my typical go-to modifier. Small octa softboxes are often used for dramatic lighting in portraits, however, I wanted this image to really be a dramatic portrait of a cupcake.
As lighting is more about modifiers and they shape light, this look could be achieved with any strobe in combination with the 2’ softbox.
RELATED NOTES: Read more about my simple composition trick here.
Positioned Closely on the Left-side of the Subject
As the subject and scene are small, I didn’t want to flood it with too much light. The 2’ Octa was a great choice for this.
Placing the softbox on the left side of the scene, it’s close to the subject (about 1m or 3ft) and level with the background of the scene. The light distributed from the strobe is therefore lighting directly from the side at the height of the scene. This position gives nice long and deep shadows extending towards the right of the frame.
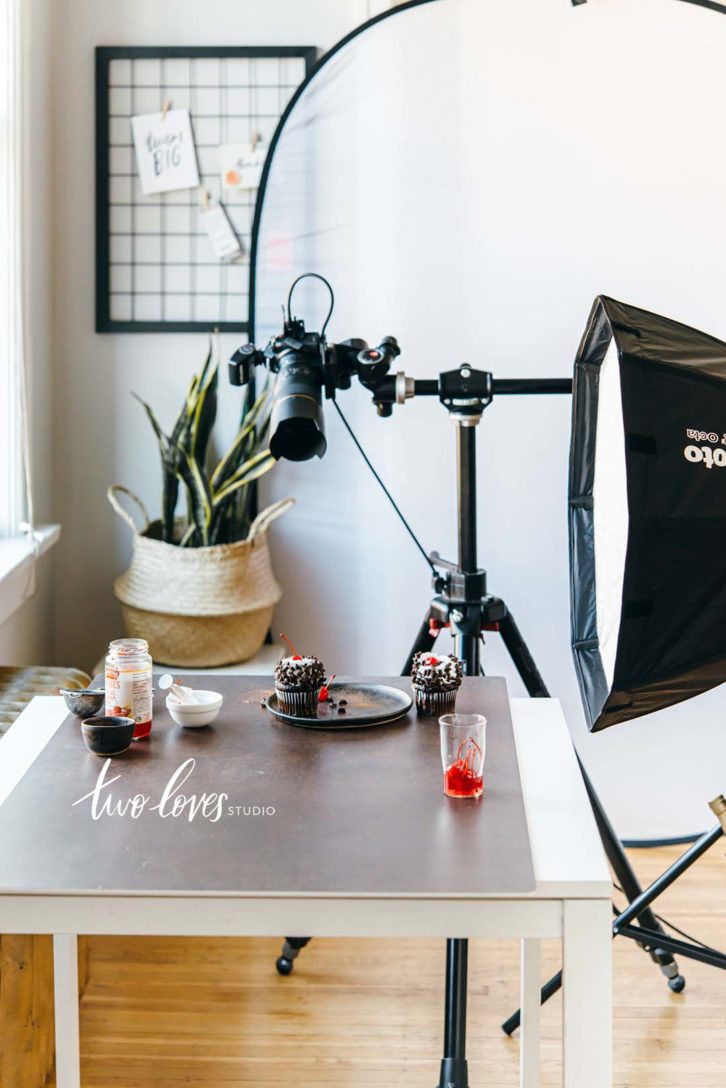
These behind the scenes photos are taken with ambient light. Killing ambient light and using the flash is how I got the light to be moody.
Apparent Size & Power of the Light
While the 2’ octa softbox is somewhat small, at this angle, we can see the apparent size of the light.
Apparent size is the size of the light sources relative to the subject when you take into account the distance between the two. You can read more about this concept in my Art of Light ebook.
As the light is close to the subject, its apparent size is larger than if we’d positioned the softbox further from the subject.
This will help to light the subject in a soft but dramatic way while allowing for light to spill across the scene. Moving the light closer to the subject can mean that we also need to reduce the power of the light to now blow out the highlights.
Further reading: if you’re interested in reading more about Lighting tips –
How Learning Low Key Product Photography Improved My Creativity
Natural Lighting Food Photo Tips You Need To Know For Chiaroscuro Effect.
Photography Flags: Add Stunning Dimension & Contrast to Your Food Photos.
Softboxes For Product Photography: What You Need to Know.
Create Dappled Light Using a Speedlite: How to Guide.
Two Loves Studio was not paid to write this post, however, it may contain affiliate links. If you purchase an item from an affiliate link, we do get a commission on the sale which helps us run this site. Only affiliates for products/services we believe in appear on this site.


Kimberly
Could you achieve a similar effect using a strip box?
Rachel Korinek
You’d really have to lean on apparent size here. I think a strip box will cast too much (too far) light across the scene and then you might need flags. If you were able to lower it and cut off half of the box under the table it might give a similar effect. Or cover the top part of the light so it’s blocking it.
Gayle McLeod
I really need to add a smaller softbox to my gear! The effect is beautiful.
Rachel Korinek
It sure is! I think blocking light from a larger say strip box could work if you don’t want to buy another option but I love how portrait photographers use this modifier!