This post may contain affiliate links from products and services we love and trust.
Hi all! I’m really looking forward to sharing my natural light set-up in this behind-the-scenes sneak peek with you. I use, pretty much exclusively, natural lighting in my images. I love natural light because it’s low-hassle in terms of set-up and inexpensive for the physical equipment you need.
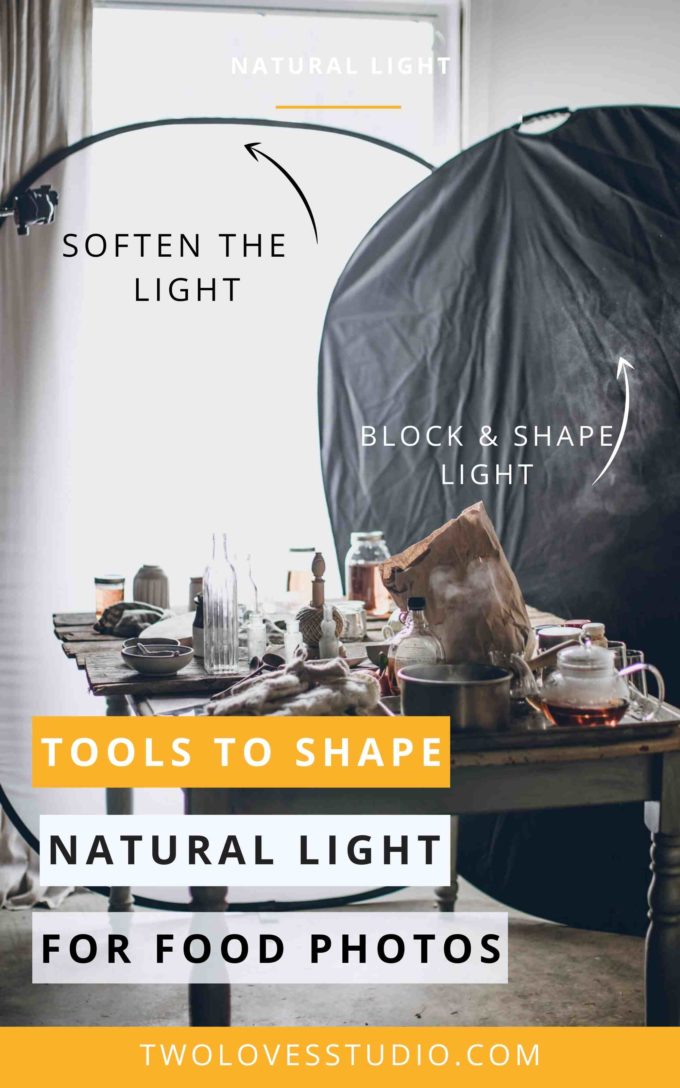
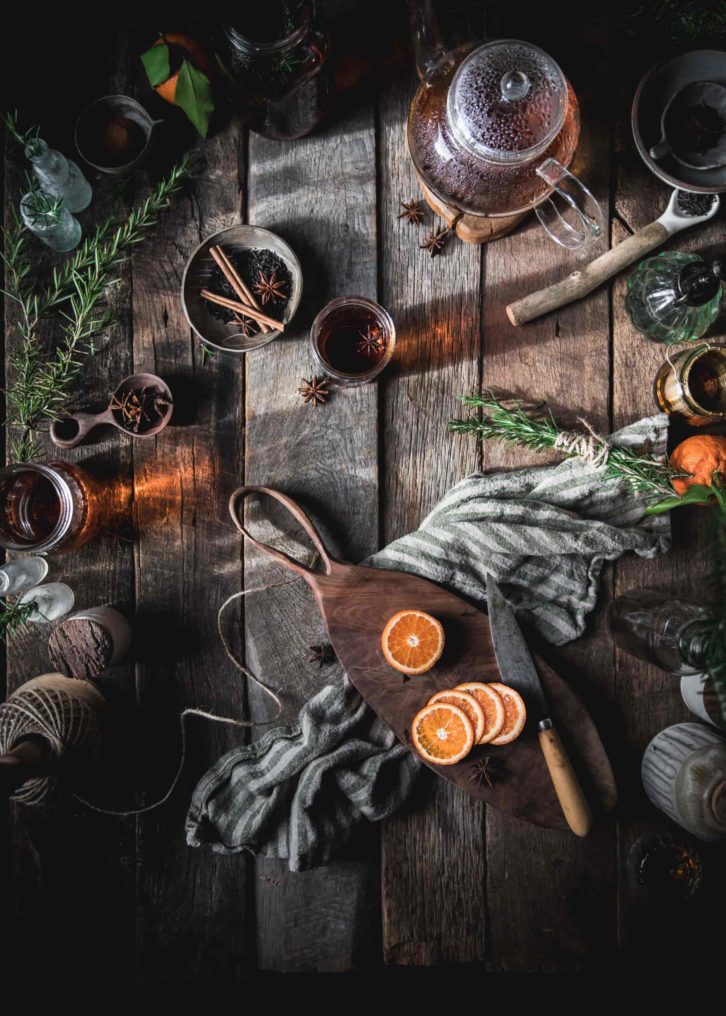
Let’s dive into a breakdown of how I lit the below scene.
My Process and Shooting List for Natural Lighting:
For my set-up, I use several 5-in-1 diffuser/reflector/blocking screens in various sizes in my work. I love them because they’re easy to compress and store when you’re not shooting.
- 79-inch Oval 5-in-1 Diffuser/Reflector/Blocker
- 43-inch Triangle 5-in-1 Diffuser/Reflector/Blocker
- 48-inch Oval 5-in-1 Diffuser/Reflector/Blocker
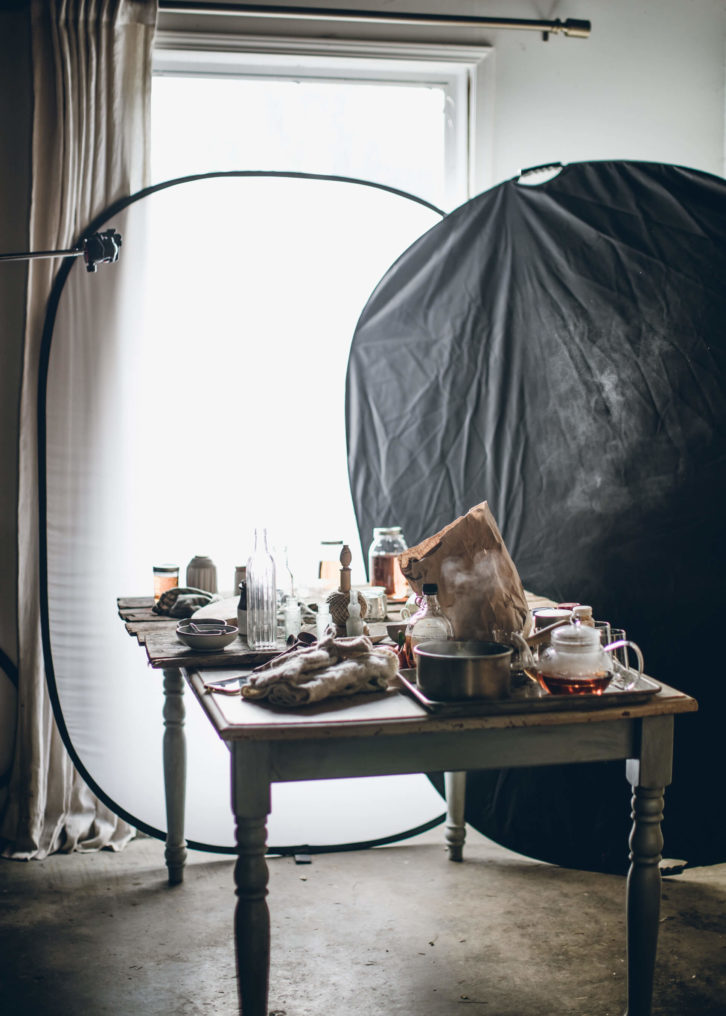
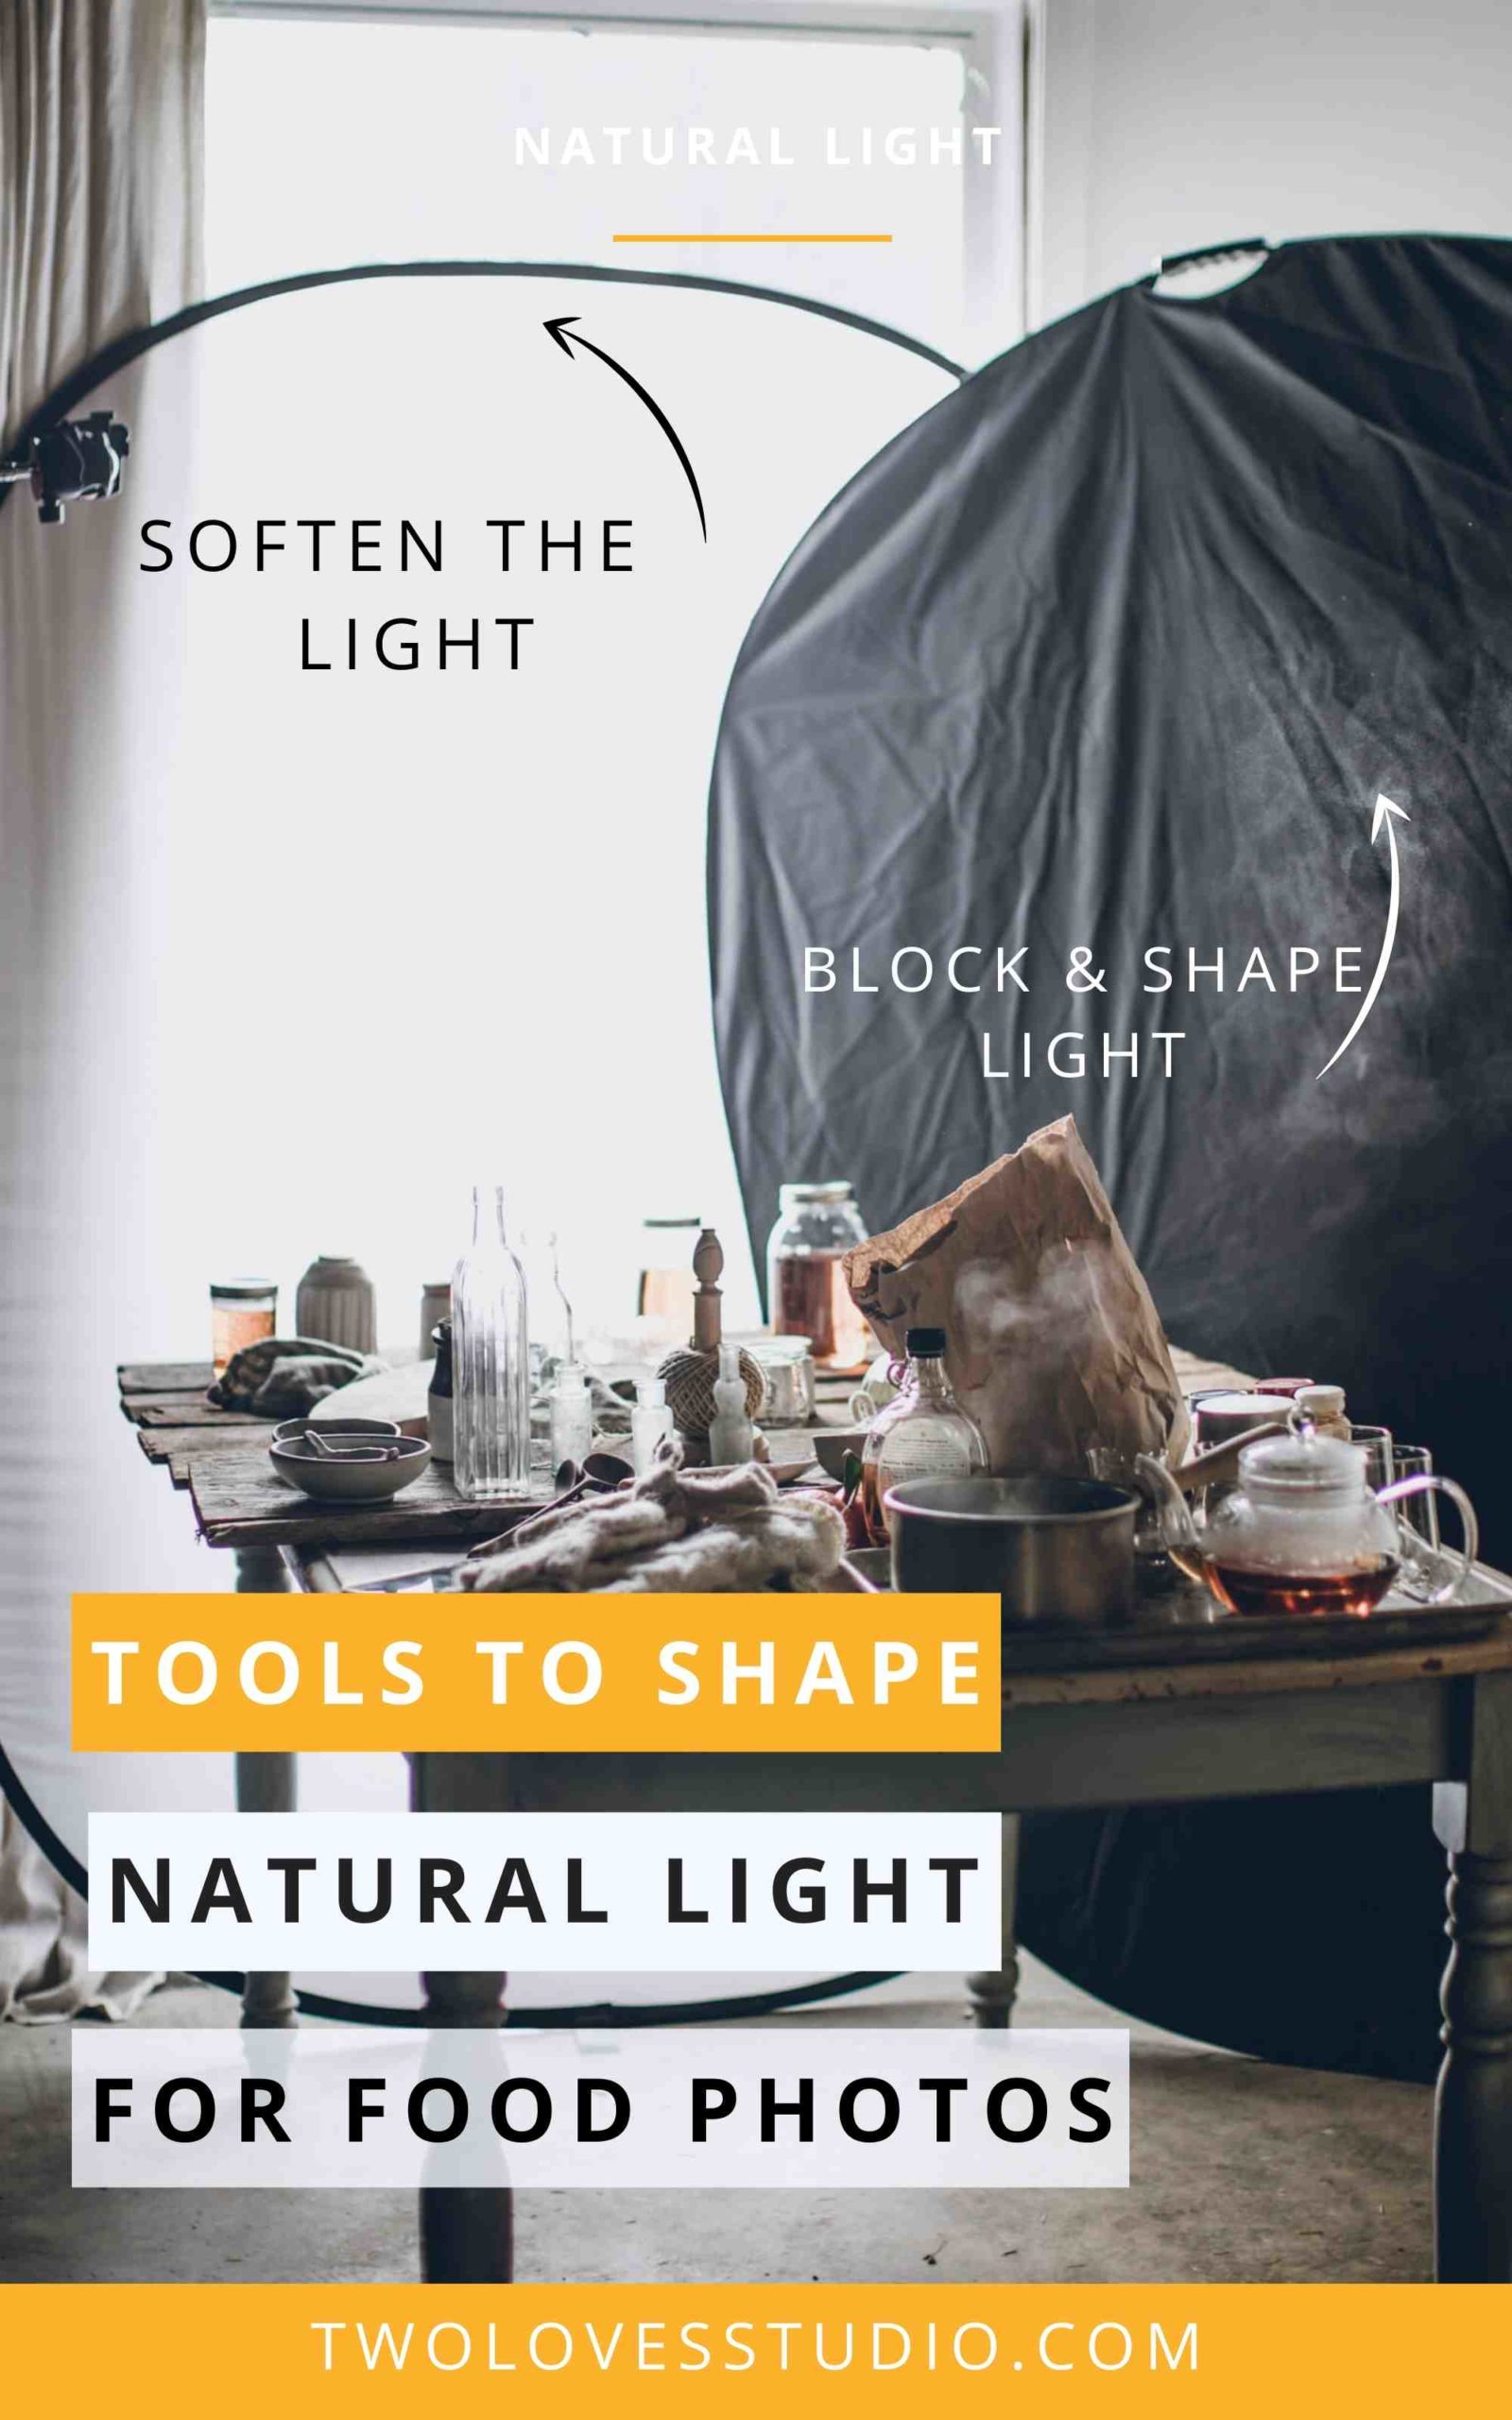
In this behind-the-scenes post, I set up and took these shots in front of a large south-facing window in my studio that’s about 3 feet wide x 6 feet tall.
I placed my shooting surface about 6 inches away from the window to get as much natural light as possible onto the surface.
When it’s sunny out, I use a diffusion screen (from my 79-inch 5-in-1 diffuser/reflector/blocker) to cover the window to soften the light.
TIP: For overcast days, the clouds are doing the diffusion for me. I don’t need to put a diffuser in front of the window.
How to Block and Shape Natural Light
Depending on the mood of the scene, I will use the black side of another one of my 79-inch 5-in-1’s to block and shape the natural light coming from the window.
For this particular flat lay shot, I wanted to make the top of the image a bit darker and shadowy, so I blocked the light on the right-hand side of the window by leaning my 5-in-1 in front of it.
This is basically an element of the chiaroscuro lighting technique, which involves blocking the natural light sources to shape the light into a more pronounced and dramatic beam or streak, rather than an even amount of light falling across the whole scene.
Trouble Shooting with a Natural Light Setup
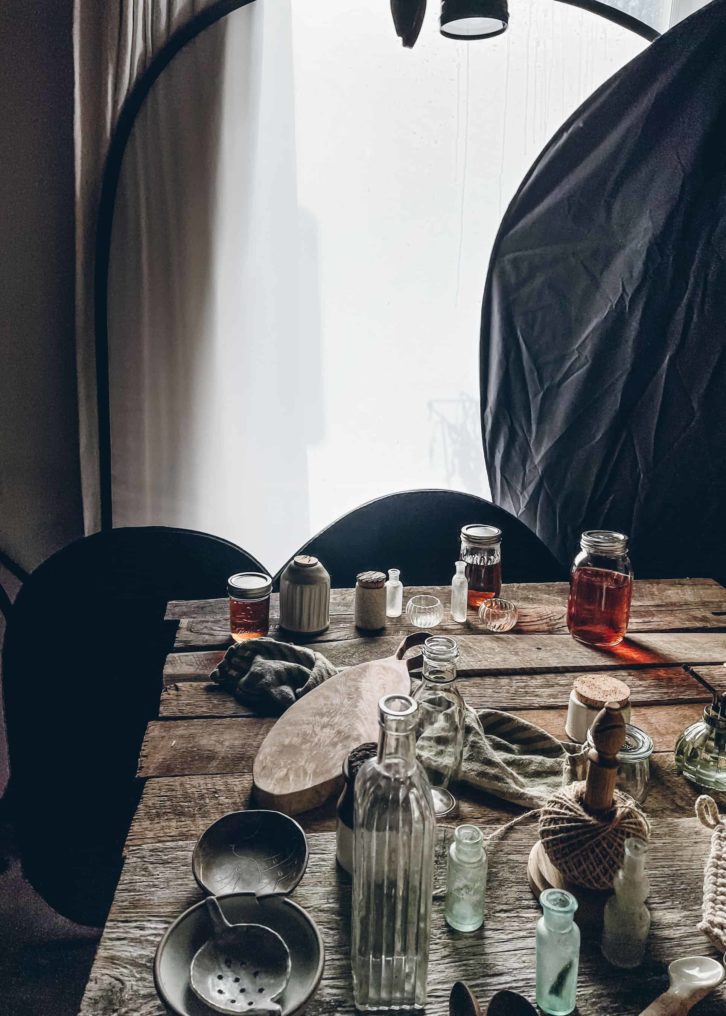
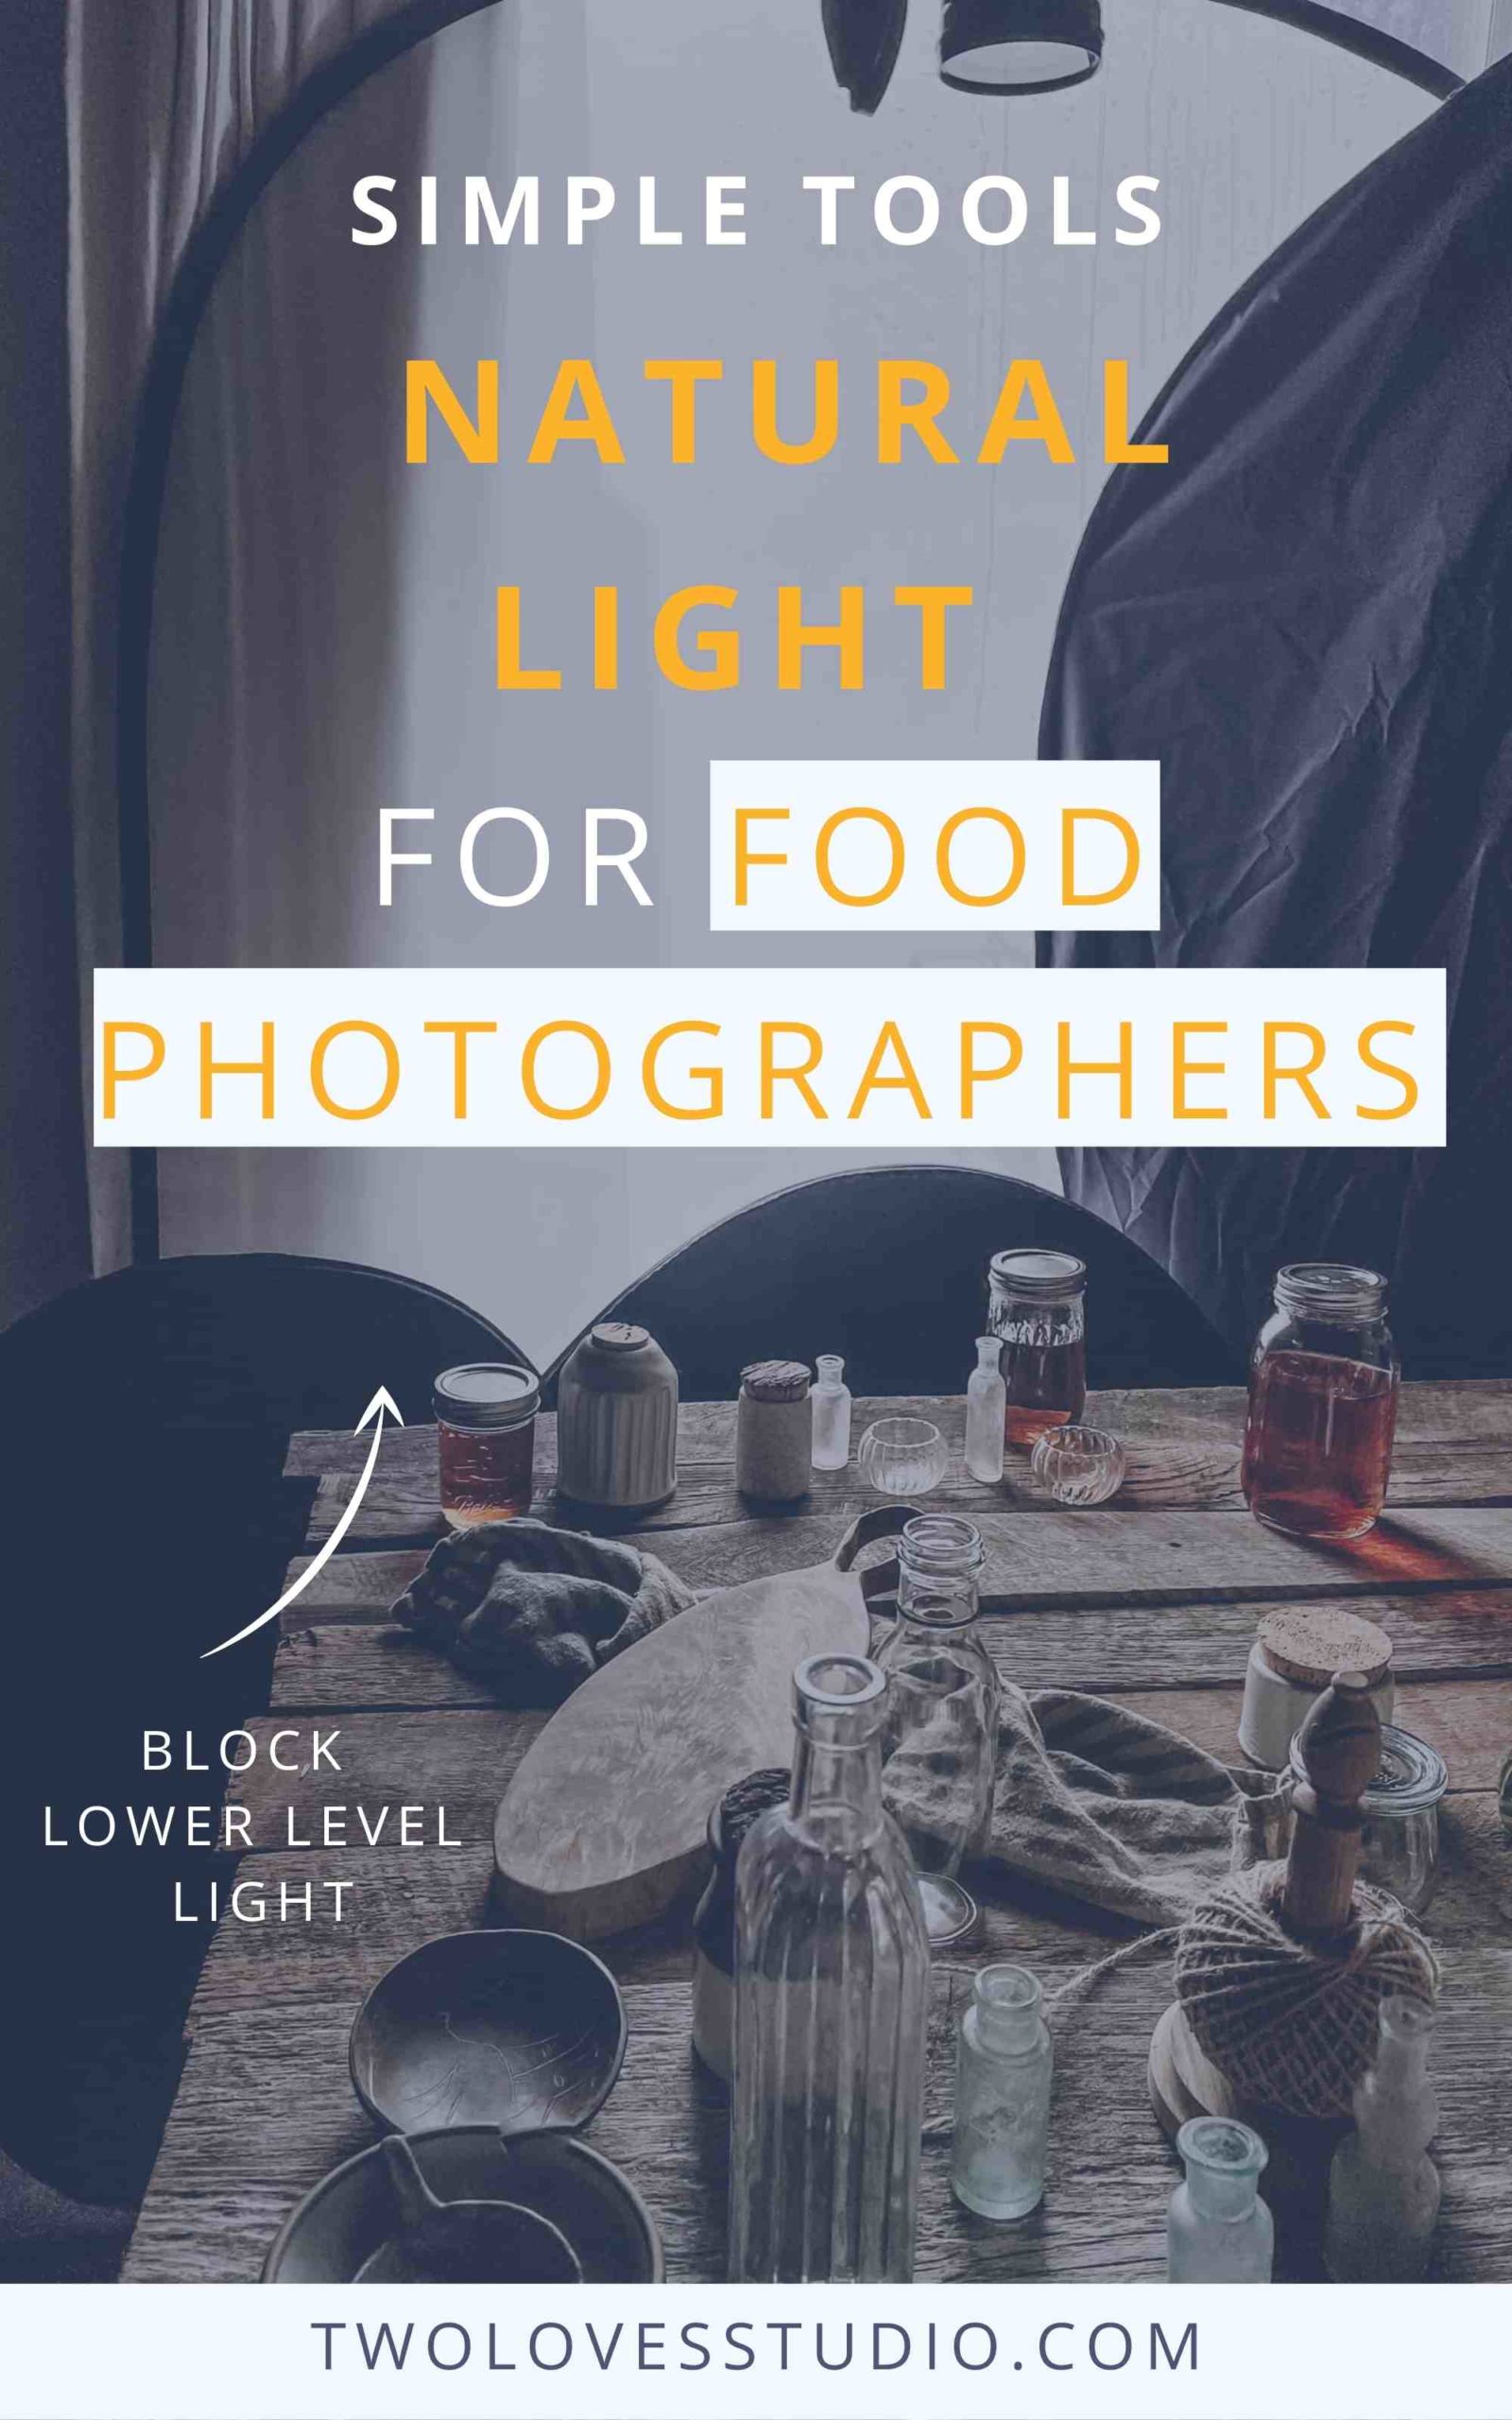
I wanted to show the edge of the table dropping off on the left-hand side of the flat lay, but because of how close the table is to the window it would just show the bright window underneath the table.
To fix this, I use the black sides of one or two smaller 5-in-1’s to block the natural light coming from the lower half of the window, so that it just looks black and dark on the area to the left of the tabletop where the table drops off.
Direct Light Vs Dramatic Light
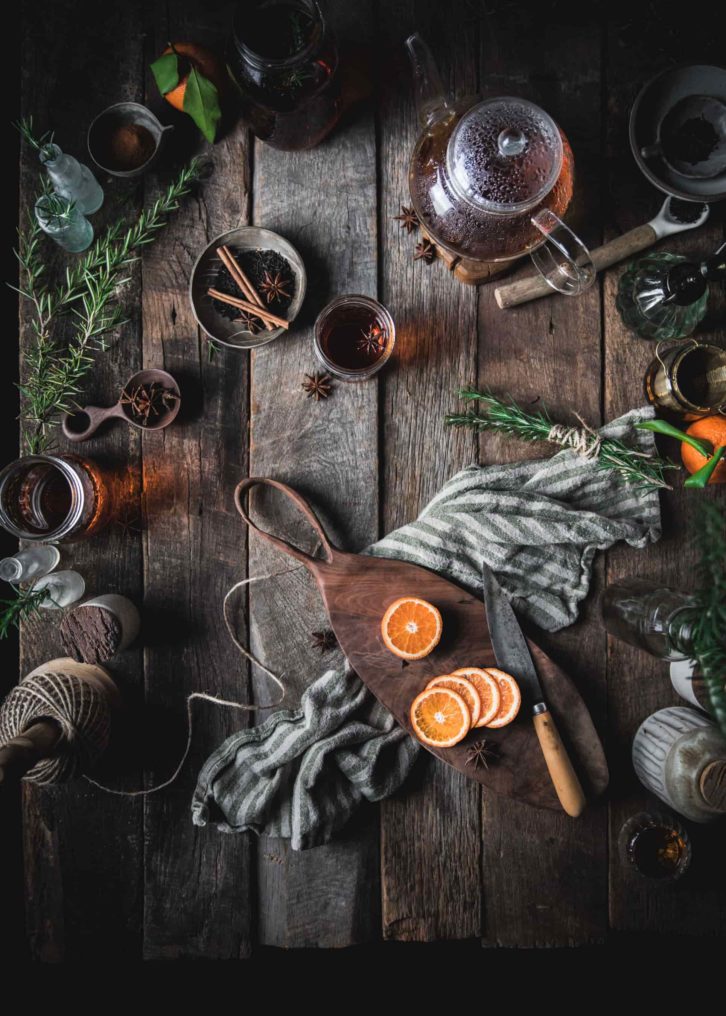
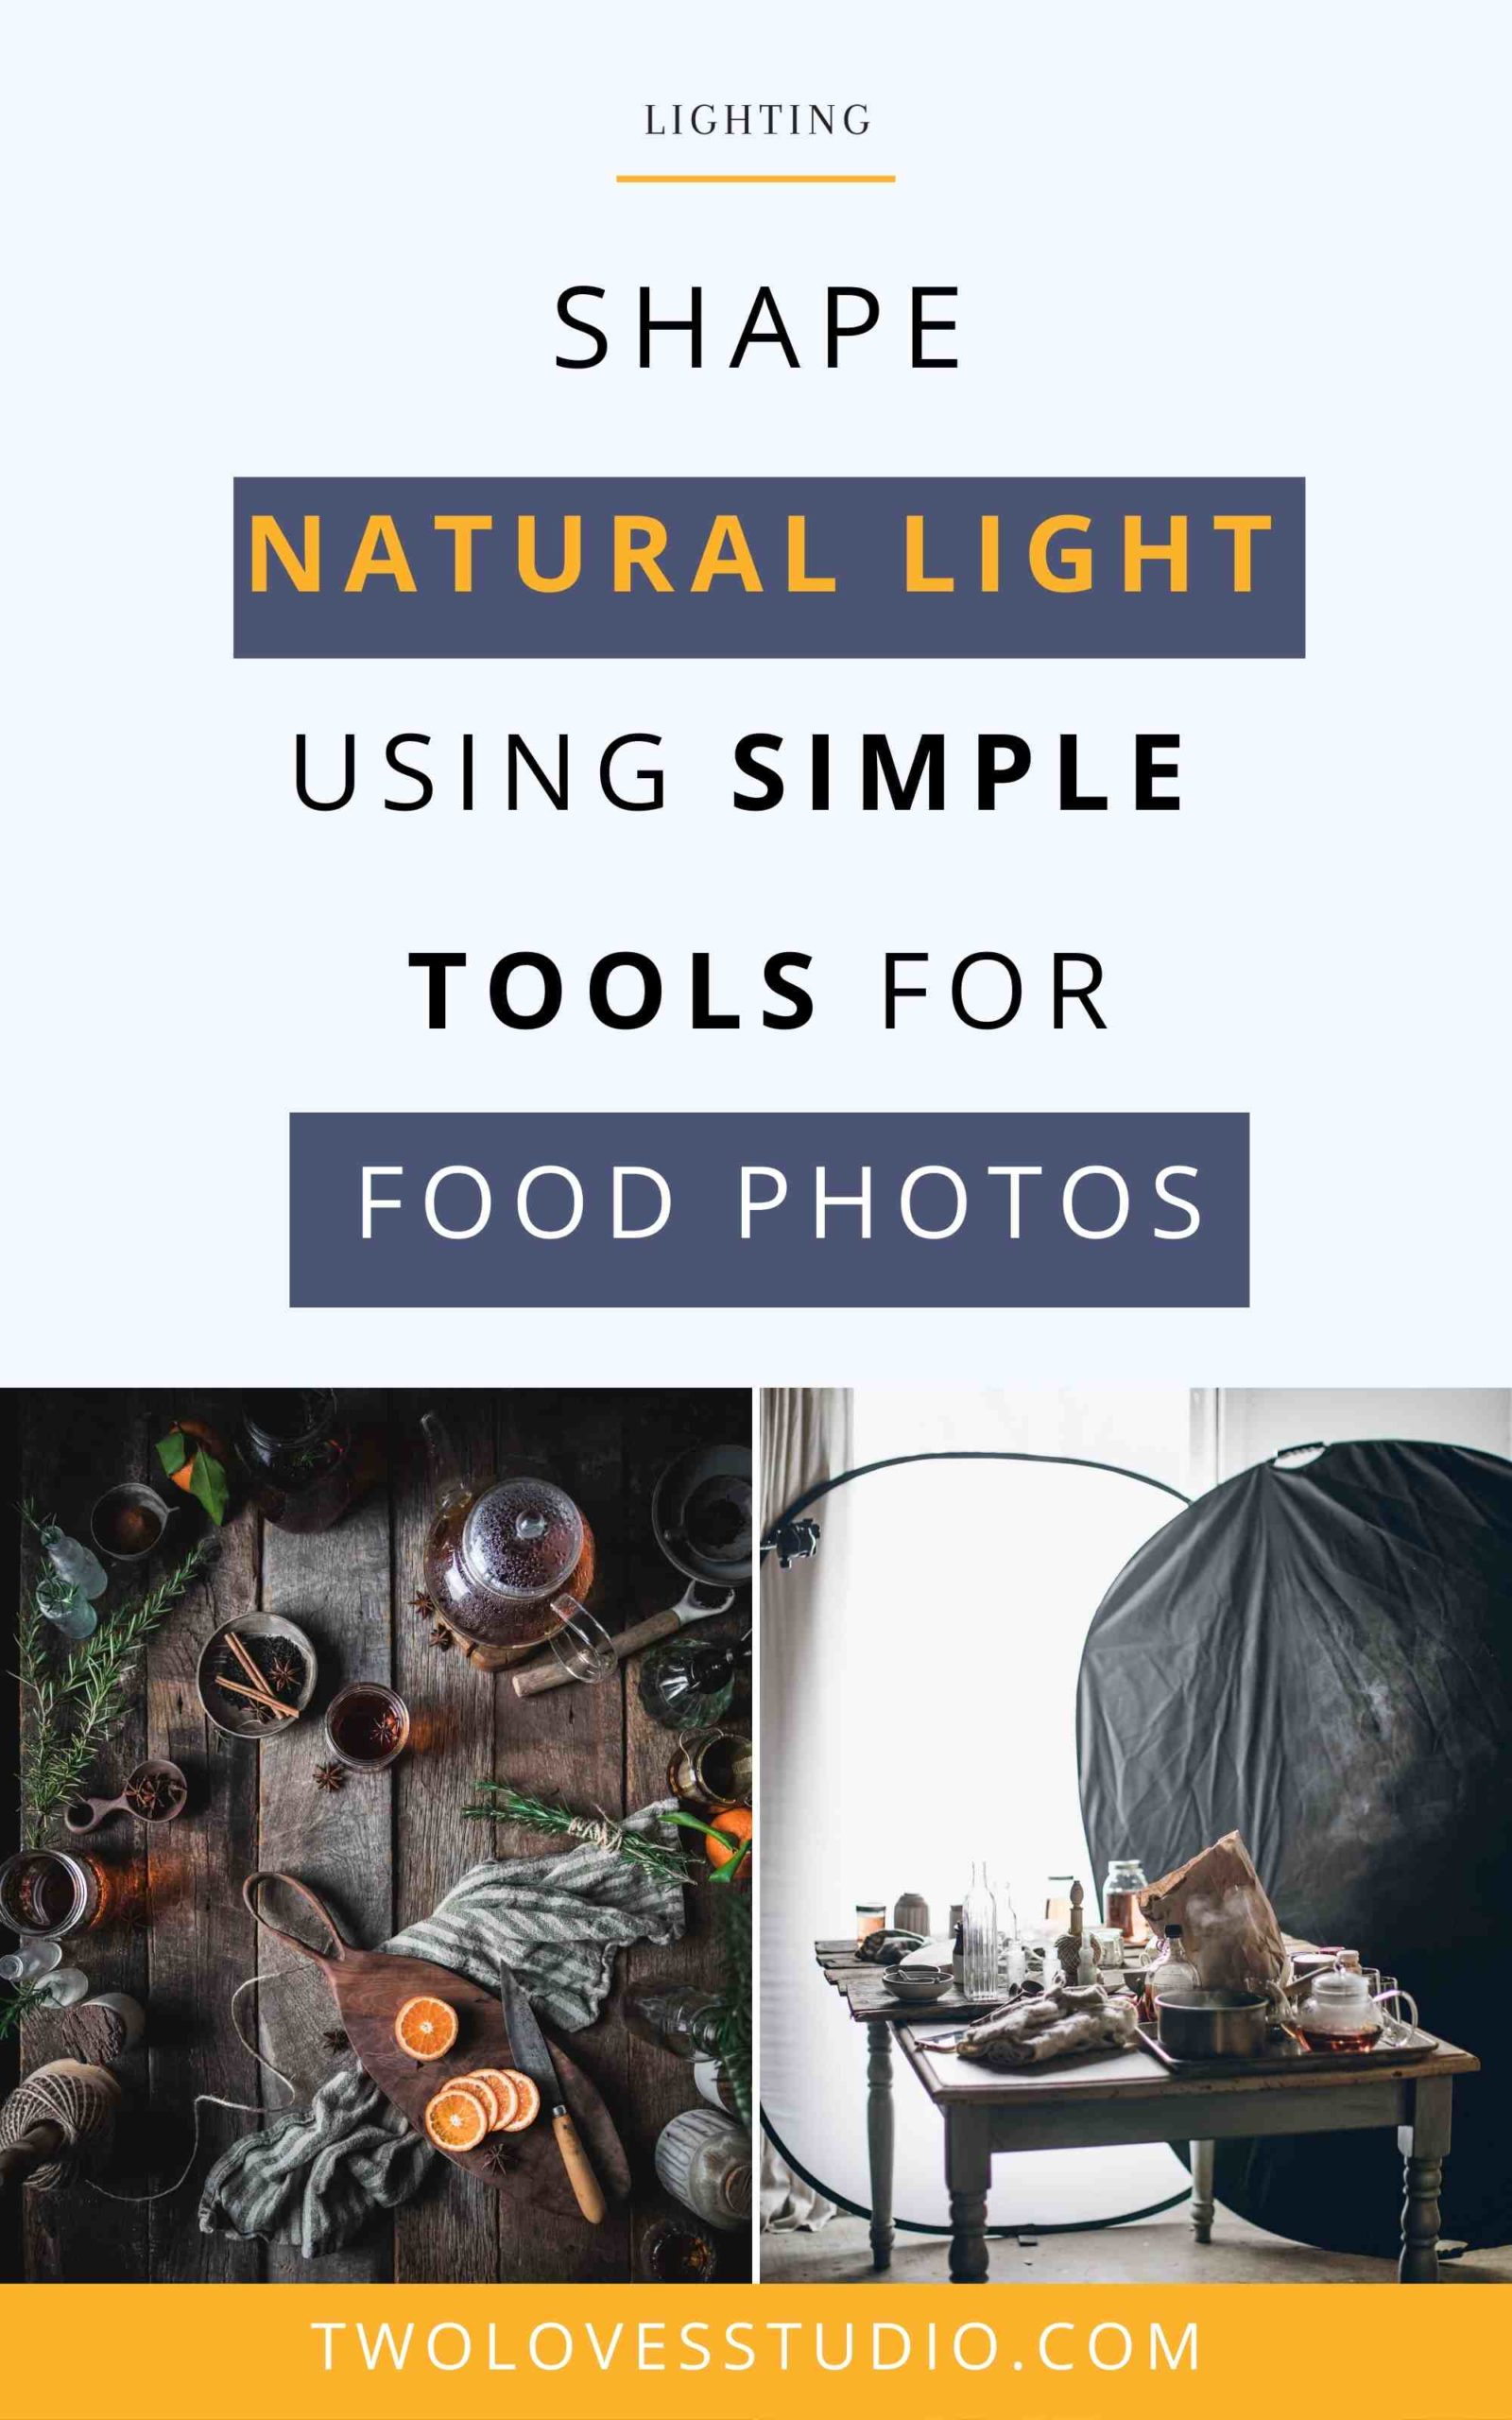
This subject I was shooting is a tea-based beverage (a Hot Toddy, to be precise), and being a sunny day, I wanted to experiment with what direct harsh light would look like in this shooting situation.
I love the way direct light can cast a bejewelled look to the shadows of liquid-filled glasses, especially when the liquid has a colored tint to it that comes through in the shadows as well.
In the example images of the scene, you can see there are two versions.
- One with soft light had the diffusion screen in place.
- The one with the bright intense streak of natural light across the frame had the diffusion screen removed from in front of the window.
- Both images still had the black side of the 5-in-1 in place to block and shape the light to fall over the centre area of the frame with the beverages.
Honestly, I really like them both, for different reasons. This shows how you can create vastly different-looking images by shifting a single low-cost element (like a diffusion screen).
Understanding the Fundamentals of Shaping Natural Light
I’m a strong believer in using simple tools because they force you to have a deeper understanding of the fundamental elements you’re dealing with.
They help you build up the most important piece of equipment you have, which is your mind. I’m still able to create a wide variety of different moods and looks. Both bright and dark by using simple tools to light my scenes.
You could have fancy, high-end lighting equipment, however, if you don’t understand how to shape, control, and sculpt light, it’s not going to be any more useful than a piece of cardboard.
- First, invest your time in practising.
- Second, start investing in advanced equipment once you feel and understand the limitations of your current gear.
Hope you’ve enjoyed checking out my lighting process for this Hot Toddy shot. I hope it’s encouraged you to experiment and play with the natural light fundamentals. Such as blocking and shaping the light by using everyday, inexpensive tools.
Thanks so much, Rachel for having me here and have fun creating, friends!!
My Photography / Styling / Branding course is a great resource for folks looking to create beautiful images. You can learn more about what’s inside here!
For further reading: Check out the below for more articles about Lighting tips:
Simple One Light Photography Setup: Moody Black Forest Cupcake
Natural Lighting Food Photo Tips You Need To Know For Chiaroscuro Effect
Photography Flags: Add Stunning Dimension & Contrast to Your Food Photos.
Eva Kosmas wrote this post. Thank you, Eva, for sharing your tips on natural lighting.
Eva Kosmas
Food Photographer
Eva Kosmas Flores is an educator, photographer, cookbook author, and blogger based in Portland, Oregon. When she’s not out digging in the garden or hovering over a pot in the kitchen, she can be found curled up in her living room with a pile of knitting + a small chihuahua on her lap.


Mike
Great advice, as usual, you are a very trusted resource! All three articles in the latest newsletter are very well put together and contain solid advice. Thanks!
Rachel Korinek
Thanks for dropping by Mike! I love Eva’s work so much and was so happy she shared her process with us.
suzy Mahoney
Im a beginner in Professional photography. Thank you for sharing your techniques and for your advice for beginners.
Rachel Korinek
I am so glad you found this useful Suzy! Thanks for dropping by.
Afif
Nice sharing and very useful for me. Thank you so much ?❤❤