Learning new software can be overwhelming and every brand does things a little differently. If you’re used to using Adobe products, you’ll probably find there are things you do that are second nature that don’t translate to other editing software like Capture One.
If you’re a new Capture One user, here are 18 tips that will help you navigate the program, speed up your workflow and get the most out of your edits.
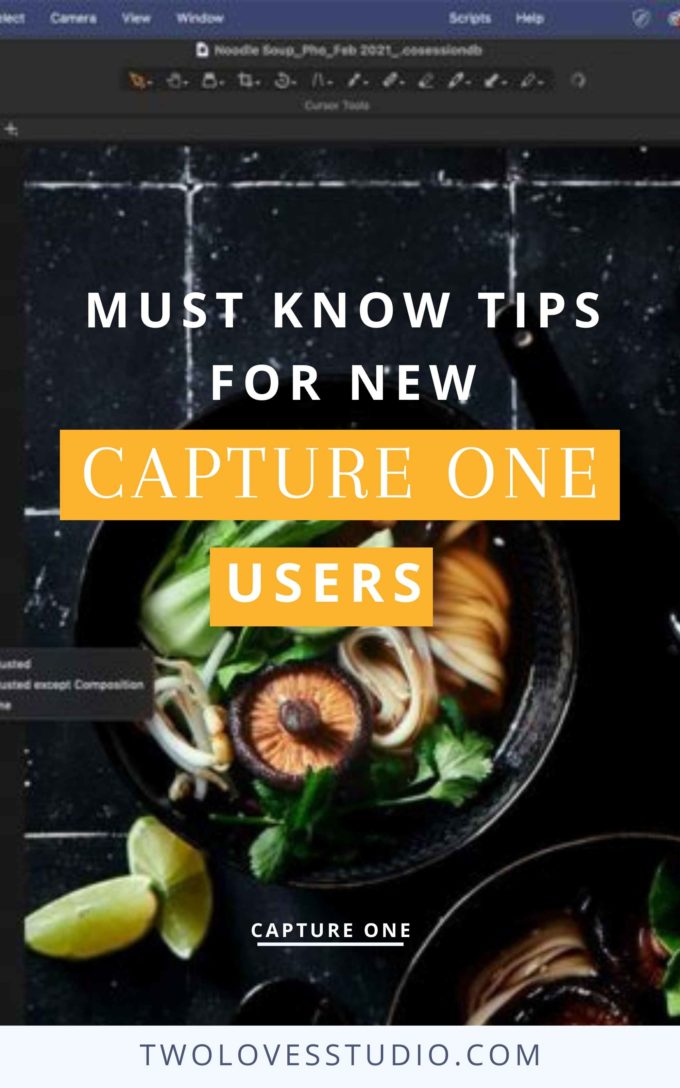
#1 Use The Migration Workspace to Resemble Lightroom’s Workspace
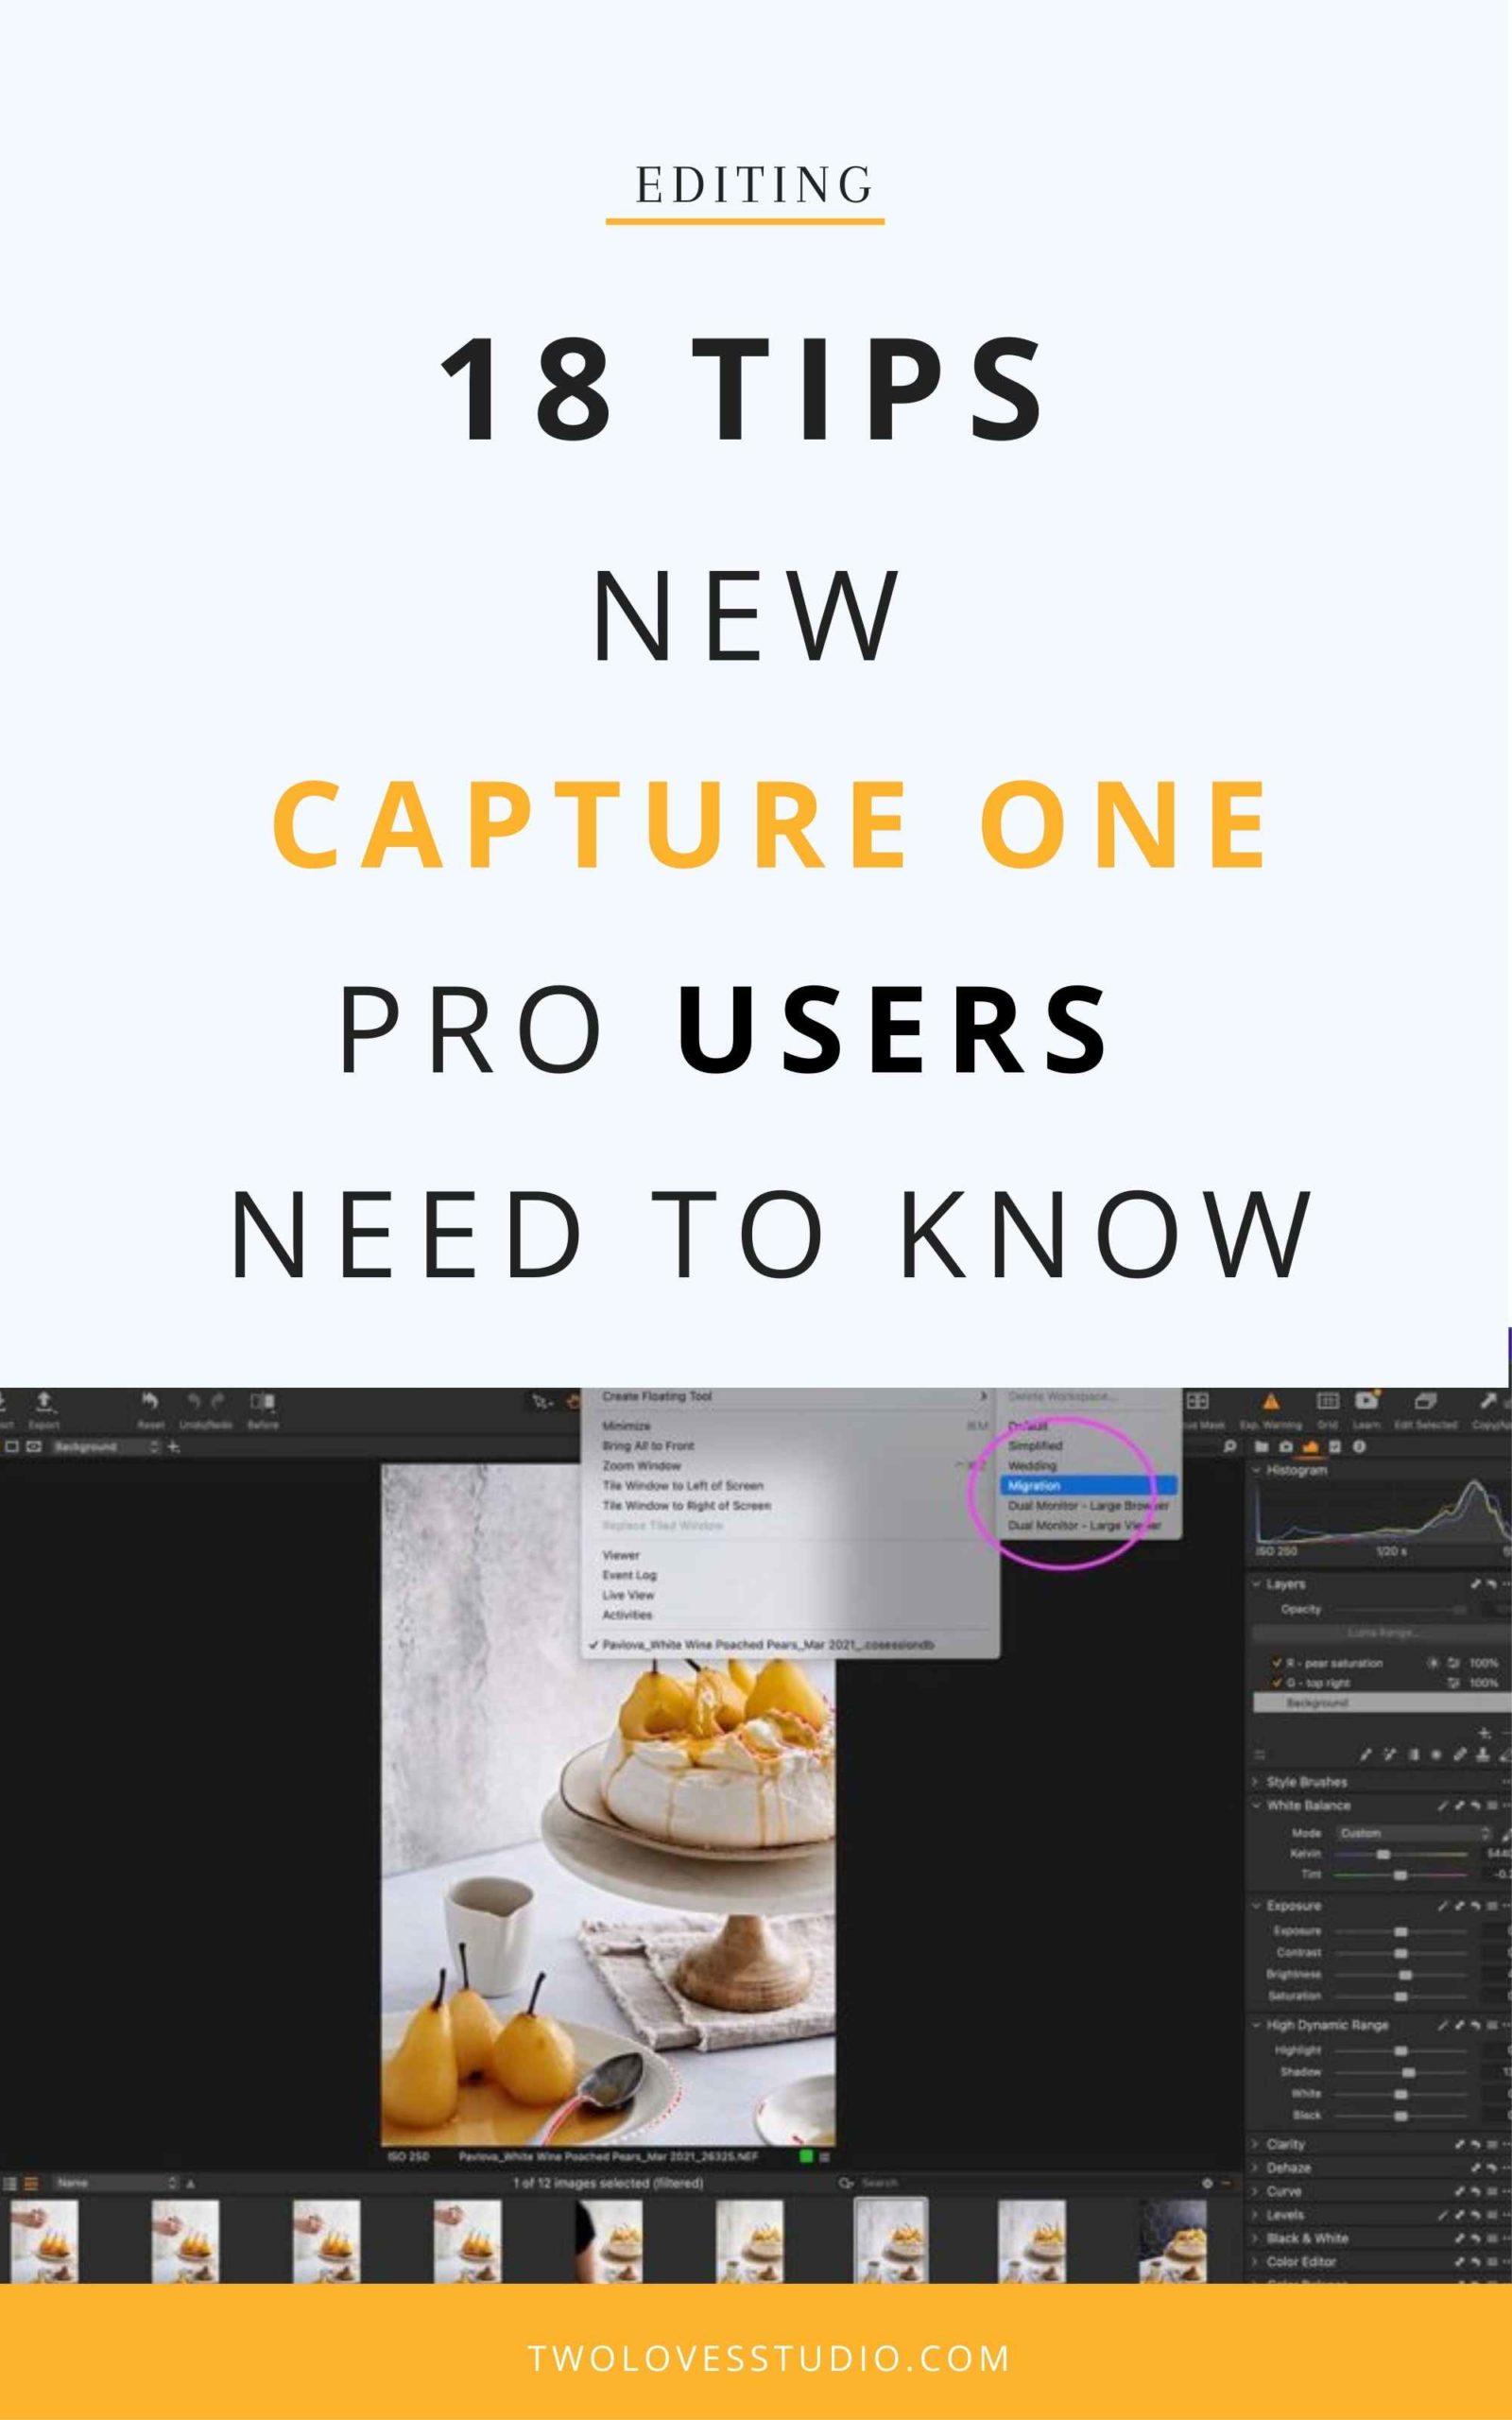
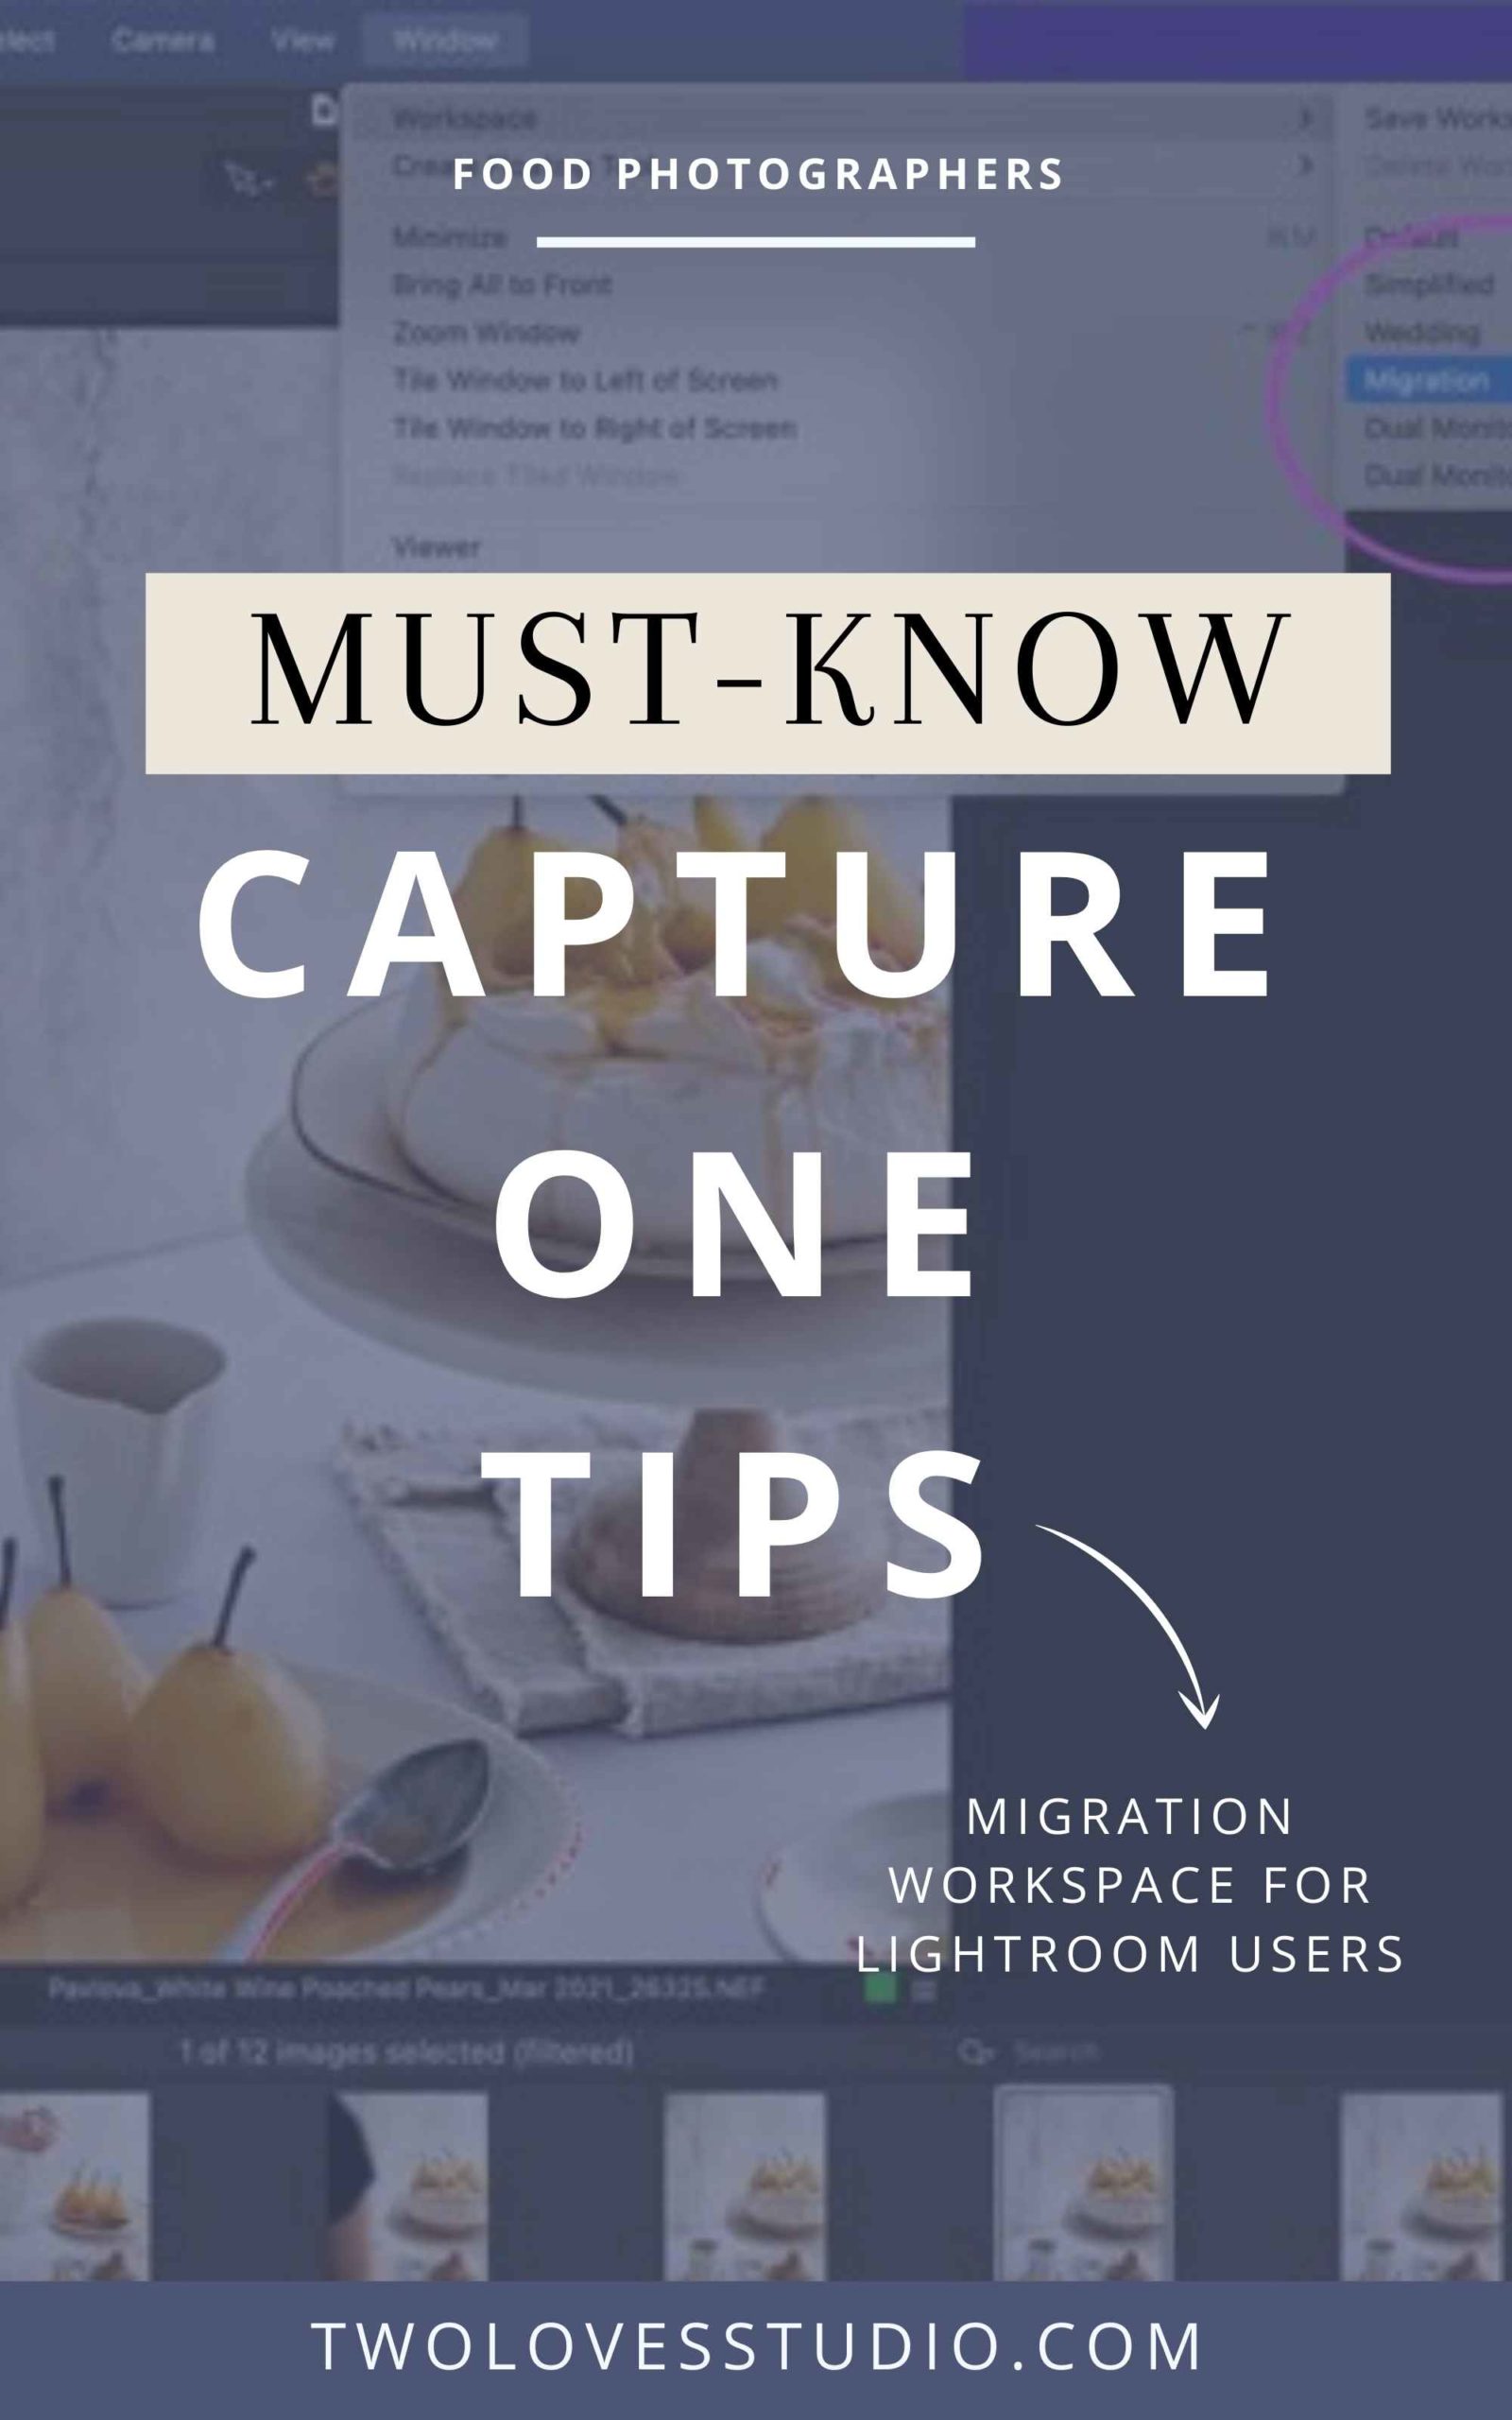
You might have just started using Capture One but are used to navigating Lightroom’s interface. If this is the case, I’d suggest using the Migration Workspace while you adjust. This Workspace preset resembles Lightroom’s workspace and can help make the adjustment easier for those coming from Lightroom.
#2 Capture One Calls Styles Presets
Does your workflow contain a lot of preset use? The good news is that Capture One also has presets, although they call them ‘Styles’ (A Style is a pre-defined adjustment of multiple tools used to create a look). You can find them in the ‘Adjustment Tool Tab’.
If you’re looking for adjustment presets, Capture One has those too with the ability to save them directly into each tool.
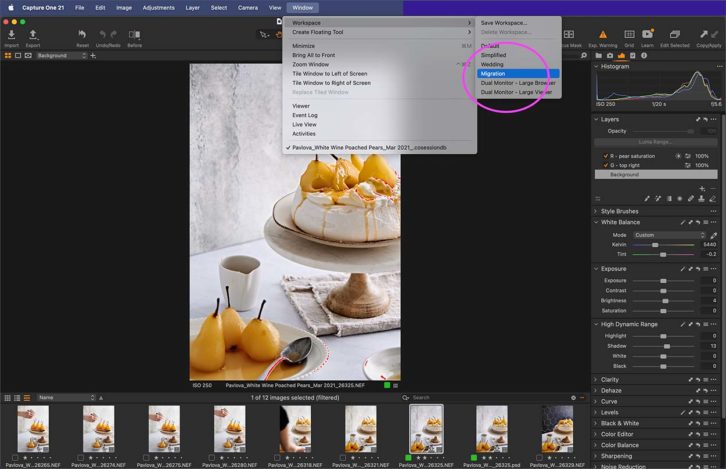
#3 The HSL Panel & Color Grading Panel Are Located in Basic Color Editor Tool
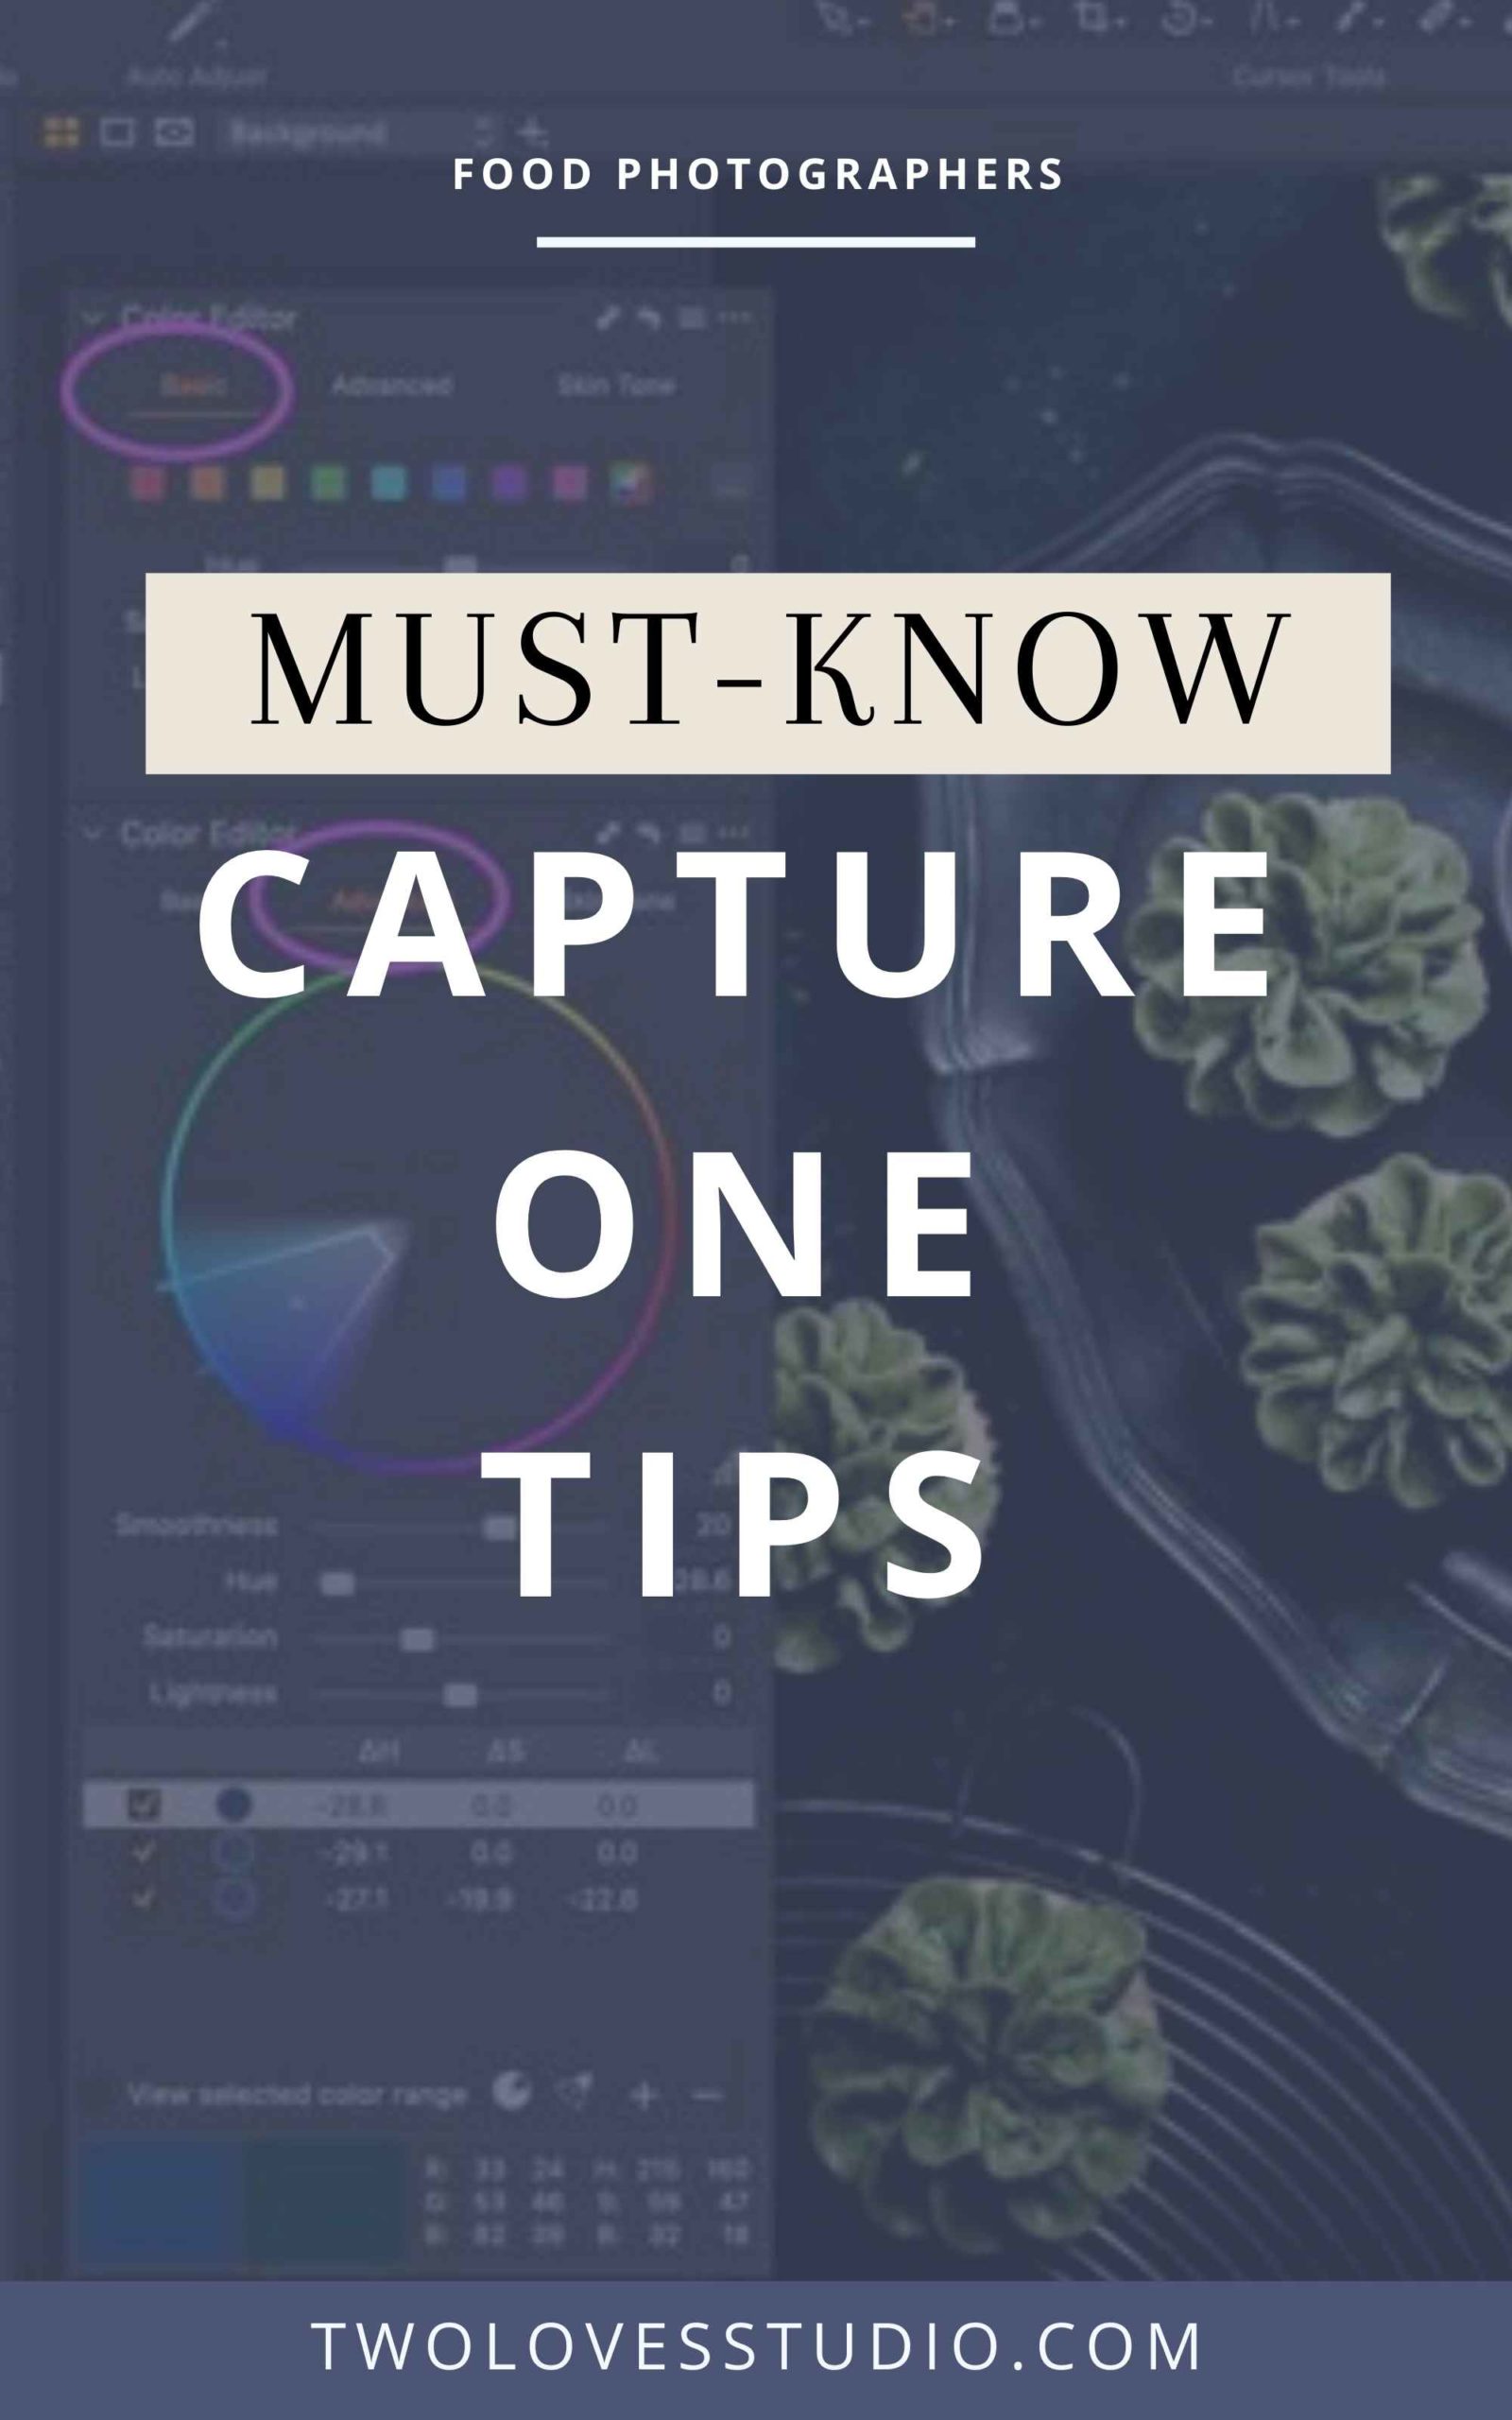
Capture One has a number of colour adjustment tools. If you like to use Lightroom’s HSL Panel, then you can find an equivalent in Capture One in the Basic Color Editor in the Color Tool Tab.
The interface looks the same and the function and use of the tool are the same too.
In 2020, Lightroom scrapped the Split Toning Tool and introduced Color Grading. While Capture One is well known for this tool they, however, call it ‘Color Balance‘. You can also find it in the Color Tool Tab.
The ideas of colour grading are the same but the interface is slightly different in Capture One.
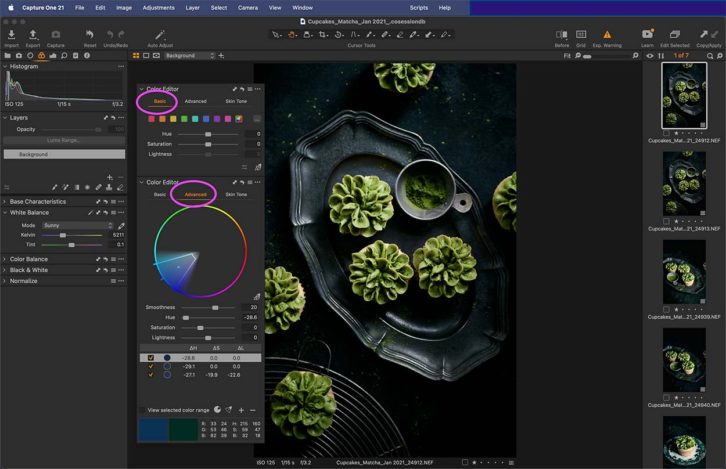
#4 Keyboard Shortcuts or Hotkeys is Simple in Capture One Pro
Capture One makes it very easy to customise your keyboard shortcuts. You can do it straight in the software itself with a simple and easy to use interface. No going through the backend and changing settings that seem impossible to understand.
You can also click ‘List Shortcuts’ or ‘Summarize’ (depending on your version) at the bottom of those screens to get a list of your customised shortcuts.
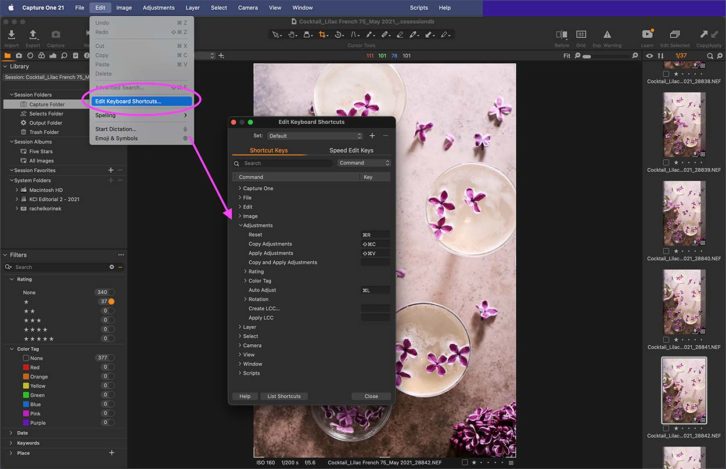
#5 Use Key ‘V’ to Exit Out of Any Cursor Tools.
Capture One has a range of Cursor Tools that you will use to make adjustments. It’s more in line with how Photoshop works, in that you’ll be changing your cursor to use certain tools like cropping, masks, spot removal, rotation, overlays, erasing and the eyedropper tool.
If you accidentally use a cursor tool you didn’t intend to, you can’t always press ‘Enter’ or ‘Esc’ to get out of the tool.
The simplest way to exit out of unwanted cursor tools is to press ‘V’ to get back to the main Selector Cursor Tool.
#6 Quickly Return to Original Crop
To quickly return back to the original crop, press the ‘C’ key to select the cropping cursor and however it outside the cropped area until you see a ‘plus’ sign. Click it to return to the original crop.
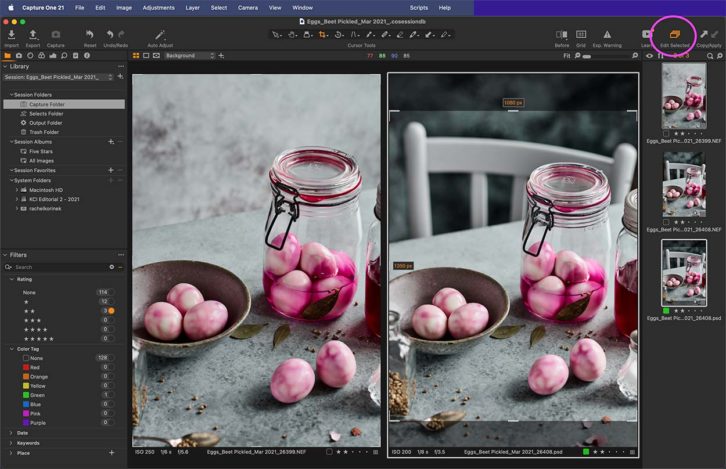
#7 Capture One Pro Feature Enable ‘Edit Selected’
Capture One gives you the flexibility to ‘edit selected’ images. Meaning that if you have two or more images selected at the same time, you can either choose to edit them separately or together (depending on what you’re trying to do). For example, you can export multiple selected images individually by making sure ‘edit selected’ is disabled.
#8 Copy/Paste or Sync Adjustments with the Copy/Paste Tool
You can easily copy and paste entire edits between photo(s) easily without having to navigate away from the main interface. Simply use the Copy/Paste Tool in the top right-hand corner of the screen.
It’ll automatically apply the adjustments you’ve selected in the Adjustment Clipboard Tool.
#9 Capture One Pro’s Workaround For No ‘History of Edits Tool’
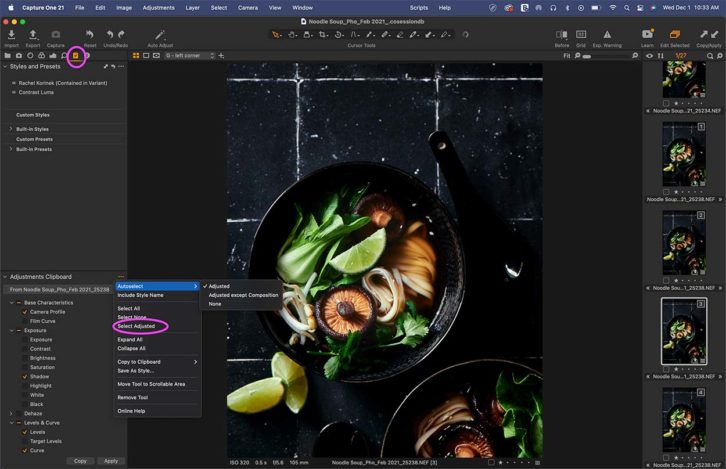
Capture One doesn’t have a History of Edits Tool like Lightroom does. While there is no equivalent tool, Capture One’s workaround for this feature allows you to see which edits were made to a tool, all in one place.
To see what edits were made to a particular image:
- Head to the Adjustment Clipboard in the Adjustment Tool Tab > select the ‘additional adjustment menu’ (three dots icon) > Autoselect > Adjusted.
- Then click Select Adjusted.
#10 Capture One Export Function Known as Export Recipes
As a food photographer, I love that Capture One calls its export function, ‘Export Recipes’.
Depending on which version you use, they might be located in different places, however, it’s a powerful export tool with lots of customisation options to streamline your workflow.
#11 Easily Find Your Session Location By Right-Clicking on Session Name
If you’re unsure where your Sessions are saved, or if you’re new to Capture One and need to get your head around the file management system, you can easily find where your Session is located.
Simply right-click on the Session name and then select the folder for the Session. It’ll open up a Finder Window (Mac) and show you where the Session is located.
#12 Sessions Can be Imported to Catalogues in Capture One
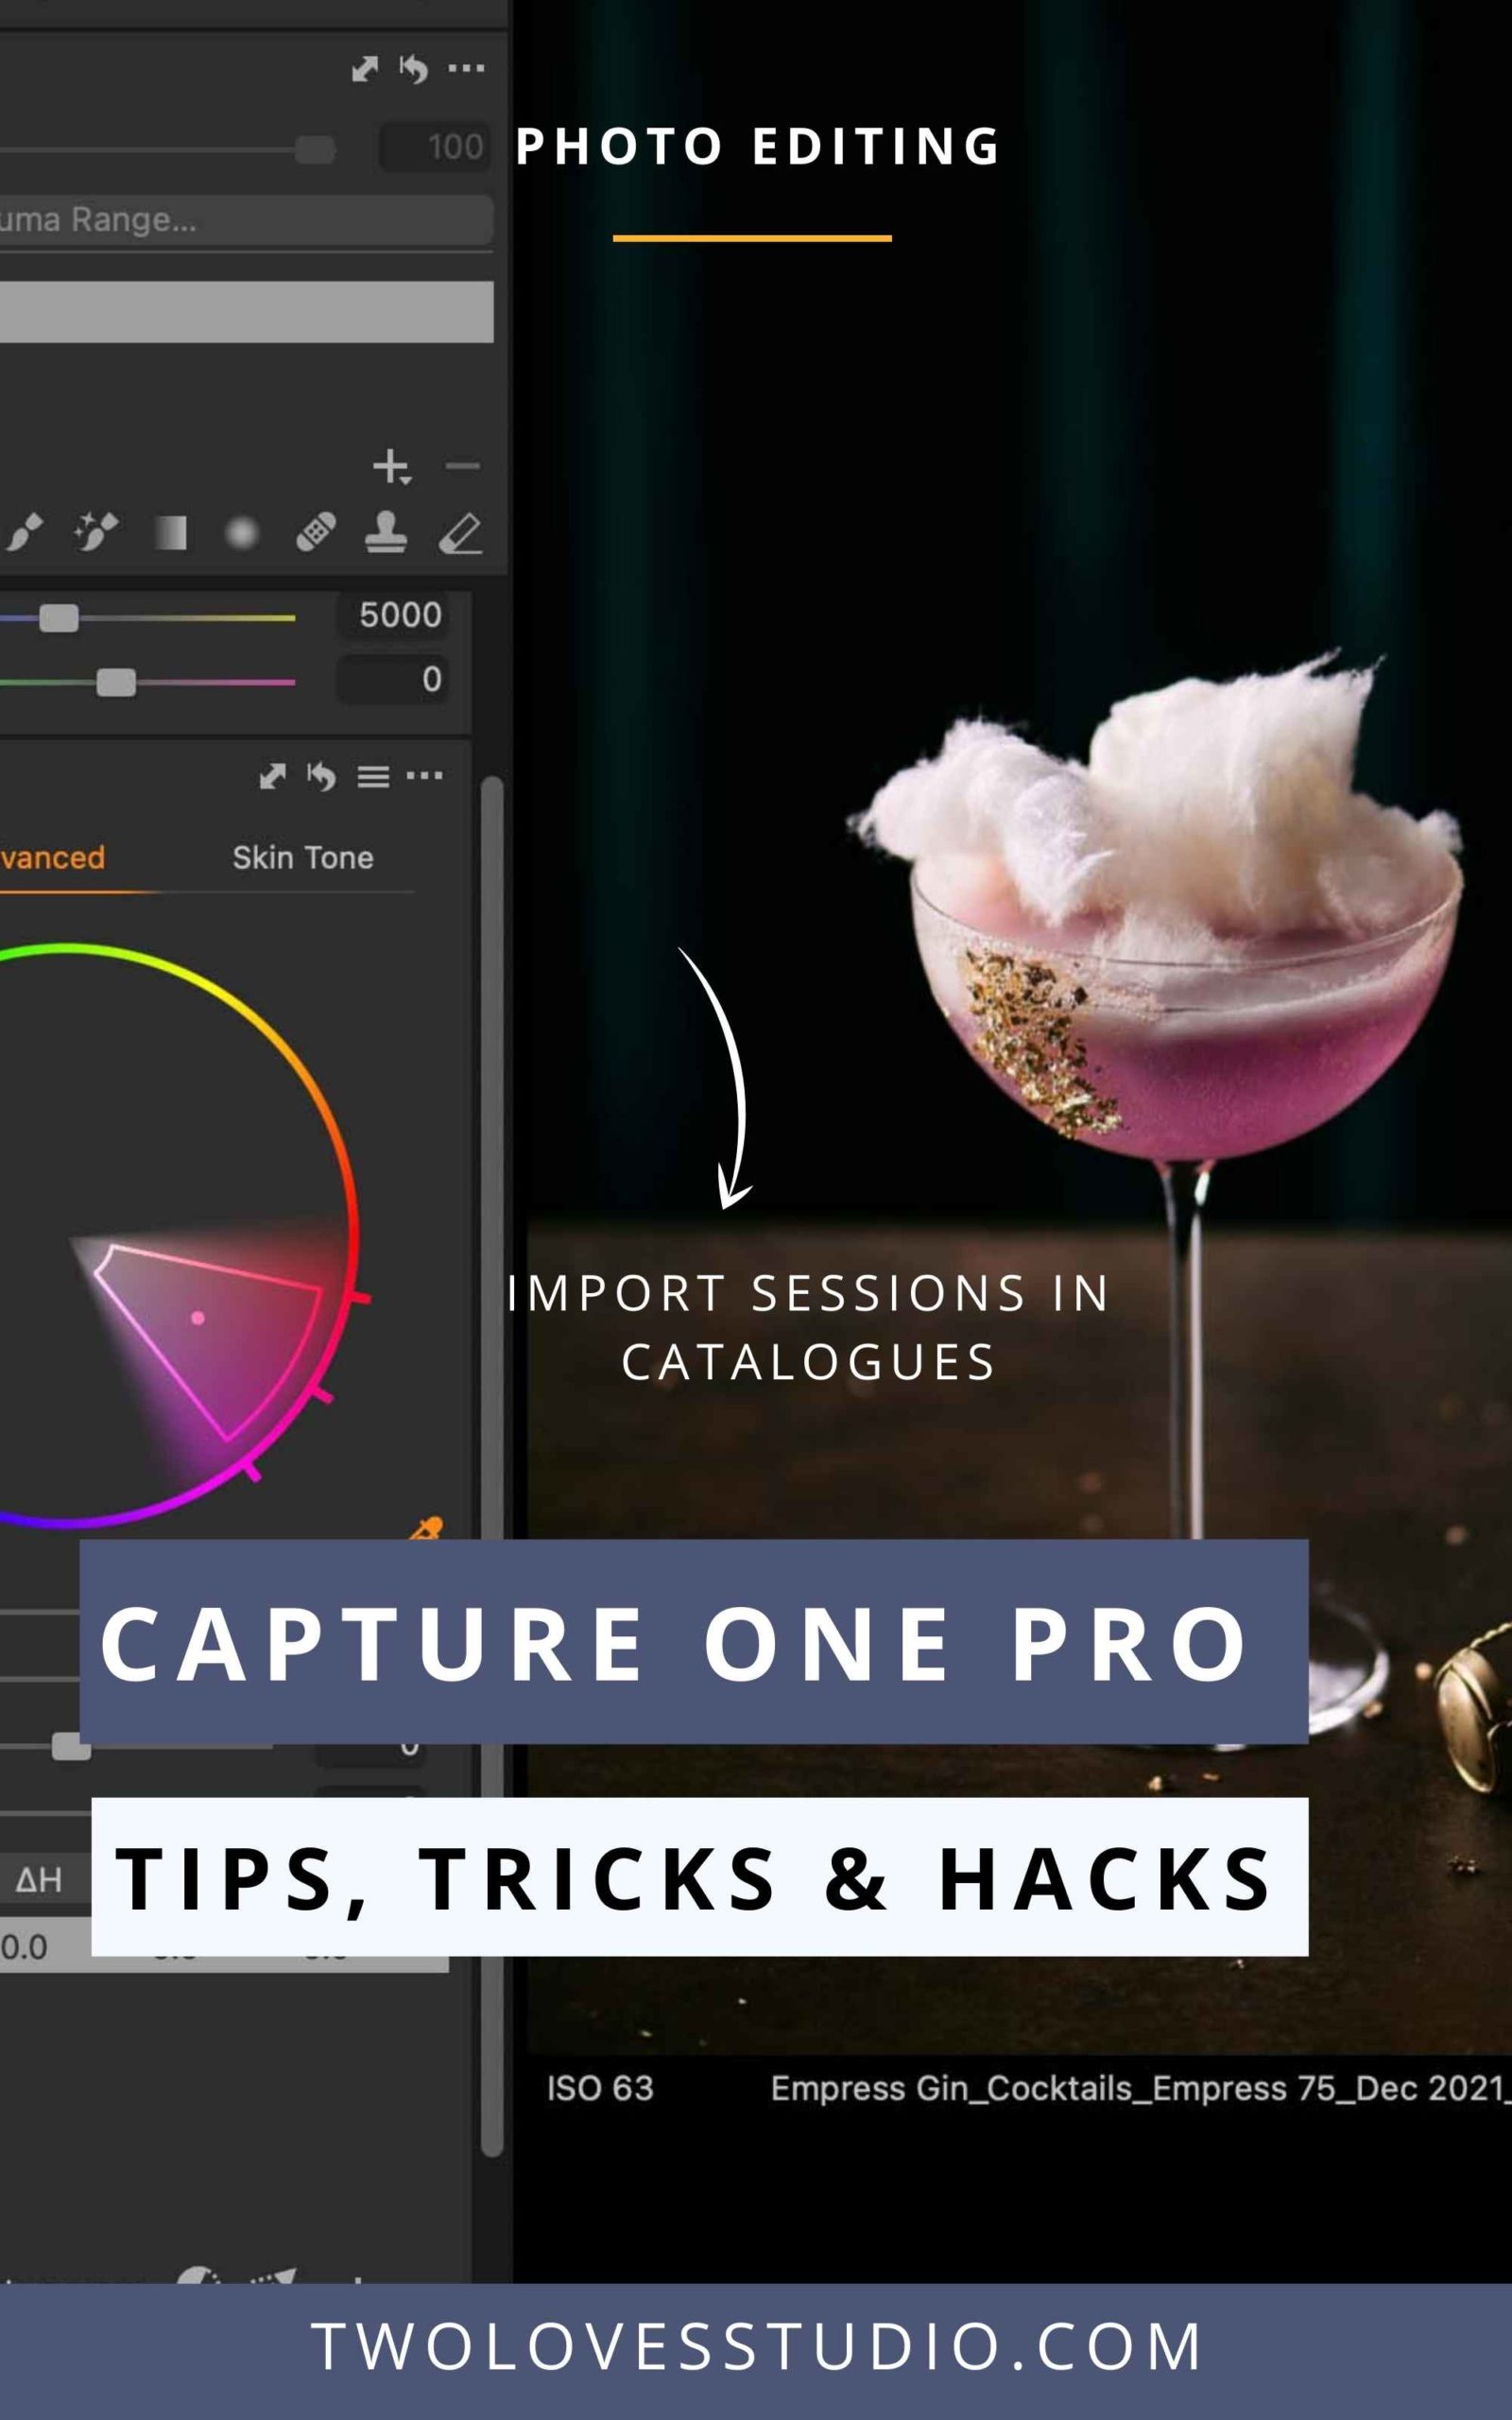
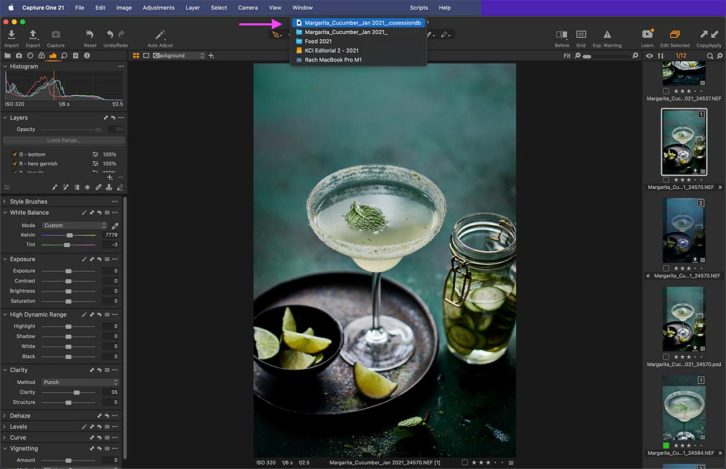
The great thing about using Capture One Sessions is that they can integrate with Catalogues. You can import any finalised Session into the desired catalogue. I show how to manage this workflow in my Capture One Magic course.
Changes you make to a Session imported into a catalogue, will be reflected in the catalogue, but NOT vice versa.
Note: Changes made in a catalogue will not be reflected in a Session.
#13 You Can Open & Edit Multiple Session at Once
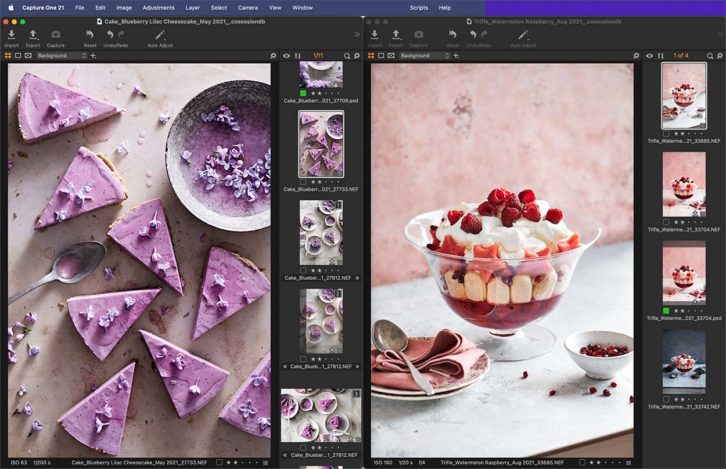
If you need to, you can open multiple sessions and even edit them at one time. I often do this when I need to match a recent shoot to an older shoot. This works well if you have a large photo monitor like mine.
Press ‘Option Key’ when hovering over the ‘Full Screen’ Icon in the top left-hand corner you can split the screen between the two Sessions.
#14 Camera Not Selected in Tethering: Unselect & Reselect
If you find you can’t connect your camera or another session when using the camera connecting, I find the simplest way to get it to connect to your current session is to unselect and reselect in the Camera Tool.
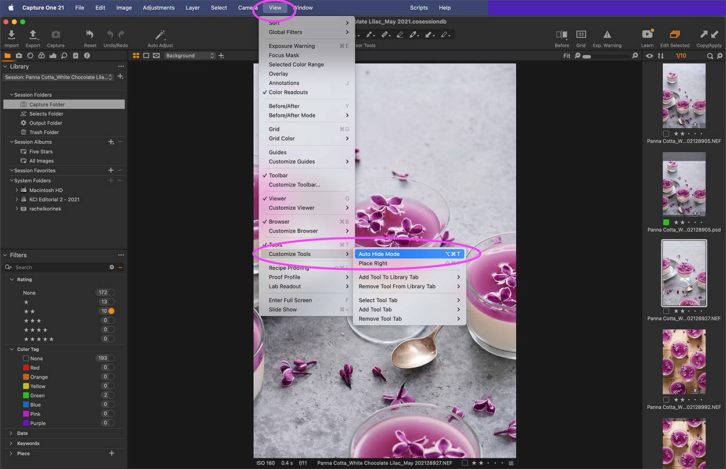
#15 Enabale Auto-Hide Mode for Tools, Viewer or Broswer
Sometimes it’s nice to just be with your image and have auto-hide mode on for the Tool menu, the Browser or Viewer. By selecting ‘View’ in the menu, you can enable auto-hide mode for each of these tool functions.
These also have keyboard shortcuts that you can customise as well if that’s your preference.
#16 Use ‘F’ for Full Screen Mode. Even Edit in Full Screen Mode
On occasion, I edit in Full-Screen Mode. If you drag any tool into the View then hit ‘F’, you can then use that tool in Full-Screen Mode without any distractions. I find this useful for editing colours with the Advanced Color Editor.
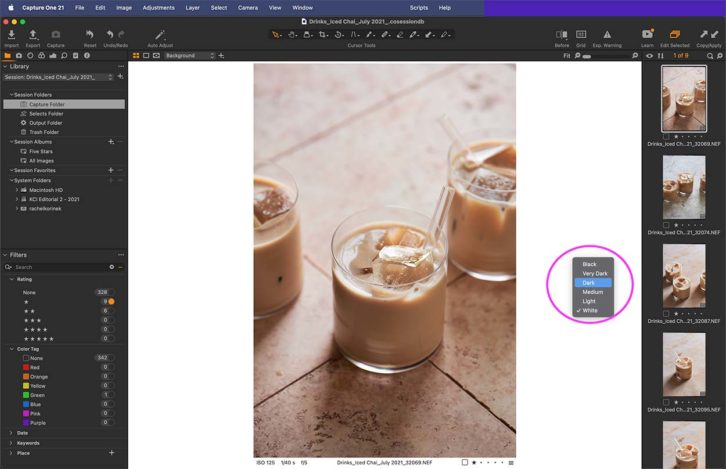
#17 Change the Colour of the View by Right-Clicking
To change the colour of the Viewer, from white through grey to black, simply right-click anywhere in the Viewer area and select the tone you want to use.
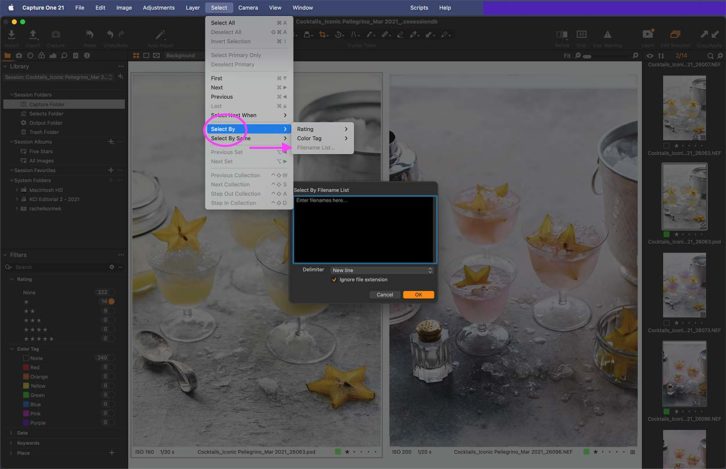
#18 Quickly Find Client Selected Image Using The Select By Function
Clients will usually give me a list of images from a contact sheet I provide them. To quickly find these images, you can use the ‘Select By’ function rather than scrolling through hundreds of individual images.
Go to Select > Select By > File Name List. Type the name of the files then click OK. This will bring up, on the screen the selects which you can then rate, flag or star.
Interested in learning more? Here are some other articles you can read on moving to Capture One.
Lightroom vs Capture One: Important Differences You Need to Know
My 2-year Experiment: From Lightroom to Capture One
Why I Started Using Capture One Pro: What You Need to Know
Got questions? Let me know in the comments below.
Two Loves Studio was not paid to write this post, however, it may contain affiliate links. If you purchase an item from an affiliate link, we do get a commission on the sale which helps us run this site. Only affiliates for products/services we believe in appear on this site.


