This post may contain affiliate links from products and services we love and trust.
It’s true, photographers can achieve a lot with natural light! I do think, however, that artificial light is something every photographer should have a base level understanding of.
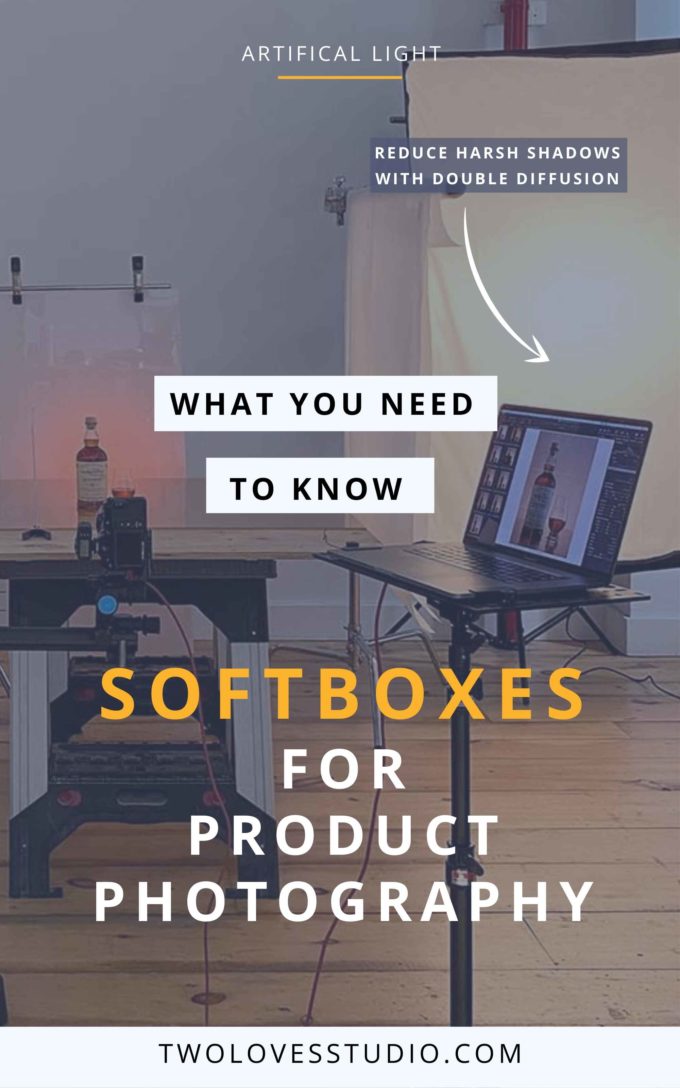
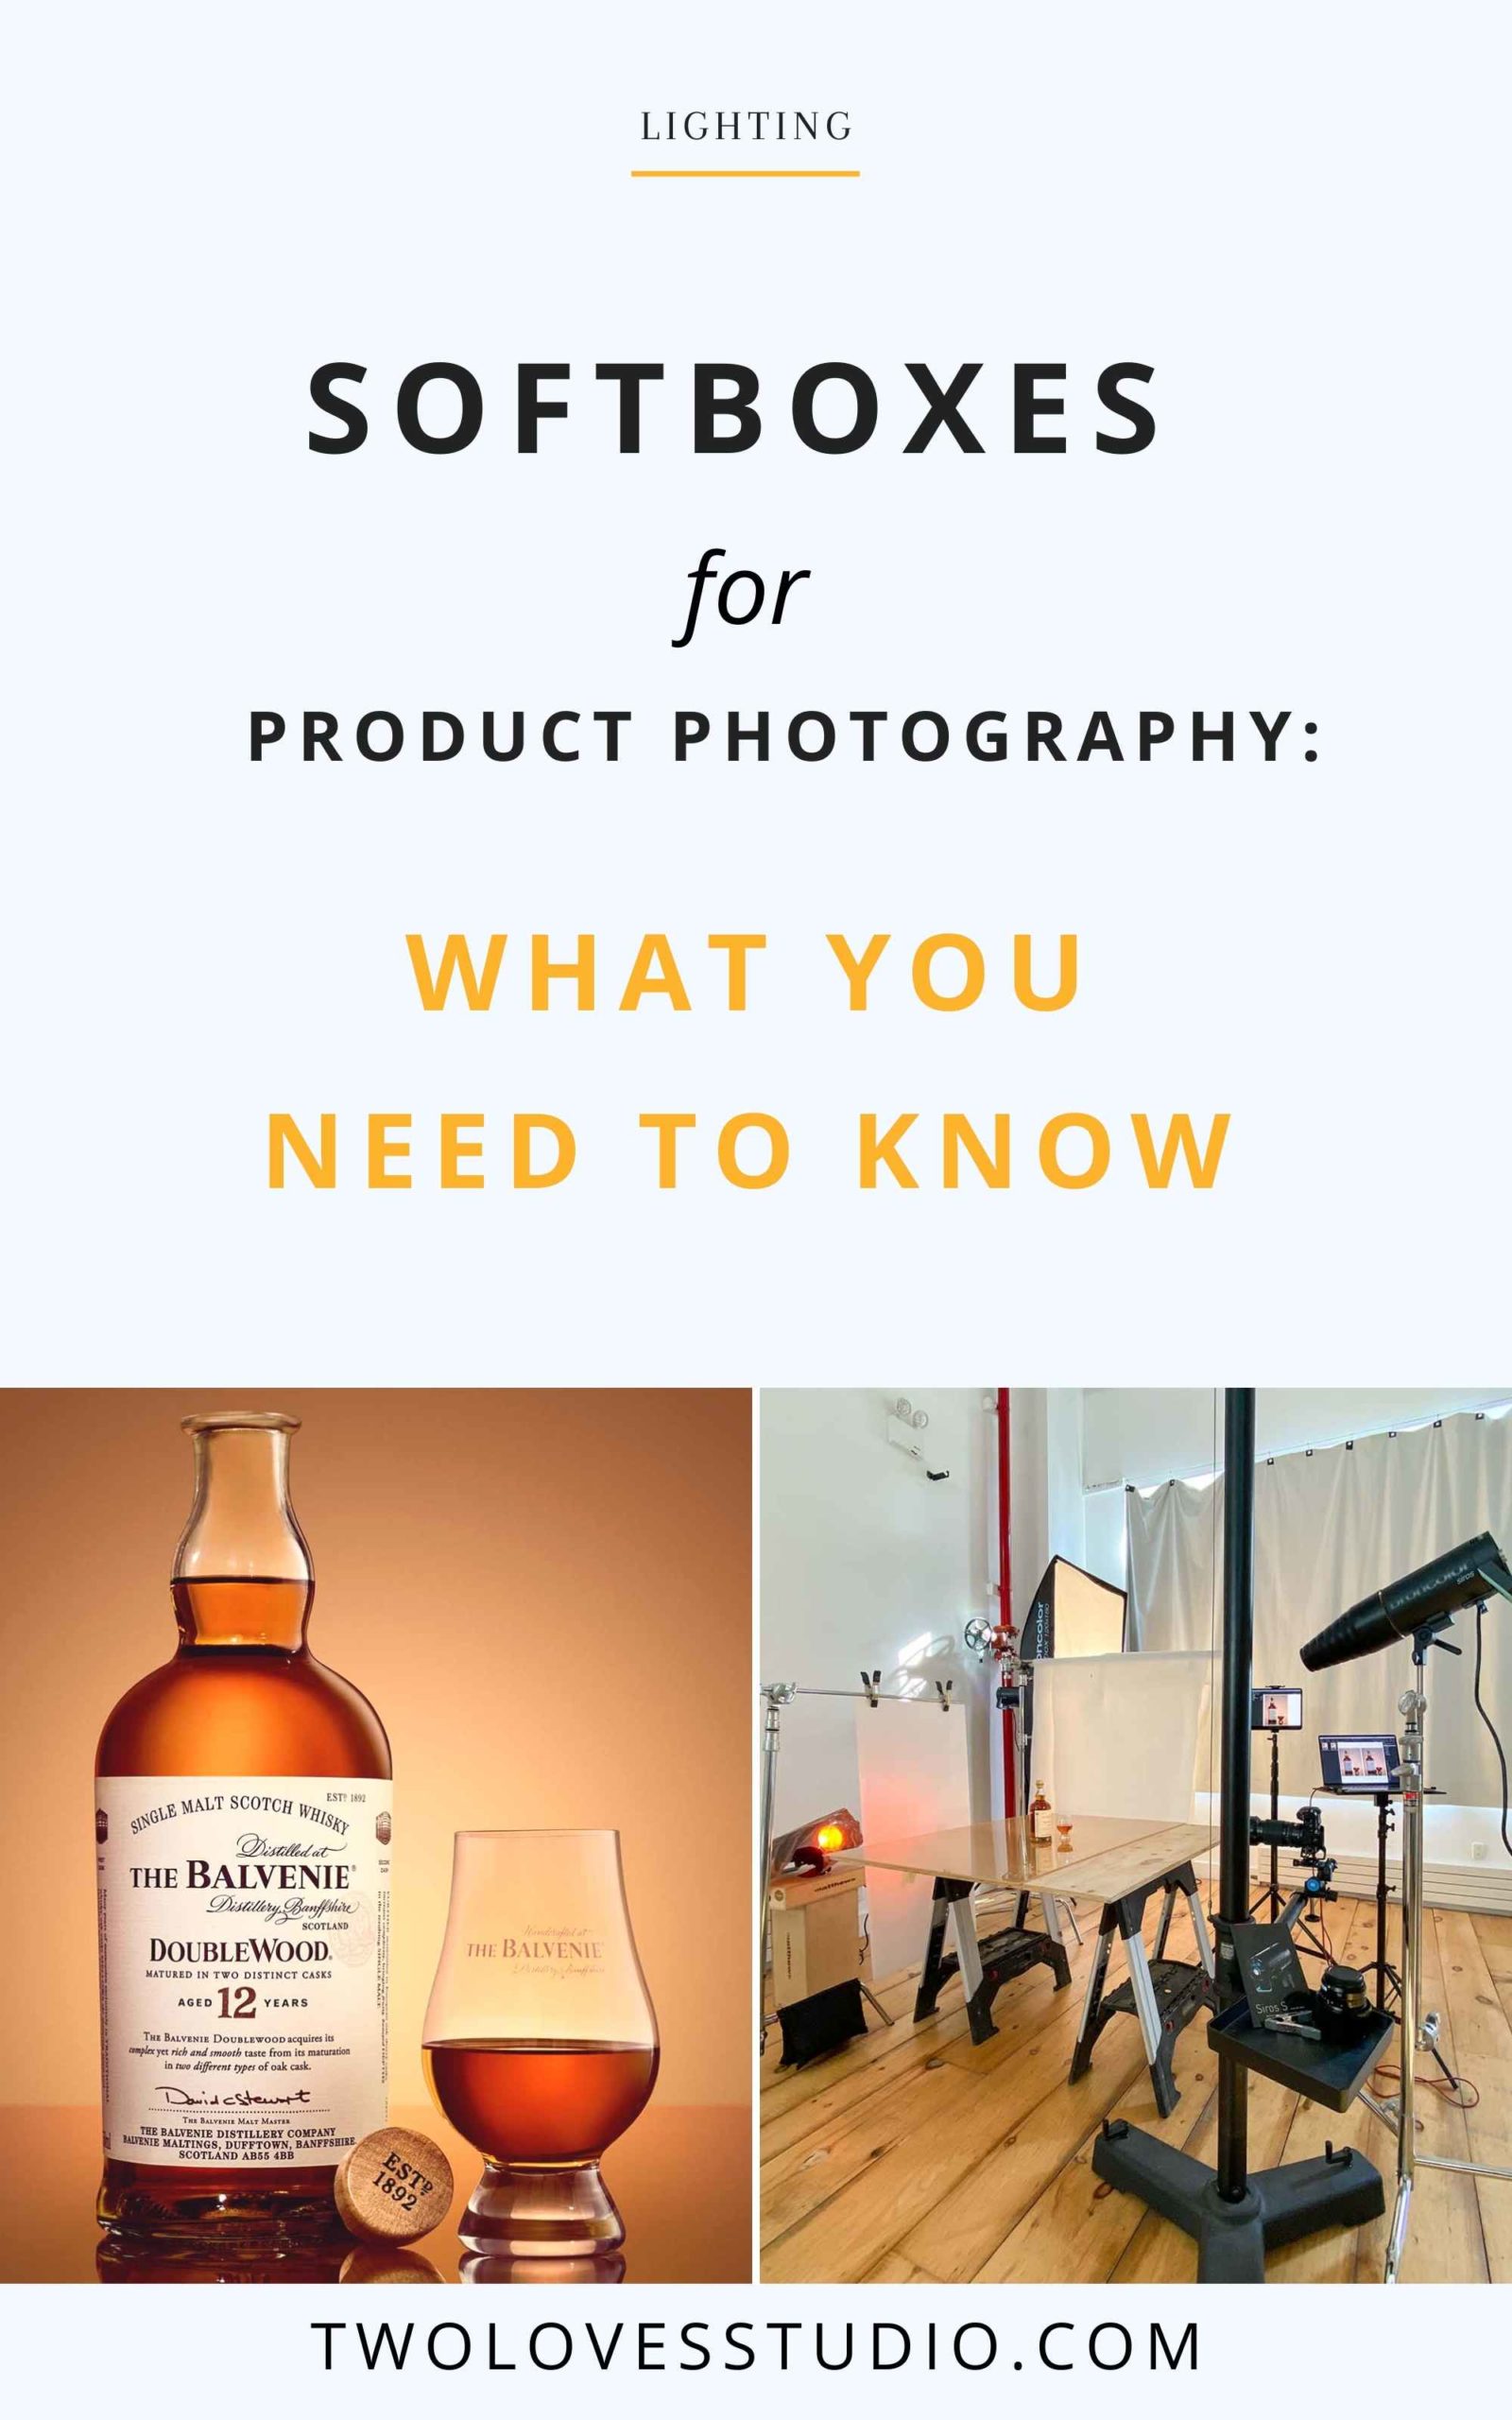
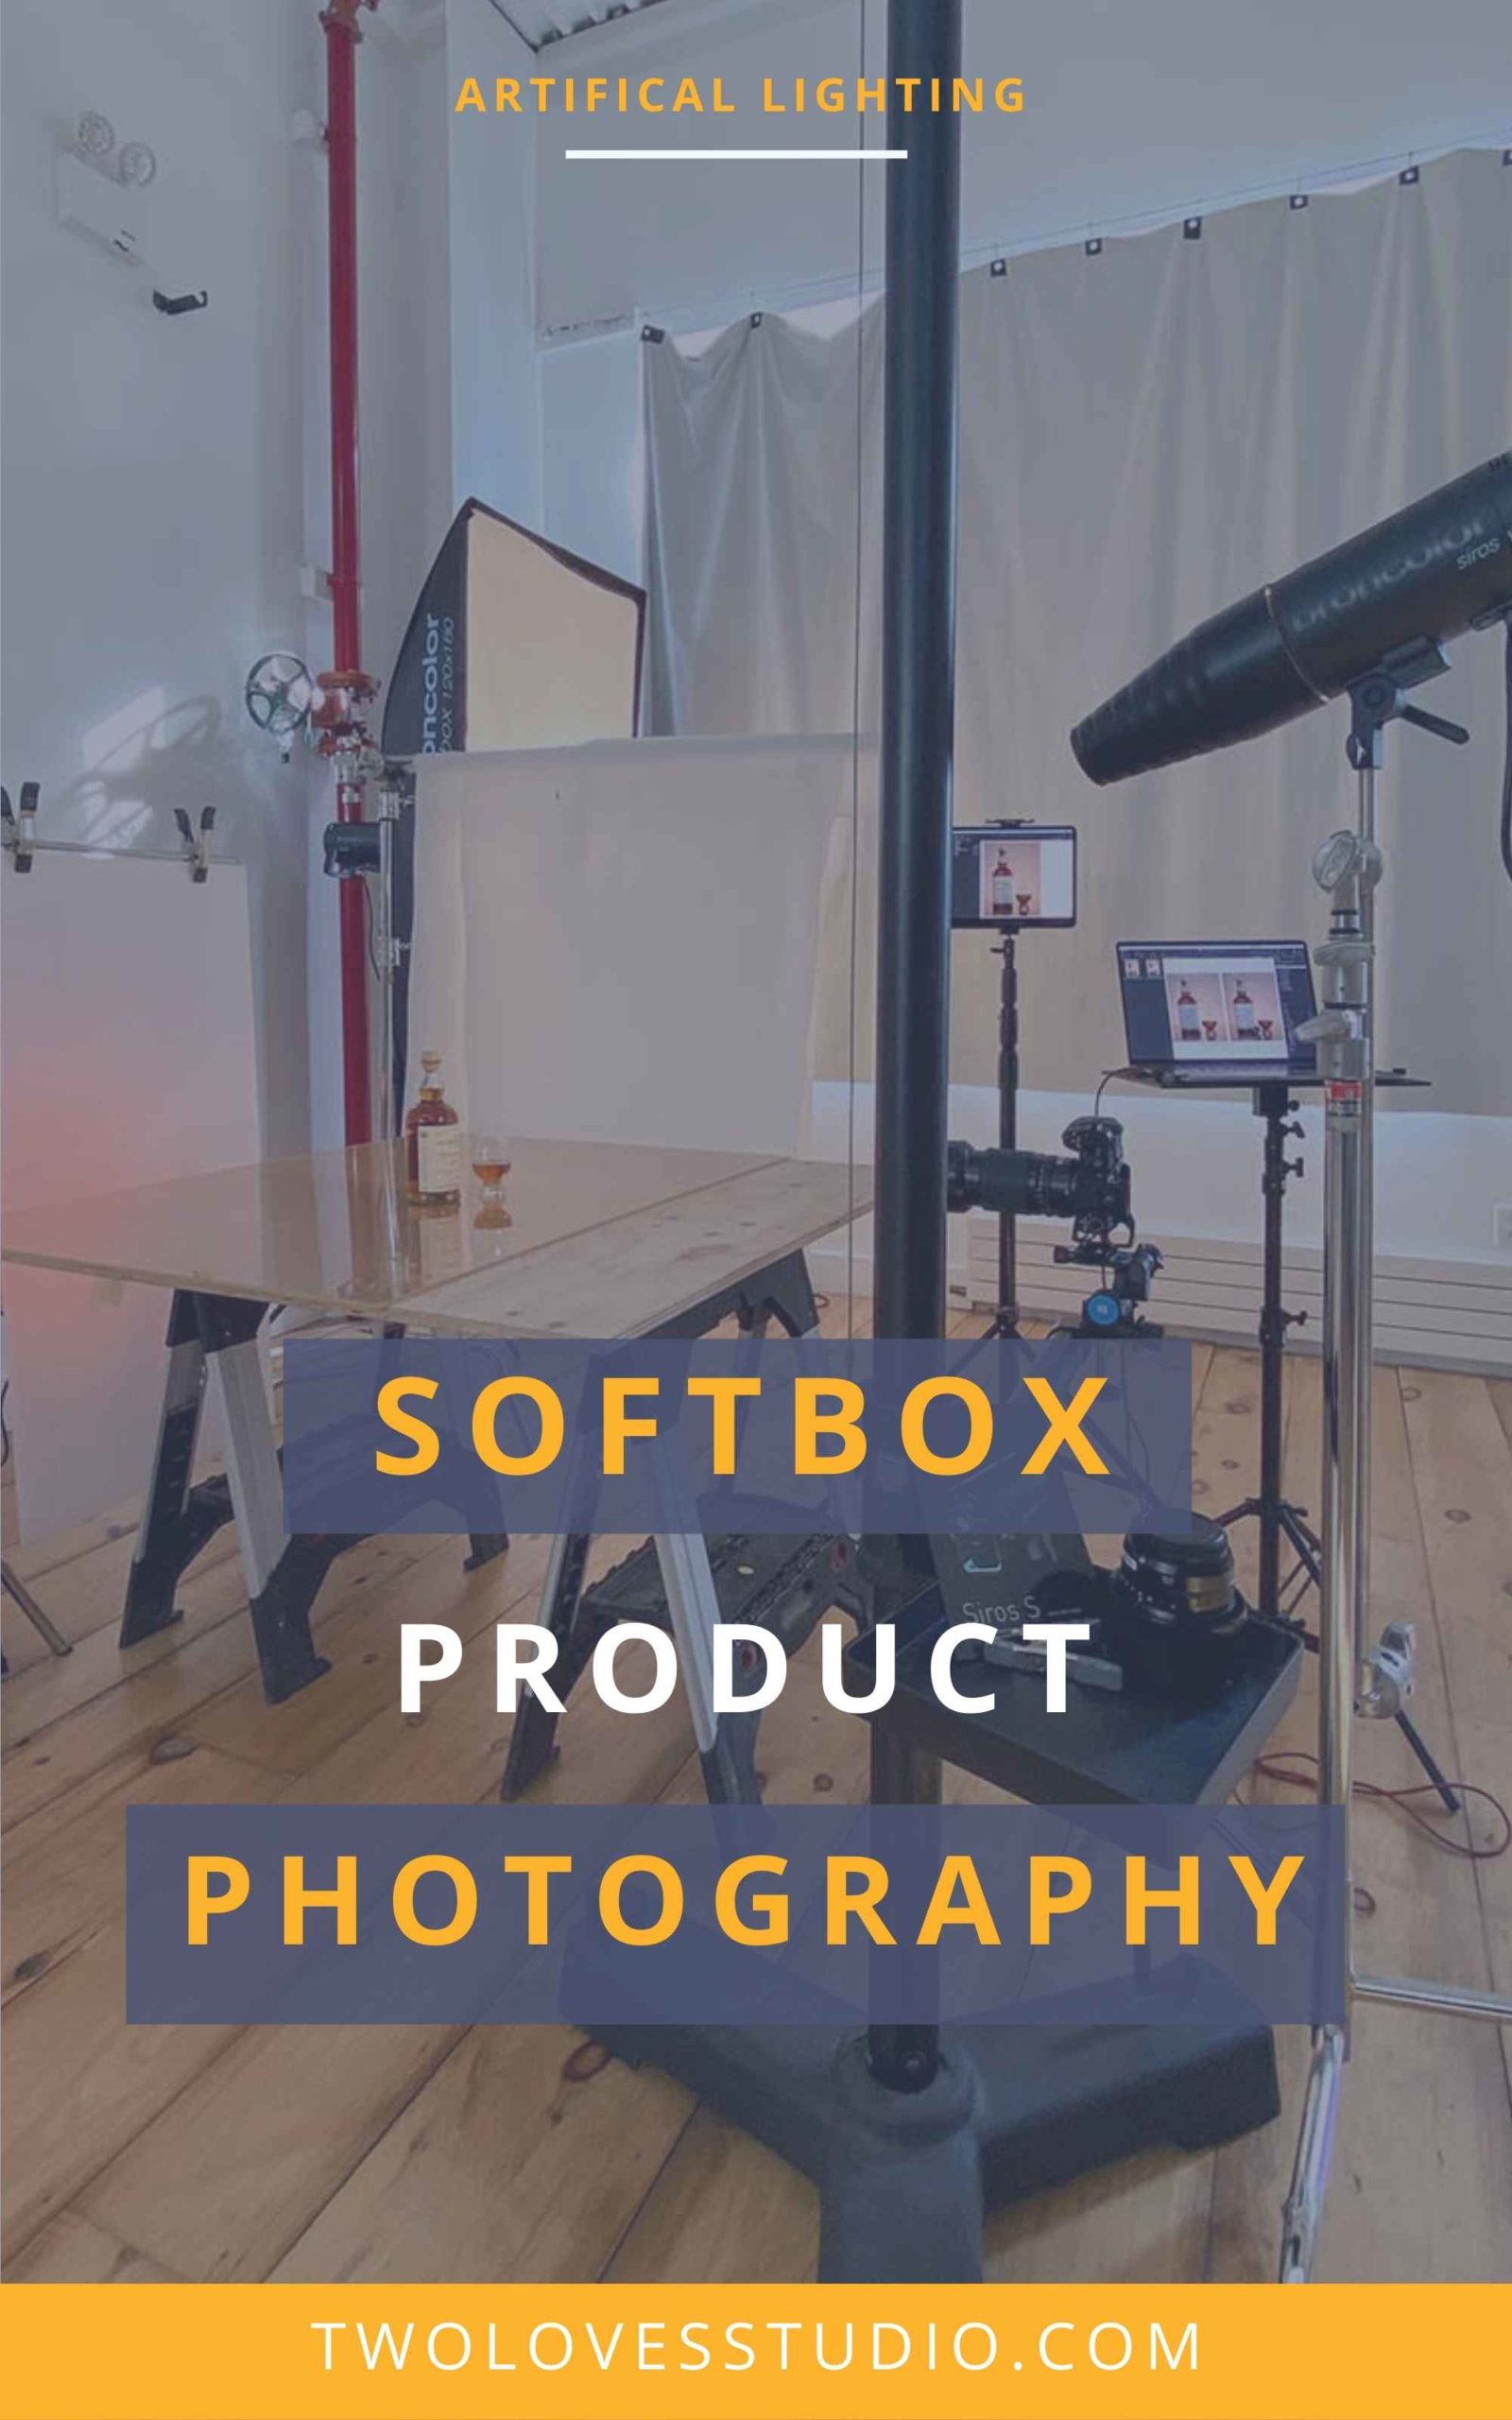
In this post, I’m going to show you the simple softbox set up for product photography that I use.
The key to mastering artificial light is simply having a better understanding of various lighting conditions so you can have the confidence to get the shot in any condition.
Softboxes are suitable for all types of photography, including product photography, and they can be a game-changer for your workflow!
Why I Love Softboxes for Product Photography:
Natural light can be tricky. It can change by the second and can make the consistency of images a challenge of their own. In the winter months in New York, where I am from, the sunset can set as early as 4 pm. This makes it crucial to have this skill set in your toolkit.
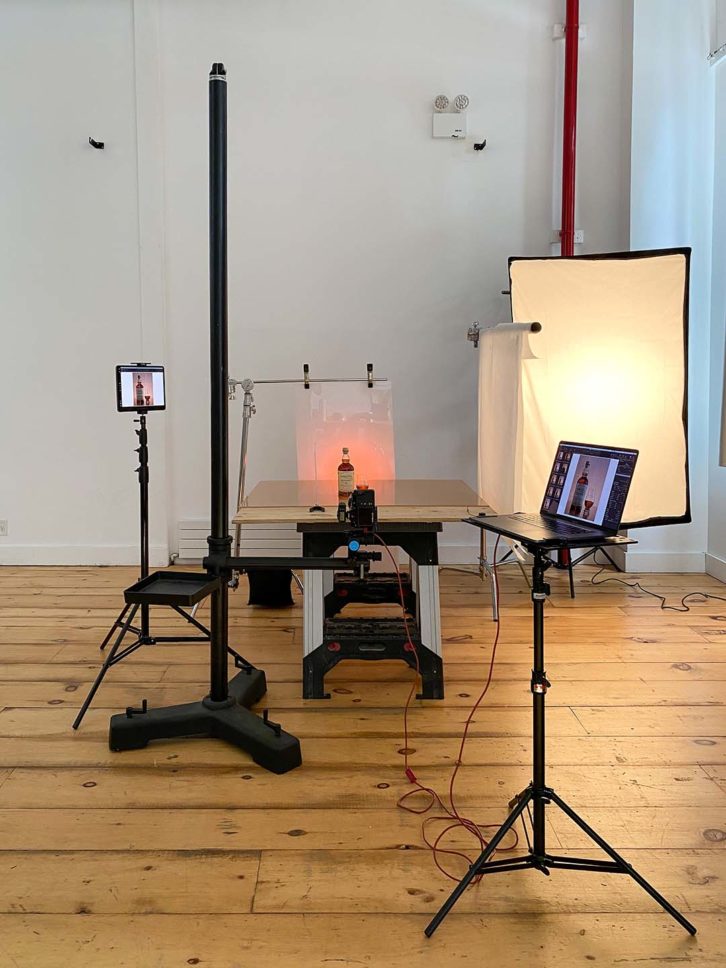
The first thing I grab, when soft window light isn’t available or I need to shoot a series of images is my softbox setup.
The best part of mastering artificial light is that it unlocks the ability to get the shot you want anytime you’re available to pick up your camera!
The Perks of Using a Softbox for Product Photography:
For my work, the bigger the softbox better. Below are my favourite reasons for using a softbox for product photography:
- Softboxes are an incredibly versatile tool to create artifical light in photoshoots as key or fill light.
- Most softboxes come with two layers of diffusion which reduces harsh shadows.
- Softboxes come in all sizes. My advice is you should choose the biggest one you can comfortably work within your space.

Softbox for Photography Gear List
This is a studio setup that requires a few lights (and some space!). Here are the key lighting pieces I used in this set up.
- Multiple Broncolor Siros 800 S lights for both key lights and fill lights.
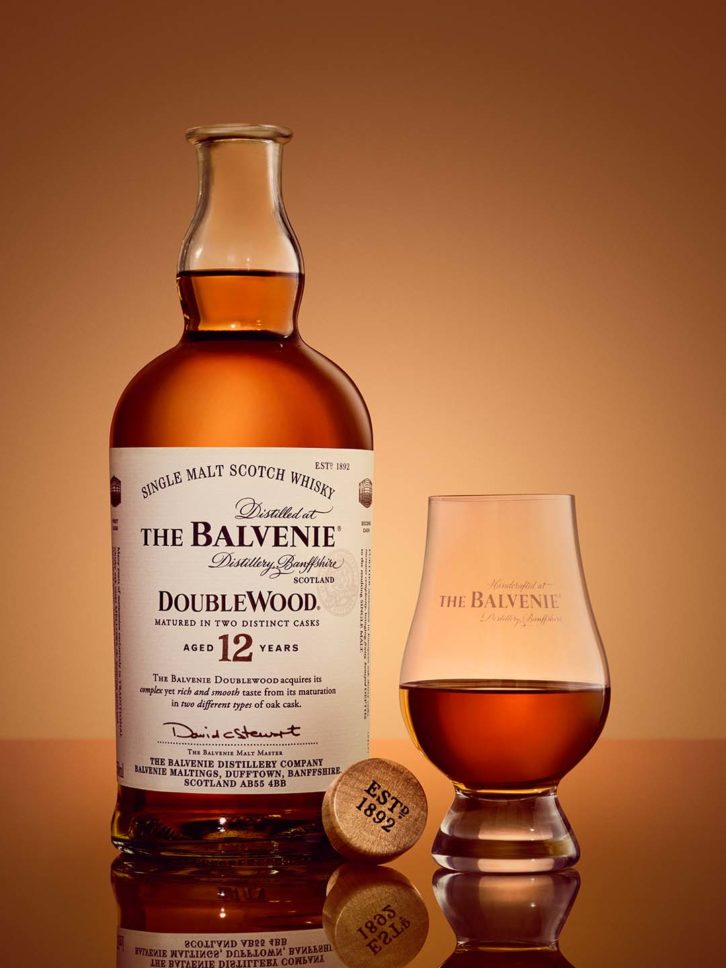
- Broncolor Softbox 120 x 180 cm for the main key light.
- LEE Filters White Diffusion to create soft light
- Red Gel on the back Broncolor Siros 800 S
- Plexiglass used at the back of the shot for the ‘warm’ glow
Would love to hear about your experiences using artificial light and softboxes in the comments below!
Further reading: if you’re interested in reading more about Lighting tips –
Simple One Light Photography Setup: Moody Black Forest Cupcake
Create Dappled Light Using a Speedlite: How to Guide.
Photography Flags: Add Stunning Dimension & Contrast to Your Food Photos.
Natural Lighting Food Photo Tips You Need To Know For Chiaroscuro Effect.
How Learning Low Key Product Photography Improved My Creativity
This post was written by Justin Sisson. Thank you Justin for sharing your insights on lighting.

Justin Sisson
Commercial Photographer – Justin Sisson
Justin Sisson is a New-York based photographer specializing in food, beverage and portraiture. Justin draws inspiration from minimalism, quiet scenes, & everyday French living. His fine art and commercial work are often interlaced as he explores beauty in simple moments. Check out my website or come say hi on Instagram.
Two Loves Studio was not paid to write this post, however, it may contain affiliate links. If you purchase an item from an affiliate link, we do get a commission on the sale which helps us run this site. Only affiliates for products/services we believe in appear on this site.


Alwin
Great article! Am still learning a lot and really wish I thought to gel my light and use plexiglass on a previous shoot. Now I have a new use for the big sheet of plexiglass I bought!
Rachel Korinek
Hey Alwin! Thanks for stopping by. Glad you loved this post from Justin. It’s a cool idea right? I love the look of it. I hope you can try it out in the future.
Jan
Thank you for sharing your experience with working with Plexiglas as back-/undergrounds! I read your article an immediately ordered a frosted acrylic. It works great, but I’m struggling with reflections, as soon as I use other strobes. Can you tell me, how do you prevent yourself from such reflections?
Greetings from Germany! 🙂
Crunchyroll premium App
Great post! I’ve been struggling with lighting for my product photography and this breakdown of softboxes really helped. I didn’t realize how much difference the size and type of softbox can make. I’m definitely going to try using larger softboxes for more even lighting. Thanks for the tips!