A tripod is an essential piece of photography equipment for any food photographer. It helps you get sharp photos and is a game-changer when it comes to building your composition. It is especially helpful when taking overhead photos. With a tripod, you can create professional food photographs.
So, in this article, we’ll go over how to photograph food with a tripod step by step. Let’s get started.
Make a Mood Board & Gather Your Props
Step 1: Make a mood board to figure out what you want to photograph before you start shooting.
Step 2: Set up your shooting surface/background. Marble is always a beautiful choice! For an overhead shot, if you don’t have a tripod that can go high, you can shoot on saw horses or a much lower surface.
Step 3: Start arranging your props in rough order — no food yet, just dishware and supporting props.
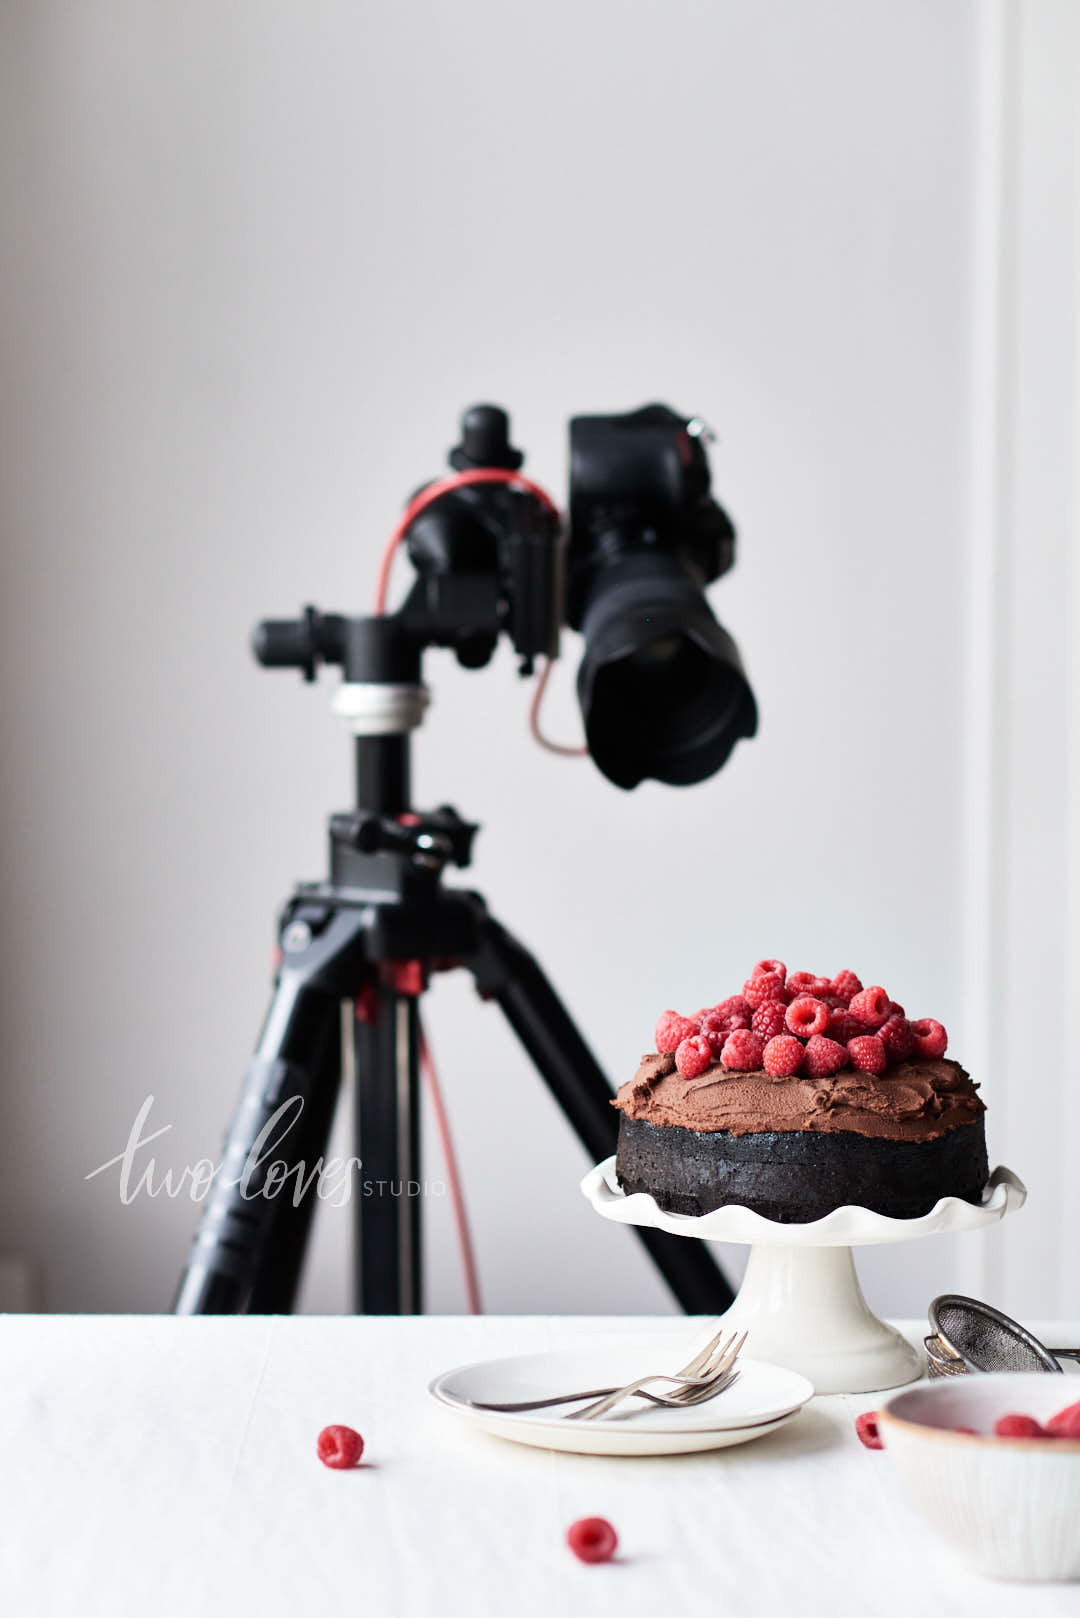
Step 4: Work out a rough composition — no food is on set yet, so simply figure out where you want your camera to be. Take test shots, or even better, use tethering to find that perfect angle.
Choose Your Angle & Setup Your Tripod
Step 5: Place your camera on your tripod once you’ve determined the angle from which you’ll be shooting.
Step 6: Set your camera’s shooting mode to “manual” and figure out the best settings for your food photo. See some general guidelines below.
Step 7: If you’re using beautiful natural light, set your white balance to open shade, overcast day, or daylight to get the approximate coolness or warmth you’re looking for. Remember that if you shoot RAW, you’ll be able to easily change the white balance in either Lightroom or Capture One.
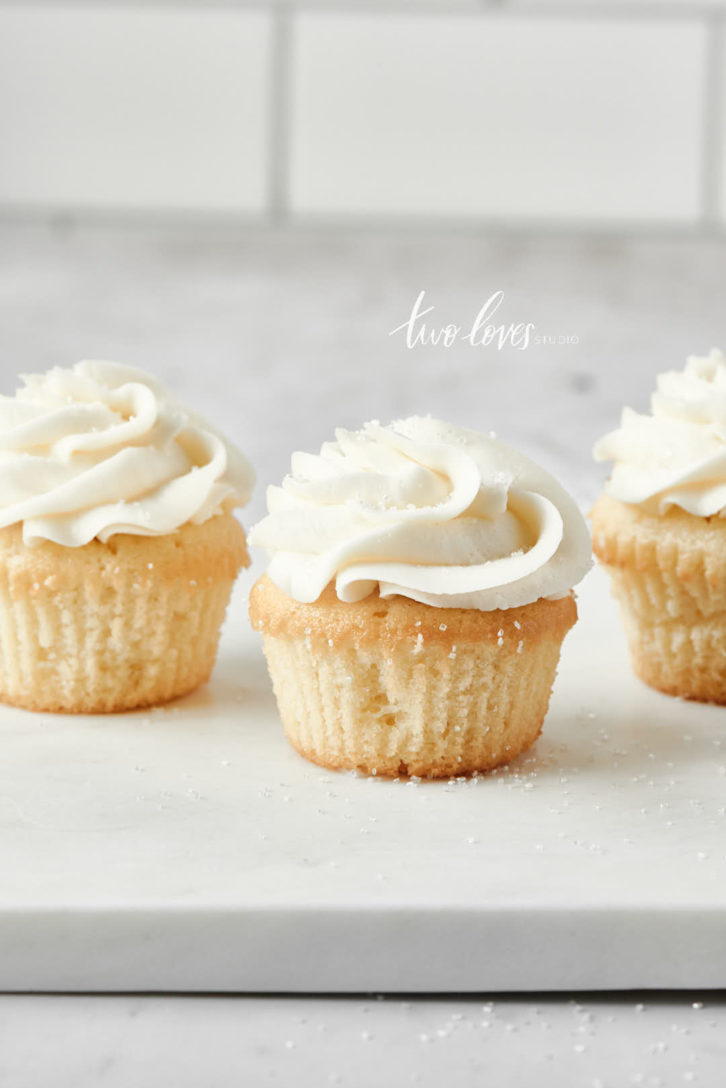
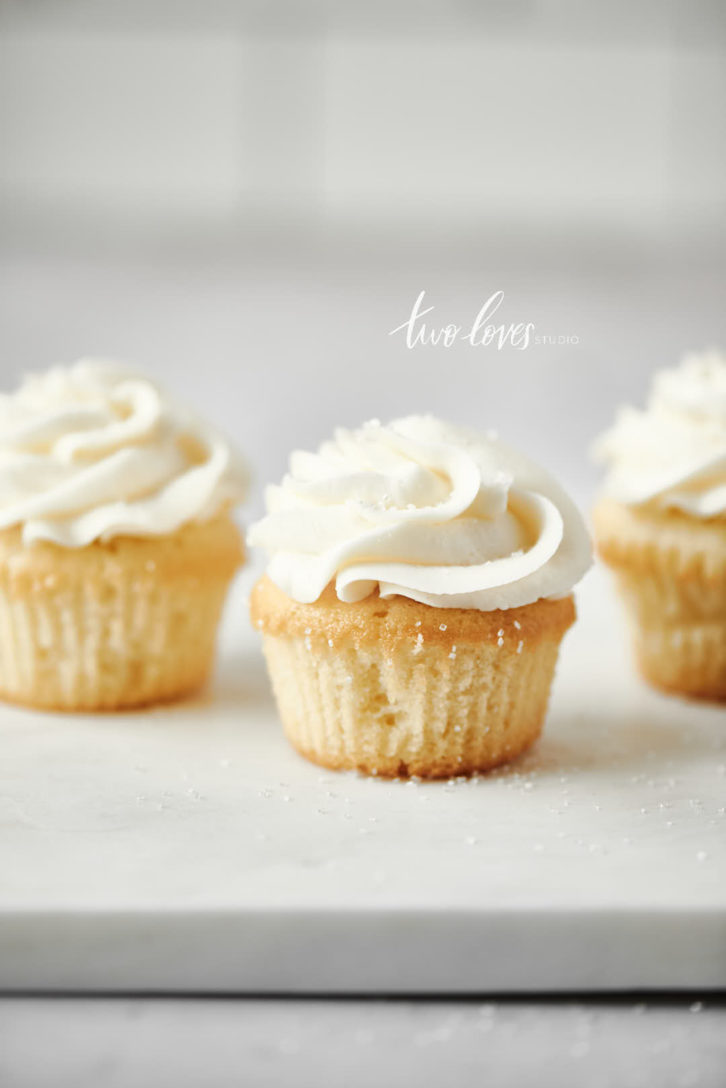
Step 8: Set your aperture to the f-stop that corresponds to the depth of field you desire; to get more or less in focus. It’ll depend on a number of factors, including the angle and plane of focus. In general You’ll need a wide aperture (lower f-stop number) like f/2.8 or f/4.0 if you want your background out of focus. If you want a lot of objects in focus, you’ll need an f-stop with a higher number, such as f/8 or f/11, which makes the aperture smaller.
Set Your ISO and Shutter Speed
Step 9: The magic of using a tripod is that you can choose a very low ISO to minimize any digital noise if there is nothing moving in the frame. So set your ISO to 100 or the lowest setting on your camera to being with. If you do have something moving in the frame, then you’ll have to adjust your shutter speed and then correct your exposure by increasing ISO.
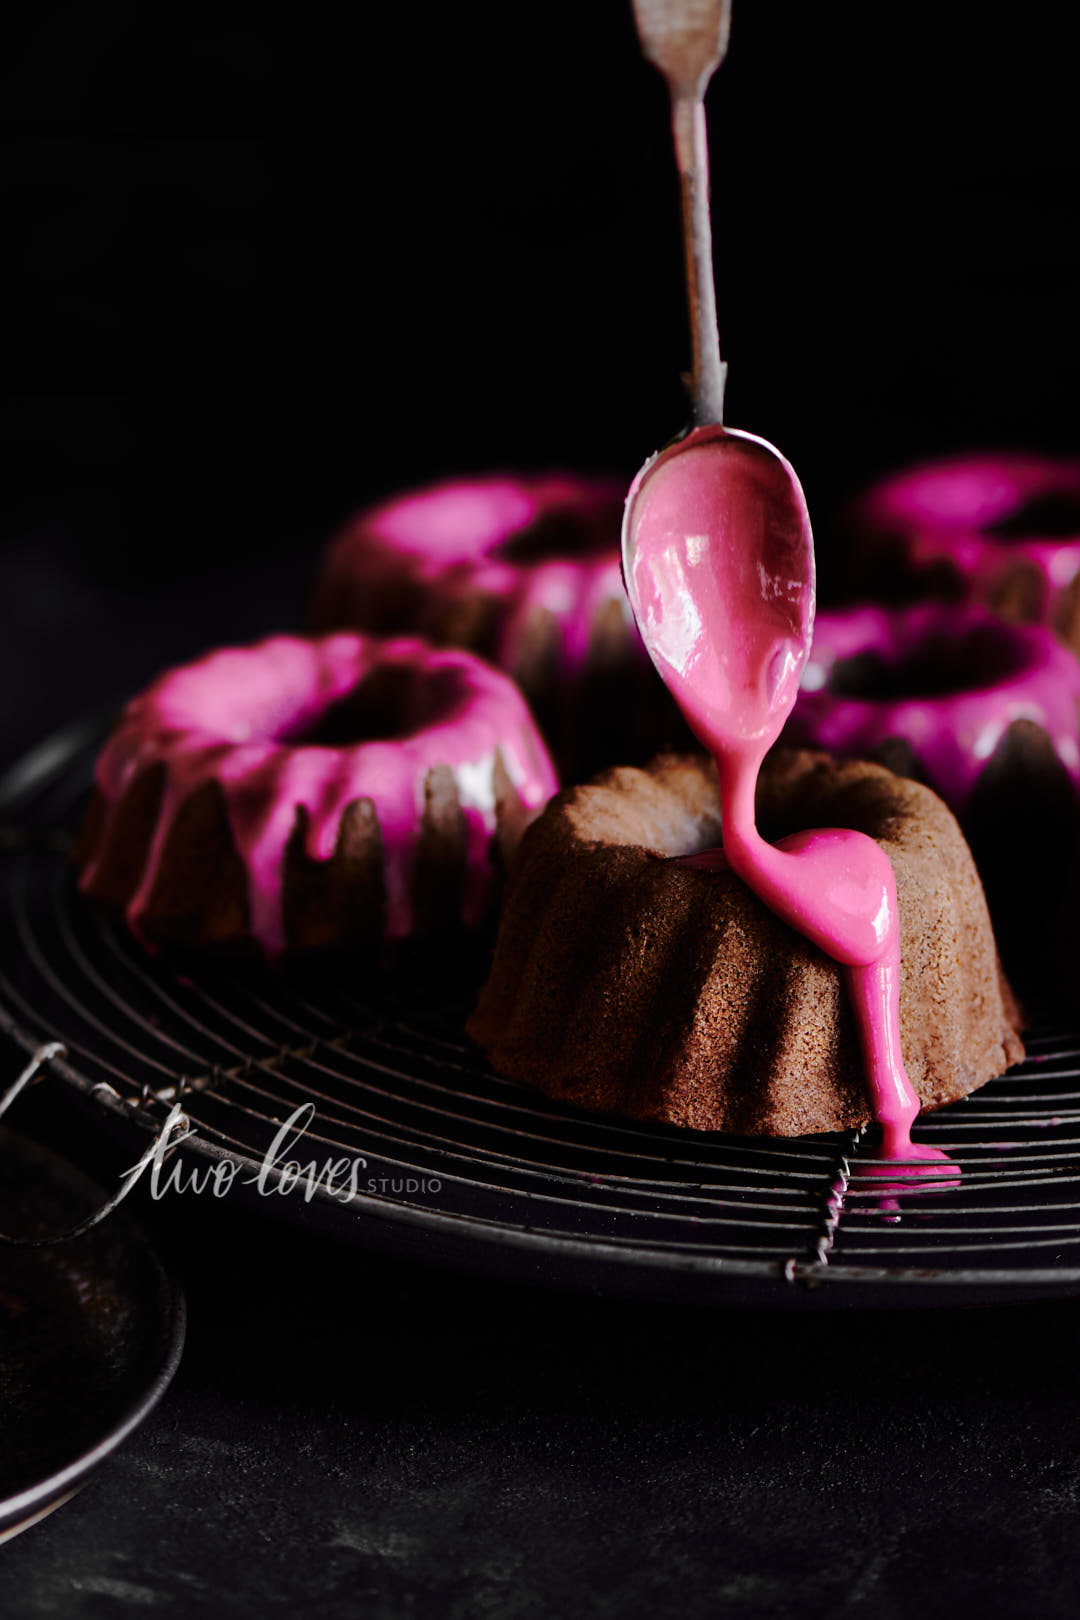
Step 10: Now, if nothing is moving in the frame, all you have to do is set your shutter speed to whatever it takes to achieve the desired exposure. The fact the camera isn’t moving means you’ll get sharp results even with long shutter speeds. If something is moving, like icing being dusted on a cake, or something being poured, you may need to choose a faster shutter speed and adjust your ISO to get the exposure you’re looking for.
Tips for Reducing Camera Shake When Using a Tripod in Food Photography
*PRO TIPS – if you’re still getting some motion blur when you’re shooting on a tripod, here are some ways to trouble shoot:
- Make sure you don’t bump into the tripod or your scene.
- Be still while the shutter is open. Walking around might create vibrations that travel up the tripod legs.
- Use a remote shutter release so that you’re not causing vibrations when you trigger the shutter. You can also do this when tethering, or if you don’t have either of these, use a delayed self-timer so that any vibrations have dissipated by the time the shutter opens.
Step 11: Continue to take test images until you’ve found the proper exposure with the depth of field and shutter speed that achieves your vision. If shooting natural light, the light will fluctuate while you take shots, as the sun and clouds move through the sky, so adjust your exposure accordingly.
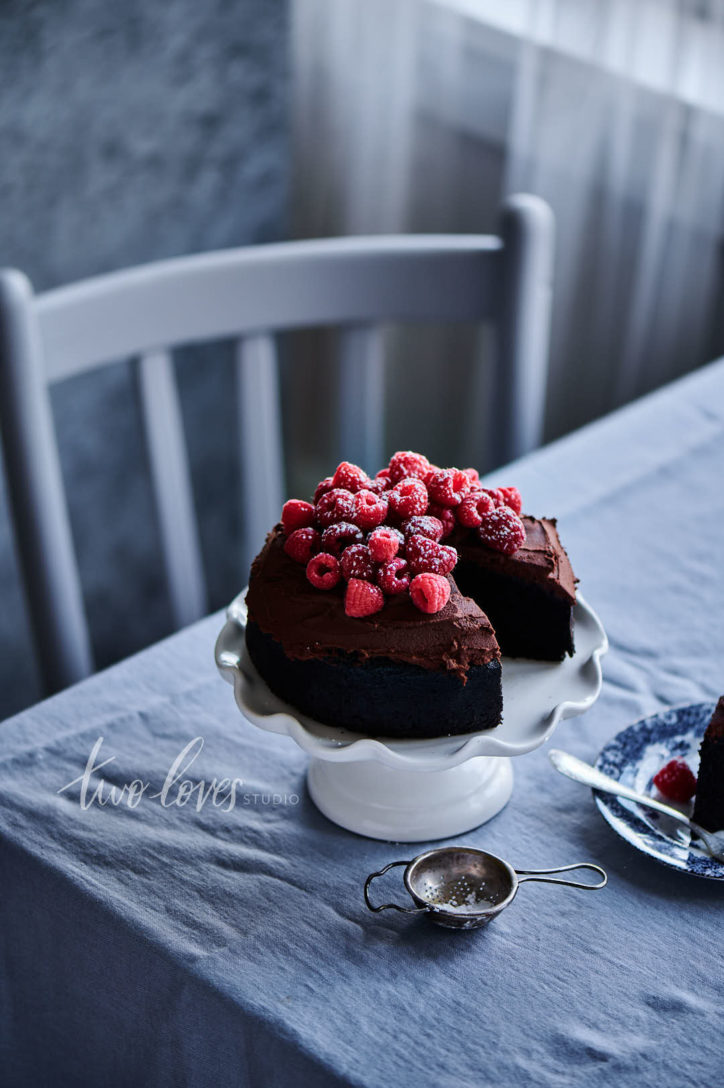
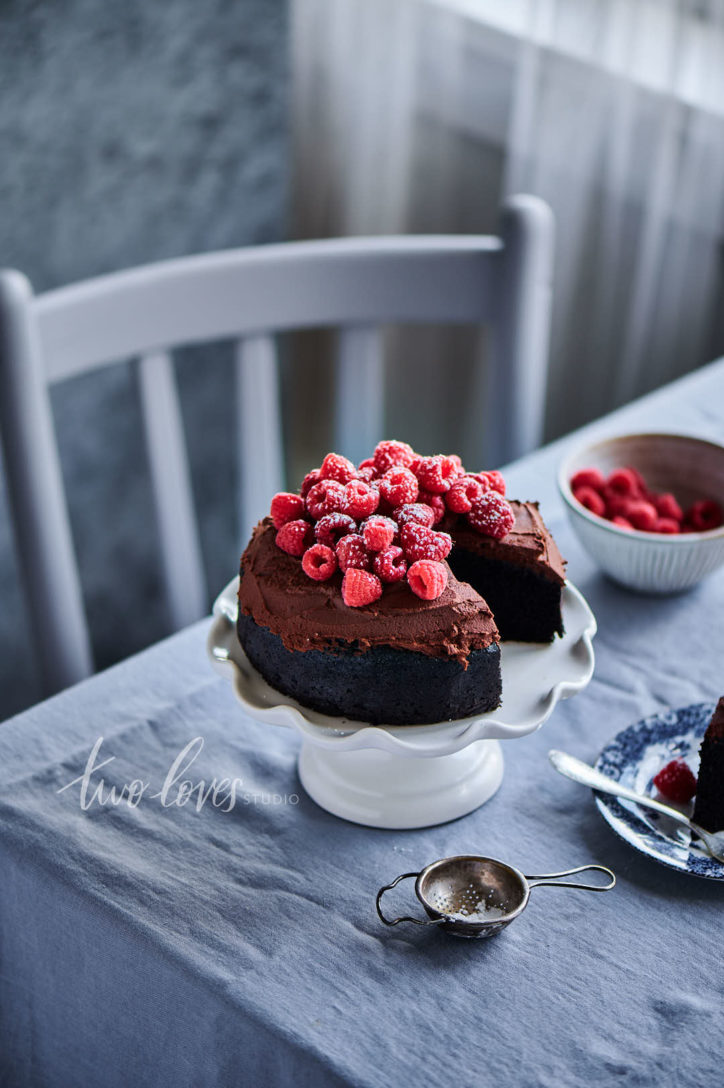
Play With Composition & Change The Position of Your Tripod
Step 12: Once you’ve got your exposure set up, begin putting your food in and take pictures as you go. For great composition, there are over 30 different composition + styling tools and techniques you can play with. Focus on the most important part of your subject that you want to draw the viewer’s eyes to.
Step 13: Work with your food, props, reflectors and negative fill in small steps. Then take a photo in between each little change, to determine what has to be improved in your shot. If you’re shooting tethered, it’s ten times easier.
Step 14: If you’re feeling stuck on the tripod and want to try another angle, feel free to take the camera off the tripod to play around. Once you find a new angle you like, build the tripod up to this new camera position to get the highest quality results.
Step 15: Keep shooting until you get the image you want!
Now you do not need to purchase a new tripod, but if you’re in the market, read the Ultimate guide to tripods for food photography. If that’s out of your budget range, you might be able to buy a nice used tripod for a much cheaper price.
It may take some time to get used to using a tripod. But if you practice on a regular basis, It will help you enhance your food photography so quickly that you’ll wonder why you didn’t get one sooner.
For more information, visit twolovesstudio.com


