I don’t know what the meaning of life is, but I can tell you that since having passion, aka photography, my life has been a whole lot more awesome.
Even if this wasn’t a career for me, or if I chose to do something else with my 9-5, I can say with confidence that I want to keep my passion burning.
Now, I am sure it’s no surprise that food photography, (and photography in general), is an expensive passion. But what do you really need to start food photography? Like actually?
But there are many ways of looking at it.
When I started out in food photography, I was a full-time student.
Which in any language usually means poor. I didn’t have any money to invest in anything. I also left my 9-5 to pursue this full time and I know the investment that goes into starting a business.
It’s so easy at the beginning to think that if we have the best camera, we’ll be the best photographer. It’s easy to want to buy all the gear. But at the beginning, better gear doesn’t automatically make us better photographers.
We’ve got to work and practice for that.
So I am here to set the record straight!
What do you actually need to start food photography? What’s the recommended path to take for beginning food photographers.
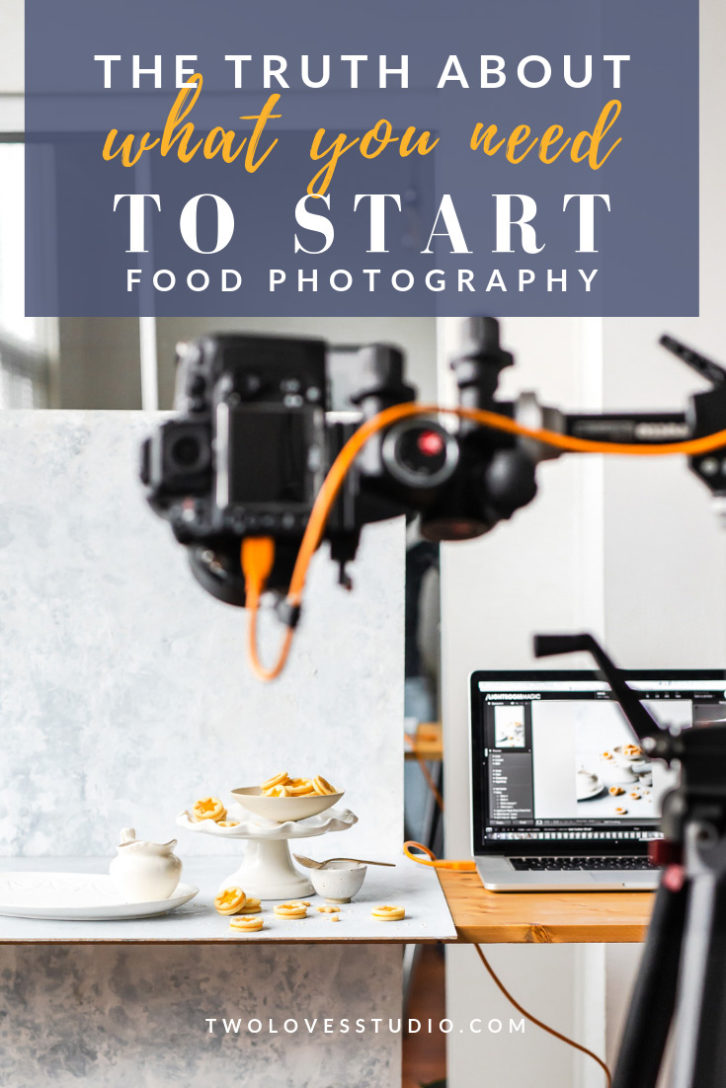
Invest In Your Passion The Smart Way
To get started it’s less than you think. Most of us will have fallen into this niche out of passion and creative pursuit.
We’ll likely already have access to some kind of camera.
We only need the basics here. There’s a bit of science and math mixed in with creativity in photography.
And to be a great photographer we’ve got to be a good problem solver and we’ve got to be smarter than our gear.
So access to a camera that allows us to shoot on manual and has a basic kit lens is all you need to get started.
To get started in food photography you don’t need props, backgrounds or even fancy food. Now, I hear a tisk in your voice.
But how can we do food photography without food?
Well, I’ll ask you this: how can we do photography without knowing photography? Let’s elaborate on that.
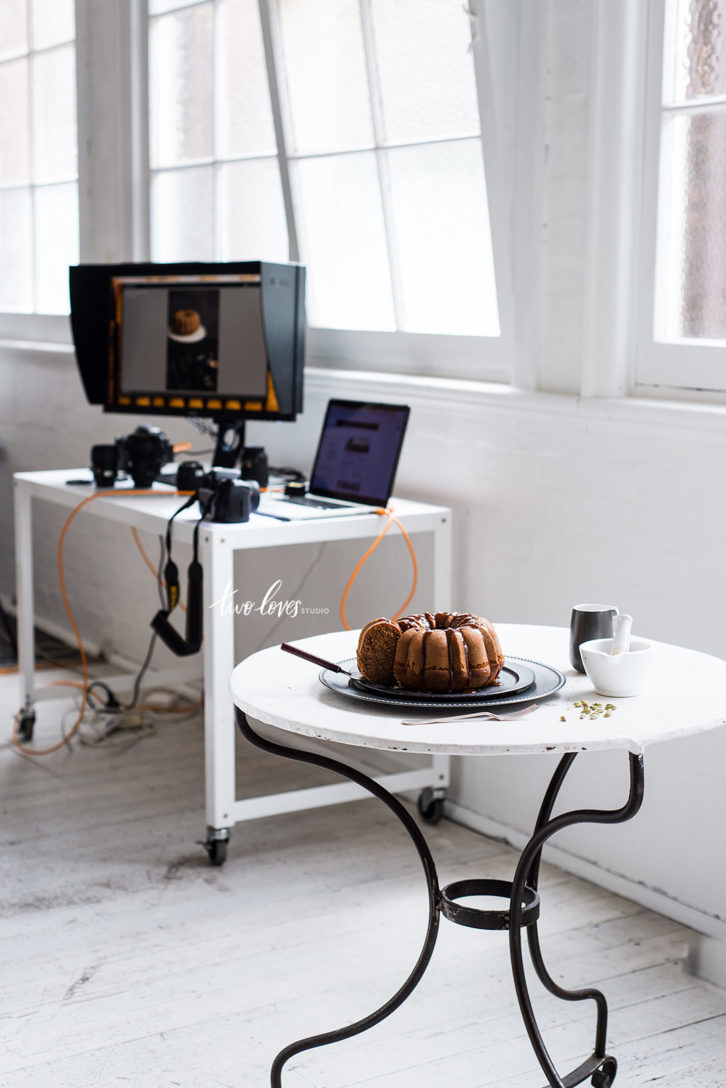
Don’t Worry About The Food.
Food photographers have it bad.
We have so much that we need to control and create in order to get that perfect shot. We have to be great at still life composition, not to mention be great stylists who can source and chose props.
And I haven’t even gotten to the part where we have to be amazing chefs who know how to cook food for camera.
Then have our photography technique down so we can capture all the hard said work above into a shot.
The quickest way to frustrate yourself and quit is to try and tackle this all at once. If you’re going to be a food photographer, at the core – we’ve got to have the best photography skills.
That starts with the basics.
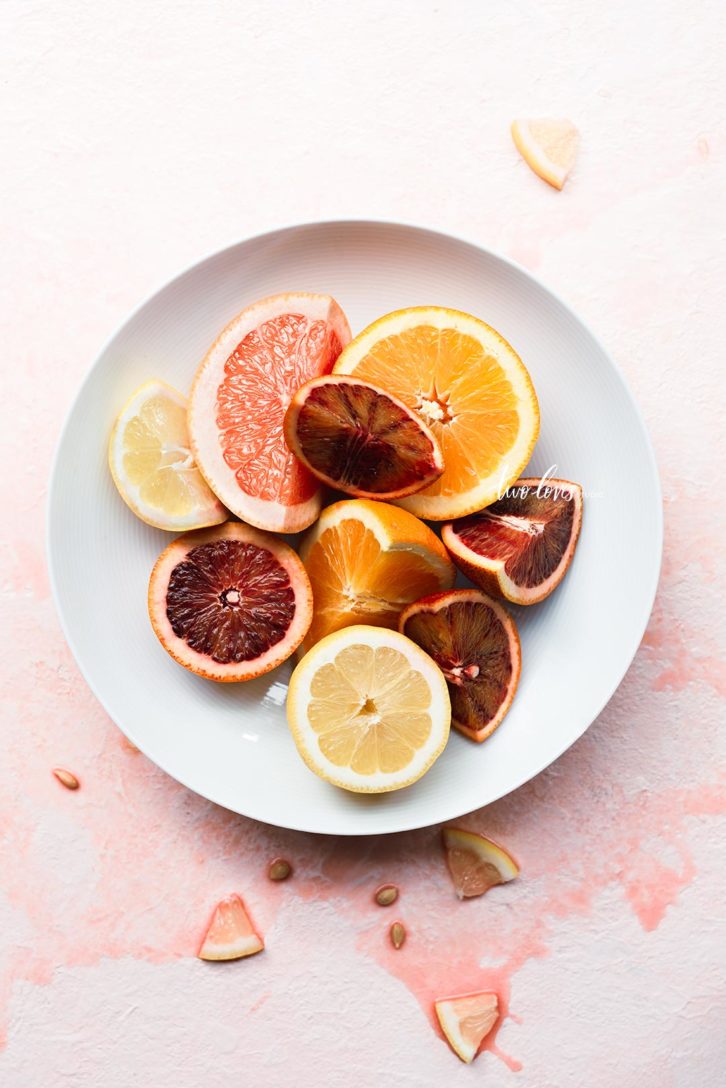
So start out with the camera you have and the classic bowl of fruit.
Why You Don’t Need The Most Expensive Camera
Let’s talk about the camera next.
Any established photographer will tell you that their biggest pet peeve is when they get asked ‘what camera do you use? It takes amazing photos’… Cause it ain’t about the camera.
You could have the most expensive camera of all time, but if you don’t know how to use it, your photos won’t really be any better than an entry-level camera.
Camera technology is amazing, but humans are more amazing.
So the best investment you could make for your photography right now is to invest your time in understanding the foundations.
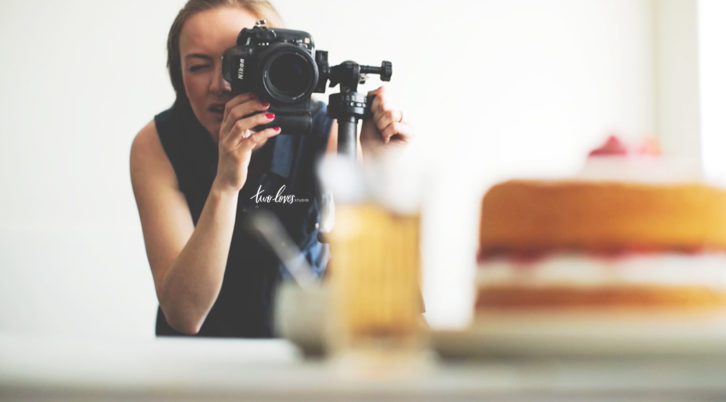
With strong foundations, you’ll be free to explore food styling and composition.
When I first started in photography, I had a point and shoot camera. I could shoot Manual, Aperture Priority and Shutter Priority.
Then when I started to realise this was a thing for me, I borrowed a DSLR from my dad.
I practiced shooting a bowl of fruit like every other photographer (it works guys. No need to reinvent the wheel here). I didn’t own my very own camera till years later.
Cameras change all the time. The technology inside them gets better and better.
So our cameras are something that we will very likely upgrade. As you start to learn about photography, you will also learn about what you actually need in a camera.
If you take good care of your camera, you will be able to sell it onto someone else who’s also just starting out.
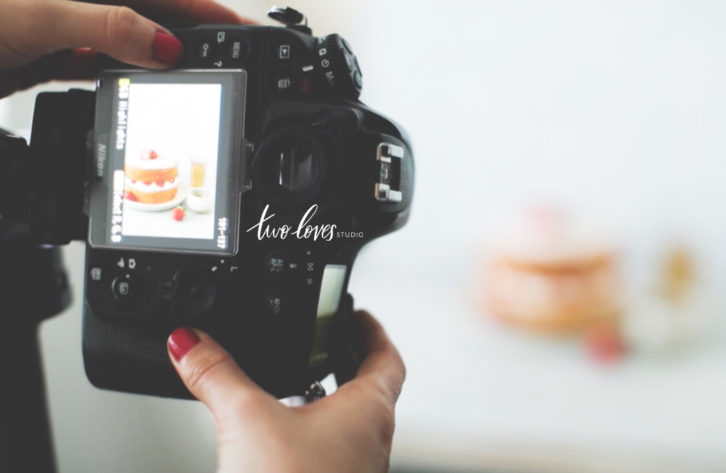
Your First Lens
A lot of the time your camera will come in a package with what’s called a ‘kit lens’.
Quite often that will be an 18-55mm zoom. It’s a good place to start if you’re getting a great deal on a camera and lens.
Advising on your first lens is a little tricky, as the type of camera you have, (so either a cropped sensor or full frame), will change the ideal lens.
However, the Nifty Fifty is a great lens. Its very good quality and dirt cheap. Hence the name.
It’s a great all rounder lens that is also very handy for shooting flatlays and most other types of photography (on a full frame).
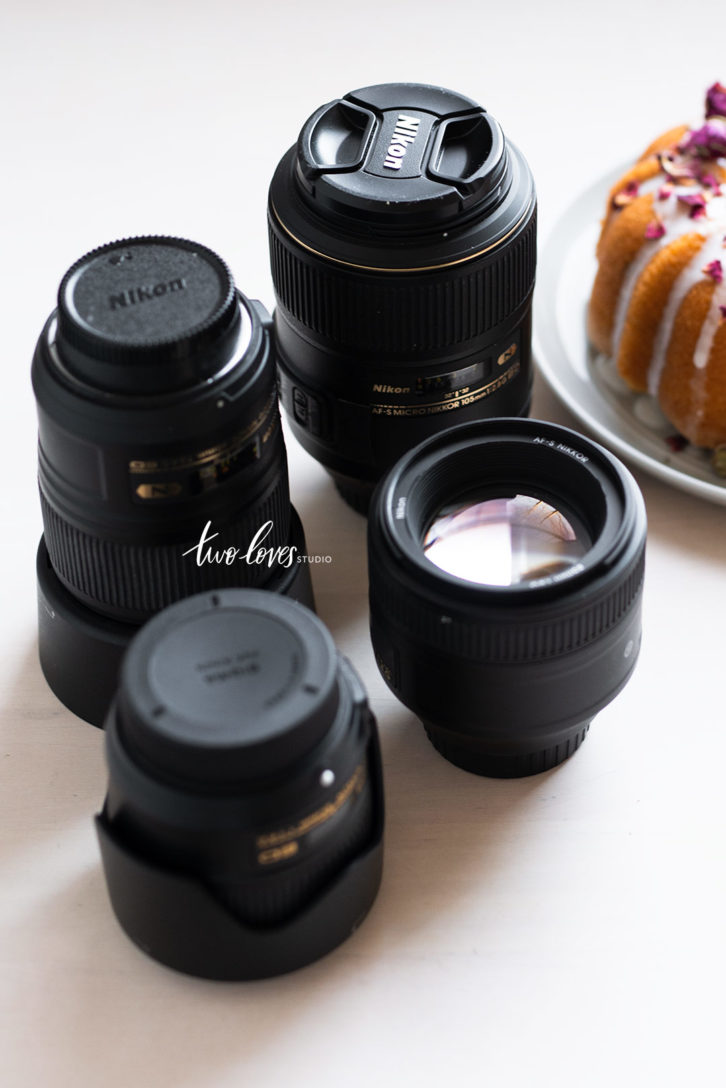
There are 4 kinds of lenses I recommend for food photographers and you can read about those here if you have more budget to spend.
If you have access to it, renting a lens or borrowing one from a friend (if that’s even possible) is a great way to learn about what they shoot like in real life.
It’ll also help you to determine what kind of lens you need for the kind of angles you want to capture.
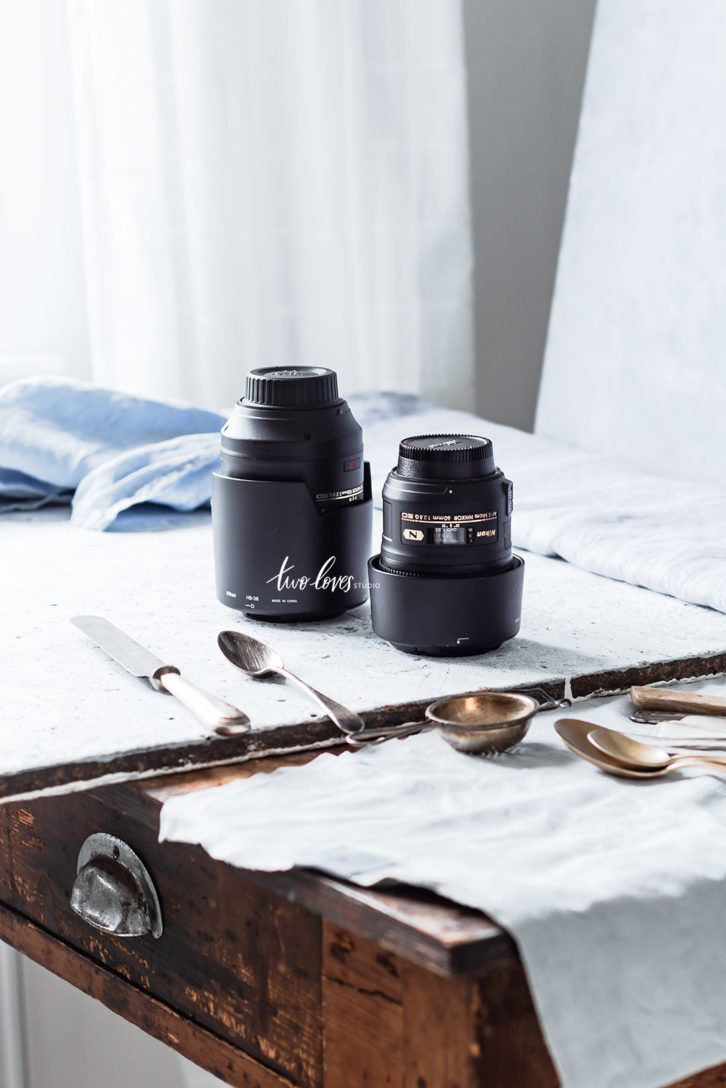
Starting a Prop Collection
Any food photographer no matter how long they’ve been doing this will tell you that propping is addictive! And just another expensive task in the life of a food photographer.
To successfully start a prop collection that will last you, it takes time.
It took me 5 years to actually figure out what props suit my style and what I really, truly needed. Now that’s not to scare you by any means.
During that time I had many props I loved, but I didn’t fully understand how to create a prop capsule.
There is an element of seeing is believing here. Until you can see what size plate a salad best fits in, or how deep a bowl should be for noodle soup, you’ll likely buy props that are too big.
So the way you don’t break the bank is to thrift shop.
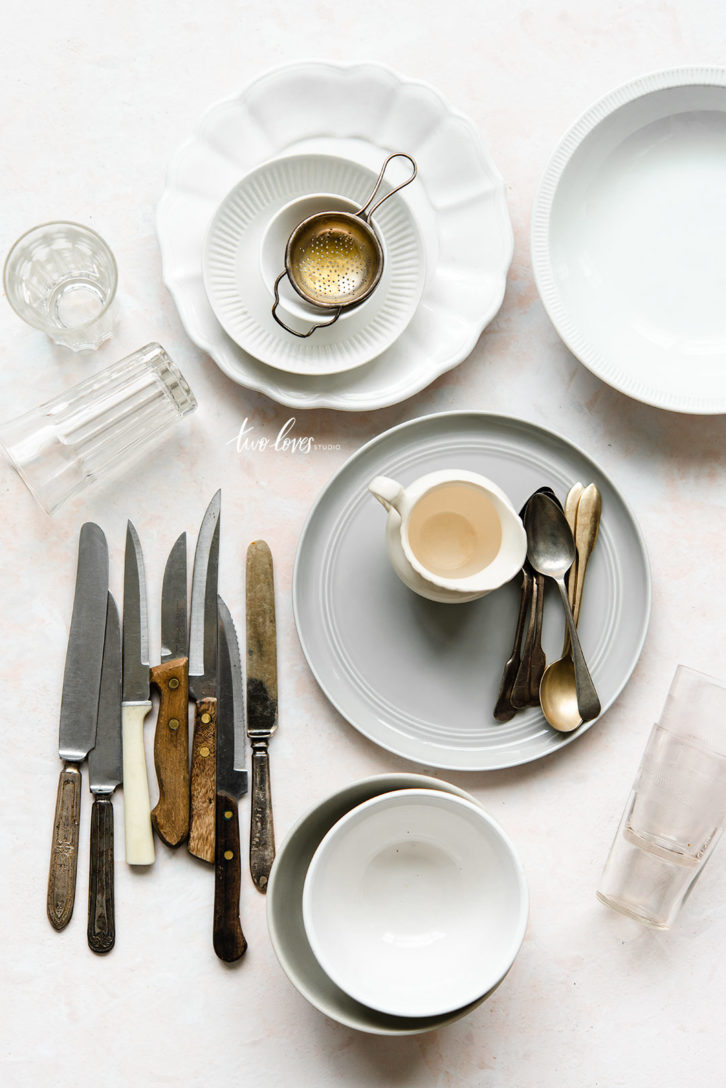
Neutrals, whites and grey bowls and plates can be found at the thrift store for dirt cheap. It’s usually cheaper than renting props and you get to keep them for as long as you like.
Make a habit of going thrift shopping to see what’s new.
It’s the best way to start exploring with sizes, colours, patterns on the cheap. Anything that didn’t work, you can donate again.
Meaning you’ve supported a charity learned more about what props will work for you and you haven’t broken the bank.
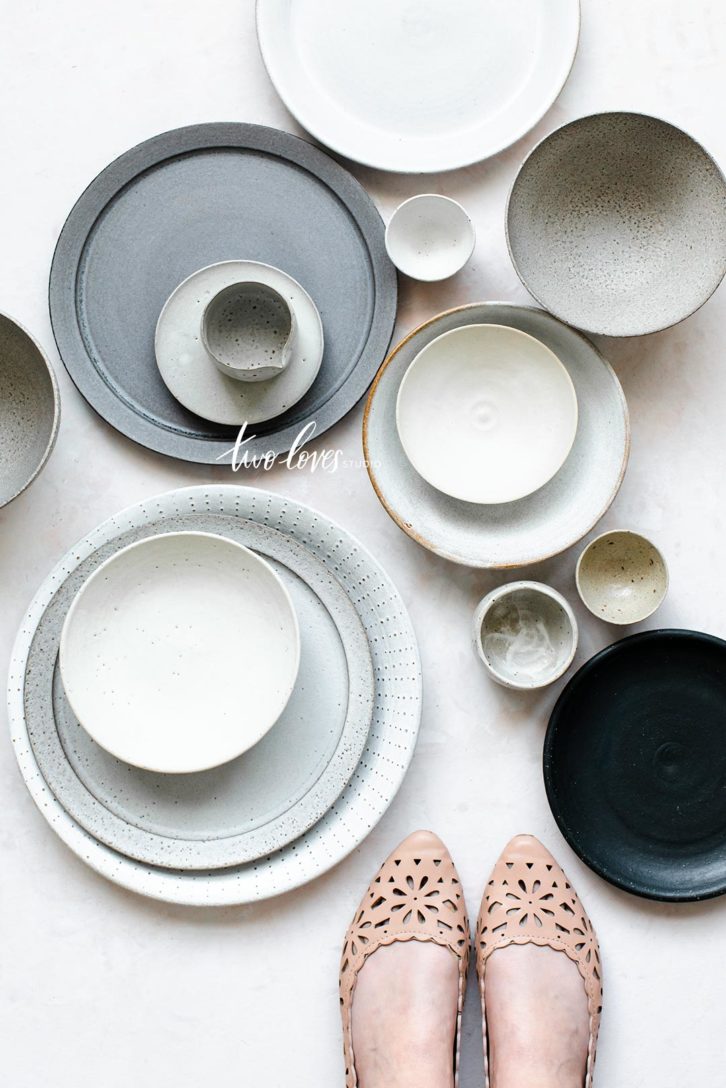
Learn how to arrange props in a scene with my composition masterclass.
Investing in Resources
Once you’ve made the commitment to learn about photography, you’re ready to start building niche skills.
I built Two Loves Studio and my online classes from the perspective of how I like to learn. And that is to fully dive deep into each concept of food photography.
I was tired of reading and learning a little bit about everything, and being left to figure the rest out on my own. Which by the way is how it happened.
There wasn’t much beyond the basic level of food photography when I first started.
When new photographers approach me and ask me what courses they should take, here is my suggested trajectory:
- Buy a camera (you’ll be amazed at how many people want to take a $400 course without a camera. Save your money towards a camera!)
- Practice shooting on manual mode.
- Learn the art of Composition + Styling for food photography.
- Take a cooking class, or knife skills course.
- Learn how to edit powerfully.
It’s important to learn from photographers you admire. Each creative has a different way of looking at things. It helps you to discover how you’ll see and style your scene.
How you will find your own style.
My best advice is to take a beginner course that covers all the basics once. Then from there take classes that dive deep into one subject.
That’s the path to mastery!
Where Should You Spend Your Money
No doubt photography is expensive. In my first years of living with my now husband, (also a photographer), we had nothing in our small apartment.
5 years of living there, people would assume we just moved in.
But the reality was that we spend our money on camera gear rather than furnishing our apartment.
The point to me telling you that is that you’ve got to think about what’s important to you. What will bring you joy in life? Maybe that is a nice couch or home decor.
But for me, it was creating.
It’s nothing for someone to buy two cotton tees worth $35 each. But a vintage cake rack for $60, well that’s just out of the question. But is it really?
How I Did It
So if you have limited money, like I did when I first started out, here is how I saved and invested it into my gear.
- Bought a second hand cropped sensor DSLR camera
- Started a small prop collection with thrift store purchases
- Bought a reflector-diffuser
- Borrowed or rented lenses like 24-70mm 2.8
- My husband lent me his tripod (read more about the ultimate guide here)
- Saved up to buy a 60mm macro lens (my husband had a 50mm lens already)
- Learned about natural light
- Saved up to buy a D600 full frame camera (latest DSLR at that time)
- Bought a 105mm macro lens
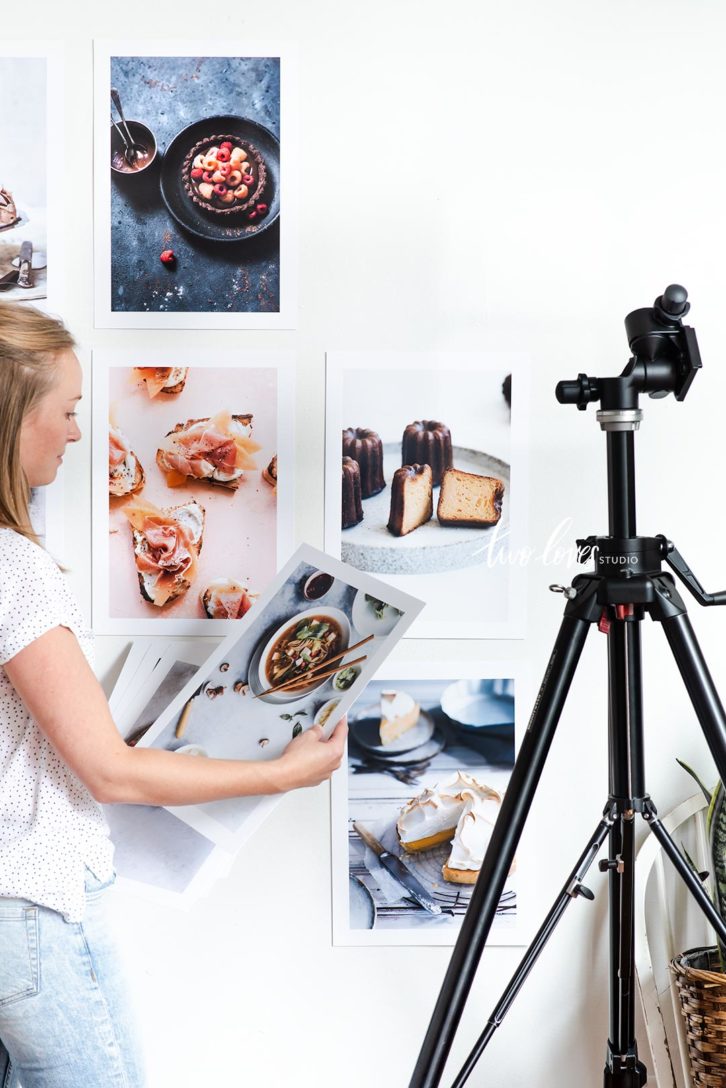
Some of the best advice out there is to invest in the best lenses you can possibly afford. They last you your entire journey and can be sold to reinvest if you take good care of them.
Read more here about which lenses I recommend for food photography.
Over my career in photography and education, I have seen that it’s usually those in the early thirties and beyond that invest in themselves. Mid teens tend to think they can do it all themselves.
Everybody is different, and you’ve got to work out what feels comfortable for you.
Just because I did the above doesn’t mean you have to either.
This merely serves as some inspiration and a place to start if you are feeling overwhelmed.
The Recap: What You Need To Start Food Photography
Now, that was a lot of information I know! So in a nutshell here are the takeaways from this post.
- Start off with any camera, second hand or borrowed, that allows you to shoot on manual and have a kit lens.
- Invest in a camera and know how to use it before you enrol in any photography courses.
- Save money to buy a good quality lens. That’s more important than the camera.
- Start your prop collection cheaply with thrift store purchases to get a feel for props without wasting money.
- Learn about photography technique, light and shooting on manual. Then tackle other areas of food photography.
Lesson Activity
I know the desire to buy gear is strong!
The best way to make good use of your money is to use the gear you already have and identify any gaps. These gaps will then become your list of ‘wants and needs’ for any new gear.
So in your favourite notebook or your phone, think about the following as you use the gear you have. Can I:
- Shoot at f 2.8 at every focal length on my zoom lens?
- Get the depth of field I want for my shots, (so that nice blurry background)?
- Get up close to my food and focus correctly?
- The lenses I have give me the angles I desire?
- Shoot manual mode on the camera I am using?
Store these answers away as questions to find the answers to, so that you can use your money wisely when it comes time to buy new gear.
If you’re taking Photography Fundamentals 101, click here for your next lesson.

