Looking for simple ways to ensure your lines are straight in your still life images or food photography?
It’s usually far easier to straighten lines whilst shooting the image, so I always take a few extra steps to make sure my lines are straight in camera.
Especially if you’re shooting a large volume of images that need to be processed.
However, it’s not always simple to get every line straight. When dealing with both horizontal and verticle lines, slightly warped backgrounds and tall props with lines we sometimes need to rely on post-production to assist.
Let’s look in this article at some easy ways to ensure our lines are straight, (if that’s what you desire)!

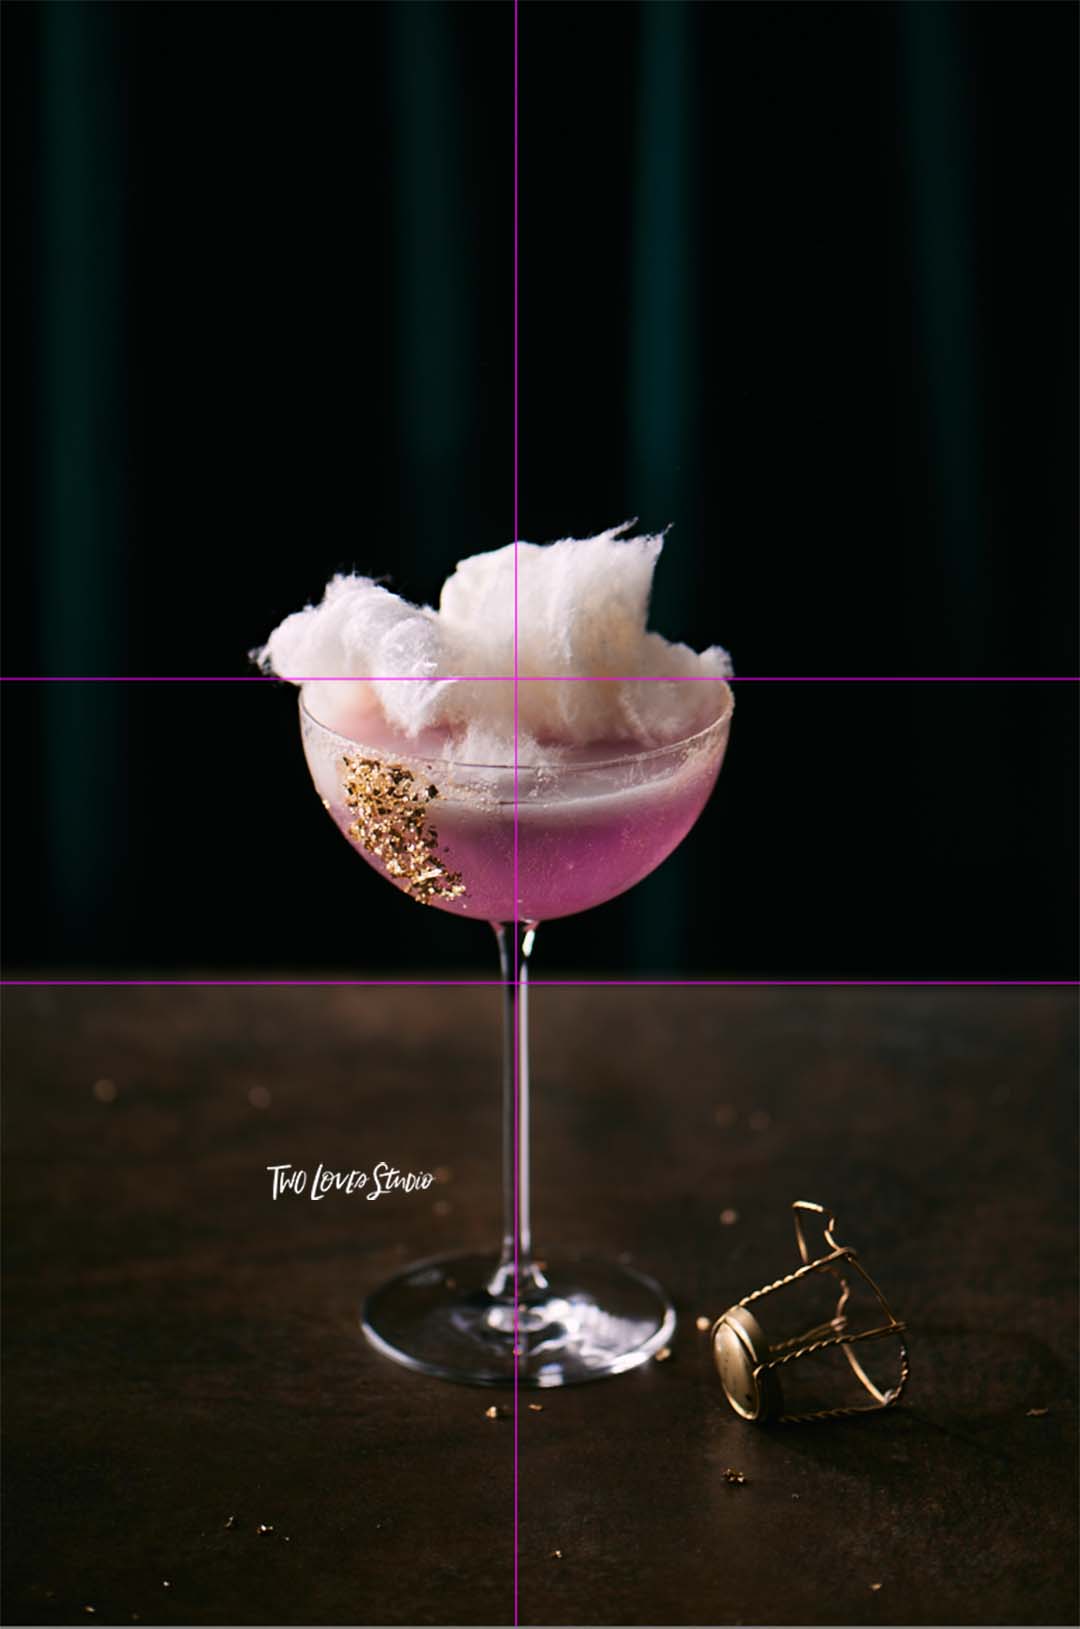
Think – What Lines are Straight in a Food Photo?
For food photographers or still life photographers, we should be looking at the following lines in our images:
- Tables, table tops or table scenes.
- Restaurants interiors, bars and service areas, doors, windows etc.
- Liquor bottles, glass pitchers, tall glasses, cocktail shakers.
- Sides of a layer cake.
- Upright backgrounds with horizontal lines.
Some of these lines will be fixable in appearing straight to the camera, while others require a lens, camera position or editing to help make them straight.
Tips for Creating Straight Lines in a Photo
Here’s a quick overview of ways to get lines straight in your photos:
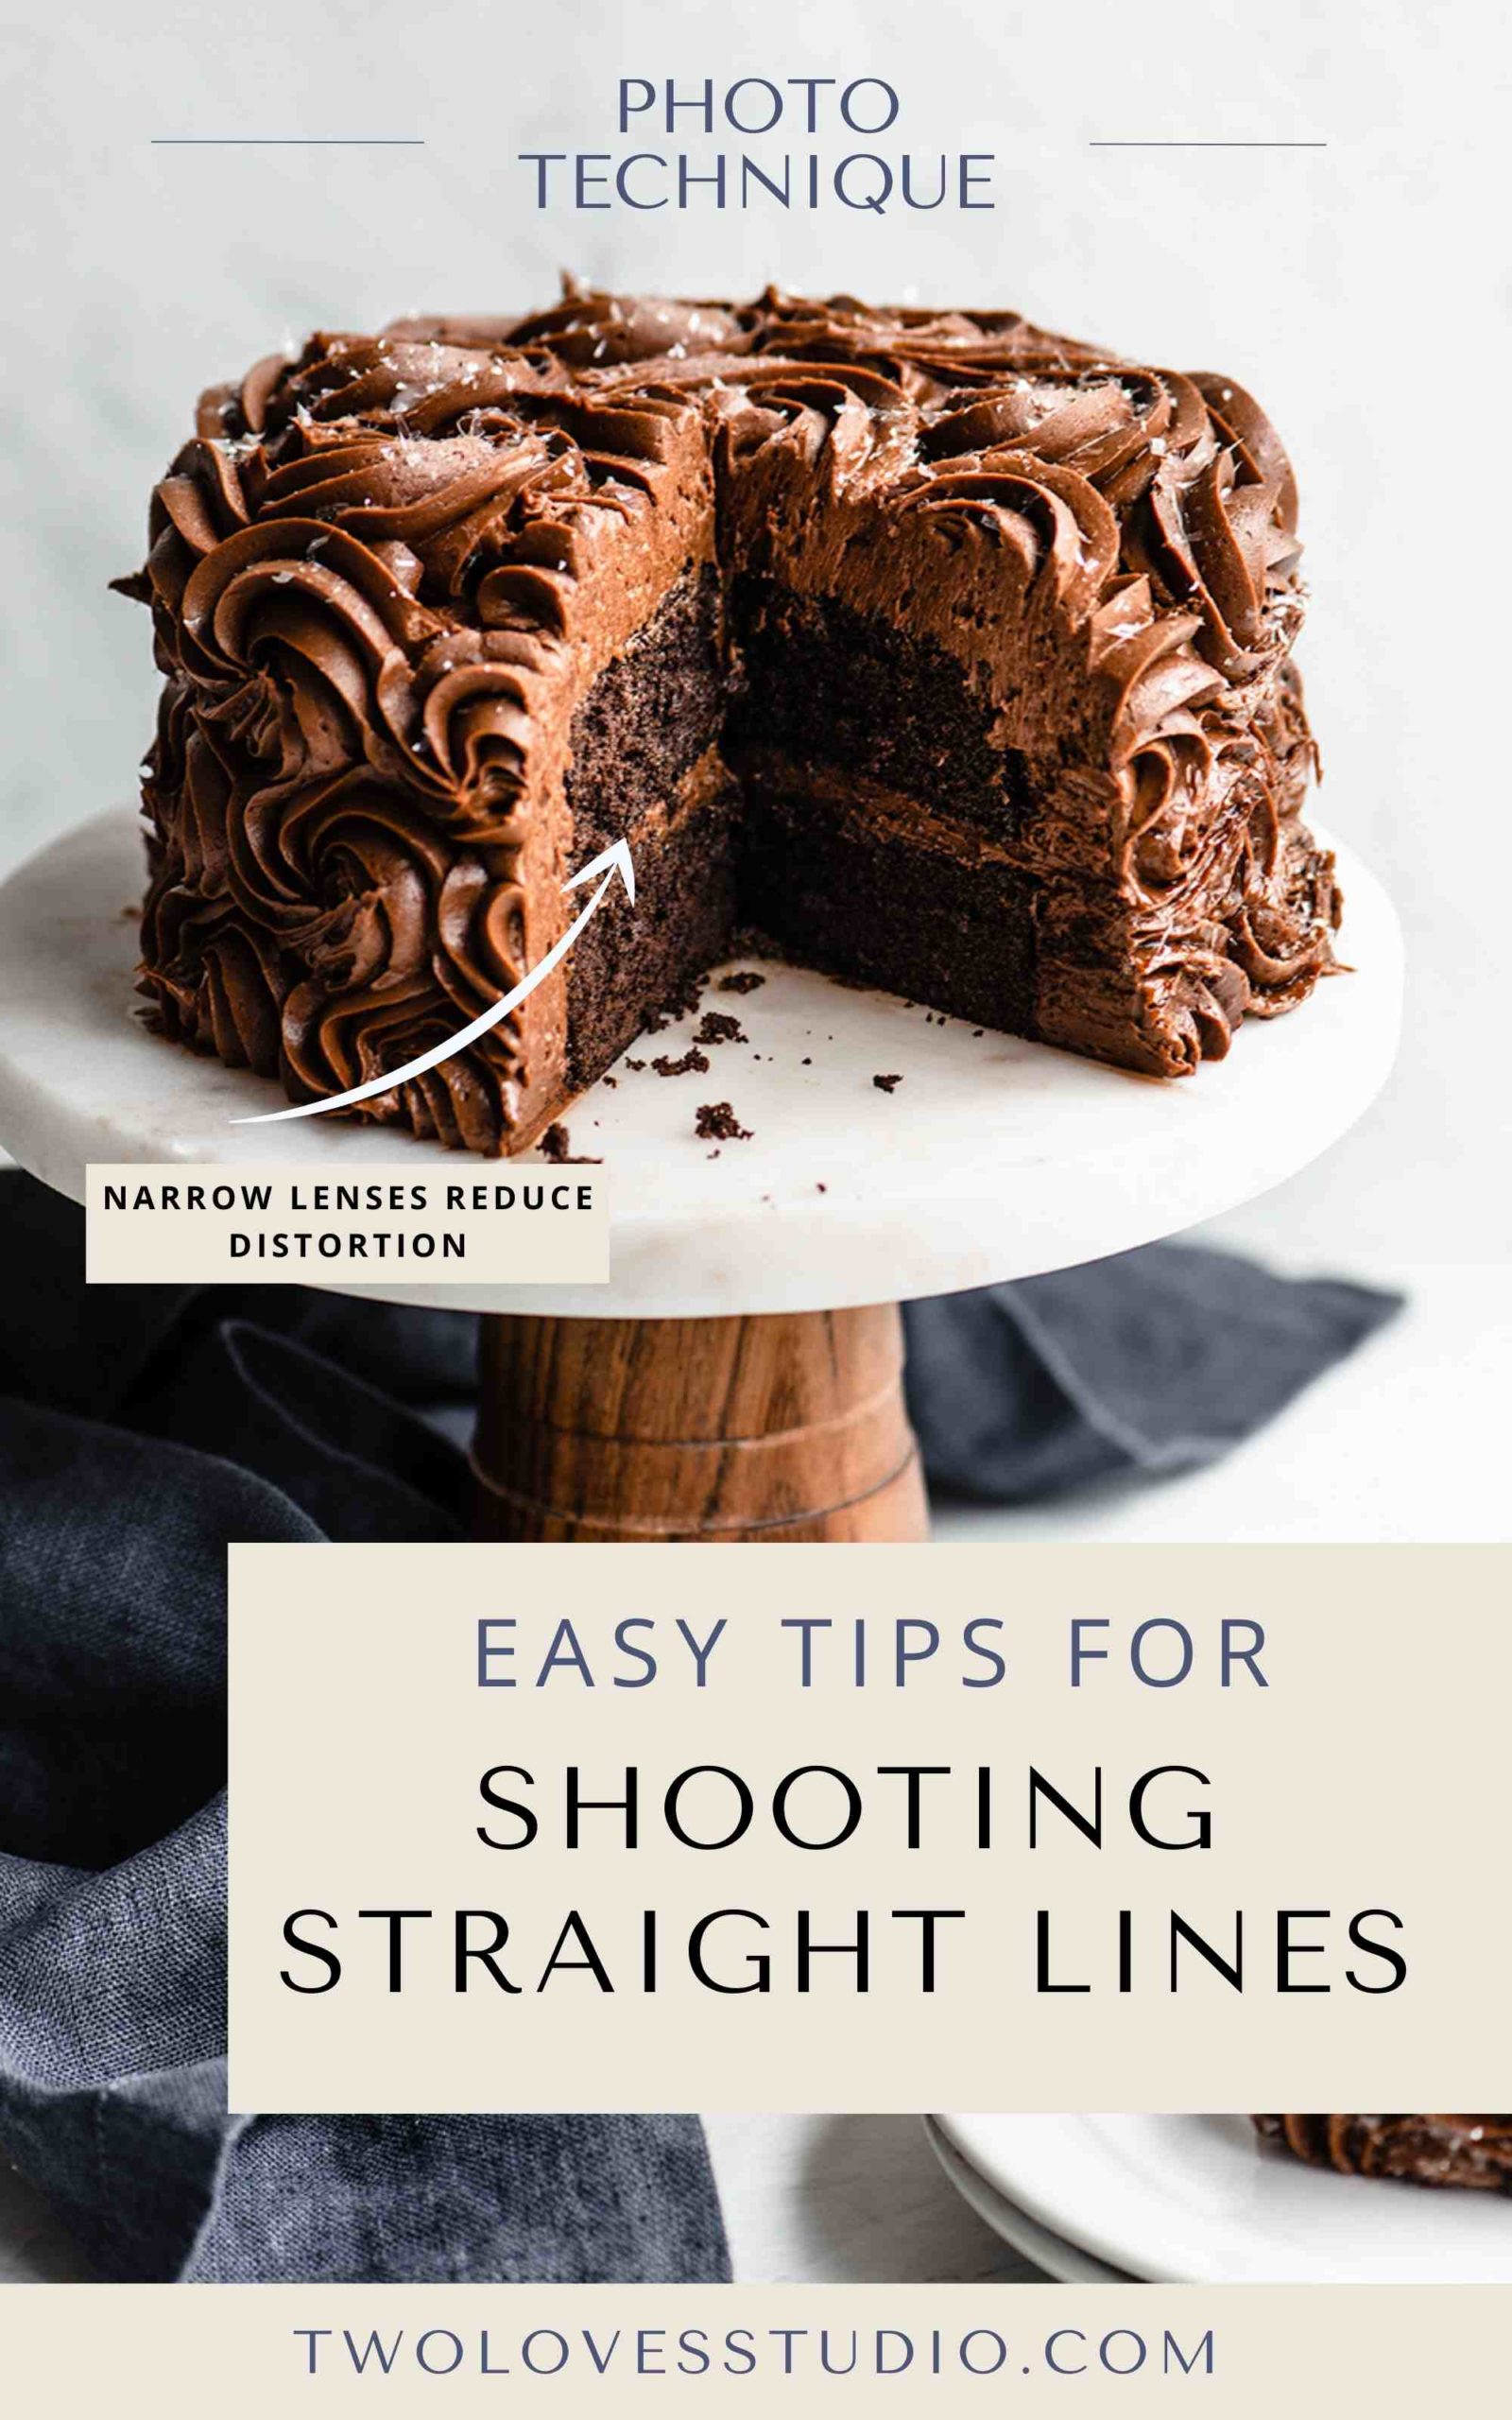
- Shooting with a narrow lens to reduce perspective distortion.
- Use Sticky-tac or similar to alter props or backgrounds to appear straight in camera.
- Use grids or guides in your camera.
- Tether with live view and use guides to straight lines.
- Edit lines using Lightroom‘s Transform Tool.
- Edit lines using Photoshops‘s Warp Tool.
- Edit lines using Capture One‘s Keystone Tool.
To learn more about each of the above, keep reading!
Shoot with Narrow Lenses to Reduce Distortion
If you have access to a number of lens options, it’s a good idea to see if you can use a narrow lens to reduce perspective distortion.
Perspective distortion happens when you use a wide-angle lens and try to get close to your subject. The size of your subject will look disproportionally large compared to the background and this can cause lines in your images to feel like they are ‘falling over’.
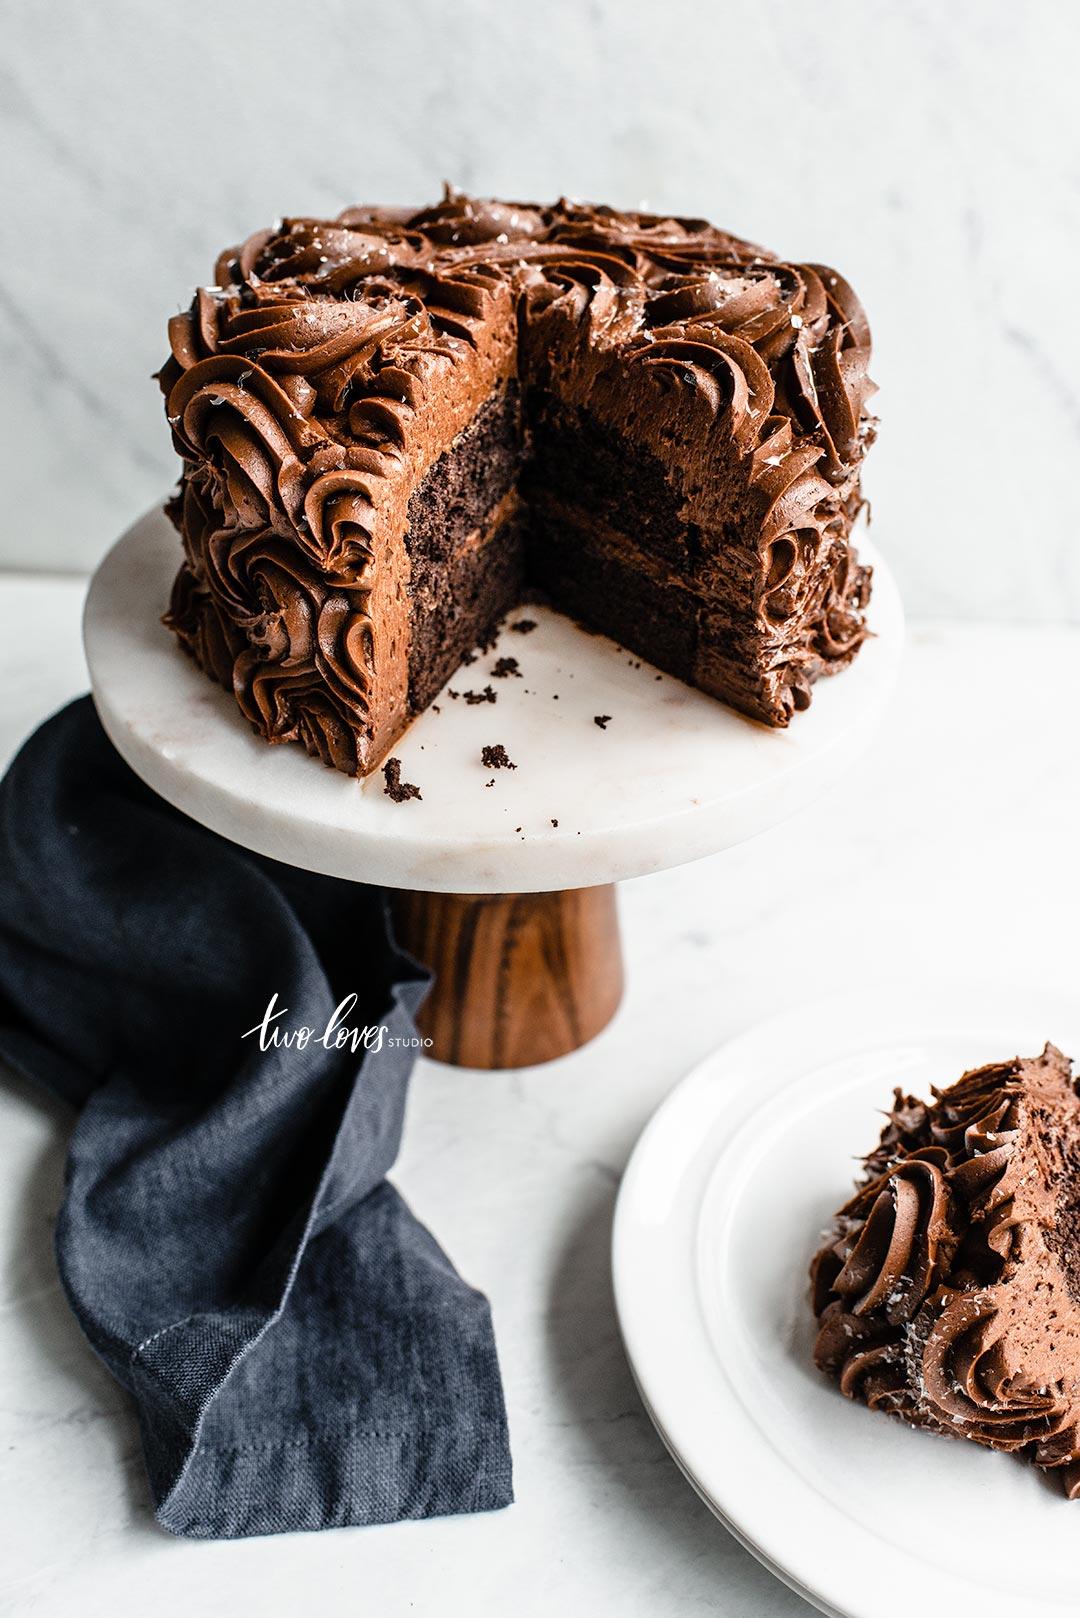
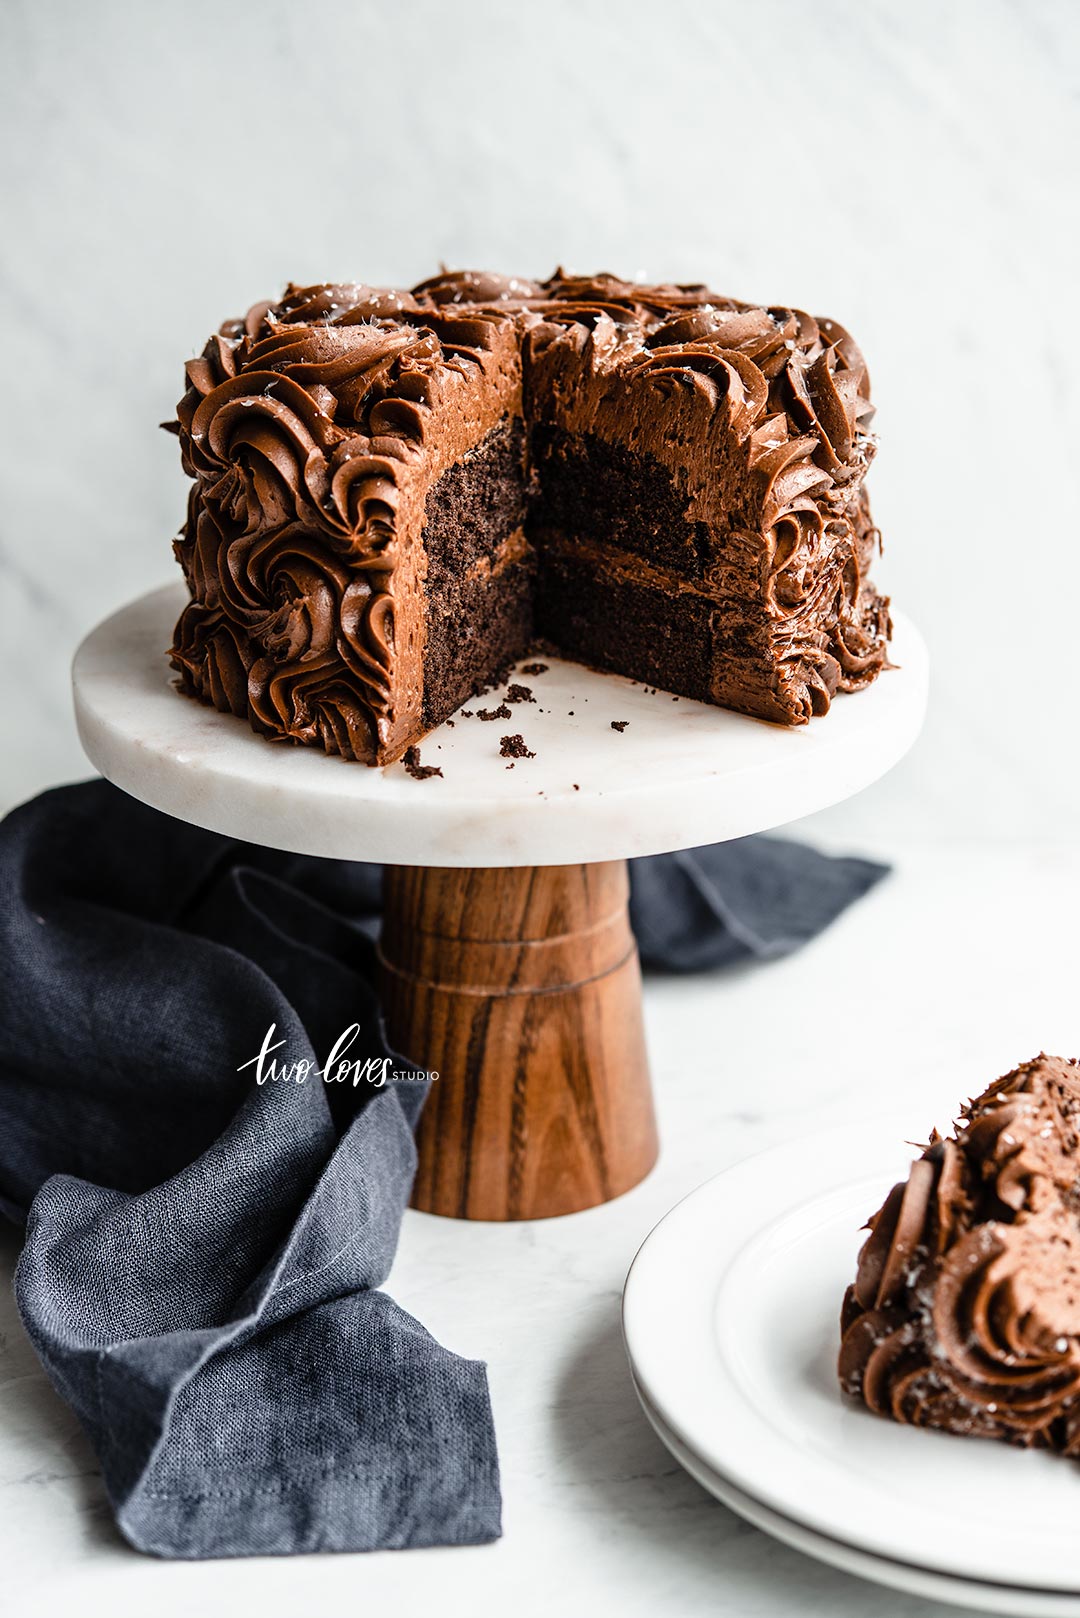
Simply using a narrow lens and positioning the camera further away from the subject can help you to get ‘straighter’ lines.
Adjust Lines Using Sticky-Tac Etc
I am always striving to create straight lines in the camera where possible. Sometimes all you need is to prop up a bottle, a glass or other tall prop with a stack of small coins, sticky tac, the end of a spoon, a wooden skewer – anything rally!
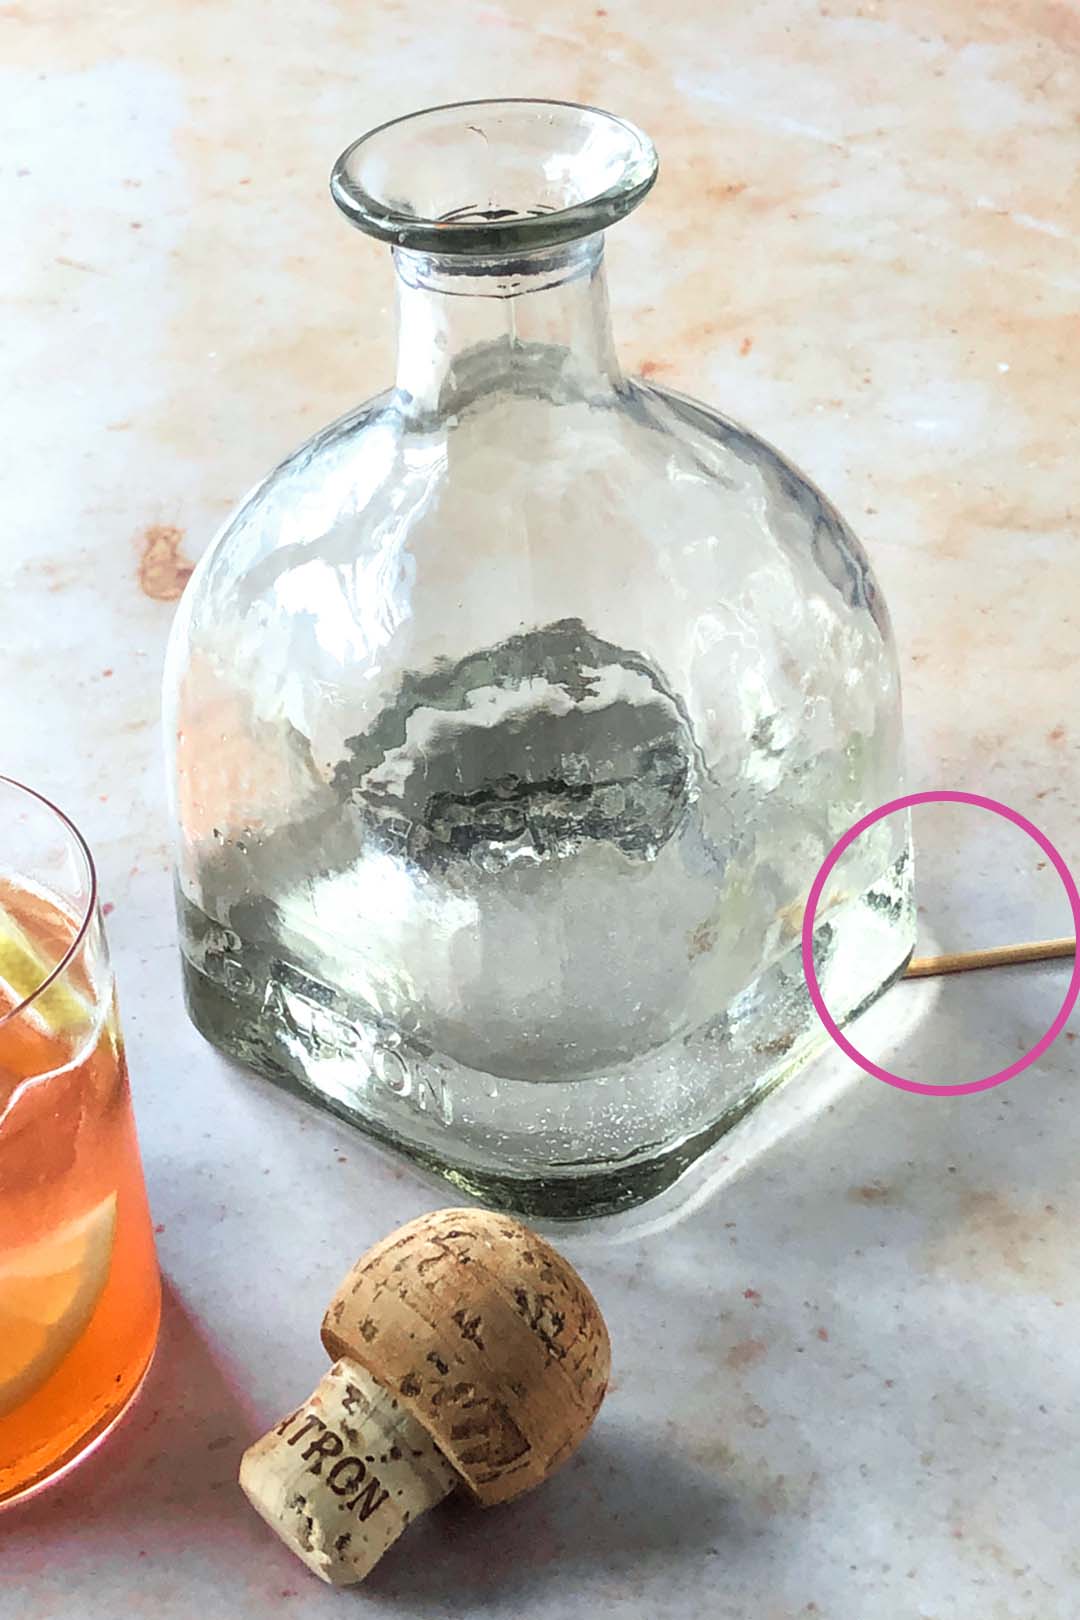

Photography is all about problem-solving, so use what works!
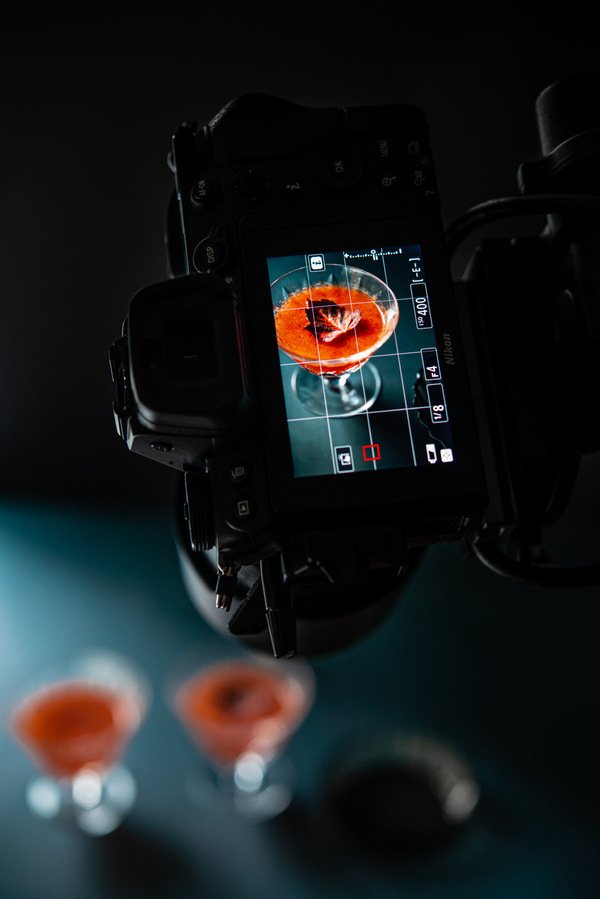
Use Grids or Guides in Your Camera
Most newer cameras come with some kind of grid that you can use either in the viewfinder or live view to use to guide your camera’s position.
Find this in your camera’s settings, and use it to help you try to get the most important lines straight in your photo.
TIP – Use a Geared Head to Make Small Camera Adjustments
I’ve found that using a Geared Head on my tripod for food photography helps me to make small incremental adjustments to the position of my camera to ensure my lines are as straight as they can be.
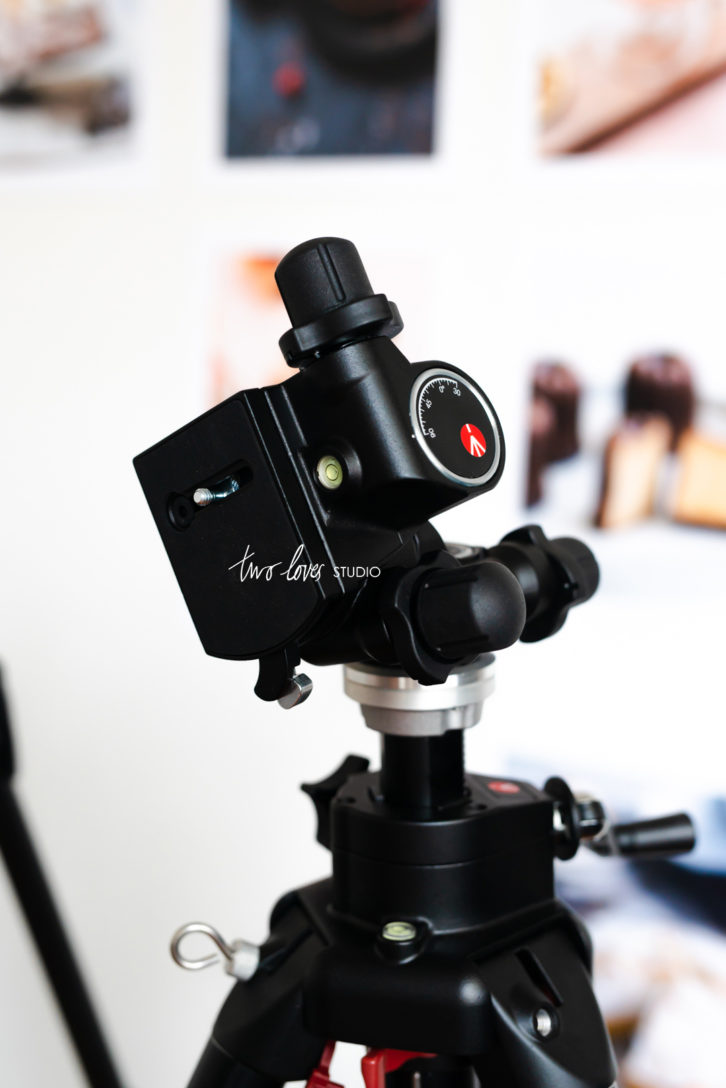
View more of the gear I use as a professional food photographer.
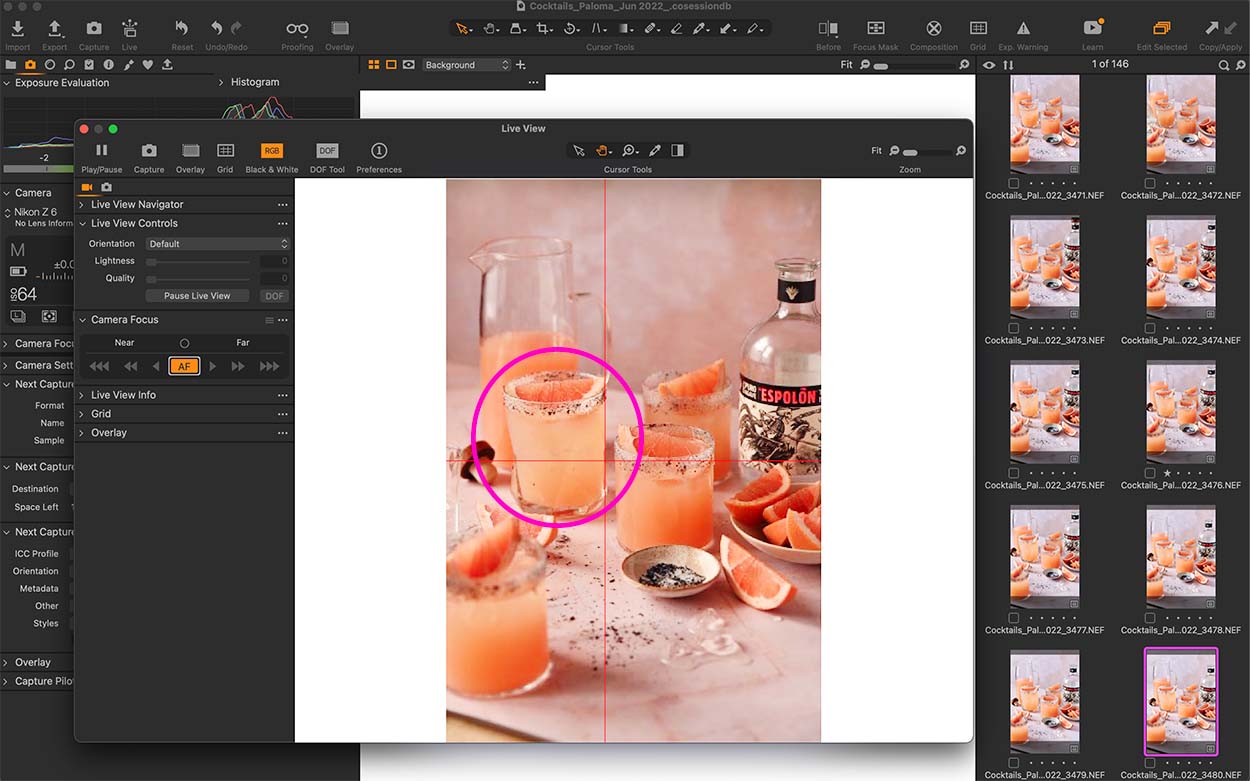
Tether in Capture One & Use Guides to Straighten Lines
One of my favourite ways to make sure I have straight lines in photography is to use the Guides feature in Capture One. When I am tethering, I can add as many guides in any position I need to see if lines of props, backgrounds etc are straight.
I teach how to utilise this function in my Capture One Magic course. Check it out.
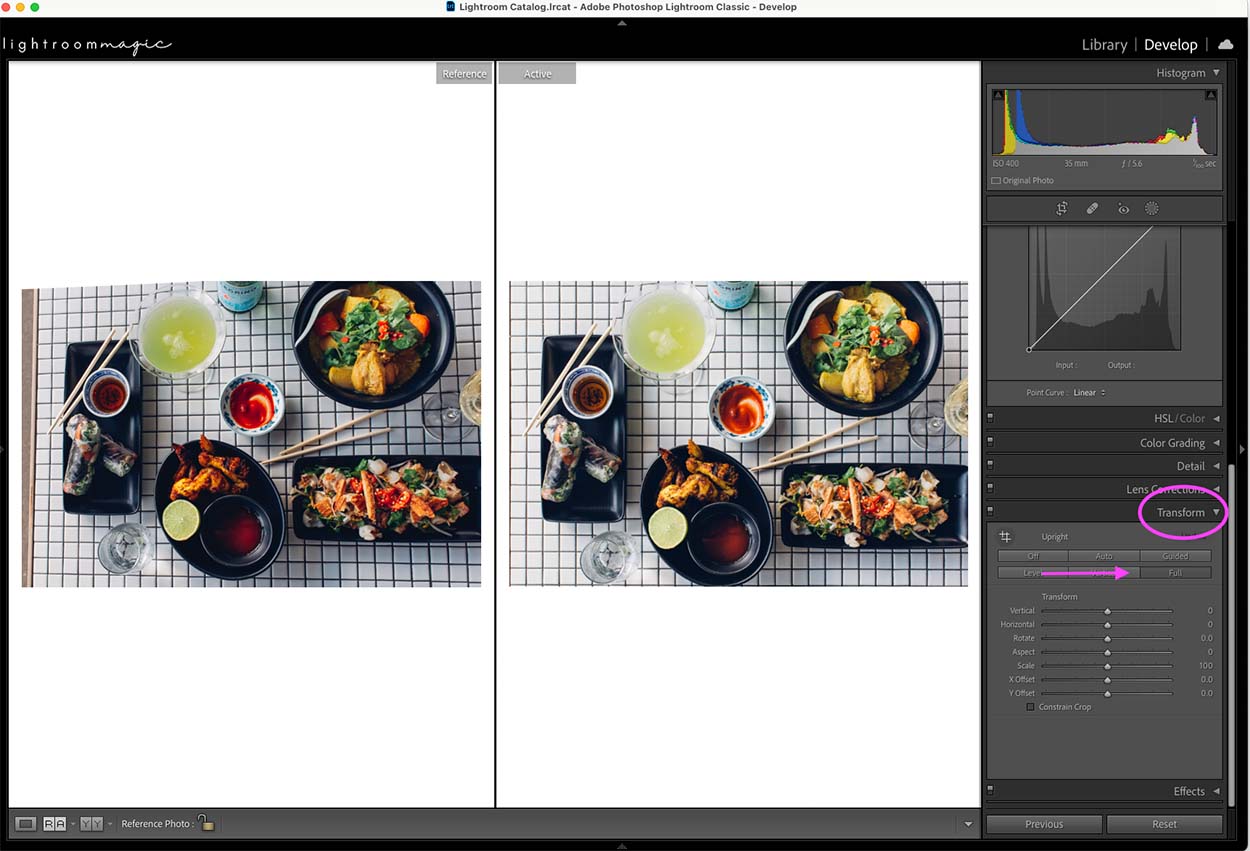
Edit Lines to be Straight Using Lightroom’s Transform Tool
If you use Lightroom, sometimes we can’t quite get all the horizontal and vertical lines straight, so we need a little help.
Lightroom’s Transform Tool can assist. With a click, you can automatically straighten the most prominent lines, and then use the sliders to make any tweaks as needed.
Ready to learn more about how to edit in Lightroom? Check out my Lightroom Magic masterclass.
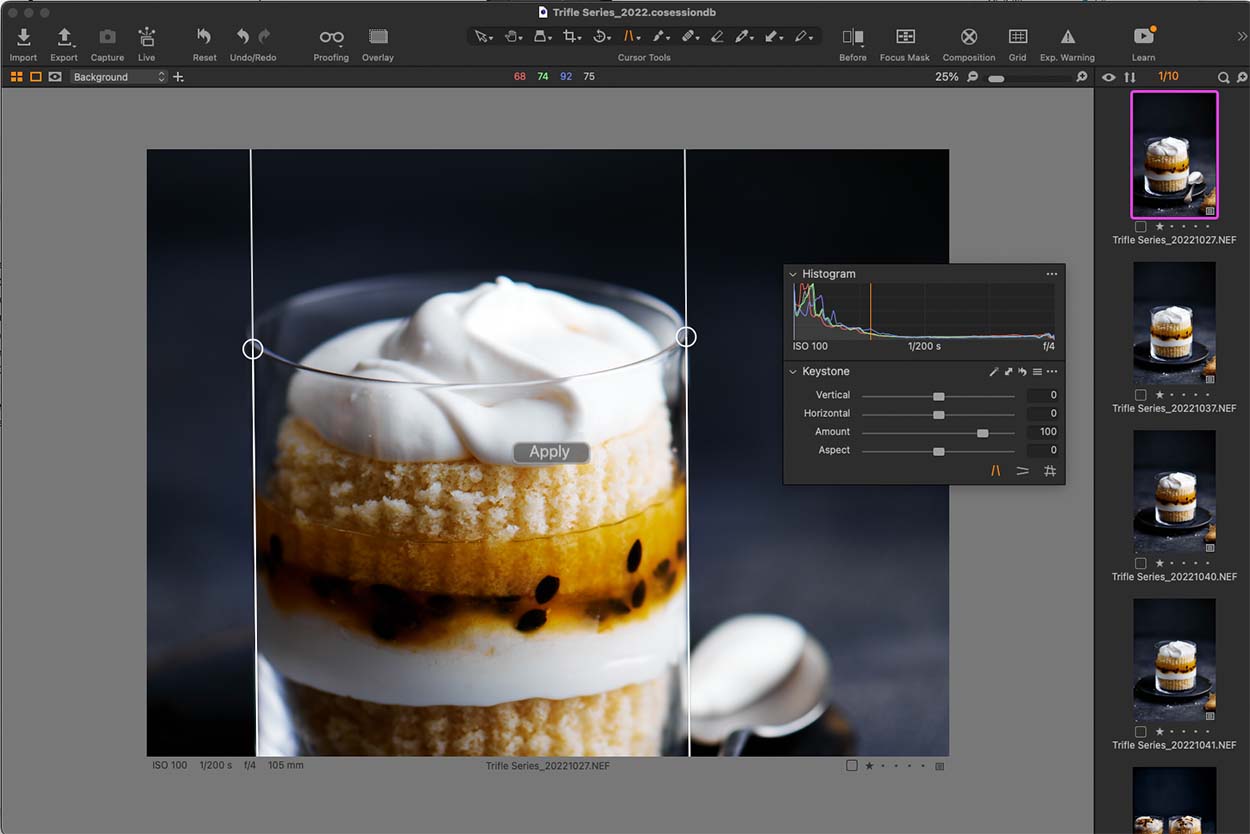
Edit Straight Lines Using Capture One’s Keystone Tool
For more advanced post-production, if you use Capture One, you can use the Keystone Tool to straighten both horizontal and vertical lines simultaneously or independently.
Create Straight Lines Using Photoshop’s Warp Tool
Need more precise control over just one area in your photo? Then you can use the Transform or Warp Tool in Photoshop to straighten any lines locally.
Say, for example, everything looked straight except for a liquor bottle. You can keep the rest of the image as is, and just focus on straightening the bottle.
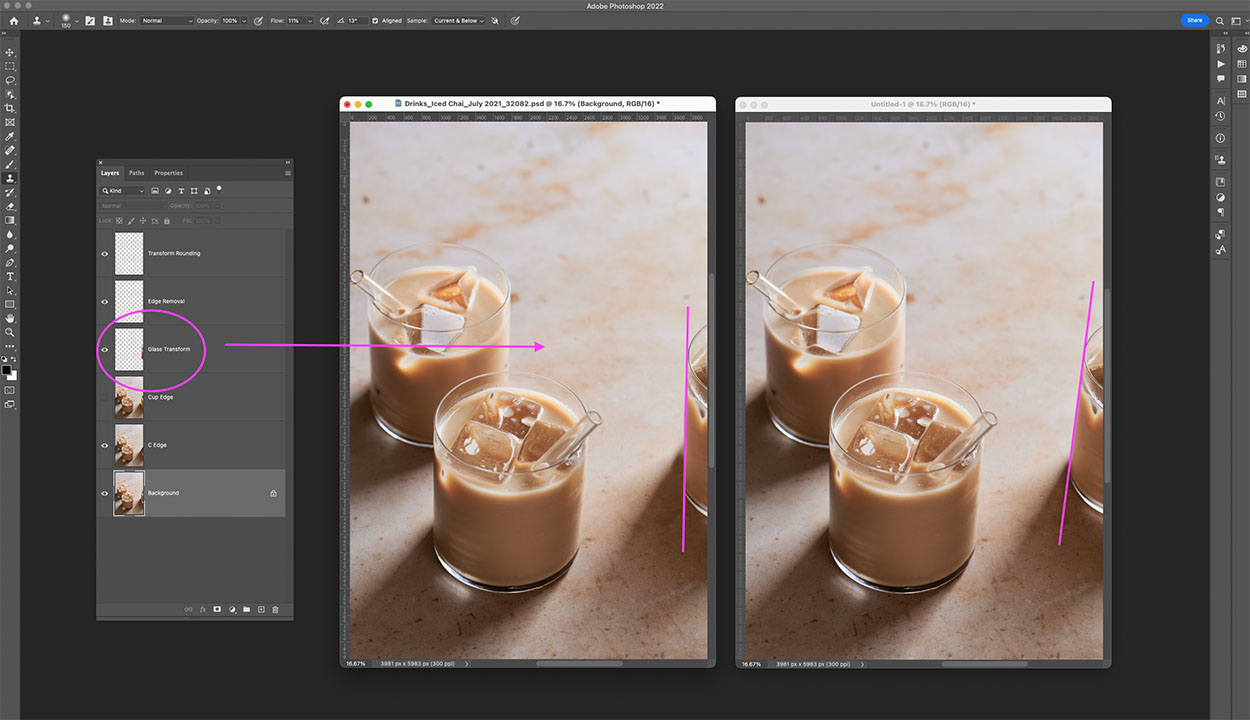
I’ll show you how to build skills like this quickly and easily in Photoshop. Check out my Retouching Food Photography course.
To learn more about my online editing courses for food photographers, check them out here.





JENNIFER R OSBORN
Thanks for this. I thought I was the only one who struggled with uneven lines!
I have your Lightroom Magic course but I’m trying to get through Comp Essentials before I dive in.
Rachel Korinek
It’s definitely not just you Jennifer! Getting those lines straight is serious business. I hope this gives you some tips to work with and post-production will help you out there.