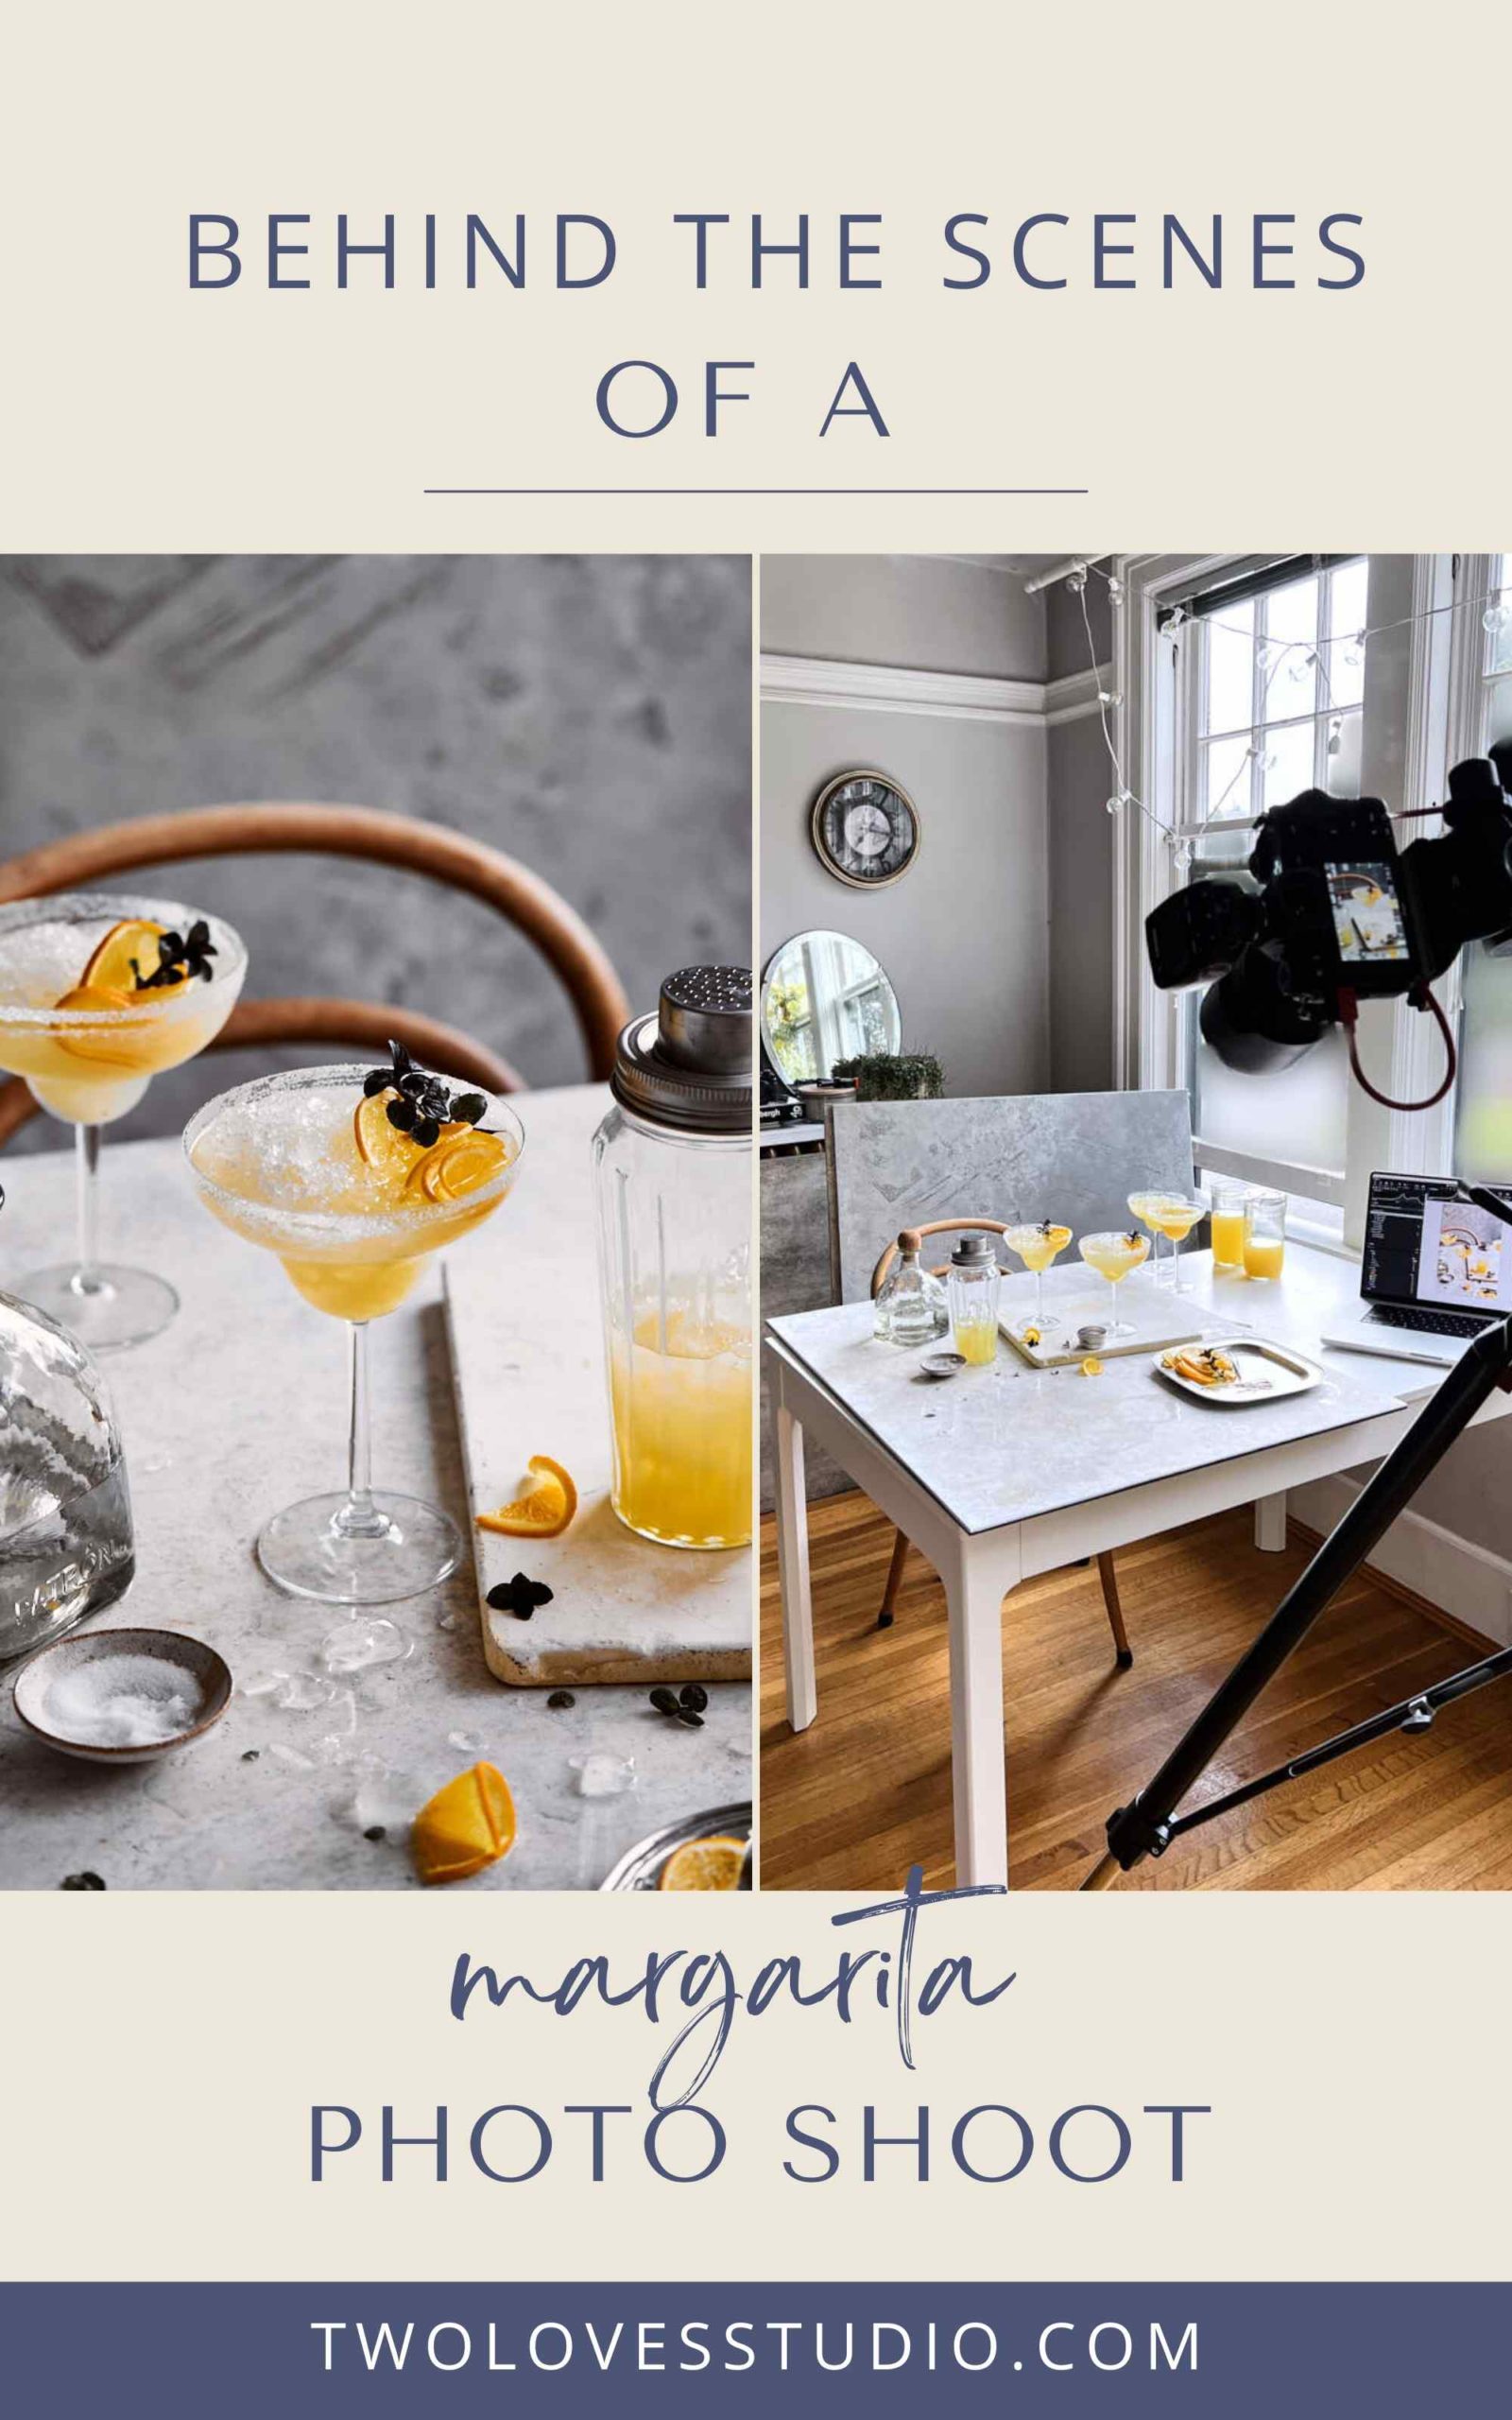
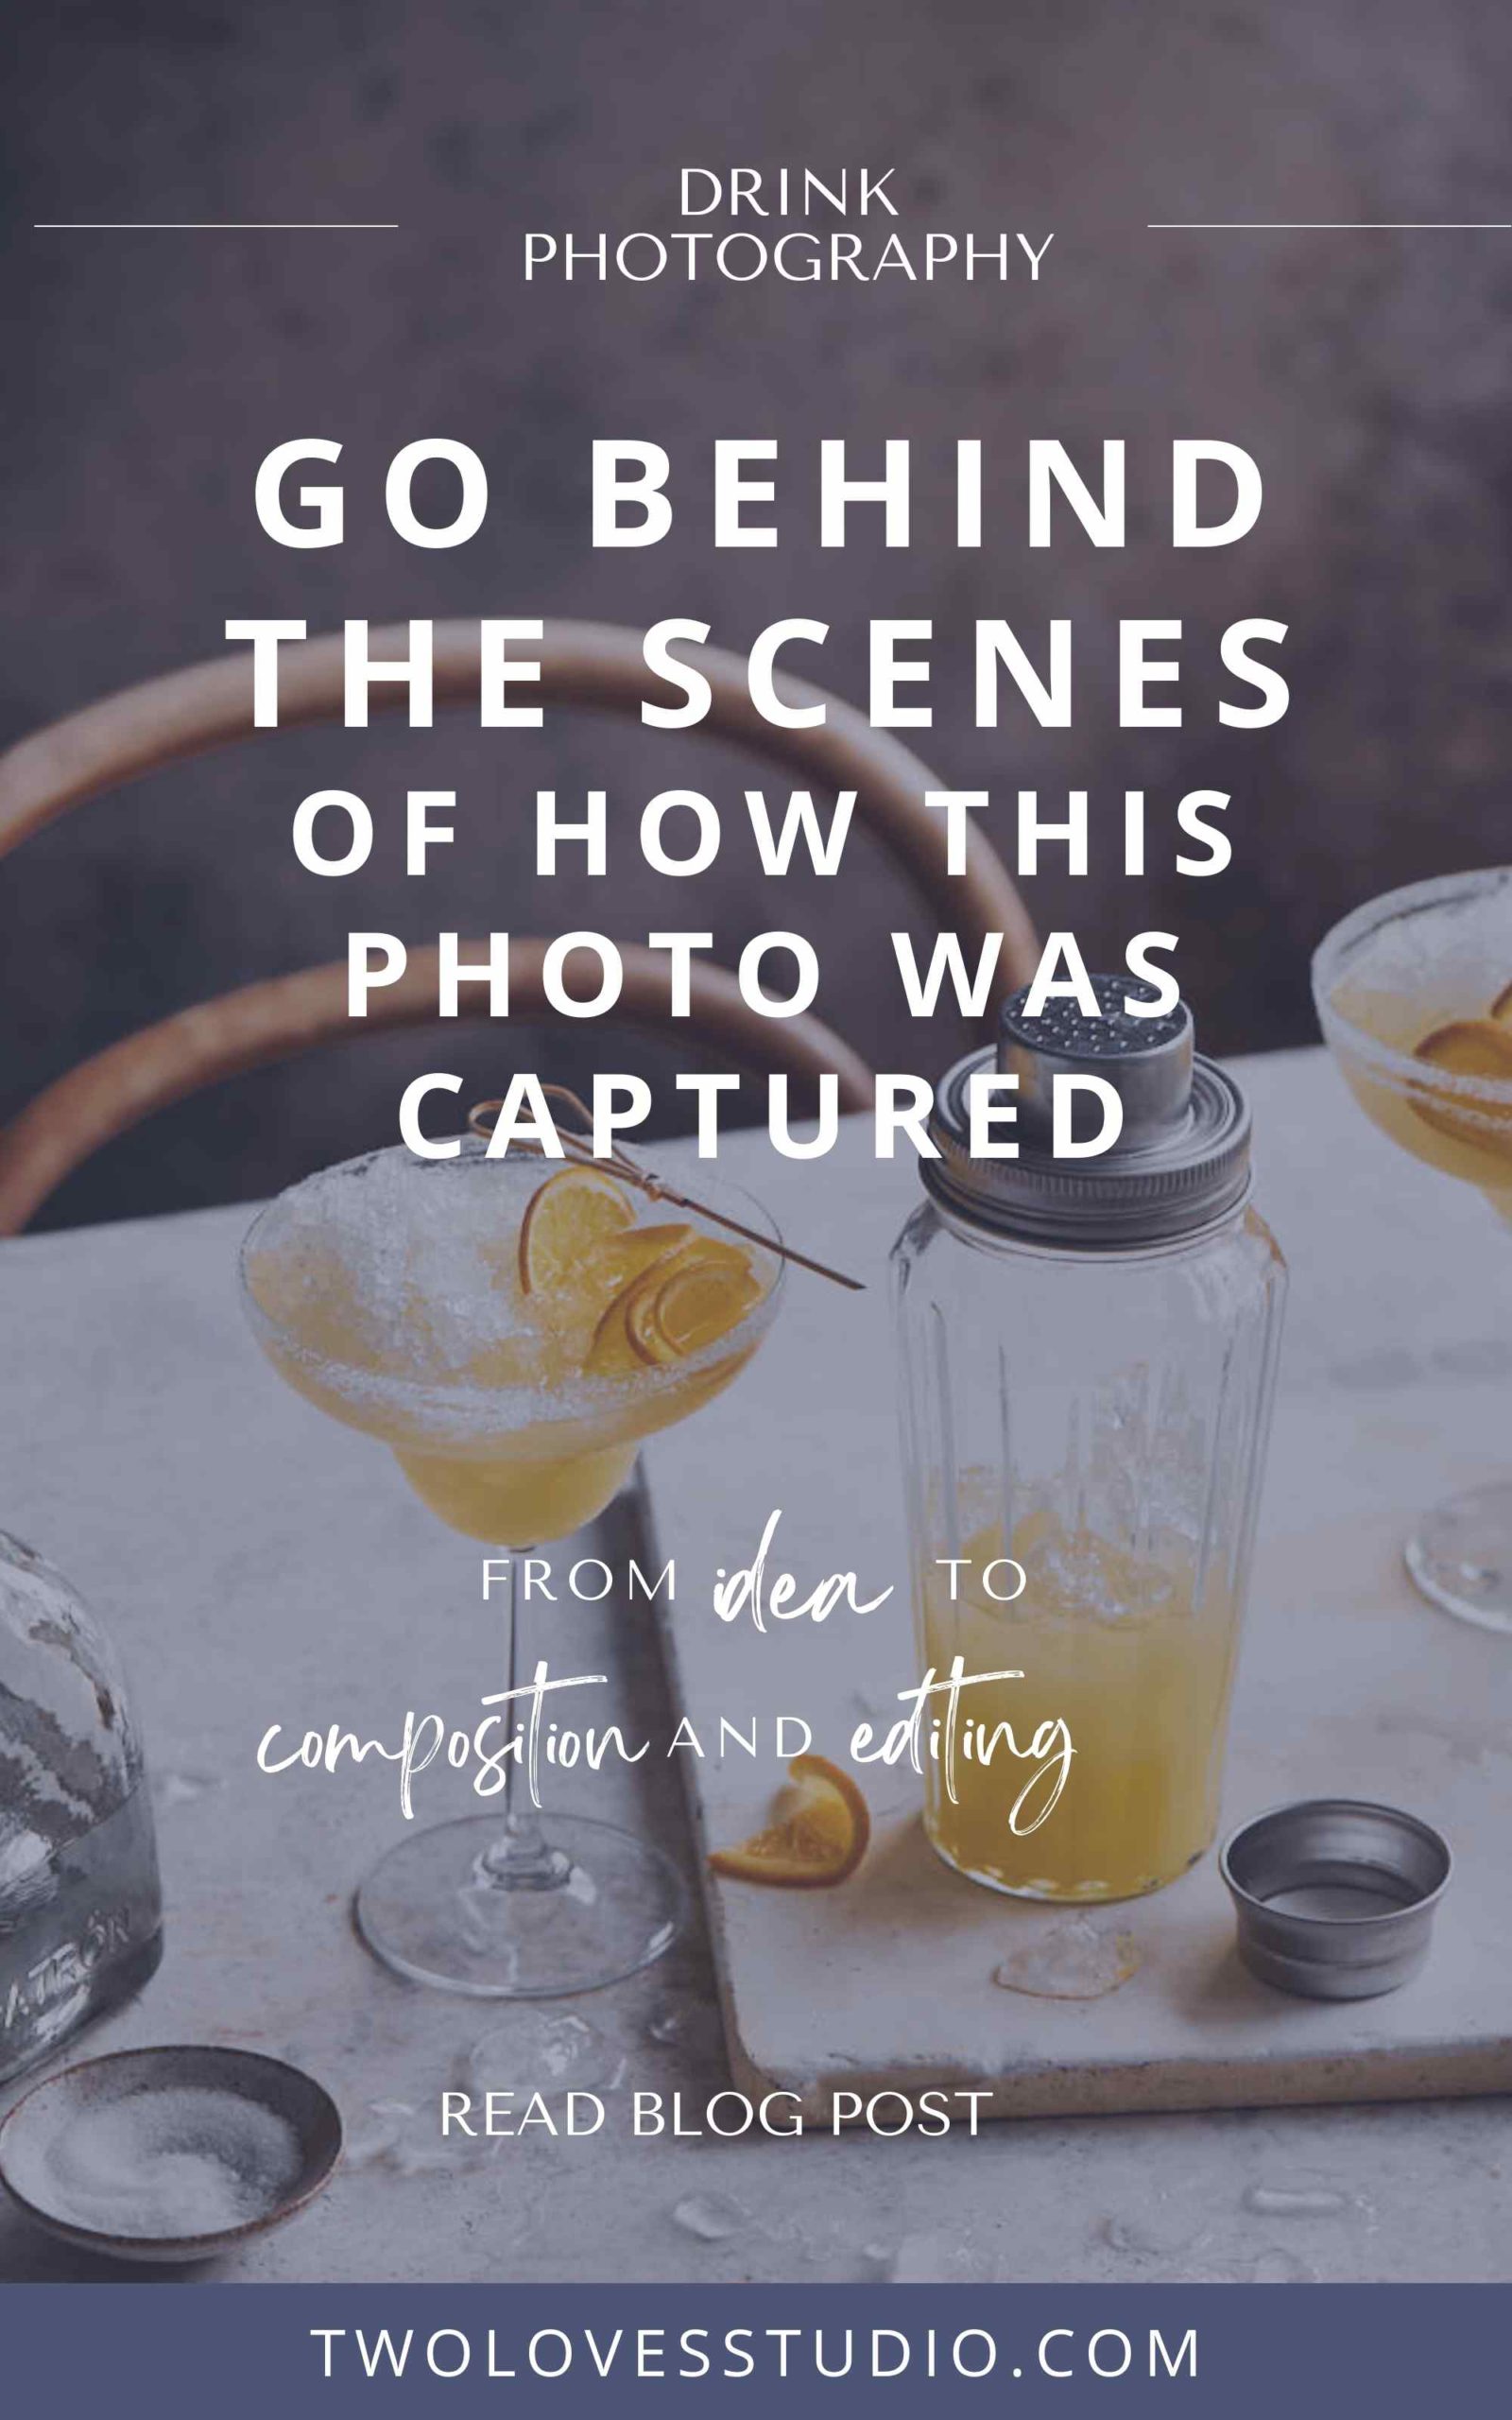
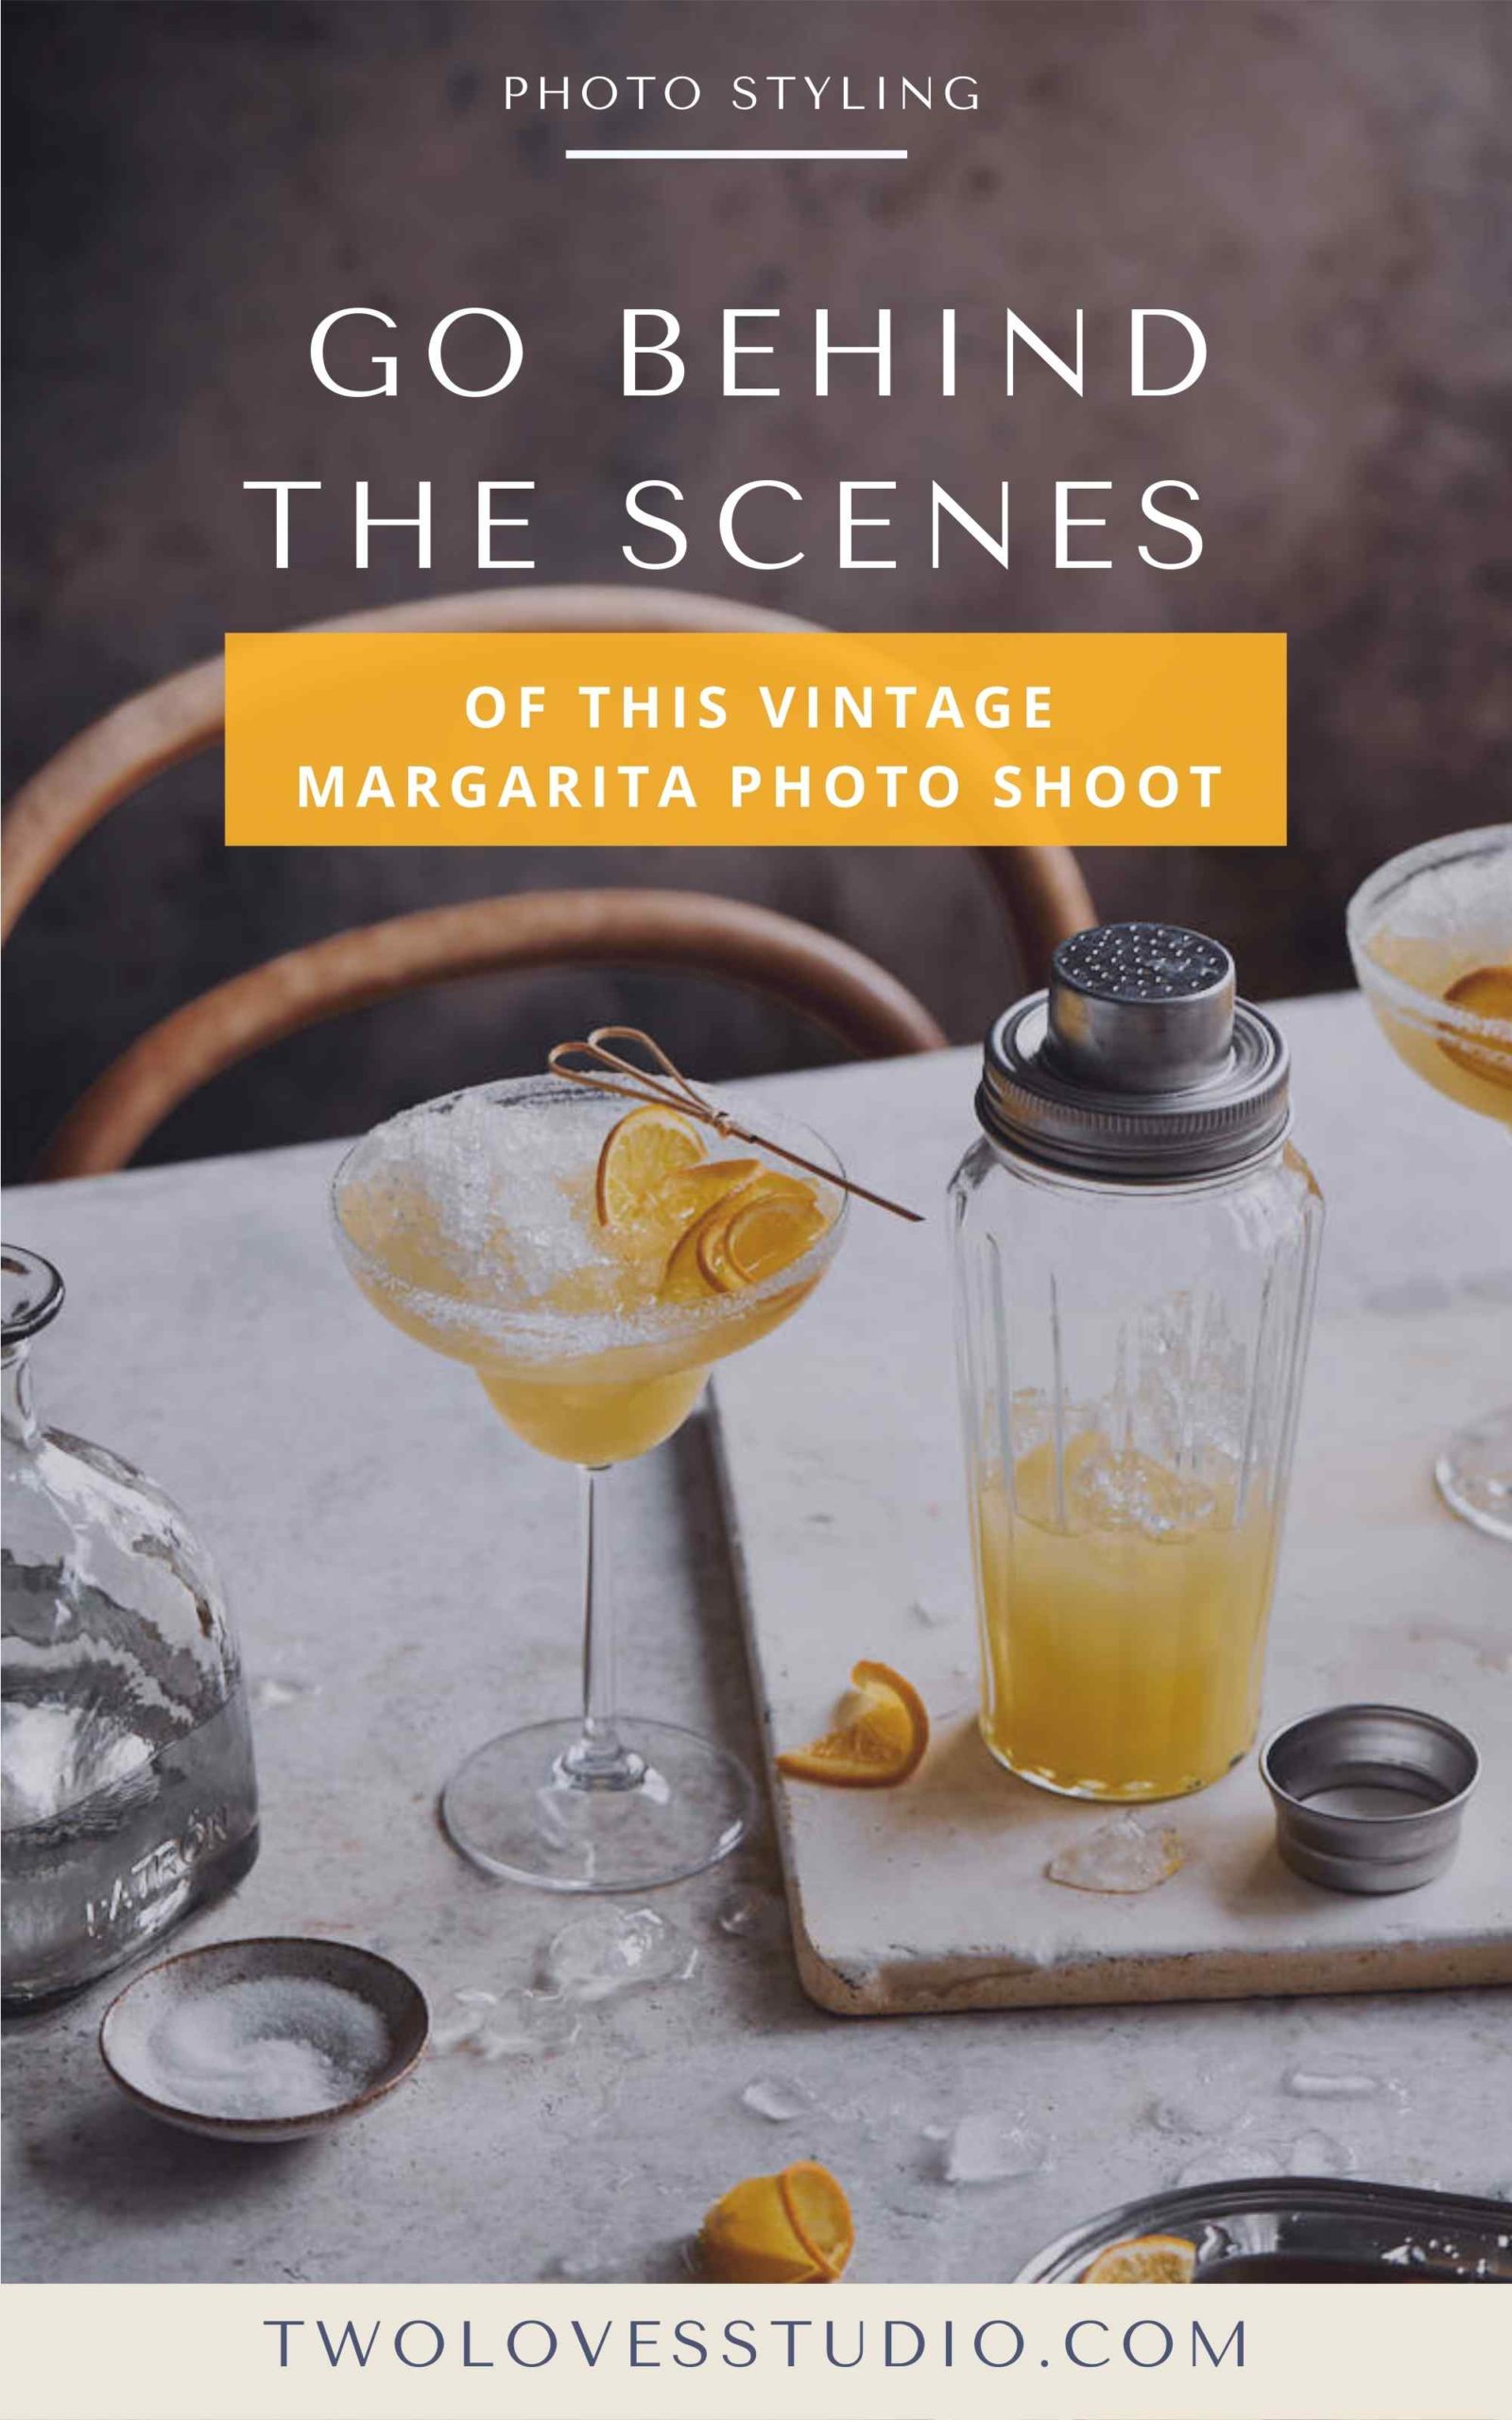
I wanted to share the process I went through to get this vintage margarita photo shoot. Although I love to create my lighting from scratch with my artificial lighting gear and work in my dedicated home studio – I can’t escape chasing light.
Even after 10 years and being a pro-photographer, I am not above busting out my gear in the living room, asking everyone to step around backgrounds and props on the floor, and creating on the dining table.
During summer evenings (when the sun is out, which isn’t always a given in Vancouver), the light is PERFECT and I just can’t help but play with its beauty. From ideation to post-processing, let’s take a journey behind the scenes.

Ideation & Theme for Your Vintage Margarita Photoshoot
I wanted to set a theme for this shoot to have a vintage feeling. I love vintage, but my style isn’t fully vintage. So the story had to feel like my work and what vintage means to me.
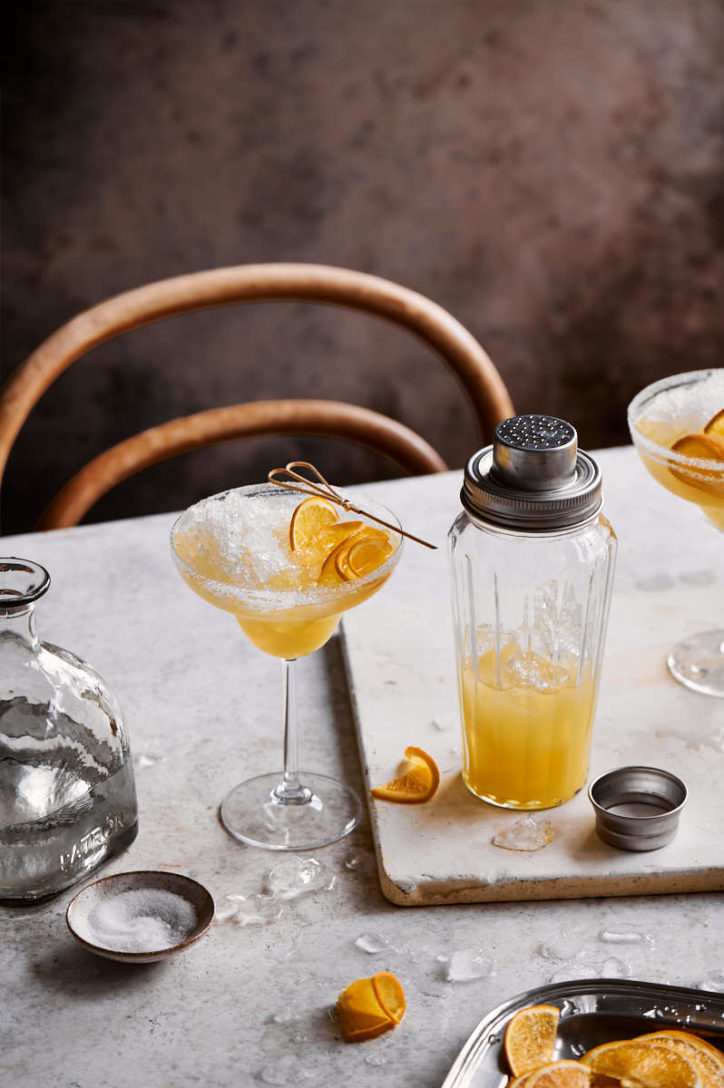
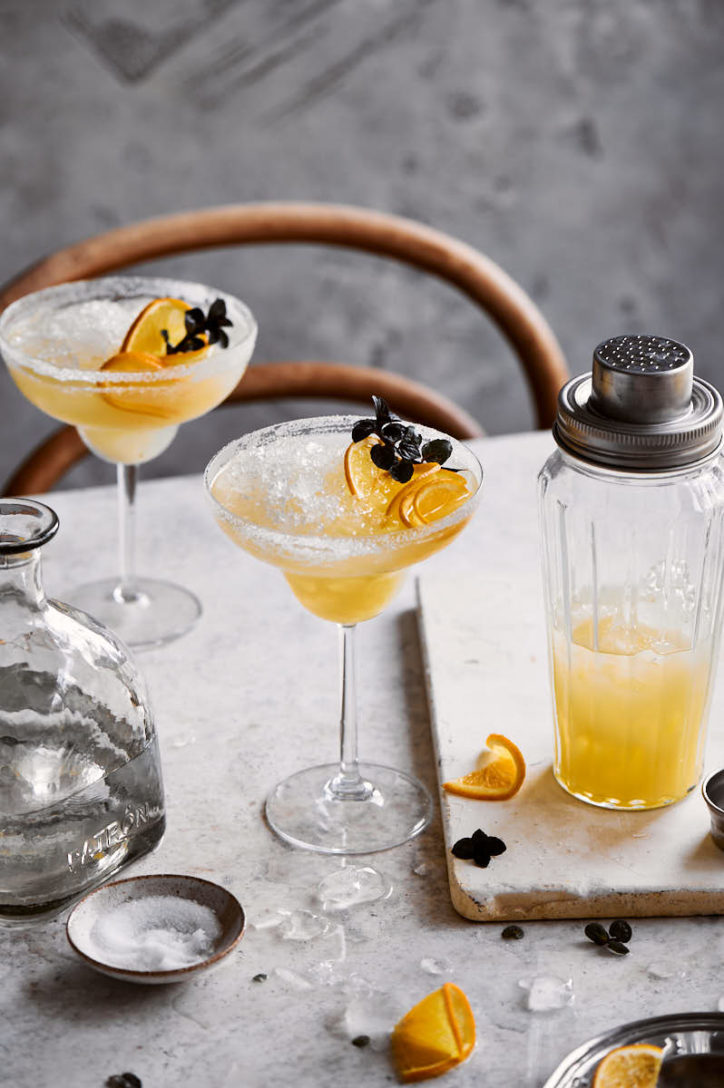
For the overall scene, I wanted to capture the Spring we had in Vancouver. Grey and rain all day, with a pop of gold at sunset. So the tones are heavy on grey and white, with the stand-out feeling of the golden cocktail.
It’s a balance of dread and excitement that we get within one day in terms of weather here. I used those feelings and the weather to inspire and create the colour palette.
I had a few ideas in mind for the background, composition, and garnish ideas. When time allows, I love to explore to understand what works optimally.
Create Beautiful Images with Lighting and Setup
Ain’t nothing fancy about this! But I think that’s important to share. You don’t always have to have a crazy setup to create beautiful images. There is beauty in how you see and how you translate that creative vision onto the tabletop.
I am shooting with a North-facing window (the equivalent to South-facing in the Southern Hemisphere) around 5.30 pm. The sun doesn’t set in the height of summer here until 10 pm. But the sun is still golden and low at this time.
The windows span far across the scene, filling and wrapping the scene nicely with delicate golden light. Yet, as the sun is lower in the sky, there is still plenty of opportunities for shadows to hide.
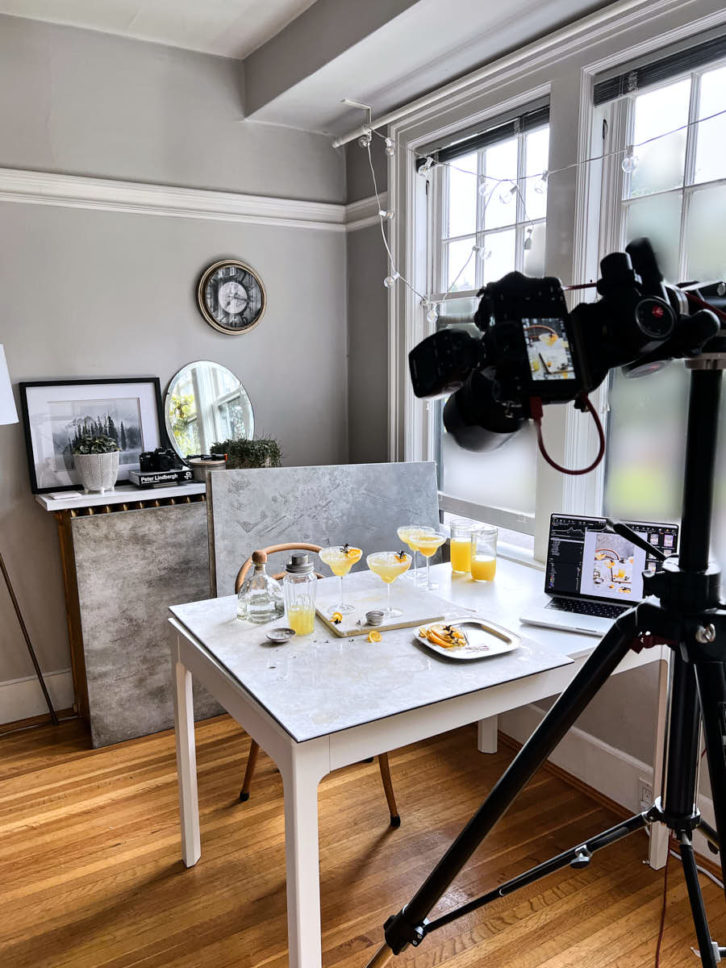

RELATED: Basic Lighting Setup for natural light.
Create the Composition and Feeling
I’d been collecting a few vintage items that I wanted to use in a cocktail shoot. A vintage chair I found on FB Marketplace, a retro cocktail shaker from a vintage salvage, and a metal cocktail tray from the thrift store.
Paired with two different types of margarita glasses (one is taller and slimmer, one is shorter and wider). While you may not be able to tell the difference, I strategically placed them so that the glasses at the edge or back of the frame felt balanced in terms of size.
I relied here on the following composition theories in teach in Composition Essentials:
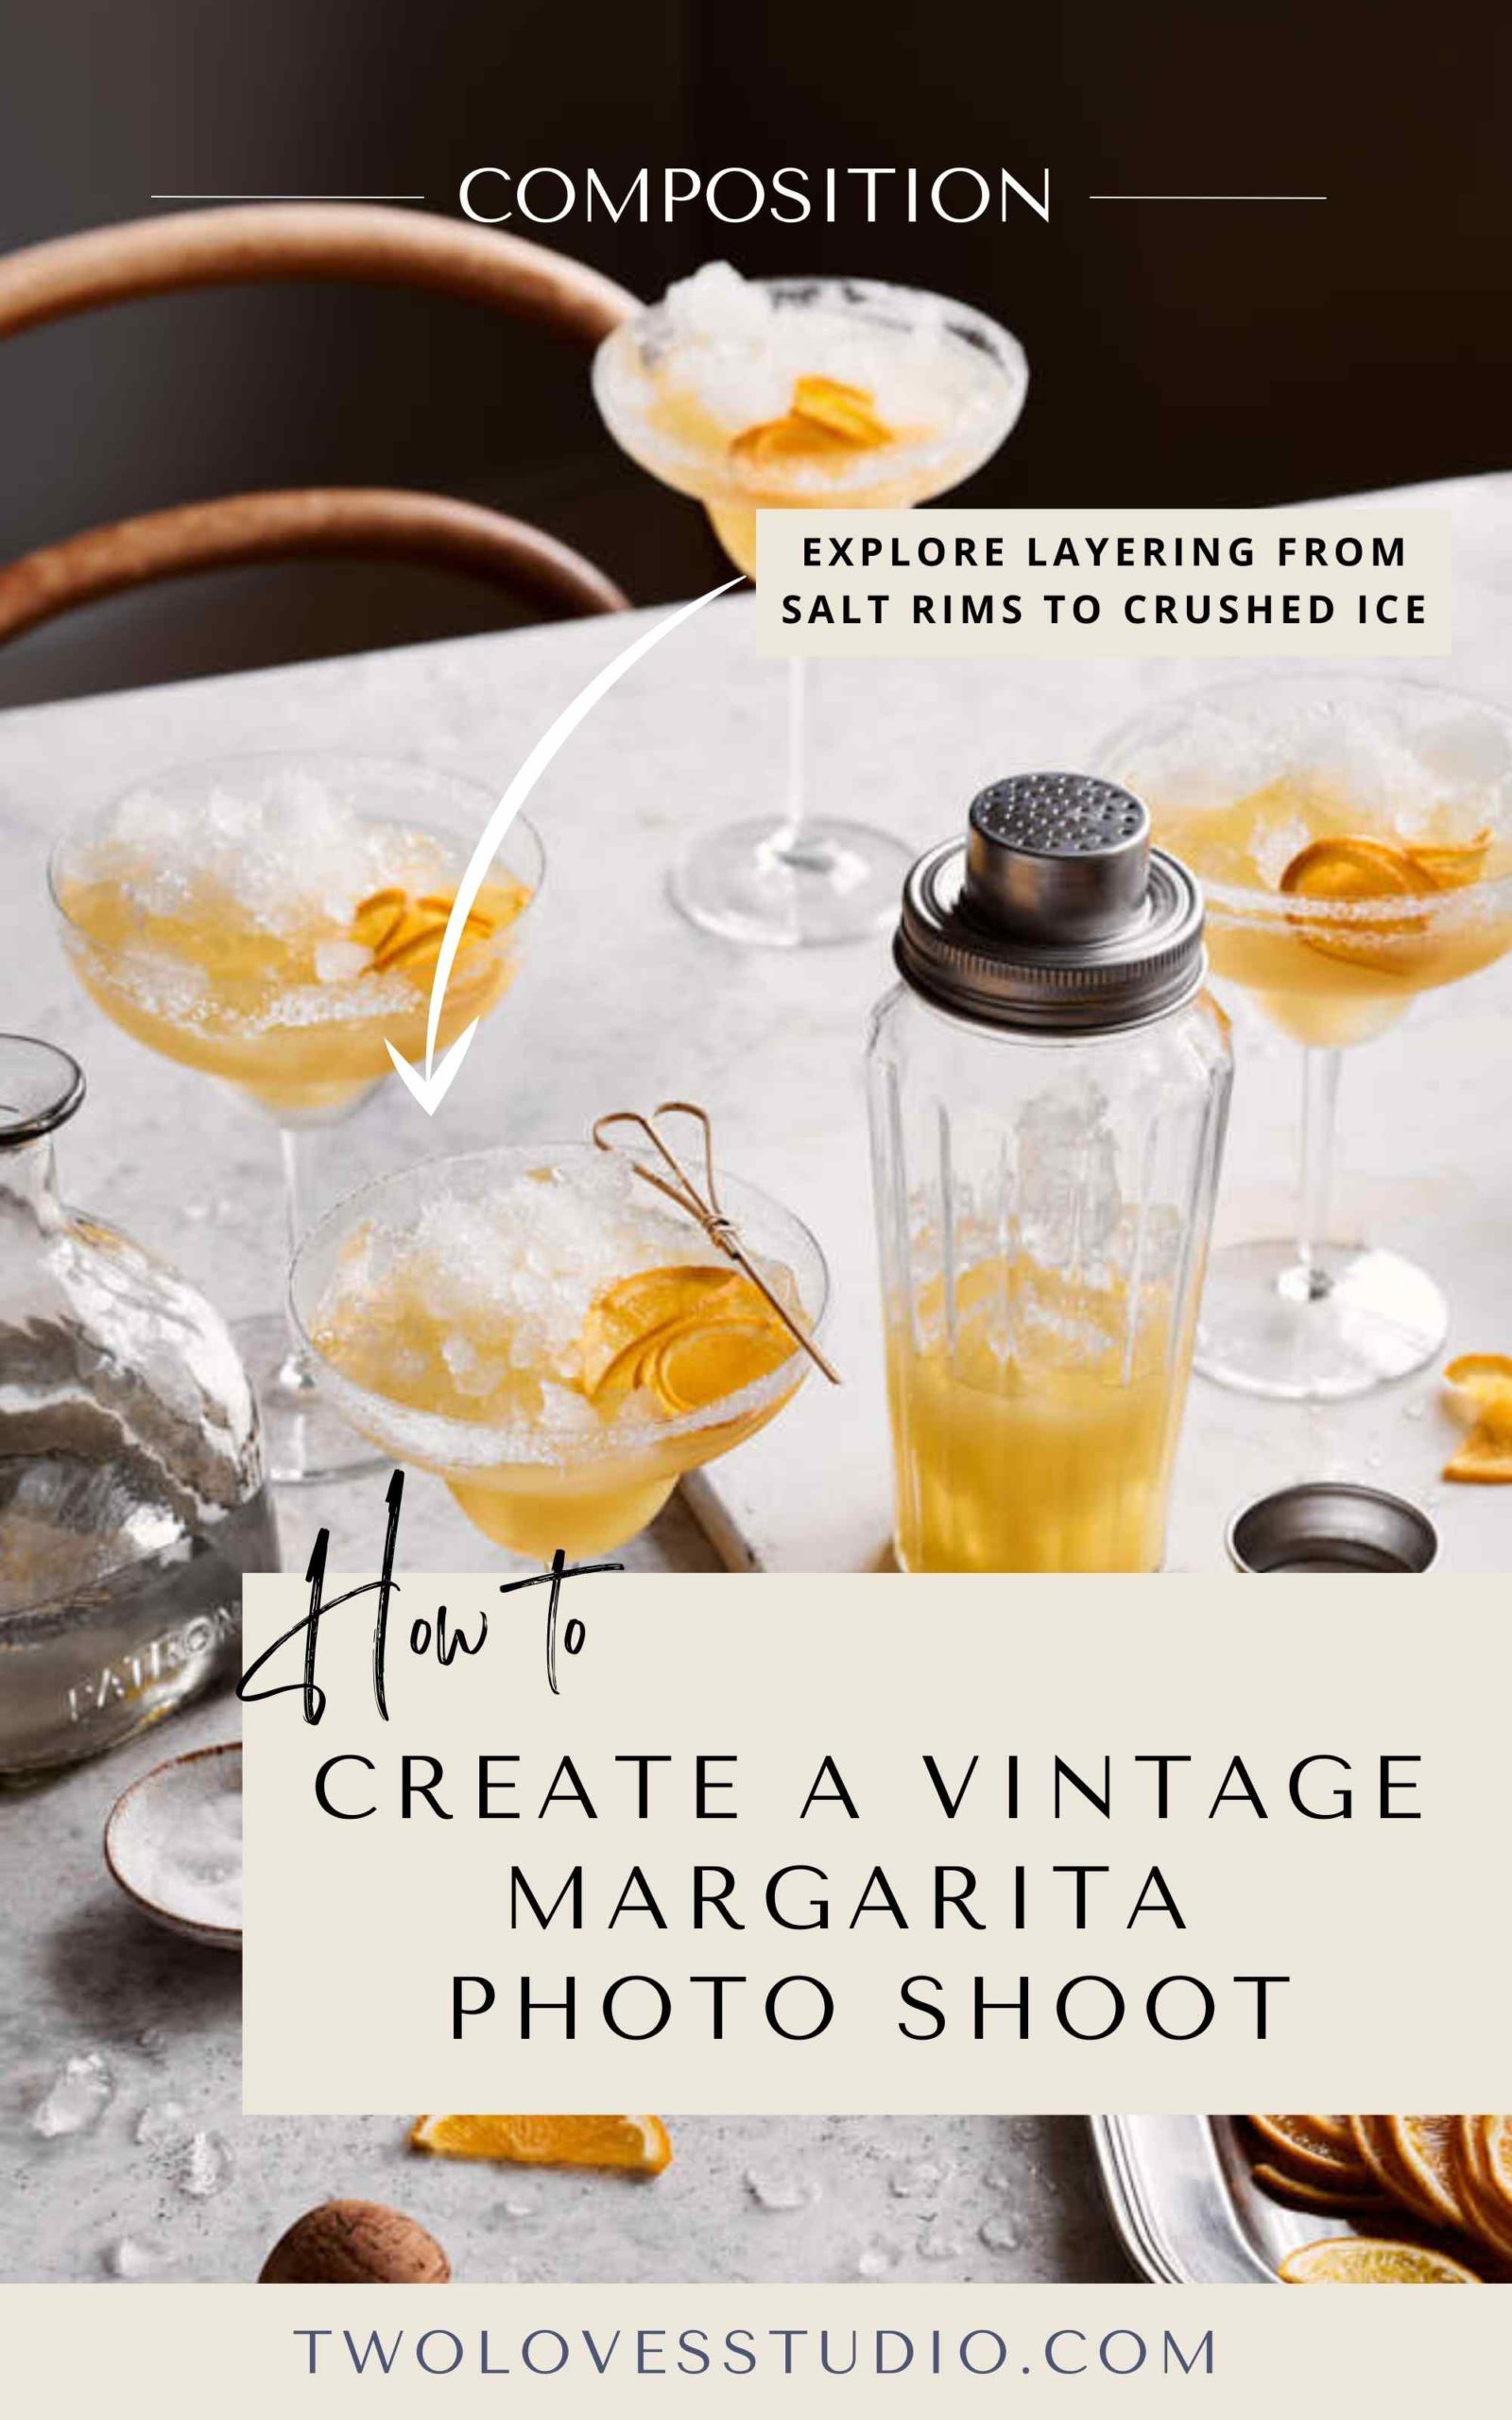
- Layering (From salt rims to crushed ice. There is lots of details to explore)
- Shapes (From garnish to props, there is a variety of complementary shapes)
- Proximity (How close — or far subjects are create different feelings)
- Monochromatic colour theory (Shades of gold to tie the story together)
As this was my living space, I didn’t have the sexiest backdrop, so I have to choose the camera angle to be flattering with one wall OR I paired it with a board. Just this simple change can totally change the story and feeling in a photo.
Editing Your Vintage Margarita Photo Shoot
This was an interesting approach in terms of editing workflow and tools.
To get a vintage feeling, I wanted to have browns and yellows be the focus, but there also has to be contrast AND a softness. Not easy to do.
Instead, I focused on my exposure and high dynamic range tools to allow the foreground to middle ground to be bright, without compromising shadows.
In Capture One, we have the option of different types of clarity so I used one that added detail but kept it soft.
Lastly, I made the WB to be cooler and more correct for the whites, then added warmth for the vintage margarita feeling using colour grading.
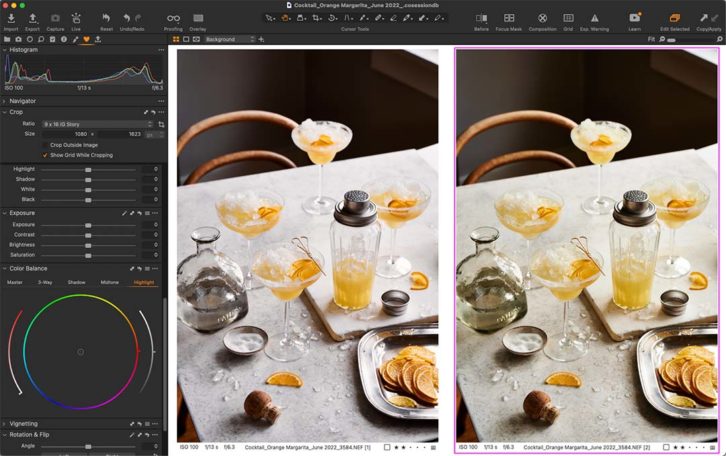
Steal my step-by-step editing workflow (free tutorial on YouTube!).
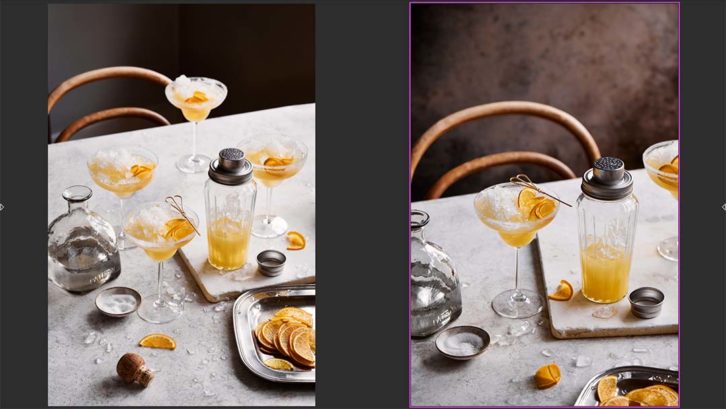
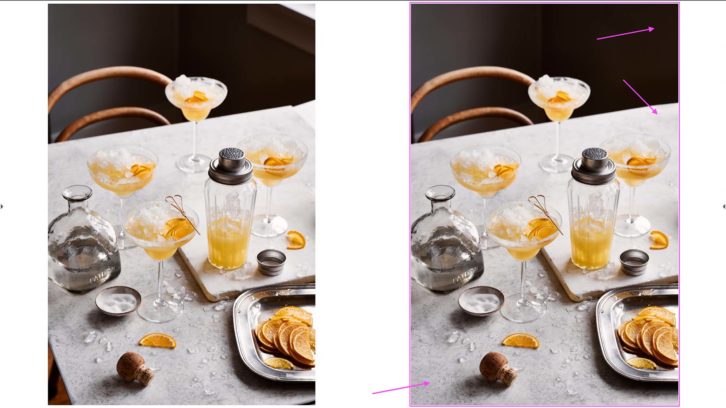
Lastly, my background wasn’t quite large enough to fill the corners and I didn’t want to compromise the crop. So I extended the background easily in Photoshop and removed the edge of the windowsill.
Here’s the before and after in Photoshop.
I hope you found this creative process helpful, insightful, or inspiring. If you did, let me know in the comments!


