This post may contain affiliate links from products and services we love and trust.
Drink photography is its own niche because it commands unique styling, lighting and photographic technique. Photographing drinks is anything but just putting liquid in a glass. Drinks have texture, they are colourful, they dance with the light and they have the power to make us lust after an icy cold one on a hot day.
But for most food photographers, drinks and cocktails are hard. Hard to style, hard to photograph.
If you feel limited by just pouring liquid into a glass, or you can’t seem to make your drink photos stand out – this tips post is for you!
Here are 32 tips to photograph beverages – let’s dive in.
Drink Photography Requires Photoshop Compositing
Photoshop compositing is a technique where multiple images are combined into one photo. With drink photography, compositing is a standard technique to help perfect lighting and reducing reflections.
With commercial or advertising beverage photography, photoshop compositing is a required technique. It’s actually really easy to learn and can take your shots to new heights. I can teach you Photoshop compositing in my retouching food photography masterclass.
Strong Lighting Before Styling Drink Photos
Let’s be real, liquid can be boring to photograph. However, if lit properly, the drink can really stand out to the viewer. Focus on manipulating your light first for tonal or colour contrast, then style your scene. In the next tip, I’ll be sharing the angle of light that’s my go-to.
Shoot Backlight to Make Clear Drink Photos Interesting
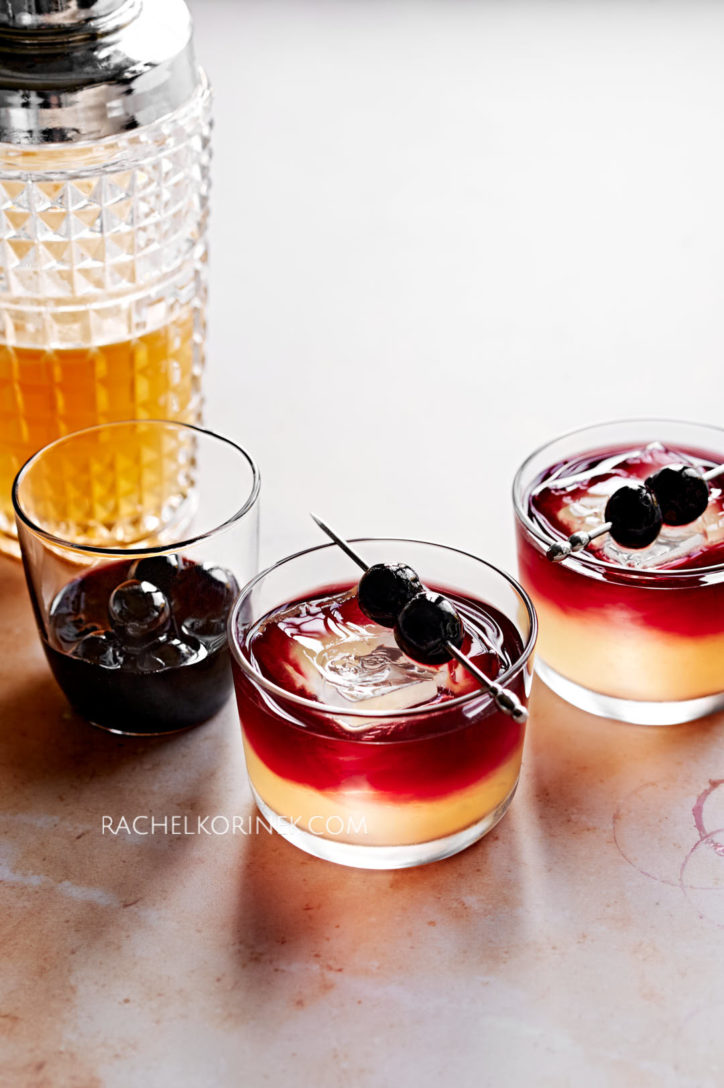
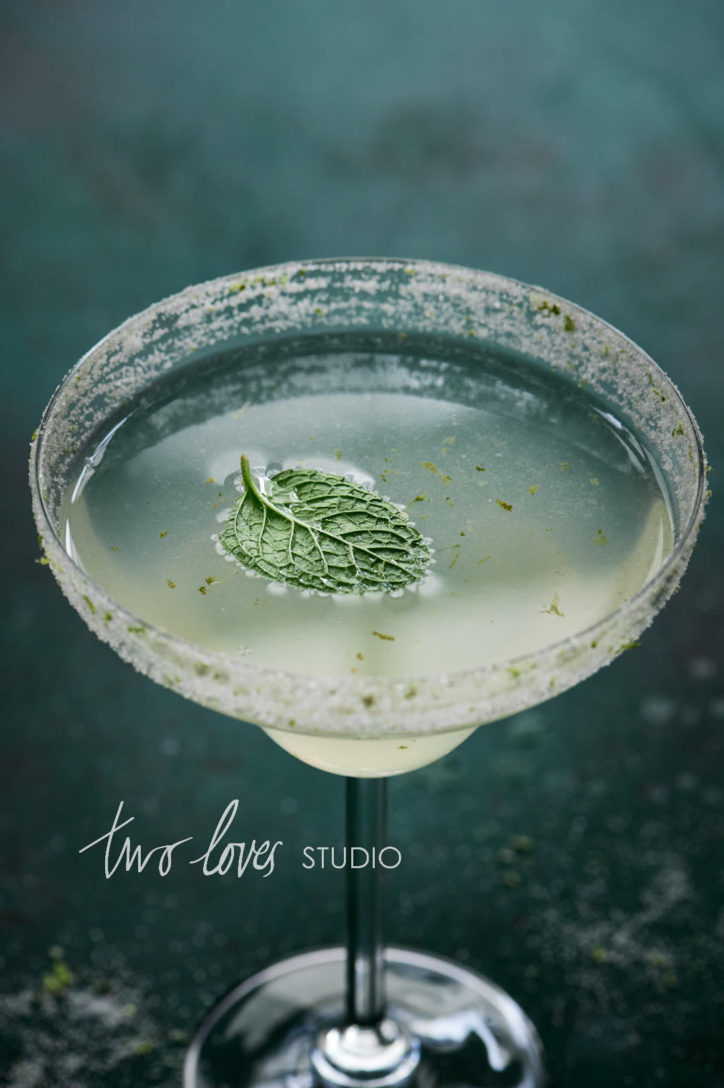
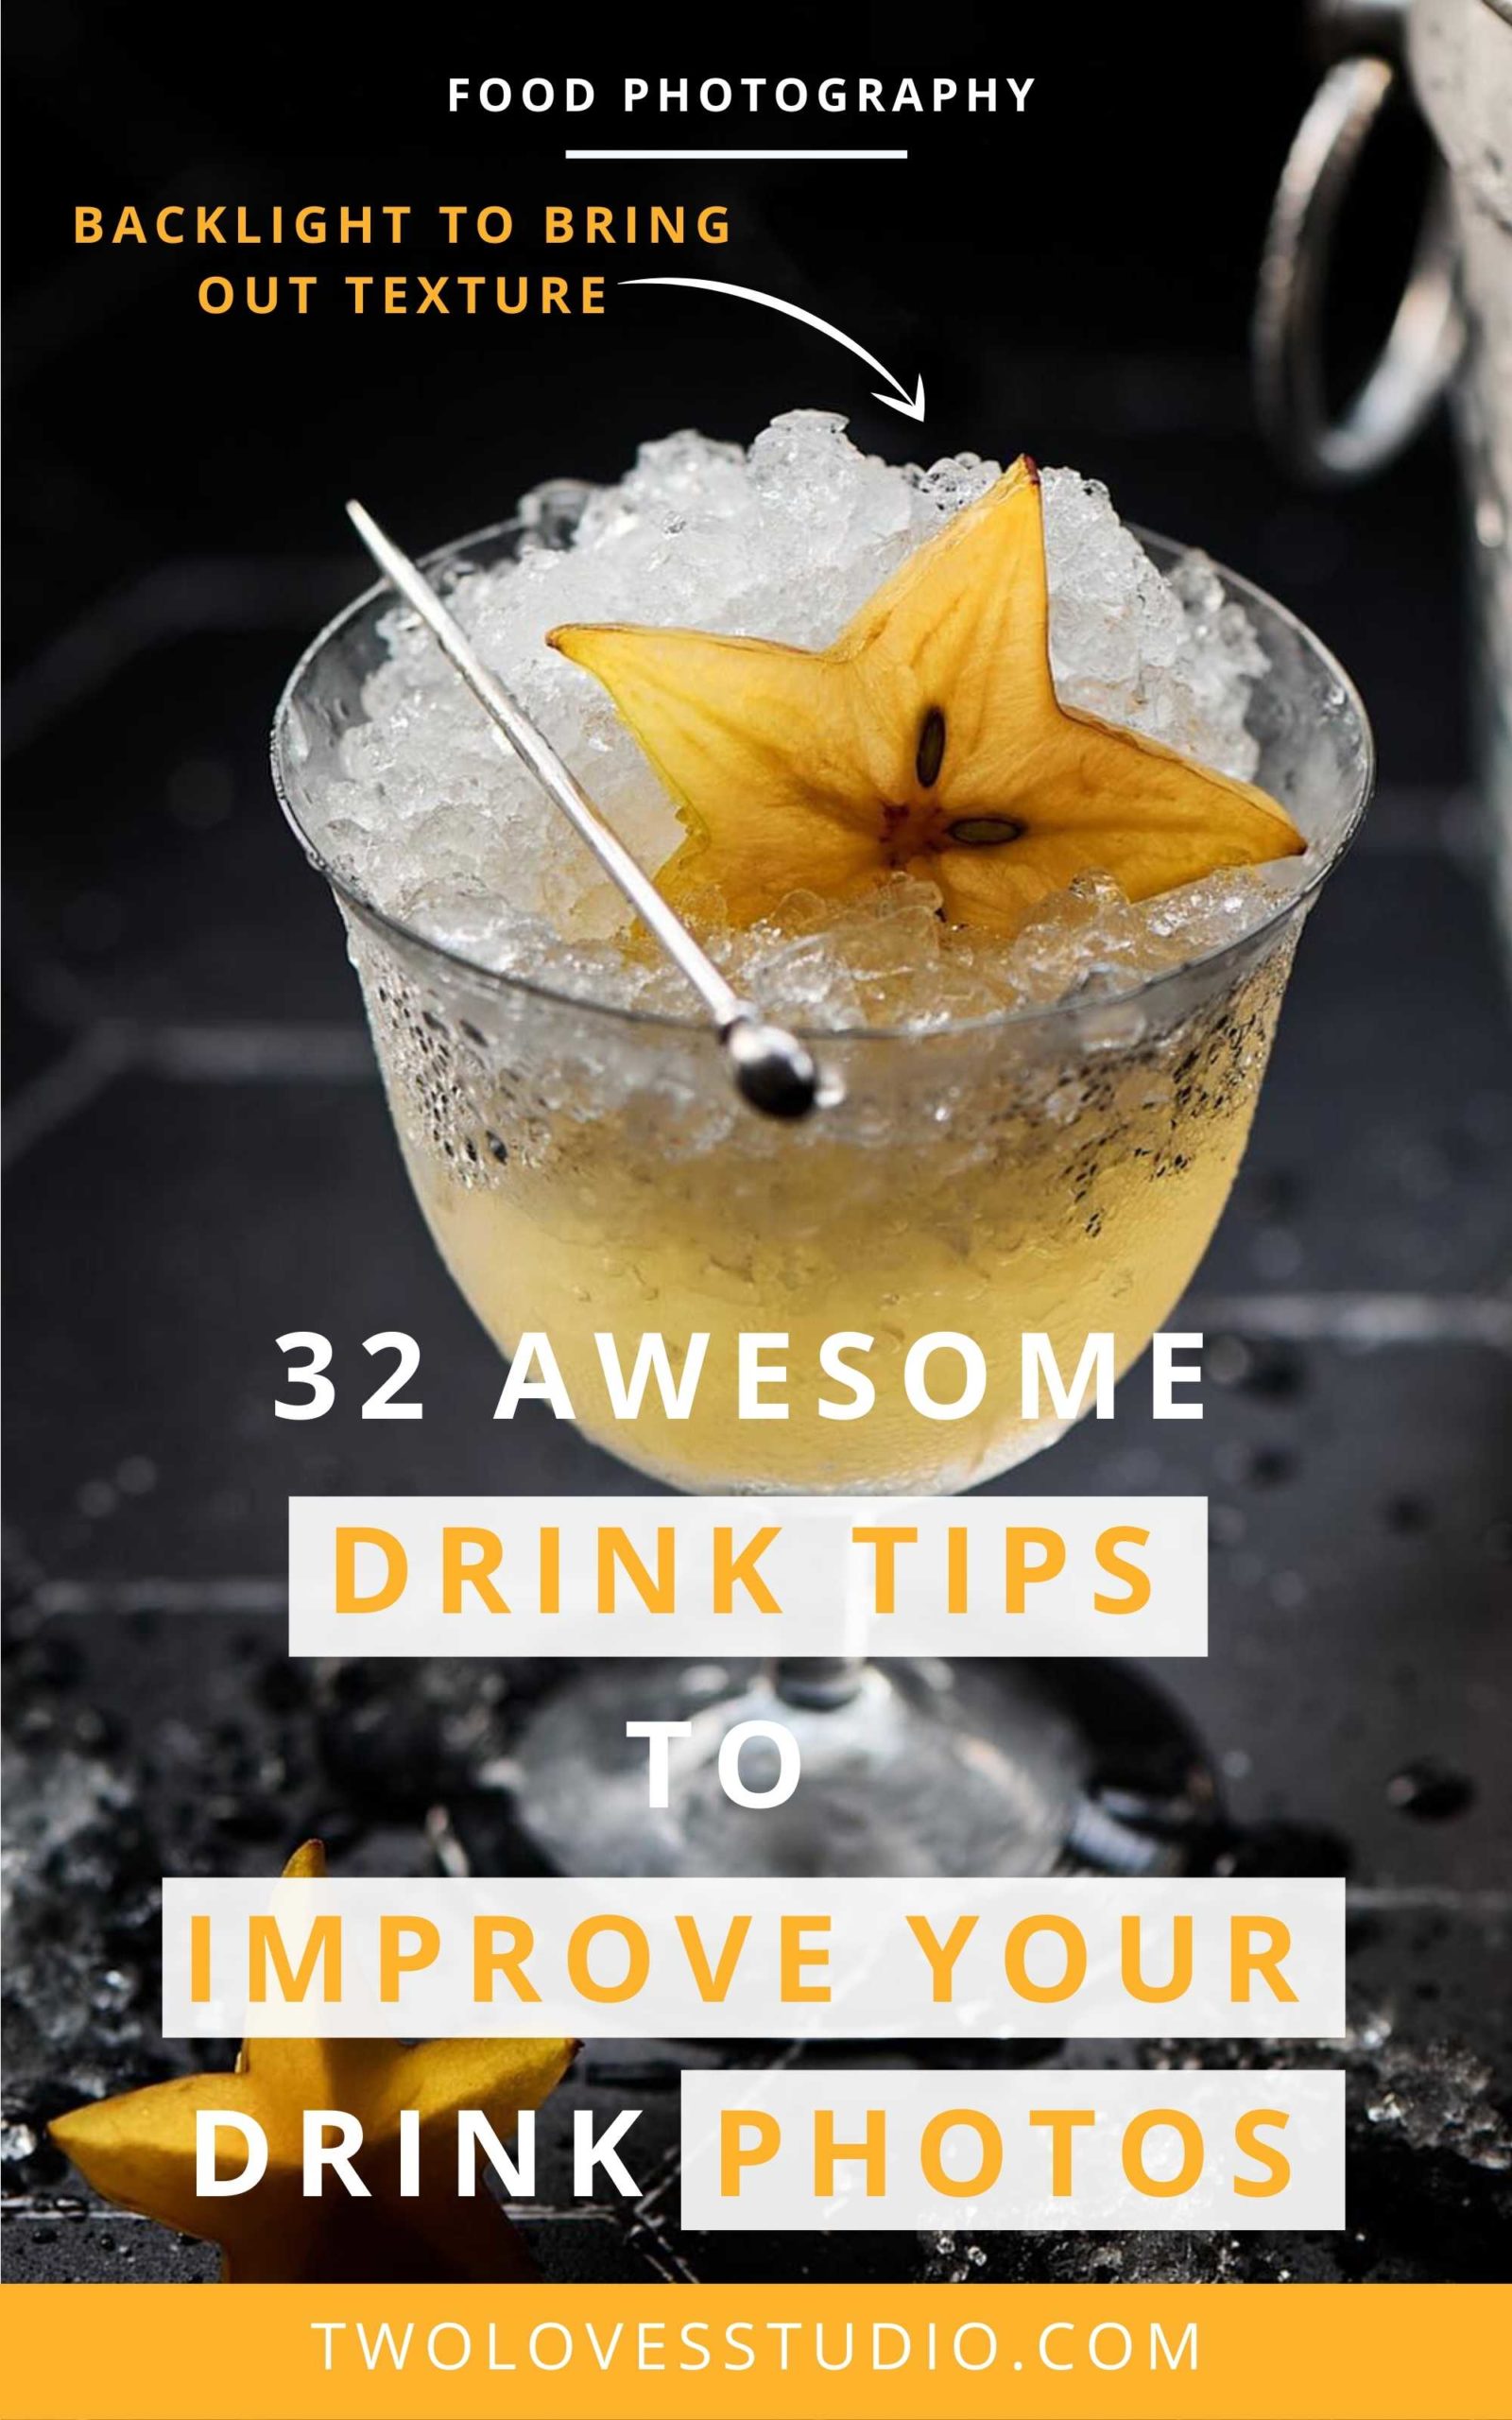
Backlight is an impressive angle for drink photography. Especially for clear drinks. At the right angle, you will pick up a nice shine on top of your beverages that helps create dimension in your photos.
Drinks do have texture and backlight is a direction of light that picks up the most texture. This direction of light can not only be used to emphasise texture in your drinks subjects but also to illuminate the scene you are shooting.
Using Artificial Light Will Reduce Reflections
Most professional beverage photographers will use artificial light for a few main reasons. They can control the light in drinks and liquor bottles, and control (and reduce) reflections.
With artificial light, you can reduce reflections that would normally be picked up with ambient light in the room. If you do use artificial light, you’re likely dealing with fewer reflections than natural light and are in a good place to start reducing reflections even further.
Double Diffuse to Reduce Unwanted Reflections
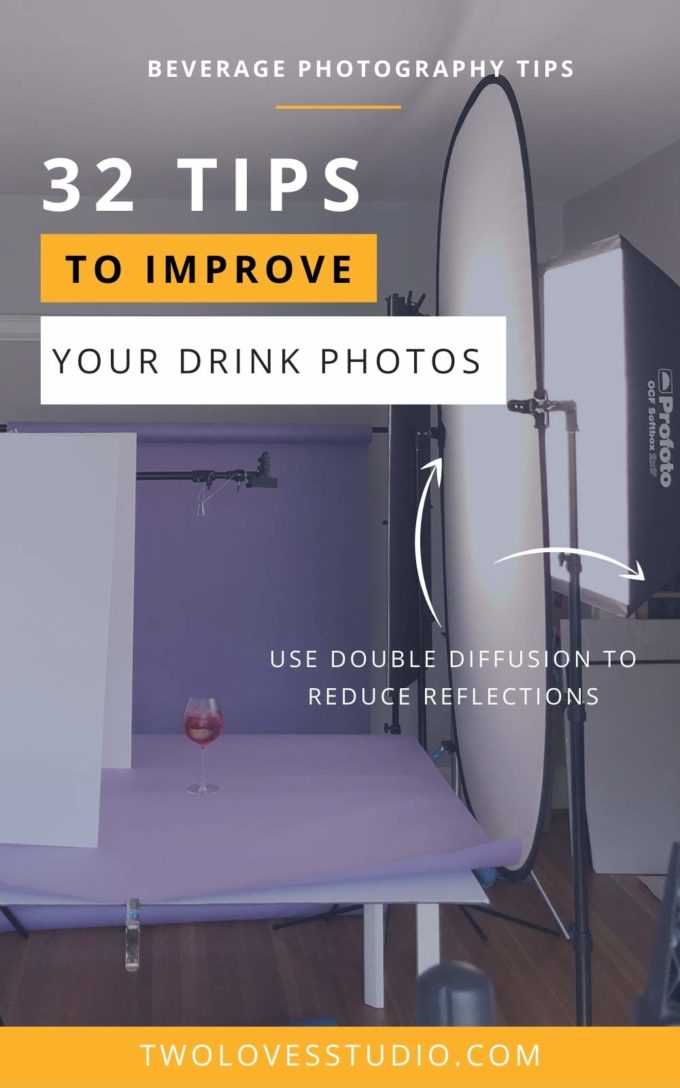
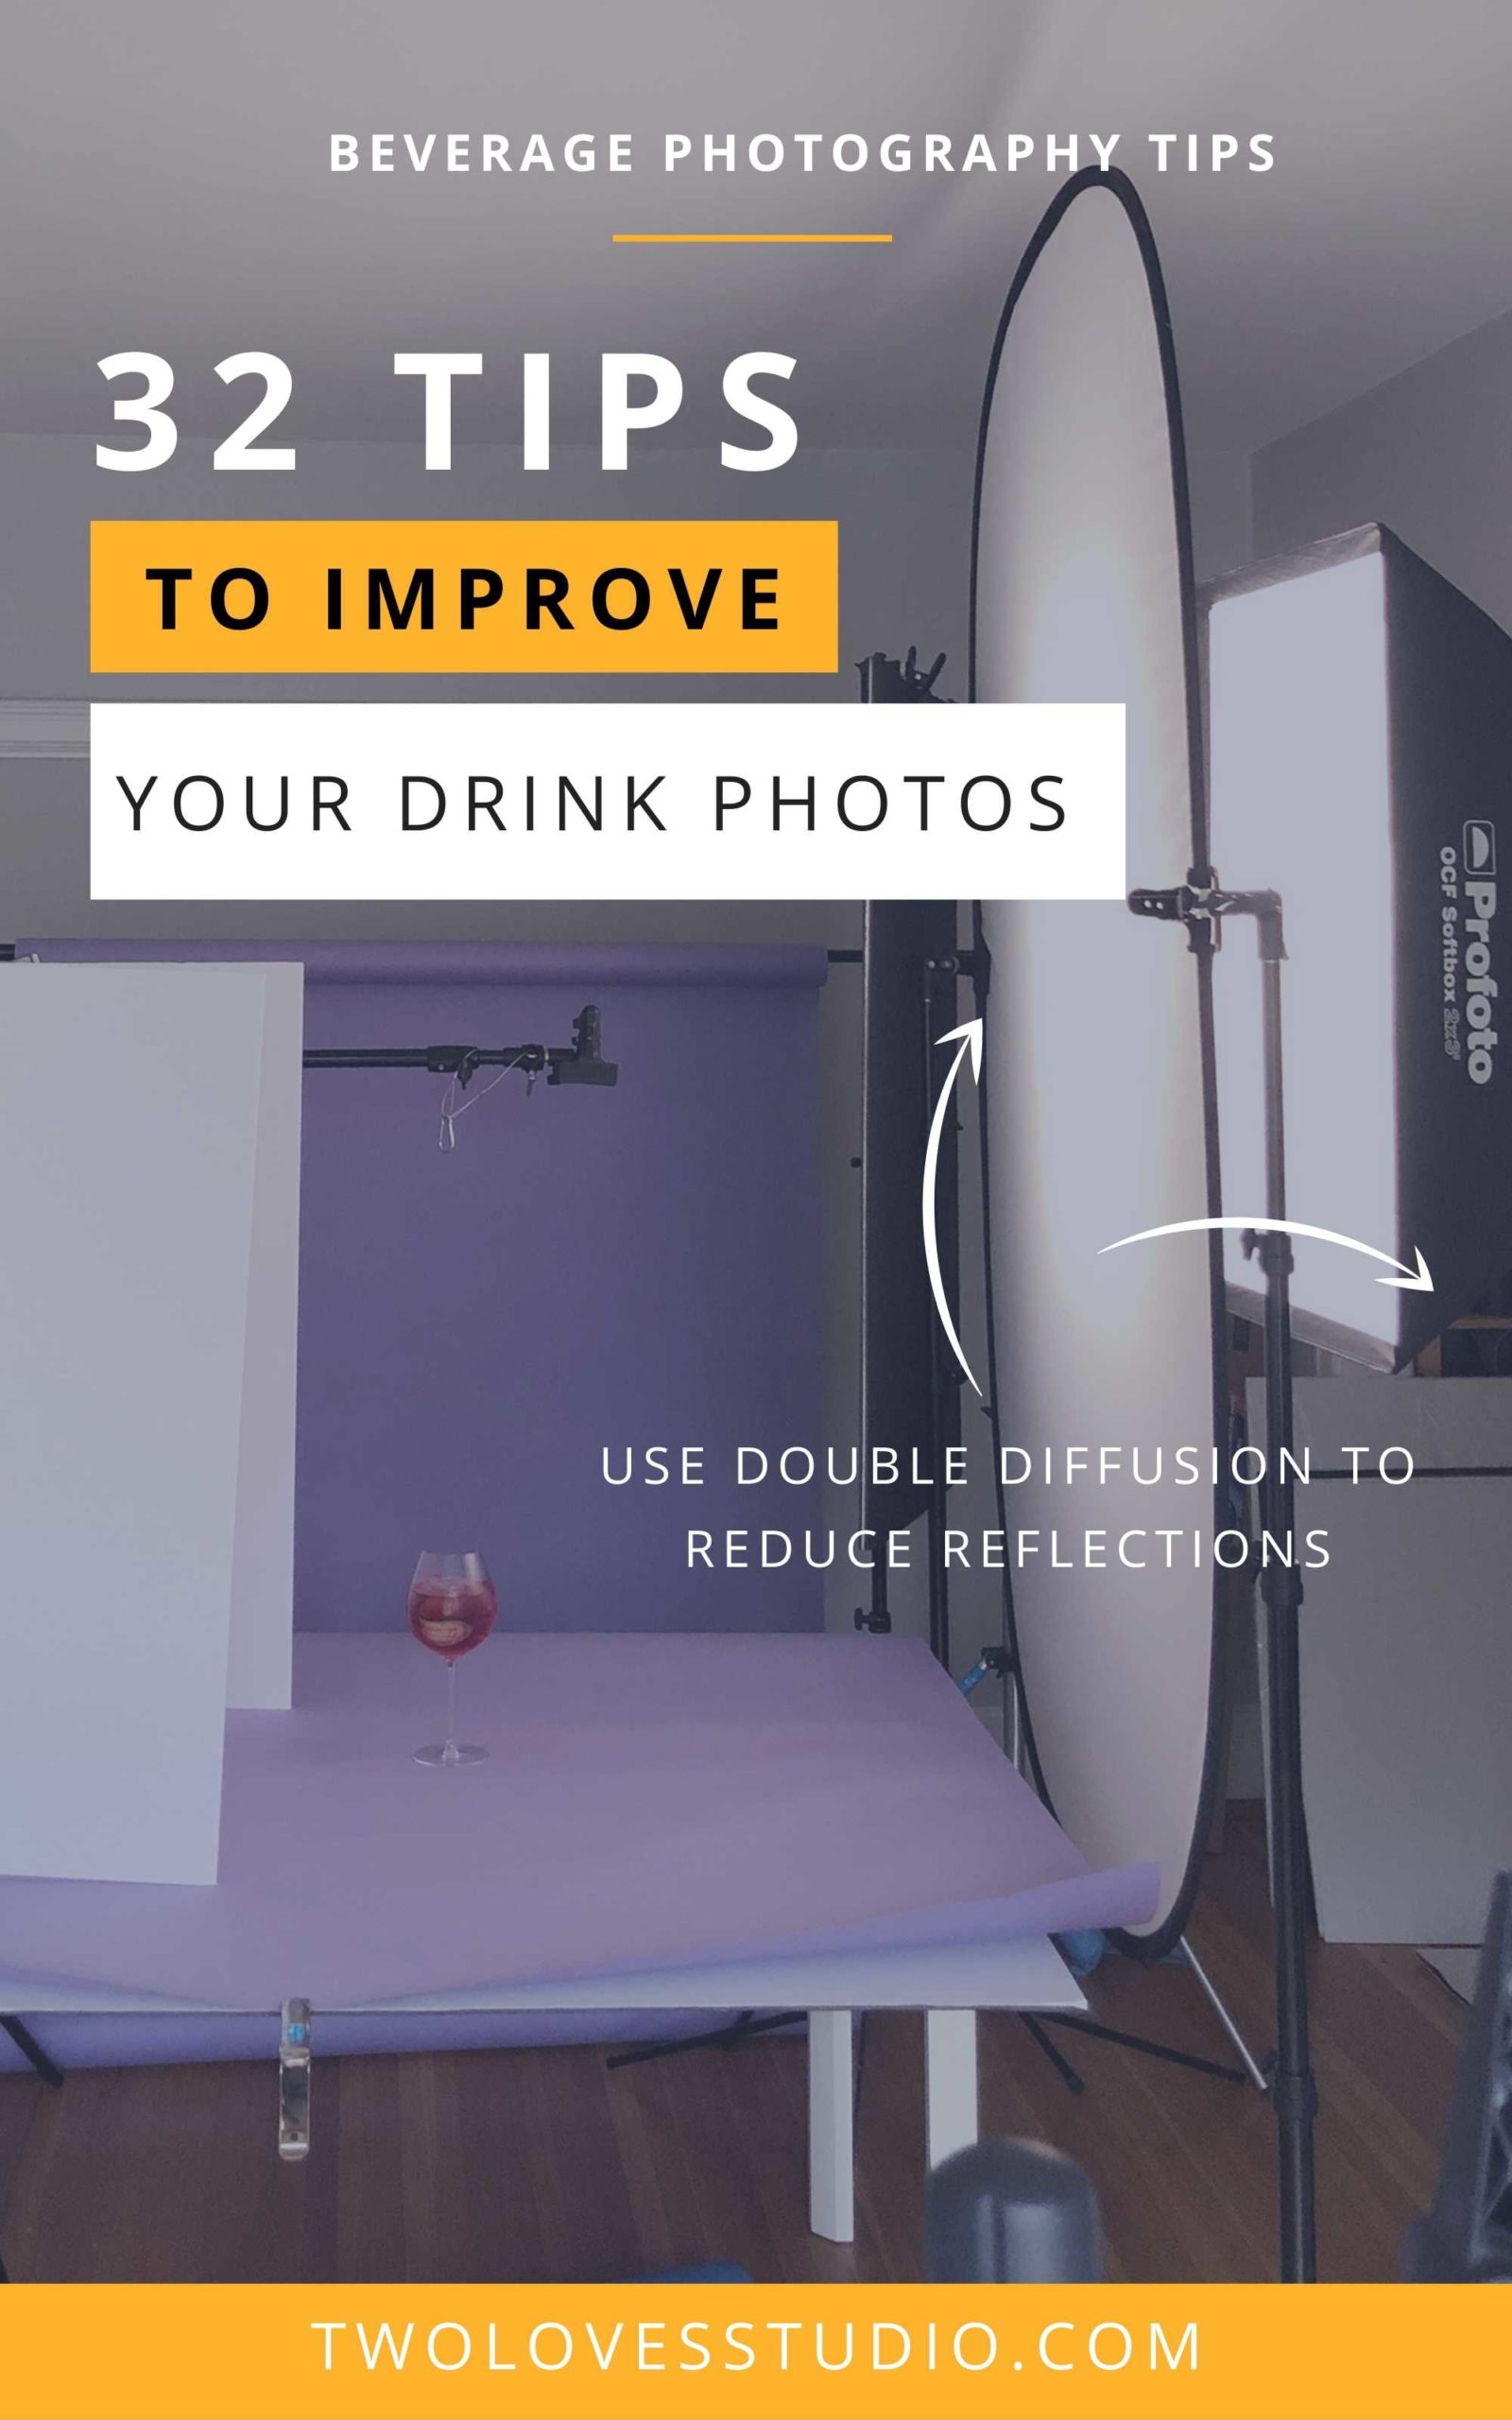
Depending on the type of modifier you’re using (in either natural or artificial light), you may be able to see the reflection of the modifier in your glassware. If the modifier is large enough, you’ll get a nice highlight on the glass. If it’s a small modifier, instead you’ll just see a round or square highlight that isn’t as flattering.
In this case, you can use double diffusion to create softer, more flatter highlights and reduce reflections. Double diffusion is where you use two modifiers. For example, a softbox and a large scrim/diffuser together to light your scene.
Use White Foam Boards to Minimise Reflections
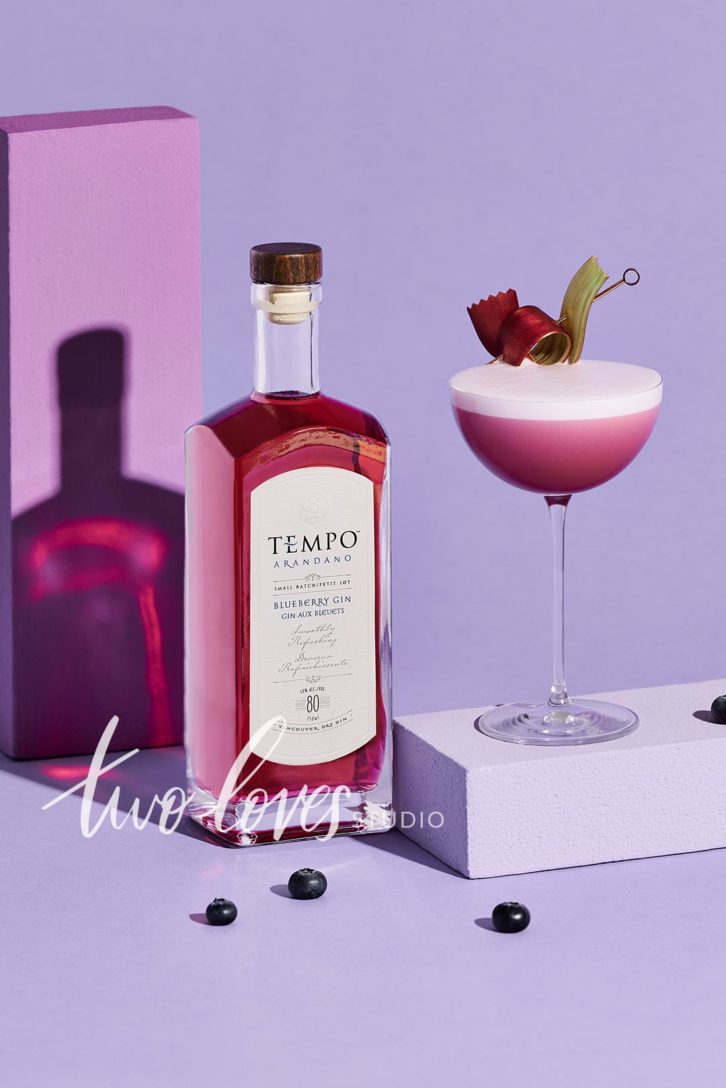
White foam boards are typically used to bounce light back onto your subjects and the scene you are shooting. You can, however, use them to reduce reflections and add nice highlights to glassware or bottles.
Use large white foam boards that can stand up on their own to help reduce any reflections picked up by ambient light or the flash you’re using. You can even use a white foam board to be in front of the camera (with a hole cut out of course for the lens) to reduce any reflections from the camera itself.
Photoshop Will Help you Remove Unwanted Reflections in Glassware
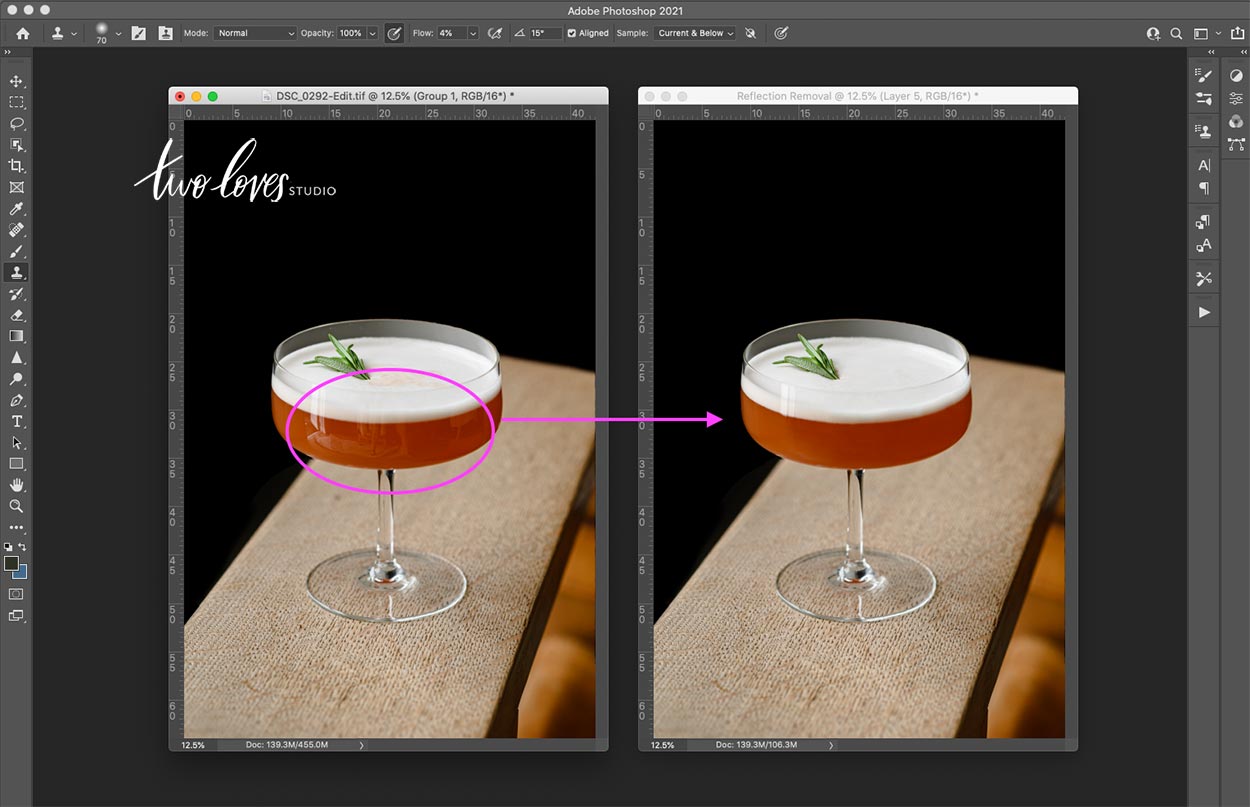
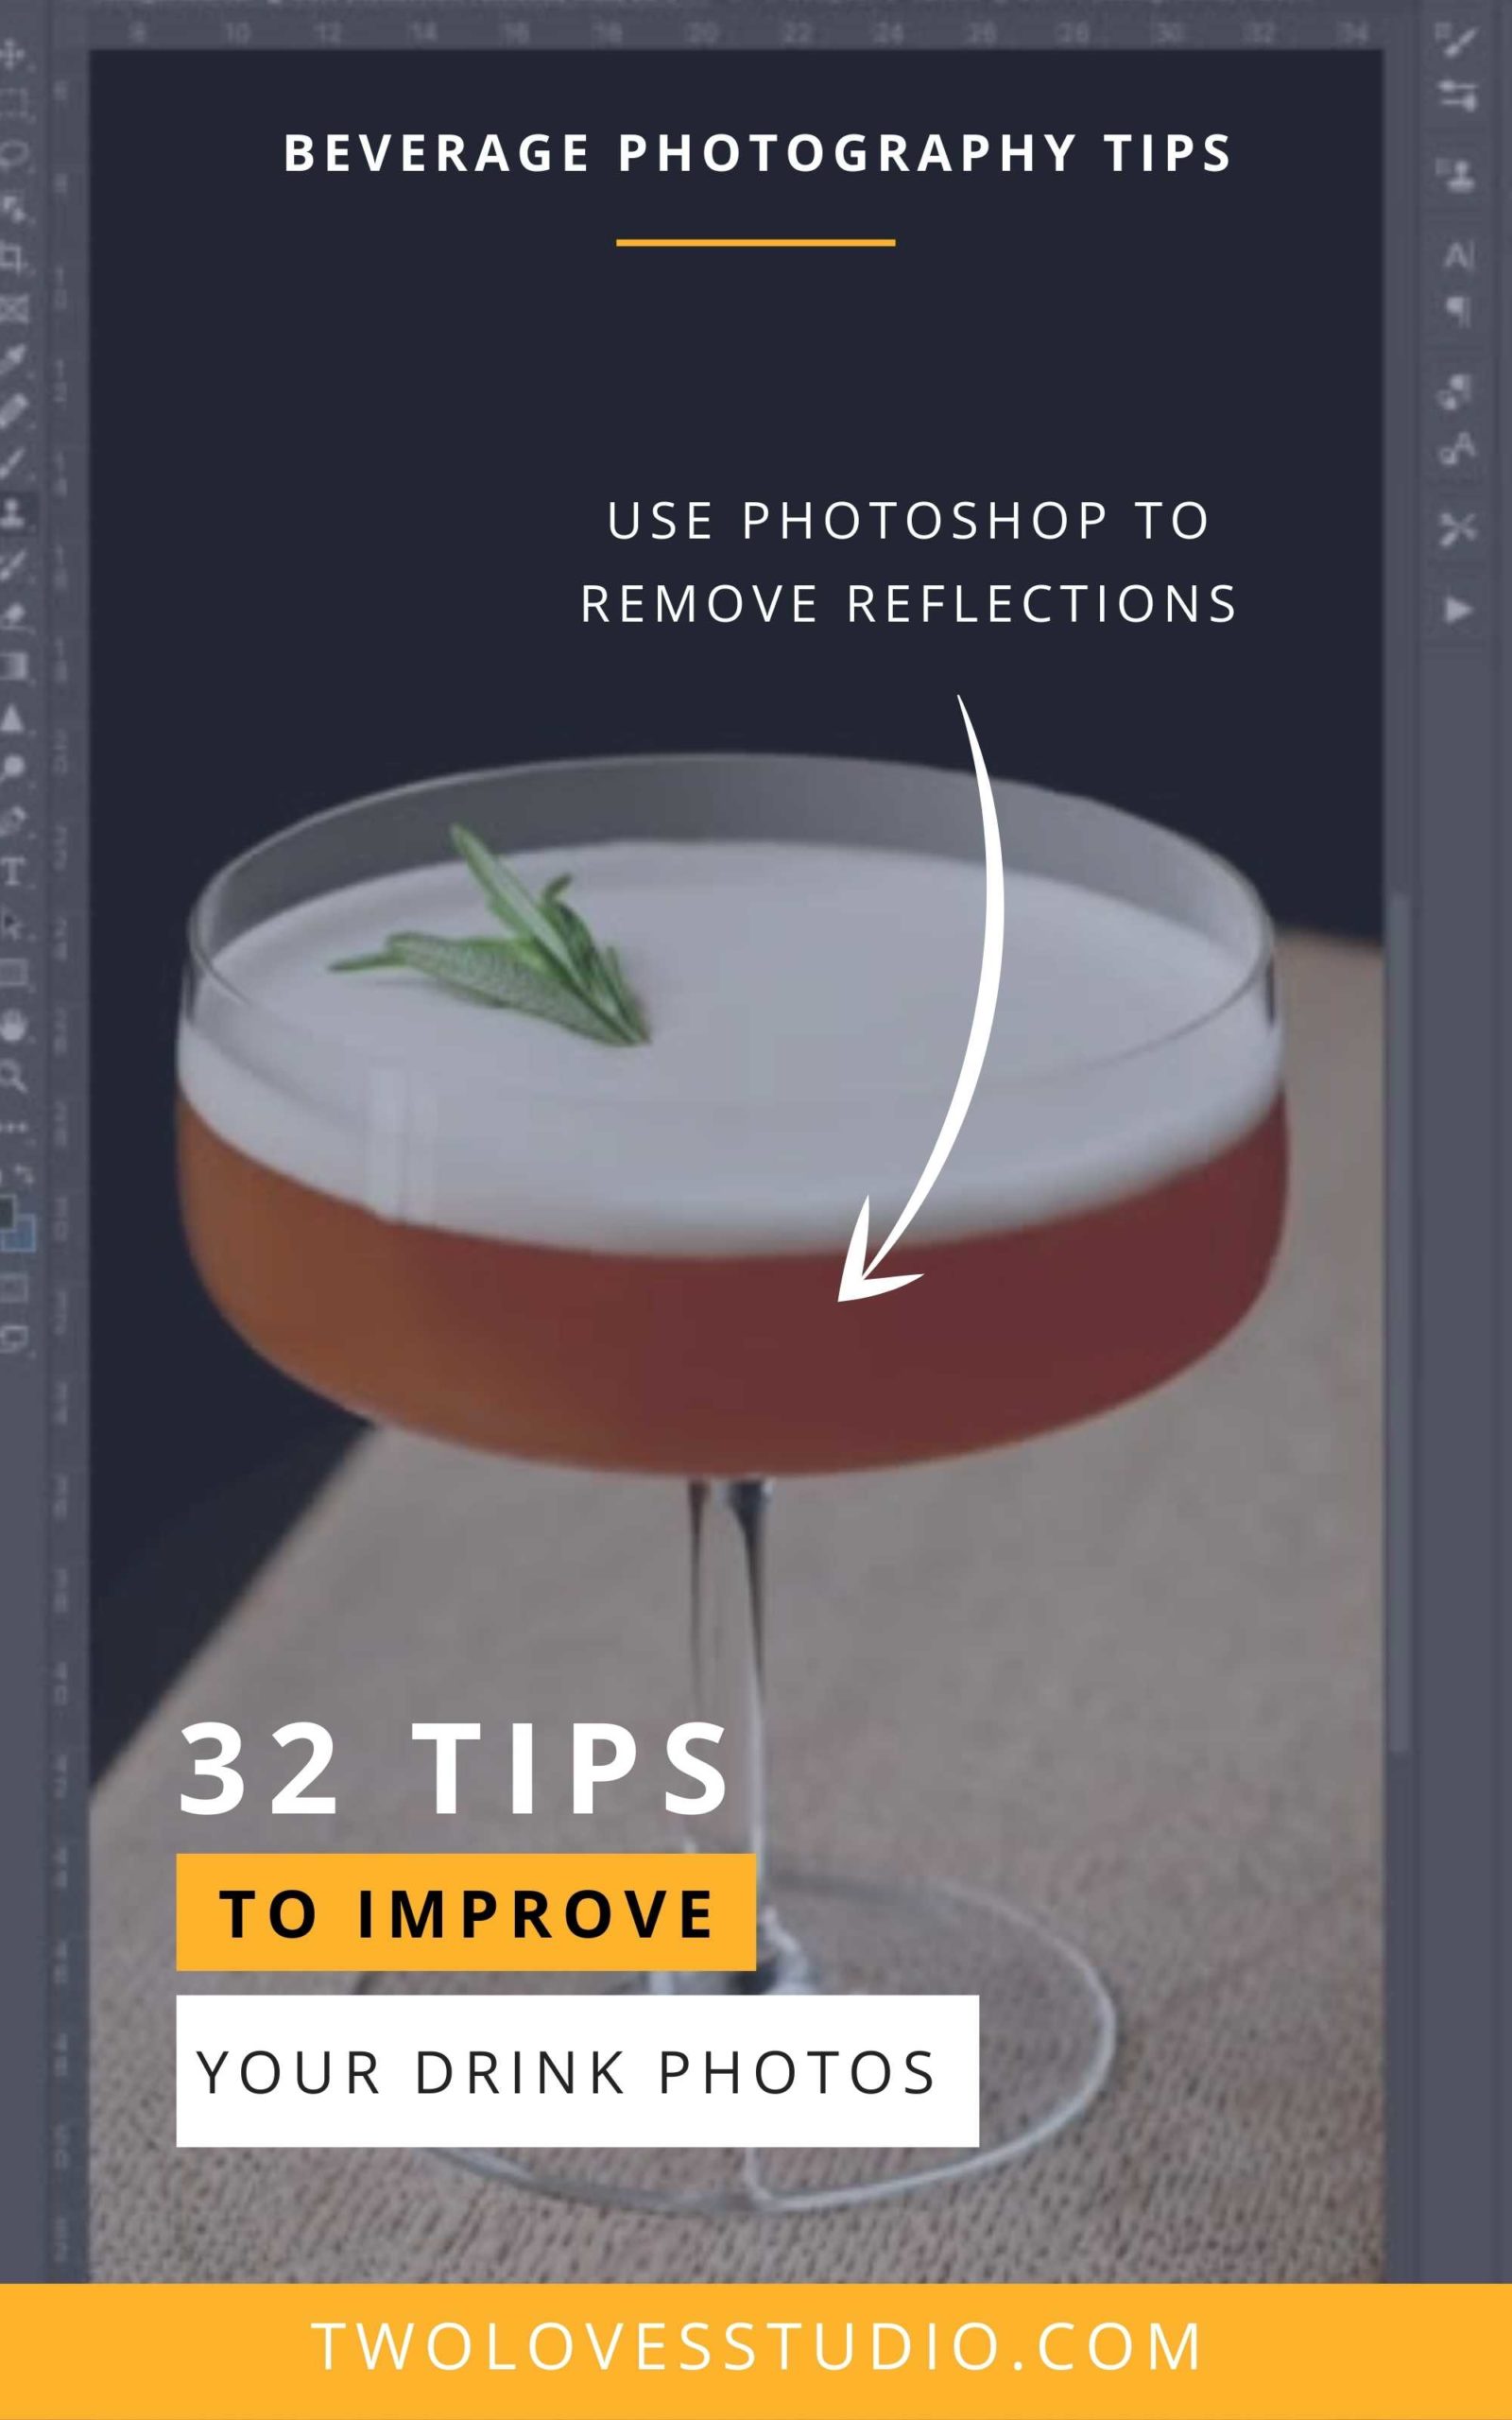
It’s almost impossible to remove all of the reflections you might encounter when doing drink photos. Even if you minimise all of the reflections with your lighting, unless you’re lighting one single drink on a very large background, you’ll still likely get reflections from other subjects.
Photoshop is necessary for drink photography. Using a combination of the Clone Stamp Tool and The Spot Healing Brush, you can further remove and retouch the last of the reflections in Photoshop.
I teach an online class on just how to do this in Retouching Food Photography.
Clear Ice Elevates Drink Photos and Catches Light Better
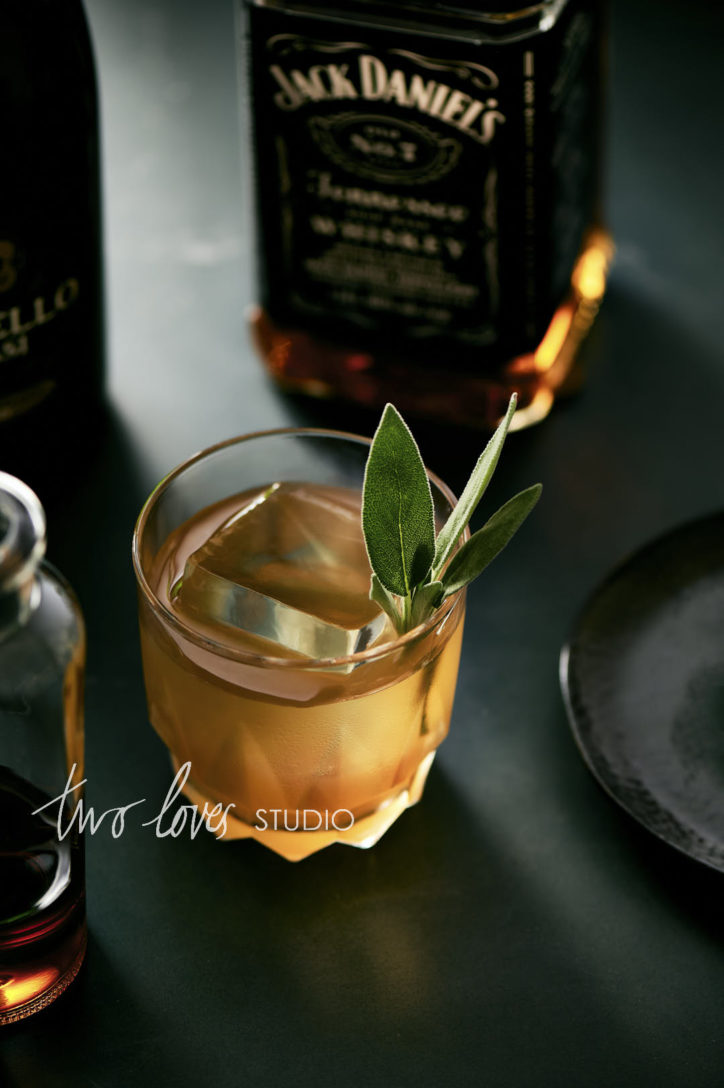
Clear ice is better for drink photography for one simple reason. It has fewer imperfections and distractions in it and therefore picks up the light nicer.
I’m always distracted by the clumps of white imperfections in ice, rather than looking at the drink itself. Clear ice at home isn’t easy. I do recommend a simple and affordable clear ice maker in my drinks style guide. But you might also want to think about using quality fake ice if you get into this full time.
Use Good Quality Fake Ice
If you’re going to get into the drink photography game full time, you might want to consider some quality fake ice cubes. They are pricey and not a lot of companies make them. Saving up for a few key pieces is a good way to start.
Check out Trengove Ice Cubes for more information on fake ice.
Crushed Ice is a Good Way to Get Started. It Lasts Longer Than You Think
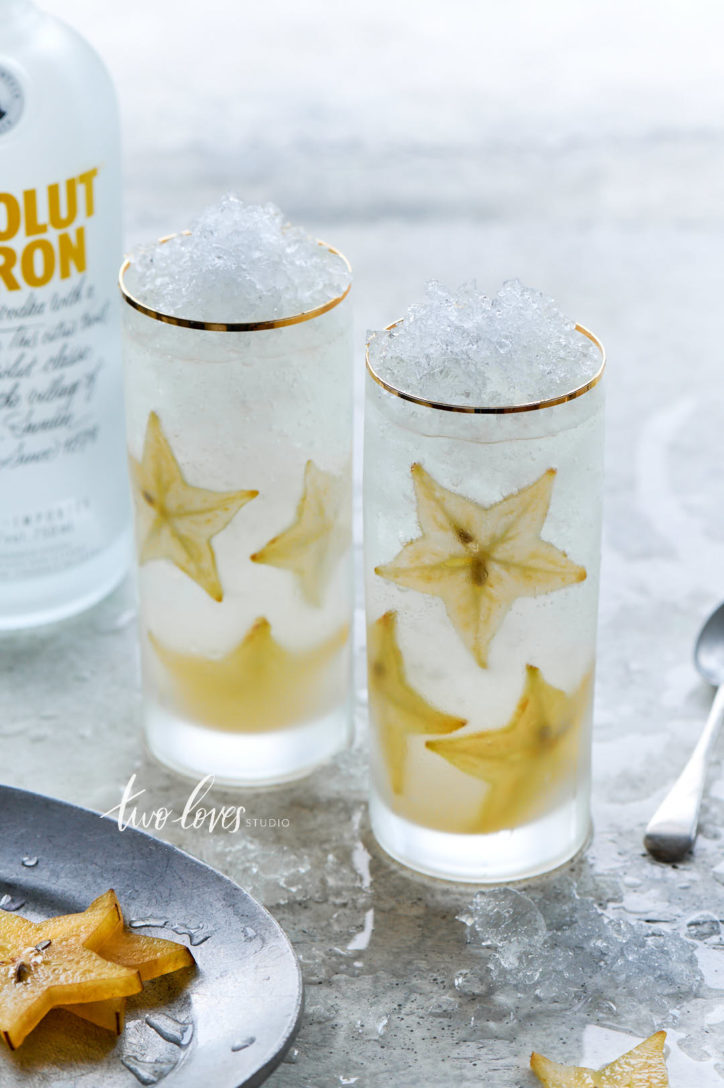
I hear from a lot of photographers that they avoid shooting drink photos because they aren’t sure how to work with ice or are scared of working with ice. My advice is to then start with crushed ice. You can get more time with crushed ice than you think. Even up to an hour on a cool day. That’s plenty of time to play with a few shots.
For crushed ice, most blenders have a crushed ice setting. I simply buy a bag of ice from the grocery store and crush it using my blender.
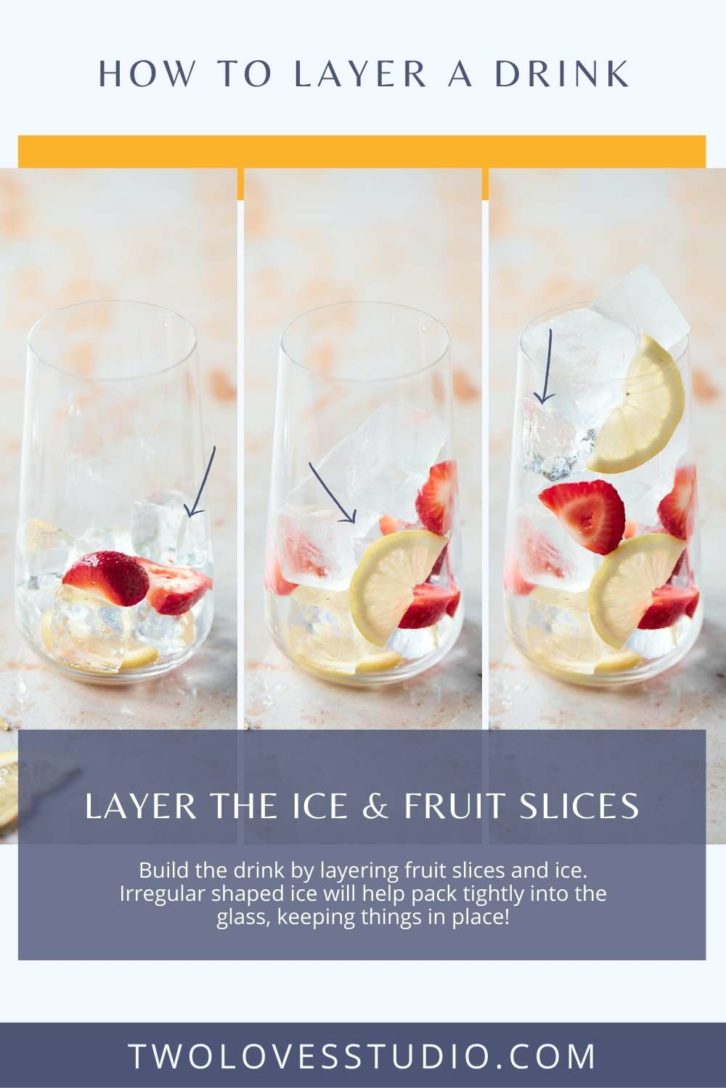
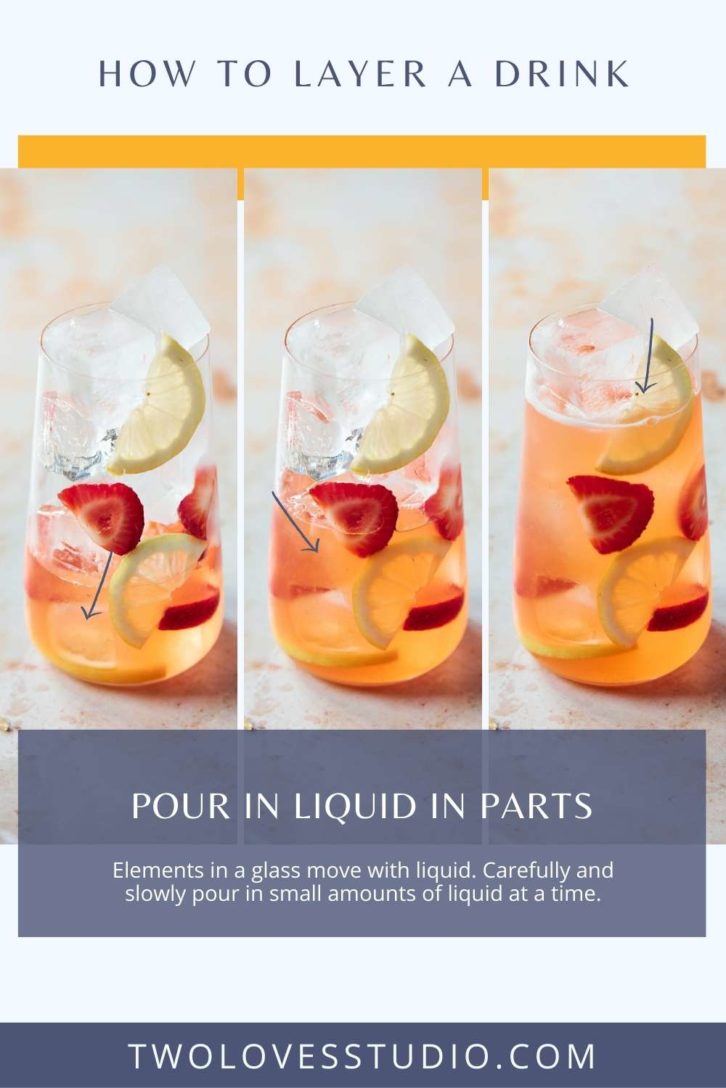
Use Less Liquid with More Ice & Ingredients to Avoid Them Floating to the Top
It’s true, most ingredients and ice that you use in drinks are likely going to float to the top of the glass. Leaving the top crowded and the bottom vacant. This doesn’t always look at good as if the peach slices and ice cubes were sitting nicely in the glass from bottom to top.
The trick, in this case, is to get the ratio of ice, ingredients and liquids right. Add more ice and less liquid.
The liquid level shouldn’t be full. There will come a point where the liquid will allow the ice to float. Fill the glass with ice and ingredients, then just 3/4 full with liquid.
Cheap Plastic Decorating Cubes Are Good to Help you Practice and Light Drink Photos
You can find these at craft or DIY stores. I don’t recommend them for the final shot, but when you’re using real ice they make a good option to light your drinks for test shots so you don’t waste ice.
Cloudy Ice Works For Cloudy or Muddled Drinks
Having said that clear ice is best for drink photography, I know it’s not always possible. If you can’t make clear ice at home, then use cloudy ice in cloudy or muddle drinks as it’s less obvious.
Adding fruit or fruit juice to ice cubes can further hide the fact that the ice isn’t clear – win! The bonus is that it also looks nice in photos.
Buy a Glass Cleaning Cloth
A must-have item if you are shooting drink photos is a glass cleaning cloth. No matter how many times you try to wash a glass, there will be some marks left. A good cleaning cloth designed to clean glassware is a lifesaver. It will reduce the time that you need to remove unwanted marks in photoshop.
I found this one from Crate & Barrell and it’s awesome. I came in a three-pack and I solely use it for cleaning glassware on set.
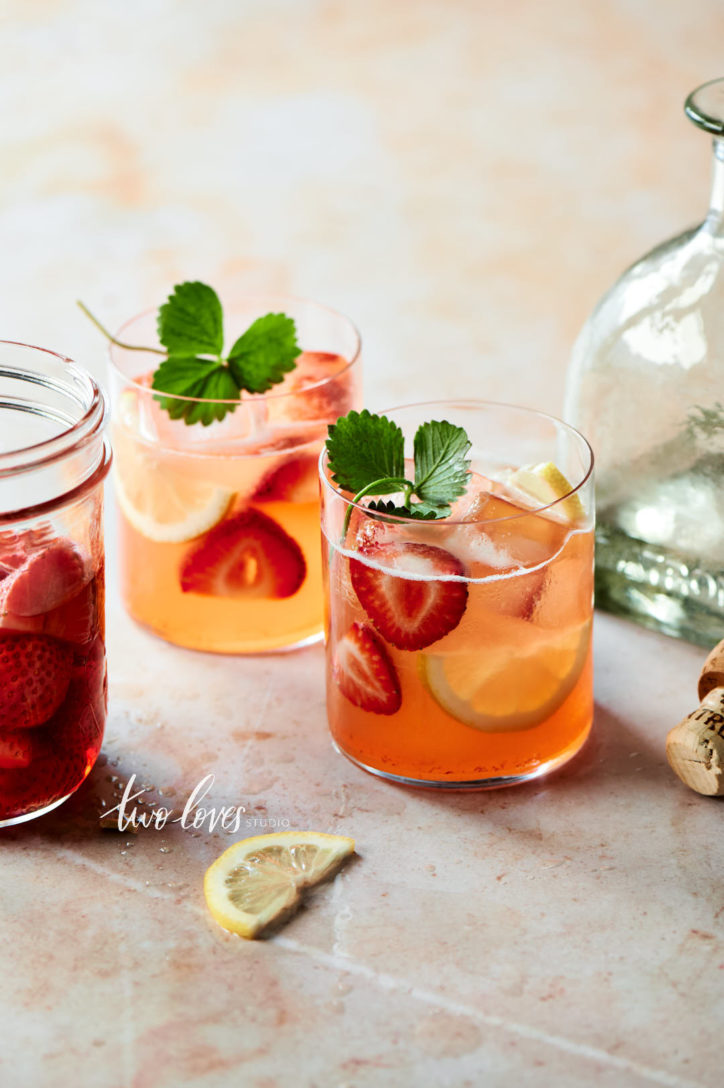
Use a Variety of Interesting Glassware
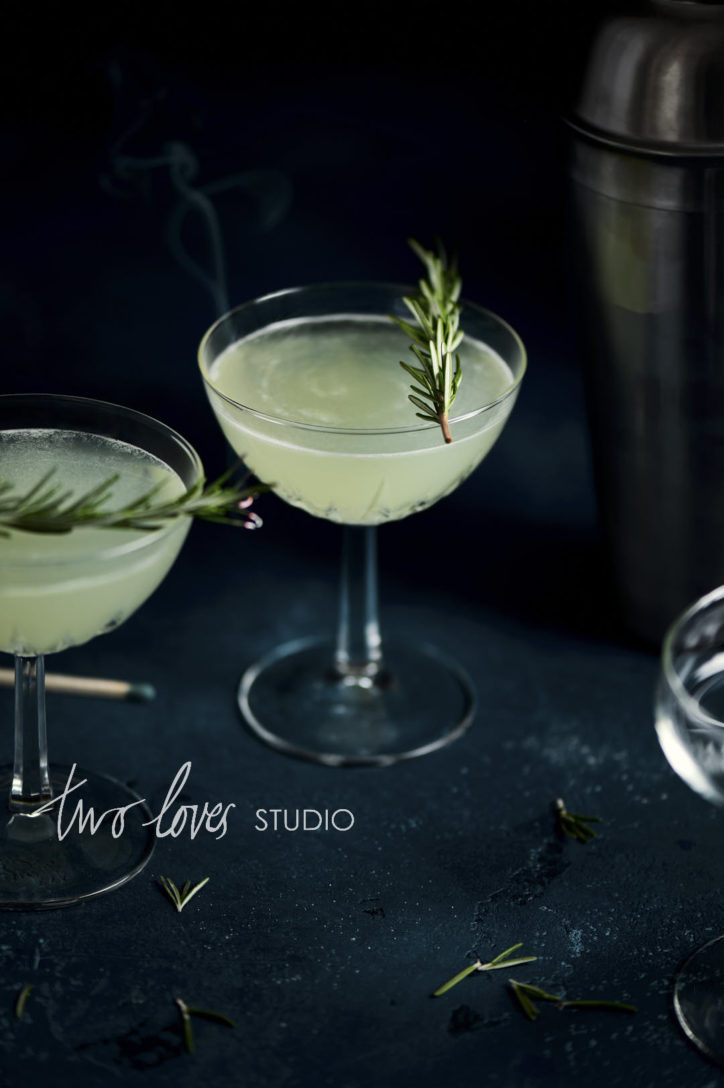
If you’re going to get into the drink photography game, glassware will become an obsession. Not only is there a type of glass for each cocktail, but having a variety of interesting and vintage pieces will make your photos better.
In my drinks styling guide, I cover different types of glassware you’ll need for different drinks. But here are the top four types of glasses I recommend:
Consider a Balance Between The Height of Your Glasses & Liquor Bottles
One thing many photographers don’t think about when they get into drink photography, is that they need a variety of tall and short glassware. Some glasses might seem very tall and large, but when you think about it most liquor bottles are very tall.
Using a very tall bottle and a very short glass can cause an imbalance. We want to aim for harmony between the height and visual weight of any bottles, decanters and glassware that we use.
Drink Photography Hack: Use Sticky Tac to Help Glassware Stand Up Straight
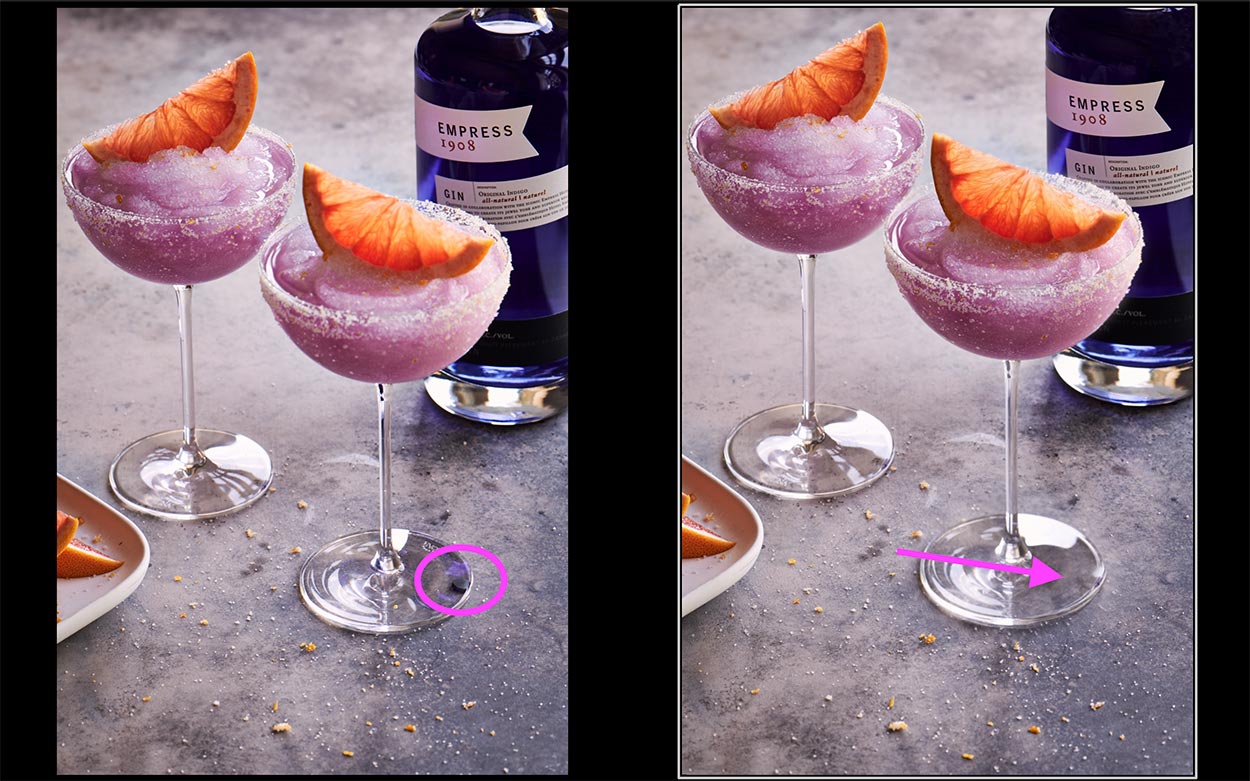
Between distortion and glassware imperfections, can be hard to get glassware to stand up straight sometimes.
As I like to get them as right in-camera as possible, I will use sticky tac and place a small piece under the glass to make it stand up straight. Then I photoshop it out in less than 30 secs. I’ve found this to save the most time and give the best results.
Perfect The Foam in Your Cocktails Using the Dry Shake Method
One of the things that got me into drink photography is the foam on cocktails. That buttery, meringue-like foam is so darn pretty and photogenic. But there is a technique to it. If you don’t have the right combination of ingredients or don’t use the right shaking method, you can end up with airy foam that looks curled.
For the perfect foam, use the Dry Shake technique. You shake the ingredients first, without ice. Then add ice for a second shake. Learn how to do the dry shake technique in this post.
Replace Simply Syrup For Clear Spirits When Testing to Save Money
When you are doing a lighting test of your drink photos you may not want to waste precious spirits as they aren’t cheap. Some clients will even ask you not to use clear spirits to save money on photoshoots.
This needs to be approached with caution. Cocktails are a delicate balance of textures and liquids. You can’t simply omit the spirit and the cocktail always look the same. In this case, I’ve found using a 1:1 ratio effective. Simply substitute simple syrup for clear liquors.
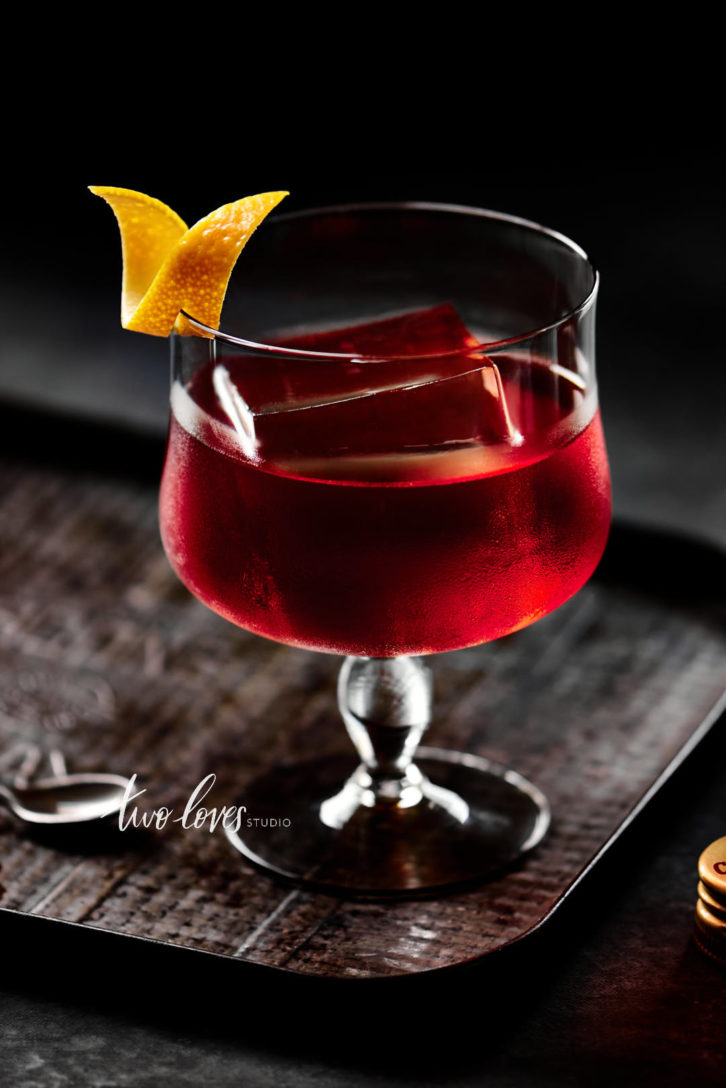
Help Identify the Temperature of the Beverage With Steam or Icy Conditions
Drinks either cool us down or warm us up. There’s not much in between. In summer, our job is to want to make the viewer cool down with an ice-cold beverage. In winter, our job is to get them to cosy up with a hot drink.
Help the viewer connect to these ideas by either capturing steam or condensation.

Capture Freshly Poured Beverages
Freshly poured beverages are when the drink is the best to photograph. There is movement happening in the glass, there might be bubbles or foam adjusting to its new container. This gives beverages life. Think about your first shot vs the shot you take after an hour. There’s less life in the one that’s been sitting around.
Don’t be afraid to reshoot the beverage a few times to get the freshly poured look. It really does make a difference.
Be Prepared to Make Drinks 2-3 Times For the Perfect Shot
Maybe this goes without saying, but as a food photographer, we don’t have to make every recipe a couple of times to photograph in the same shoot. But with beverages that’s normal.
When prepping for ingredients, make sure you have enough to make the drink a few times. Being able to shoot the drink two to three times will help you capture the freshly poured look.
Top Up the Liquid on Set to Avoid Rim Marks
I always recommend doing test shots for composition and lighting with a test drink. Then when you’re happy with how the photo is looking, bring in a freshly poured hero cocktail. However, if that’s not possible, in order to avoid rim marks on your glass as your moving and setting things up, underfill your cocktail.
Then when you’re ready for the final shot, top up the liquid on set with a small jug or syringe.
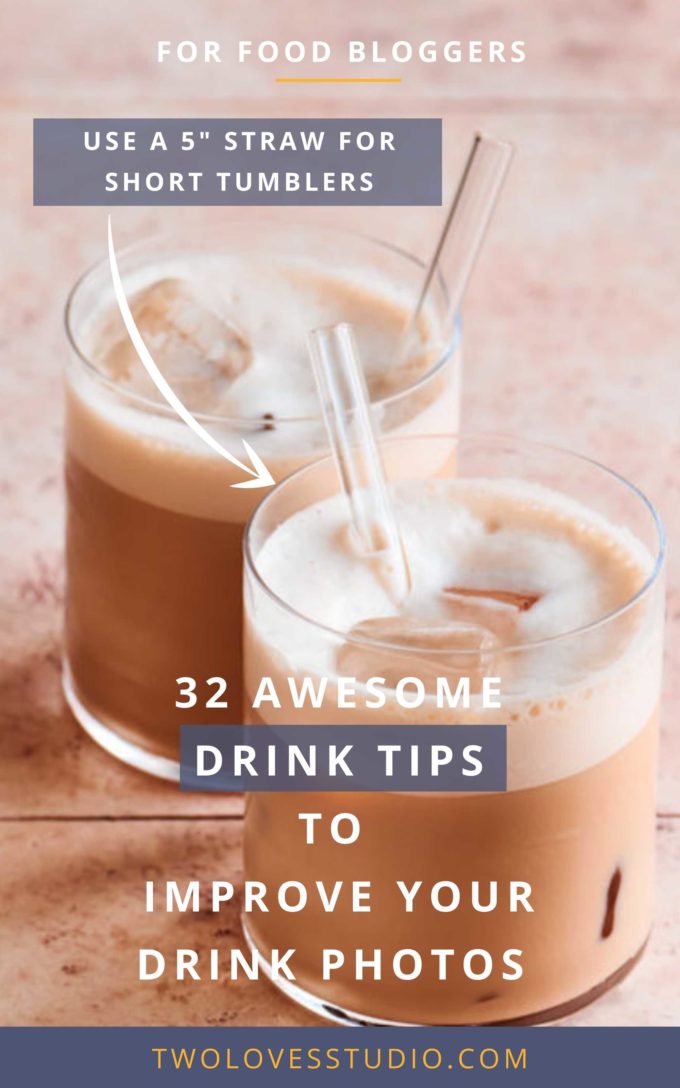
Have Short Straws For Short Tumblers
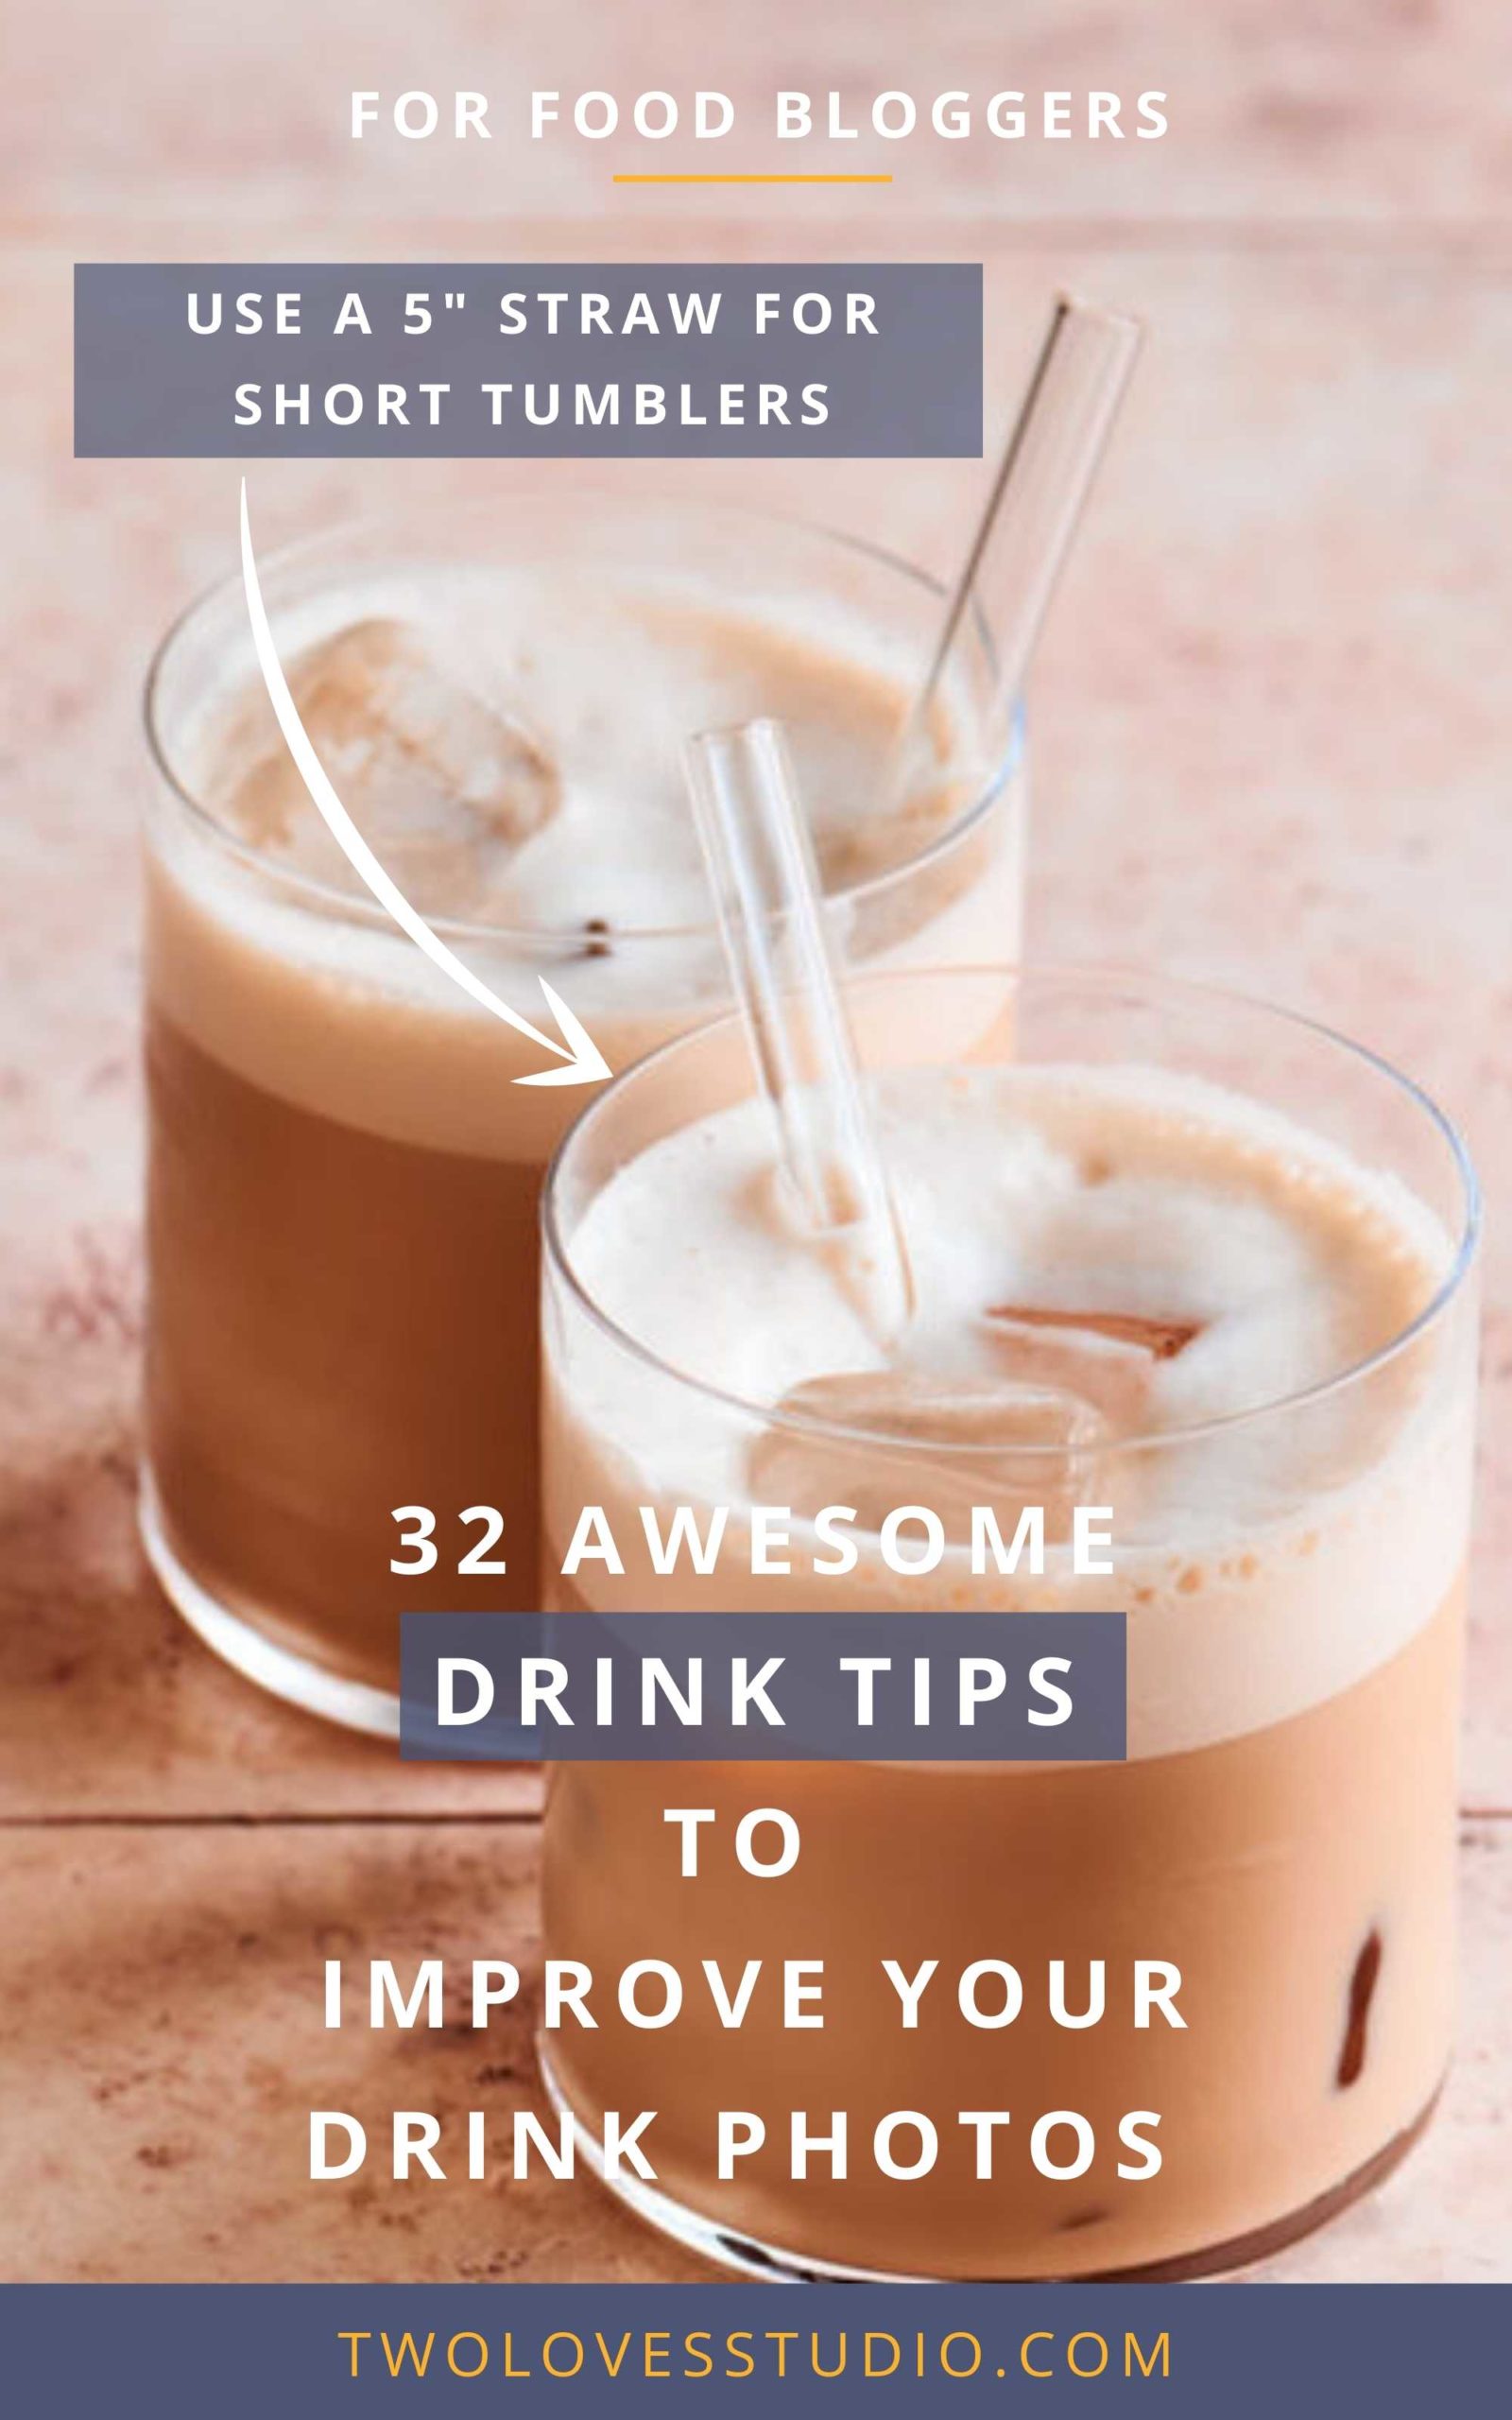
Reuseable metal or glass straws are great options for styling drinks. You will want to avoid putting very tall or long straws into small tumblers. The proportions will look off and distract from your hero subject.
Instead, source small straws around 5″ to 6″ (12cm – 15cm) that will sit nicely in your smaller cocktail glasses.

Cocktail Picks Add Interest and Class to a Drink
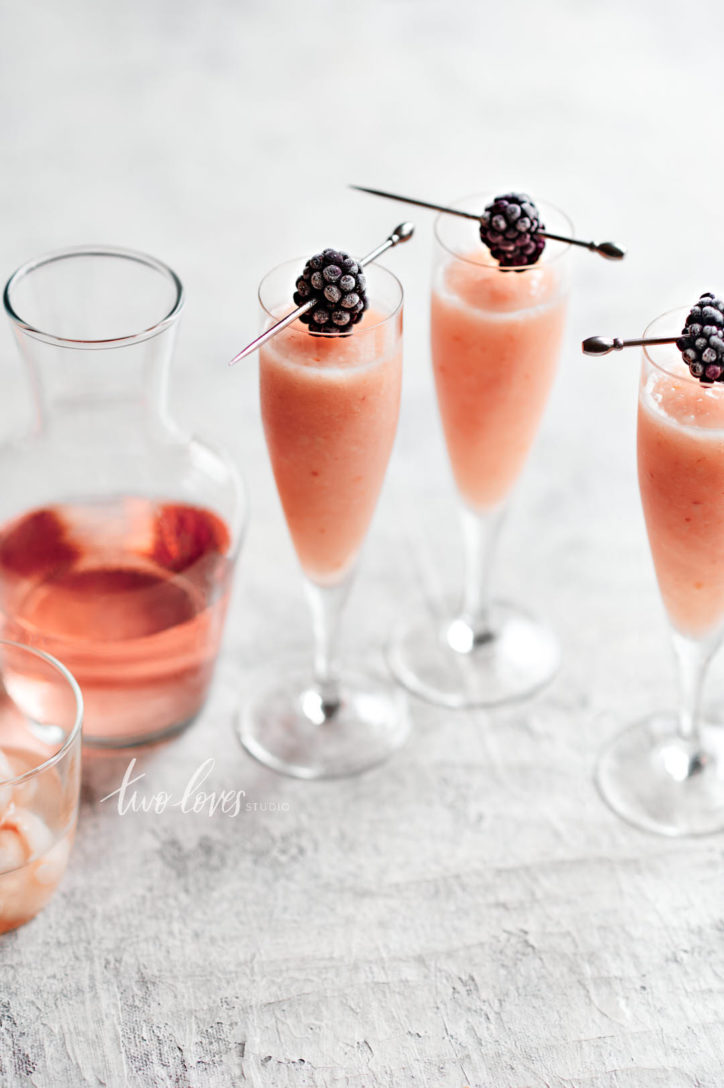
Probably the most essential styling prop for cocktail photography would be the cocktail pick. It’s not only the best tool to skewer and present garnishes, but it adds interest and lines to any cocktail photo.
You can find these in metal, wood, bamboo or glass. It’s a good idea to have a couple of different shapes and lengths to suit different glasses and recipes.
Find Interesting Garnish Ideas
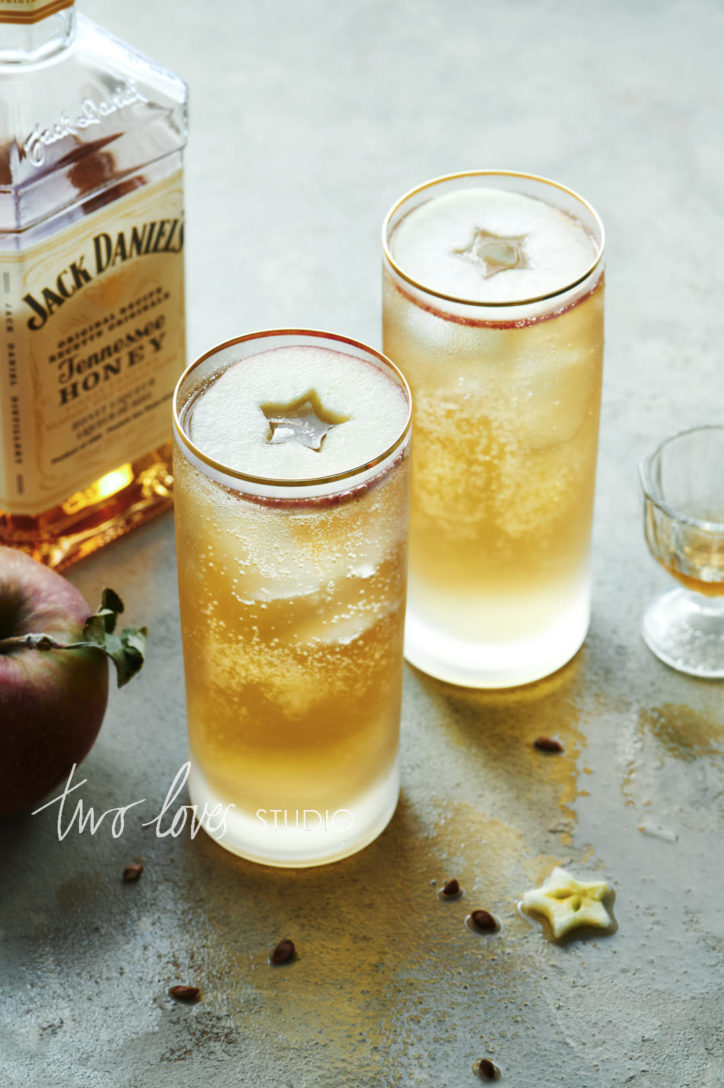
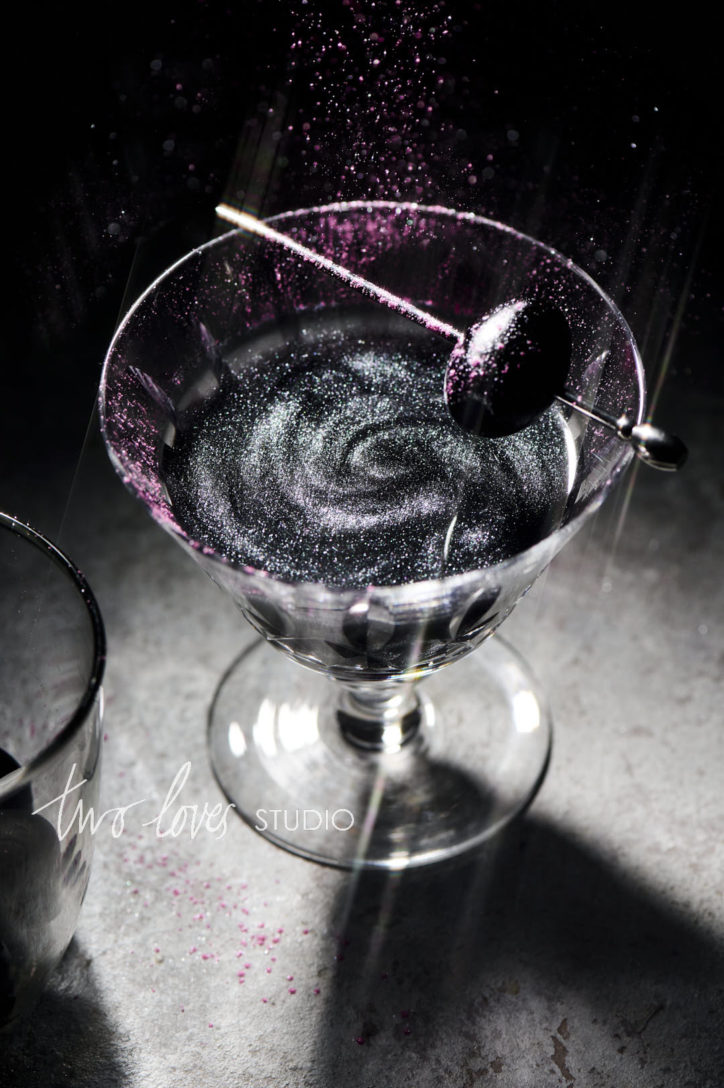
Garnishes are literally the cherry on top of hero subjects. Liquids in glasses can be rather boring until we focus on a nice garnish. Create a mood board of garnish ideas for all kinds of cocktails and drinks that you can reference later.
I have a post on garnish ideas: 13 Simple Yet Stunning Cocktail Garnish Ideas For Drinks Photos.
Show Off Your Drinks Texture
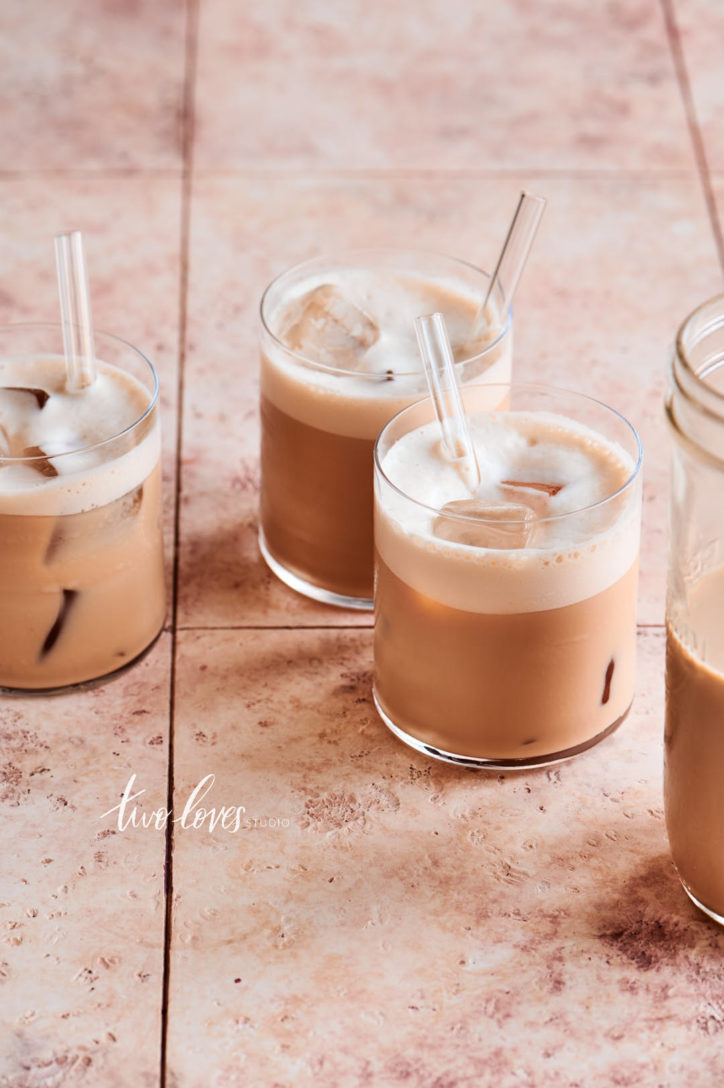
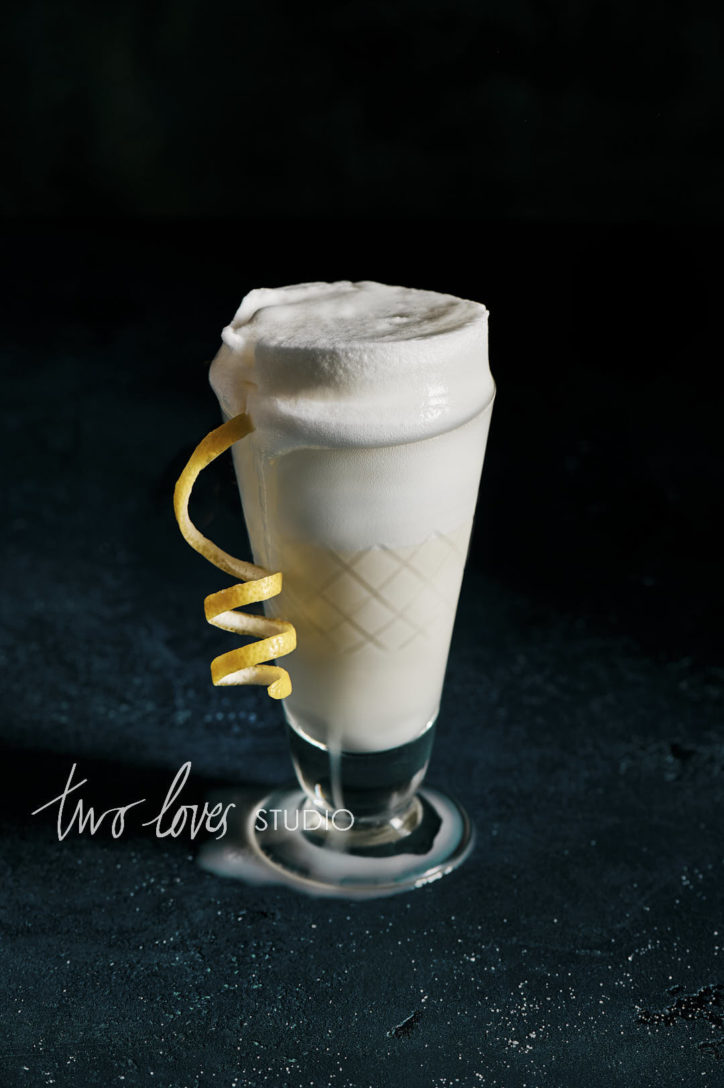
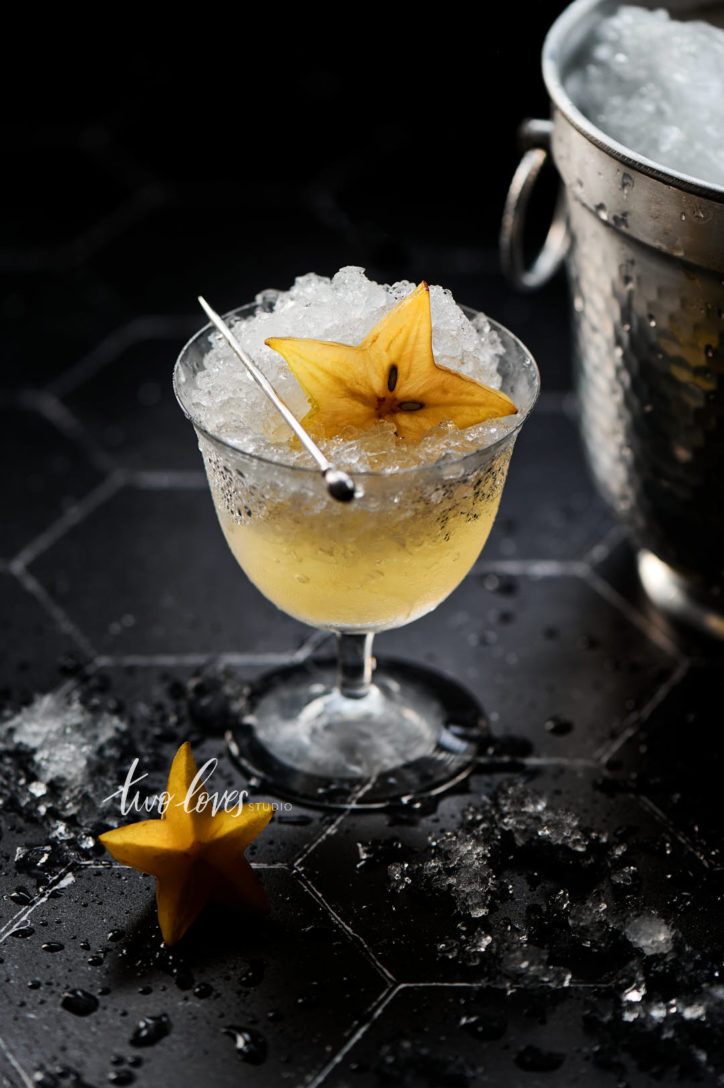
Drinks have texture. They can be smooth, creamy, silky, foamy, bubbly, icy, hot, stirred, muddled, chunky, thick or thin. It’s our job to communicate what the drink might feel like when it hit our mouths.
Ways to highlight the texture in your drink include using:
- Backlight to bring out texture
- Ice or steam to communicate the temperature and hint at texture
- Size of glass
- Layers on drink like foam
- Lens choice like marco to capture textures
Shoot With a Narrow Lens to Reduce Distortion
When it comes to drink photography, we are often working with tall subjects. In order to reduce distortion, shoot with a narrow lens. For example:
- 85mm, 105mm, 70-200mm on a full-frame camera
- 60mm on a cropped sensor camera
The goal with a narrow lens is to compress the subjects so they look straighter. Therefore, you’ll need more space for the camera to be further away from your subject.
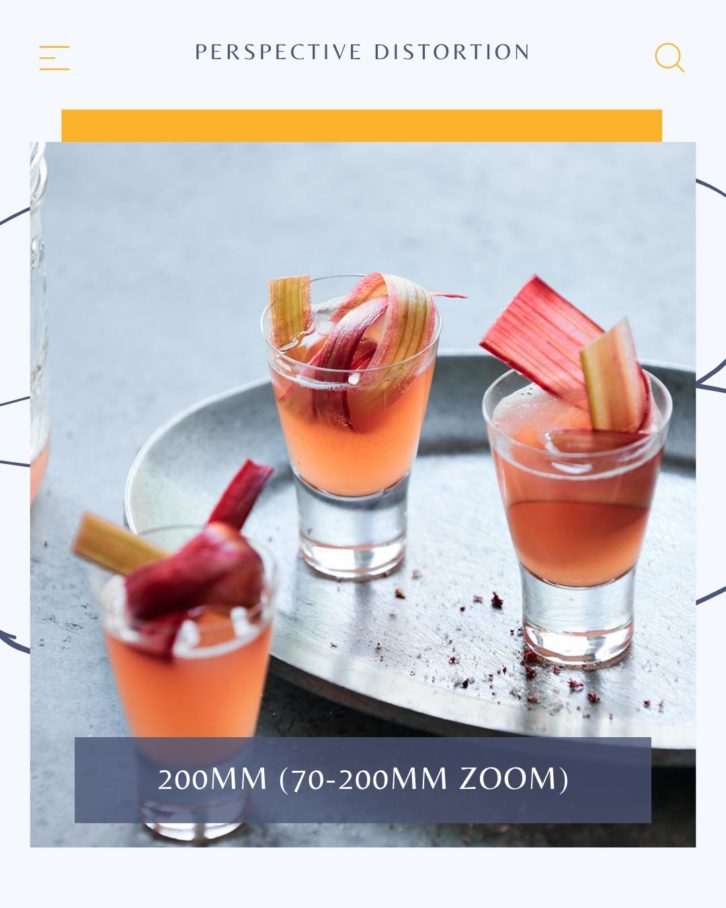
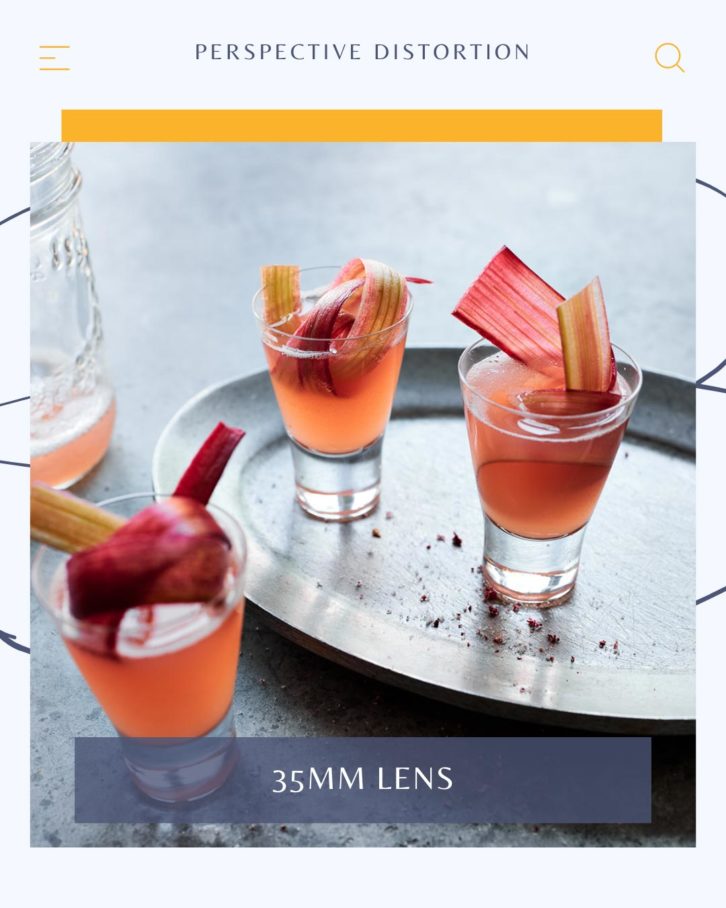
Learn more about lenses: Ultimate Lens Guide for Food Photography
Don’t Shoot too Shallow of an Aperture
Viewers want to be immersed in the feeling of the subjects. They want to feel the texture of the drink and daydream about what it would be like to unwind sipping on a cocktail. They can’t do that if we shoot a shallow aperture and only capture the garnish or rim of the glass in focus.
I recommend capturing your subjects at apertures of f/5.6 to f/8 as a place to start. But always explore different depths of field too.
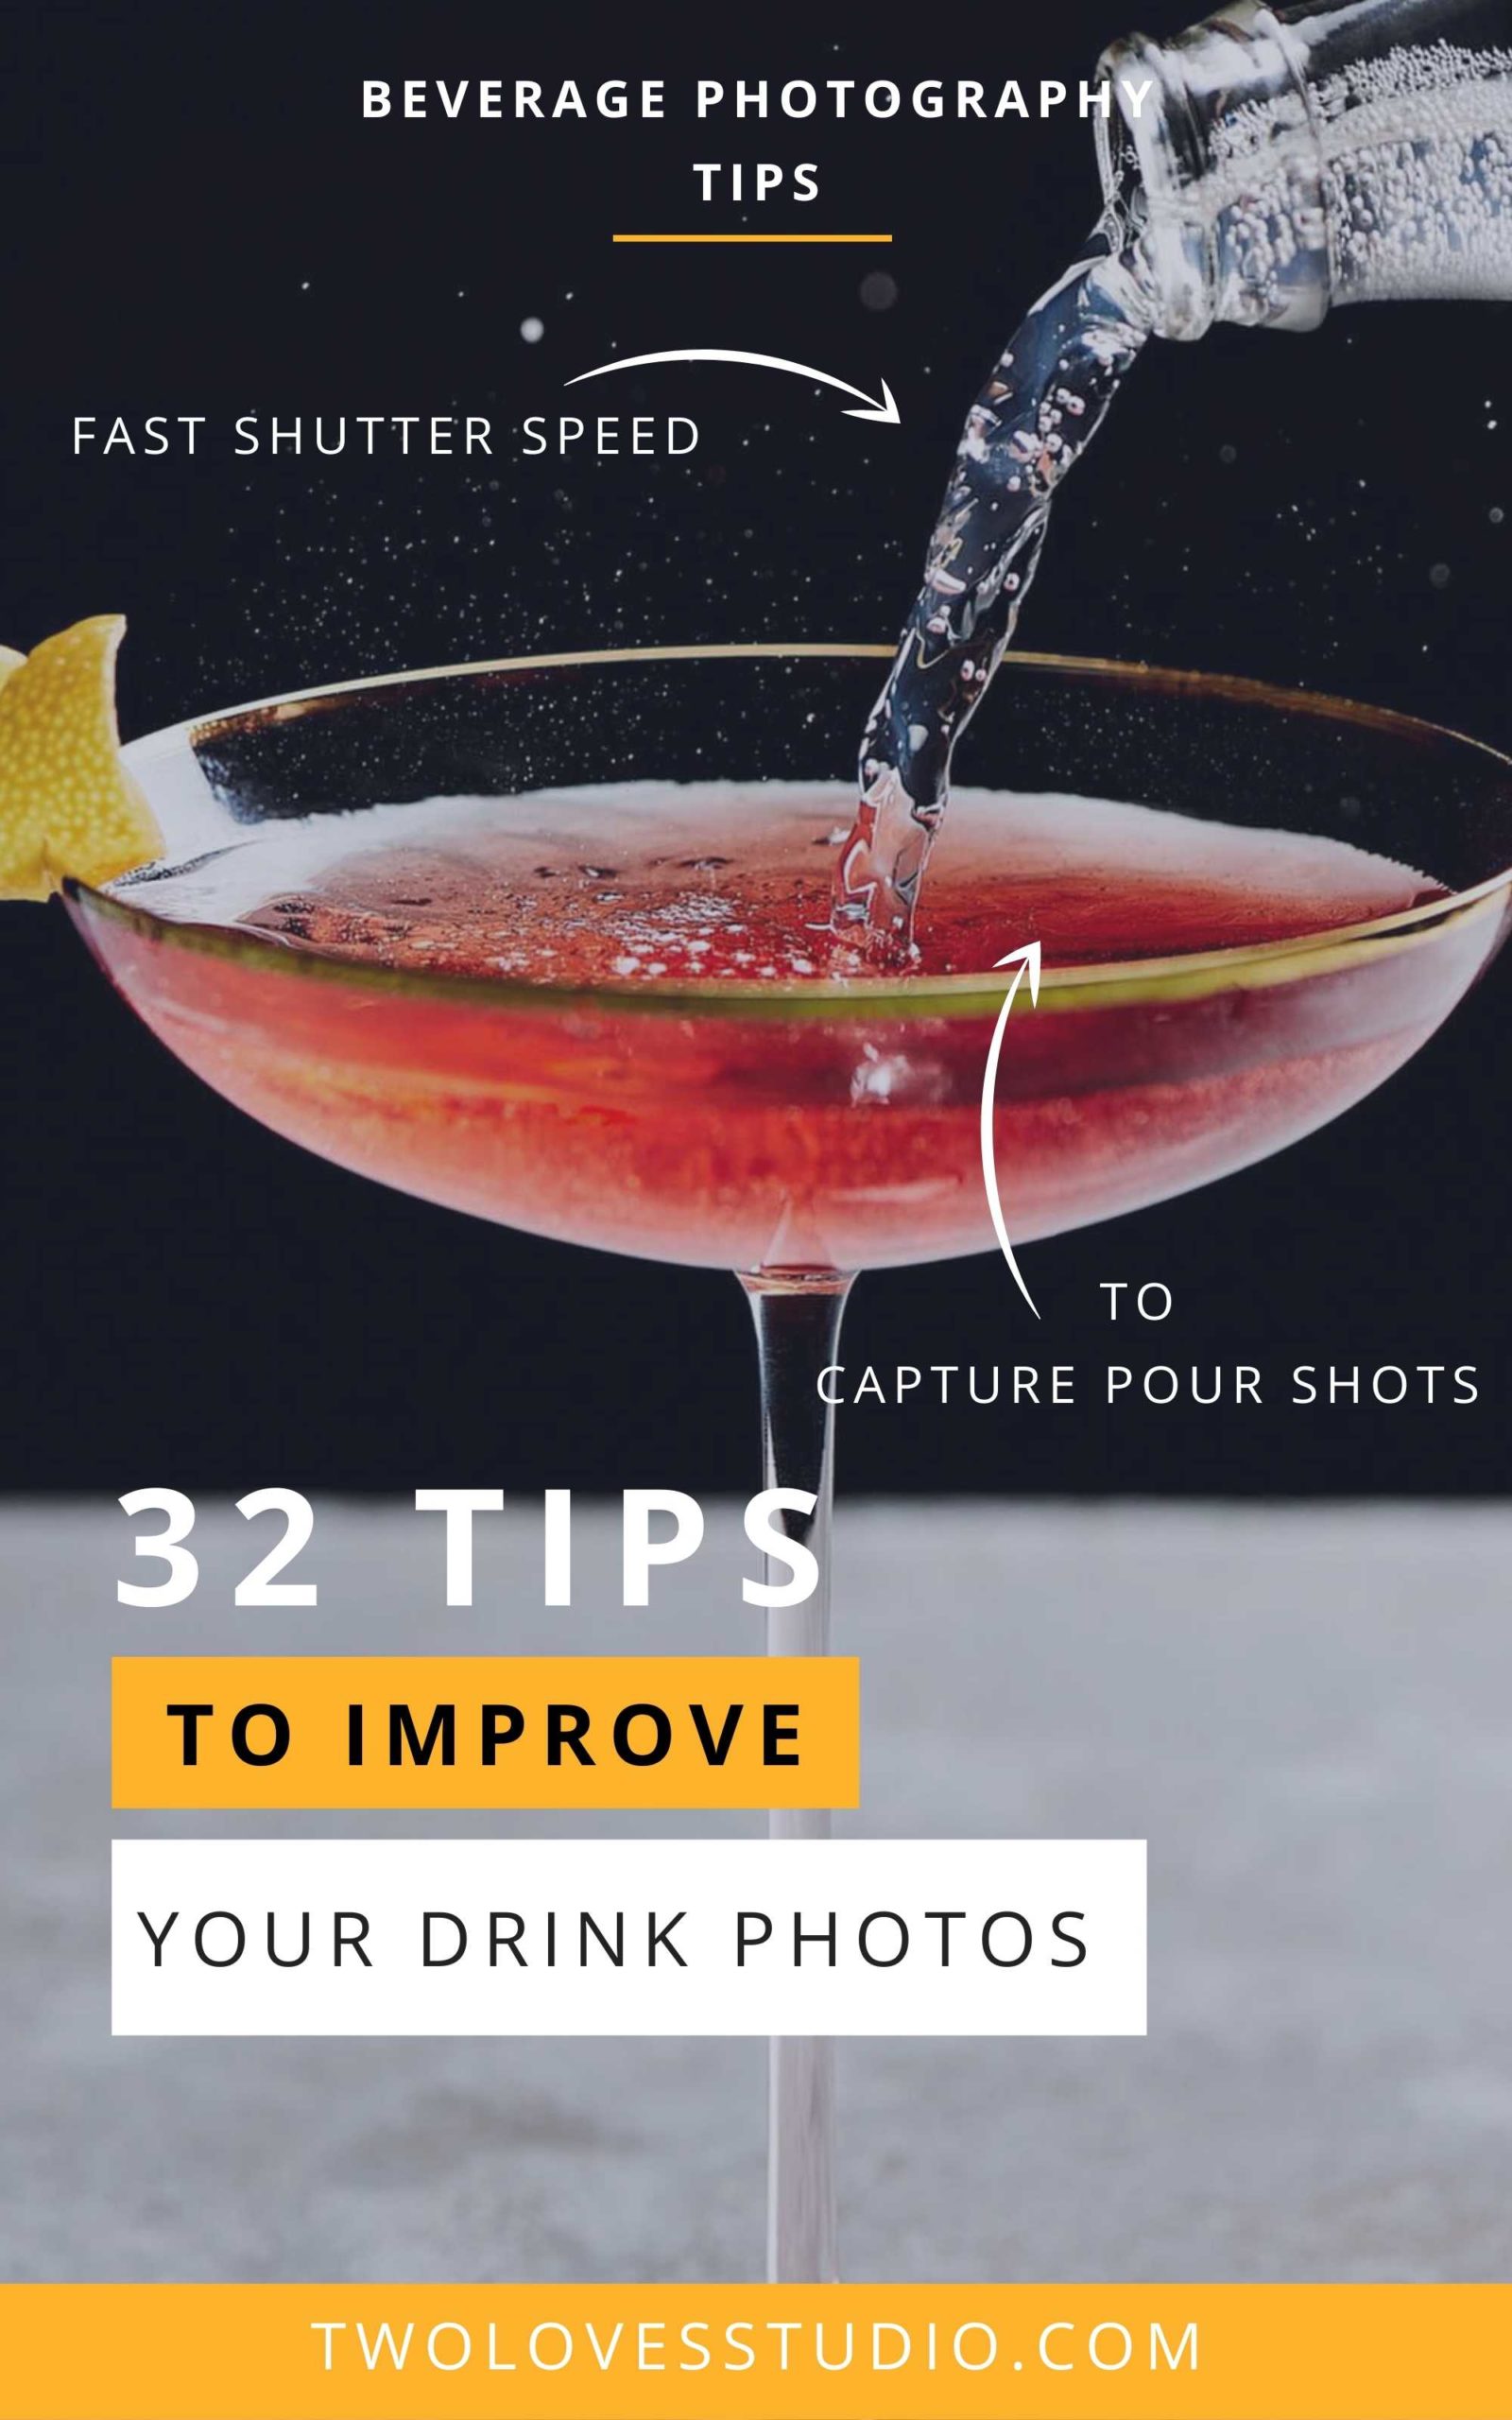
Use a Fast Shutter Speed to Capture Pour Shots
Action or pour shots in drink photos are fun ways to use interest. They can also help with composition when our subjects lack interest. To capture high-speed shots, use a fast shutter speed. With natural light that might be 1/500 sec or above, with artificial light your strobe’s highest sync speed.
For more on settings, read the ultimate guide to camera settings.
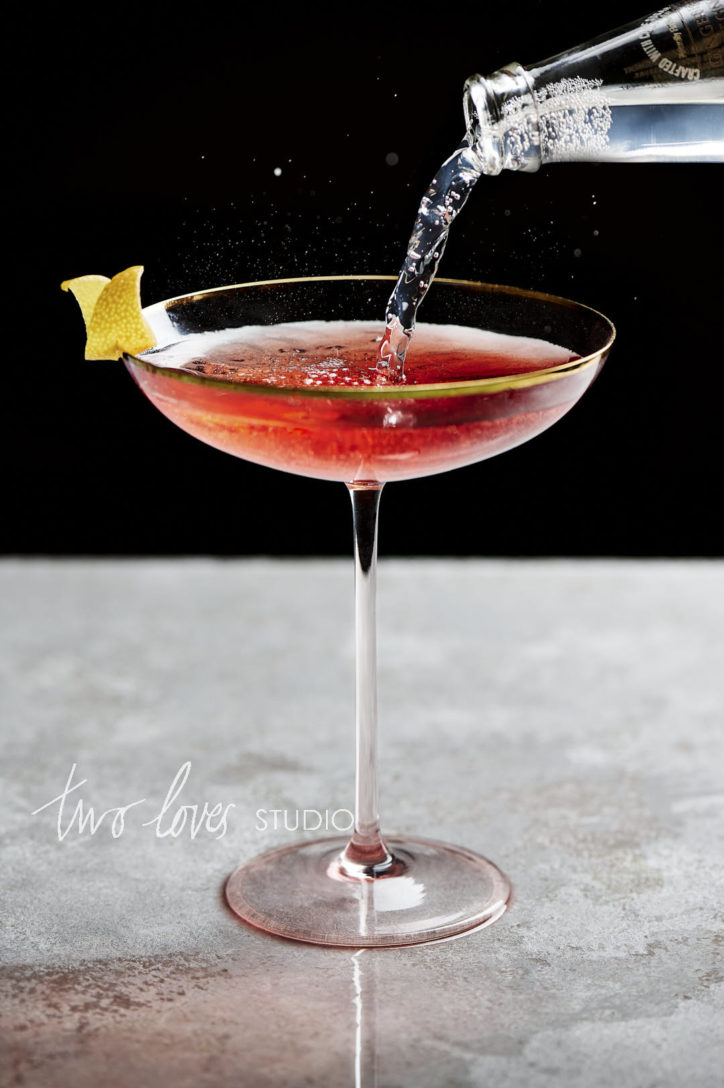
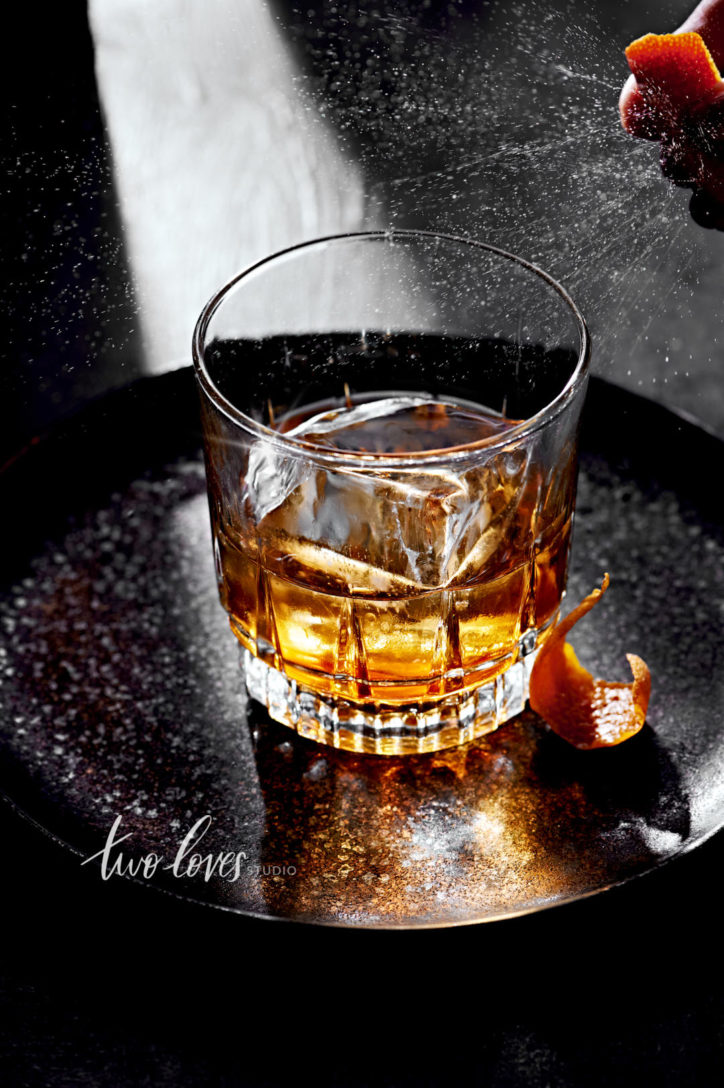
Capture Zest Spray of Effervescence using Backlight and Dark Backgrounds
Looking to capture that magical show that is effervescence or a zest spray from a citrus peel? It’s much easier to do on a dark background using backlight.
Make sure to take test shots to get the lighting and angle right before attempting your final shot.
Brighten Up Shadows in the Drink to Clearly See Texture
Whichever lighting you use for your shots, in the editing stage, bring out the shadows in the drink itself to make sure the viewer can see the texture of the drink. I like to use the shadows sliders in Lightroom or Capture One first, rather than adjusting all tones.
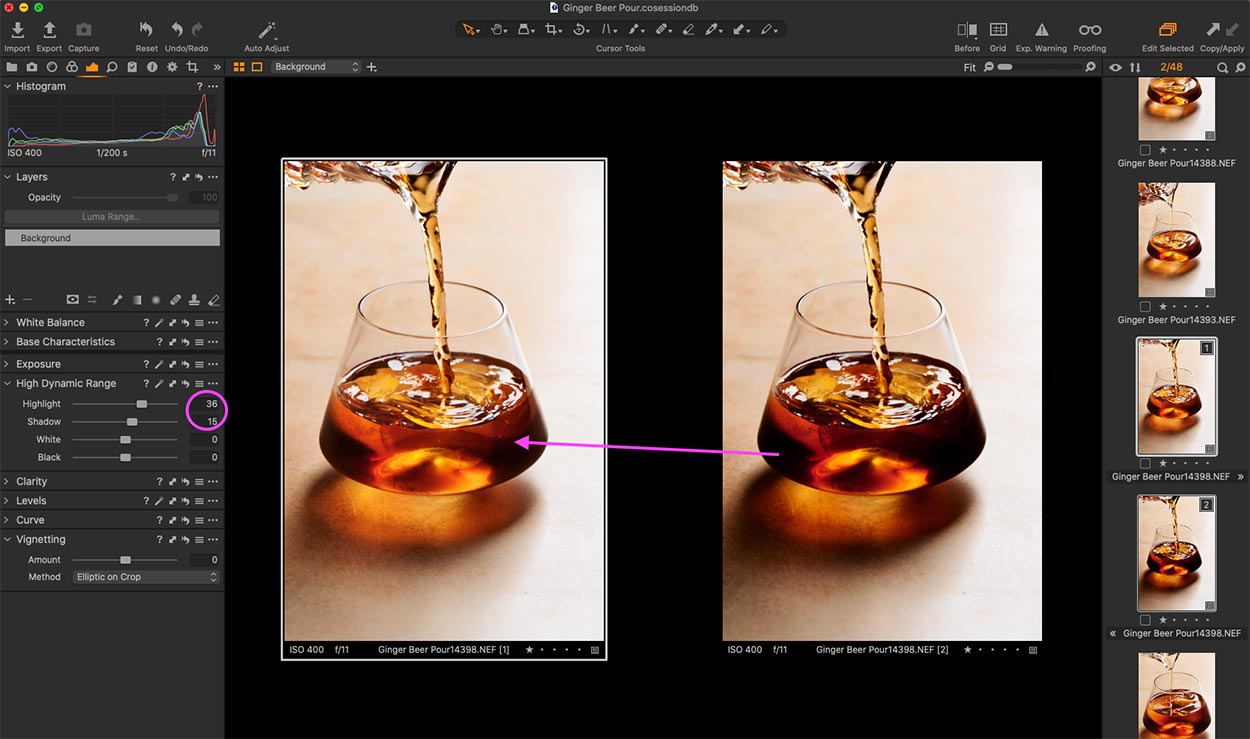
Strong lighting is important before styling your drink photos. First focus on manipulating your light for tonal or colour contrast, then style your scene.
Yes, fake ice is a good option for full-time drink photographers. Saving up for a few key pieces of quality fake ice cubes is a good place to start.
Make your drink photos better and unique by having a variety of interesting pieces. Try these top four styles.
1. Vintage Coupe
2. Rocks Glass
3. Clean lines tumbler
4. Tall Tom Collins
Use sticky tac to help glassware stand up.
If you’ve made it this far, thanks for reading all these tips. Did you have a favourite? Which tip will you work on next? Let me know in the comments below.
Two Loves Studio was not paid to write this post, however, it may contain affiliate links. If you purchase an item from an affiliate link, we do get a commission on the sale which helps us run this site. Only affiliates for products/services we believe in appear on this site.




Nancy
WOW! What an amazing post Rachel! Thanks so much for sharing all this valuable info xxx
Rachel Korinek
Thanks for dropping by Nancy!! I’m am glad you’re enjoying the tips.
Carlotta Zadra
This guide is simply amazing! Cannot thank you enough! Wonderful job as always Rachel!!
Rachel Korinek
So glad to hear you enjoyed reading it Carlotta! Some great tips here.
na7 Whatsapp
I’m so glad I stumbled upon this post! I’ve been struggling to take great photos of my cocktails for a while now, but these tips are super helpful. Can’t wait to try out the lighting trick with a reflector – should make a big difference!
Yt Mp3
These tips are fantastic! I especially loved the section on proper lighting—such a game-changer for my drink photos. Can’t wait to experiment with the suggestions on garnishing and props. Thanks for sharing!
gta 5 mobile
These tips are fantastic! I especially loved the section on using natural light. It really made a difference in my drink photos. Can’t wait to try out the ice tricks you mentioned! Thanks for sharing!