This post may contain affiliate links from products and services we love and trust.
When I started out as a food photographer, I was just so excited to get started! Yet, I had no equipment for food photography. I was lucky, however, because my dad had a second-hand camera and lenses I could borrow. So that’s what I did.
I used borrowed or second-hand cameras for almost 8 years! You don’t need a lot to get started. What’s more important is having a camera that gives you control, software to process your images and your creativity.
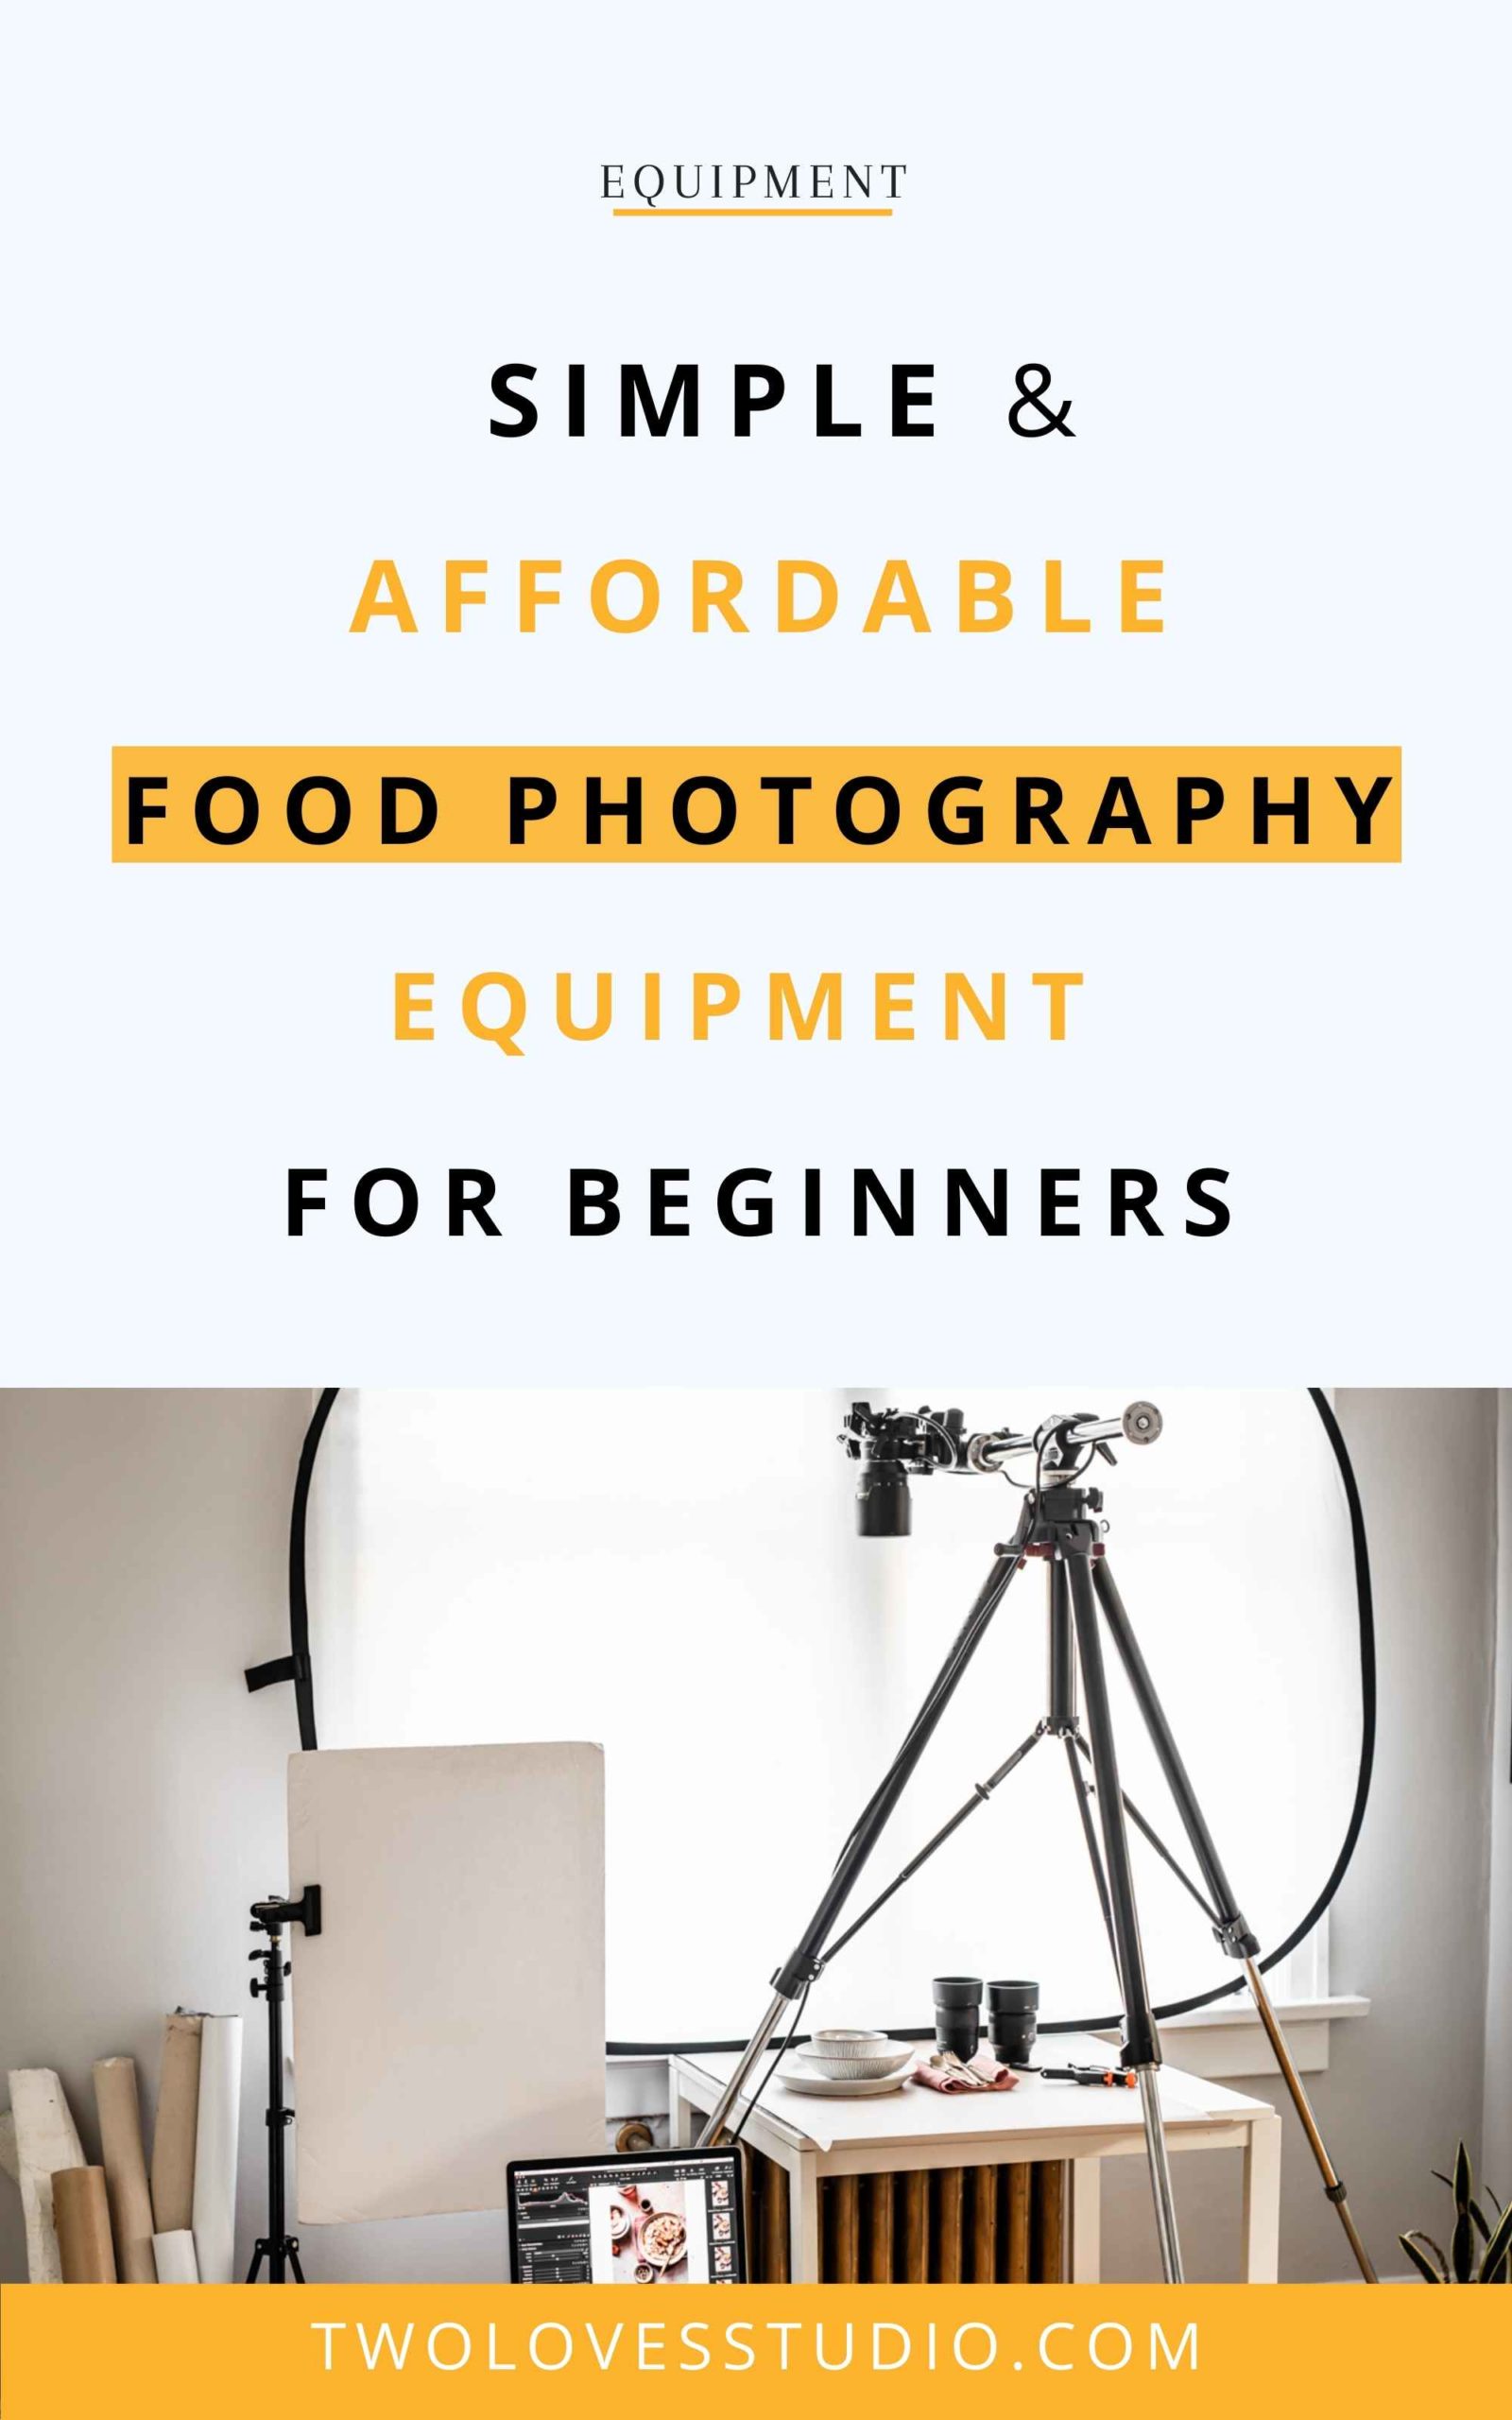
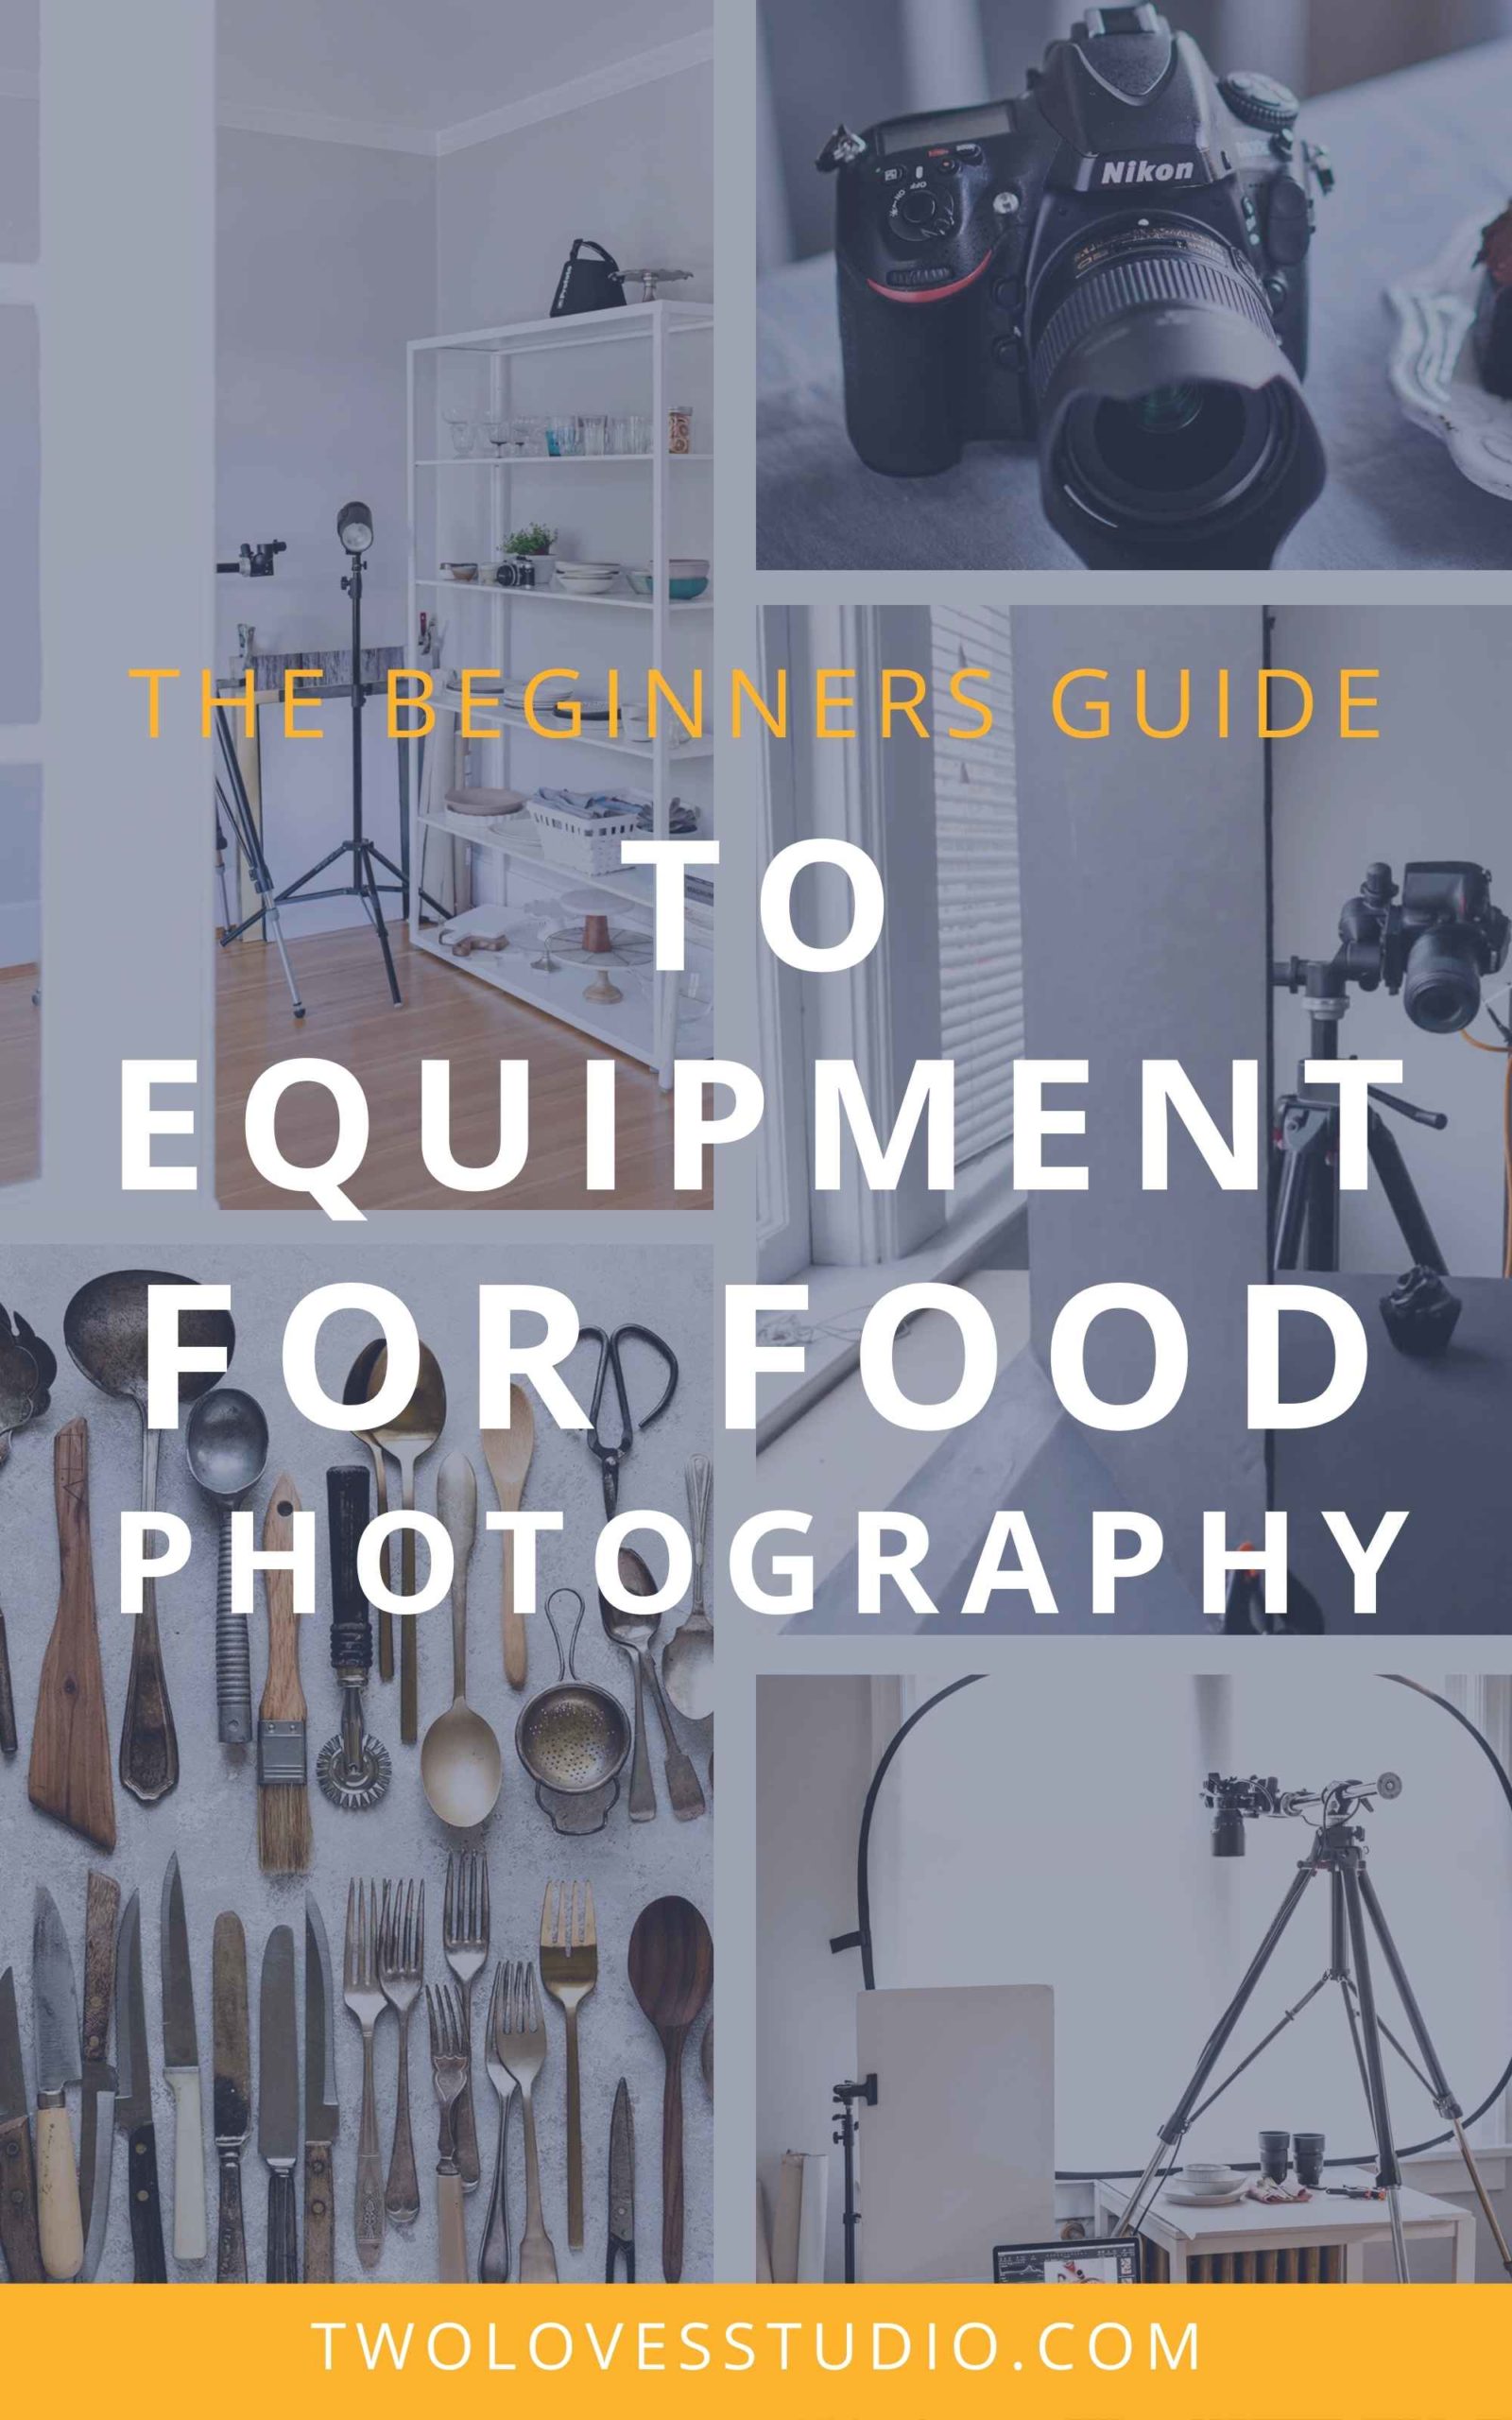
Here’s an equipment list for beginner food photographers (in no particular order).
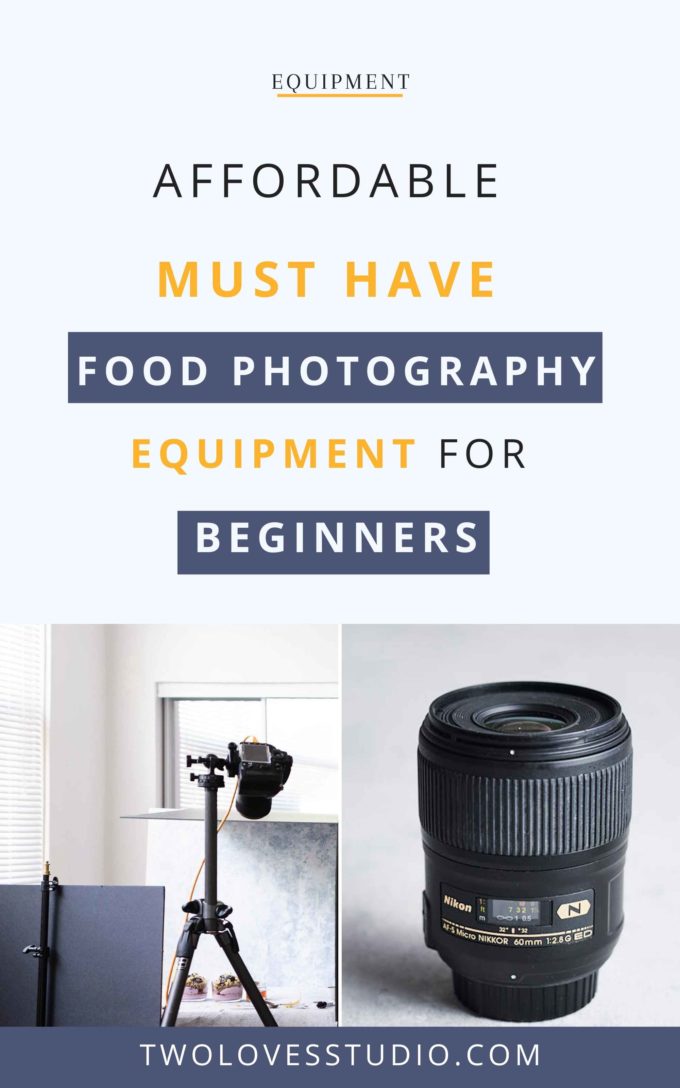
Table of Contents
- Second hand DSLR Camera
- 18-55mm kit lens
- 50mm 1.8 lens (Full frame cameras)
- 35mm 1.8 lens (cropped sensor cameras)
- Lightroom CC with storage
- 4′ x 6′ Diffuser
- White & Black foam boards (2 of each)
- Photo Clamps
- Vinyl backdrops
Let’s take a look at each one of these in more detail. I’ve also got two bonus recommendations at the bottom of the list if you have a little bit more budget.
Thrifty Equipment for Food Photography: Second-hand DSLR Camera
Guess what? You don’t need a brand new, expensive camera to take great photos of food. If you’re just starting out, I would recommend buying (or borrowing) a second-hand DSLR. Either Canon, Sony or Nikon.
Either cropped sensor or full-frame, at the beginning of your food photography journey it doesn’t make too much difference. I suggest buying a second-hand DSLR because the way of the future is mirrorless cameras. Get a used DSLR now and save for a new mirrorless a few years down the line.
If you want to read more about what I recommend looking for in a camera, read these tips for buying a camera.
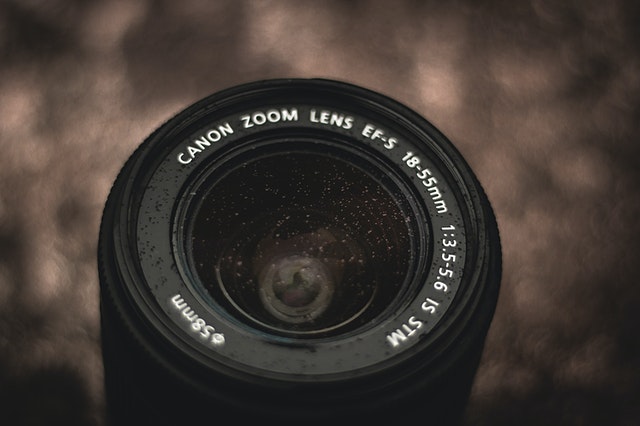
18-55mm Lens Kit
It’s very common for entry-level DSLRs to come with what is known as a ‘kit lens’. It’s a zoom lens that covers focal lengths of 18mm to 55mm. If you find a deal that comes with this lens, it’s an inexpensive lens to get you started.
If you do have a little more budget for food photography equipment, there are two better lenses I recommend investing in.
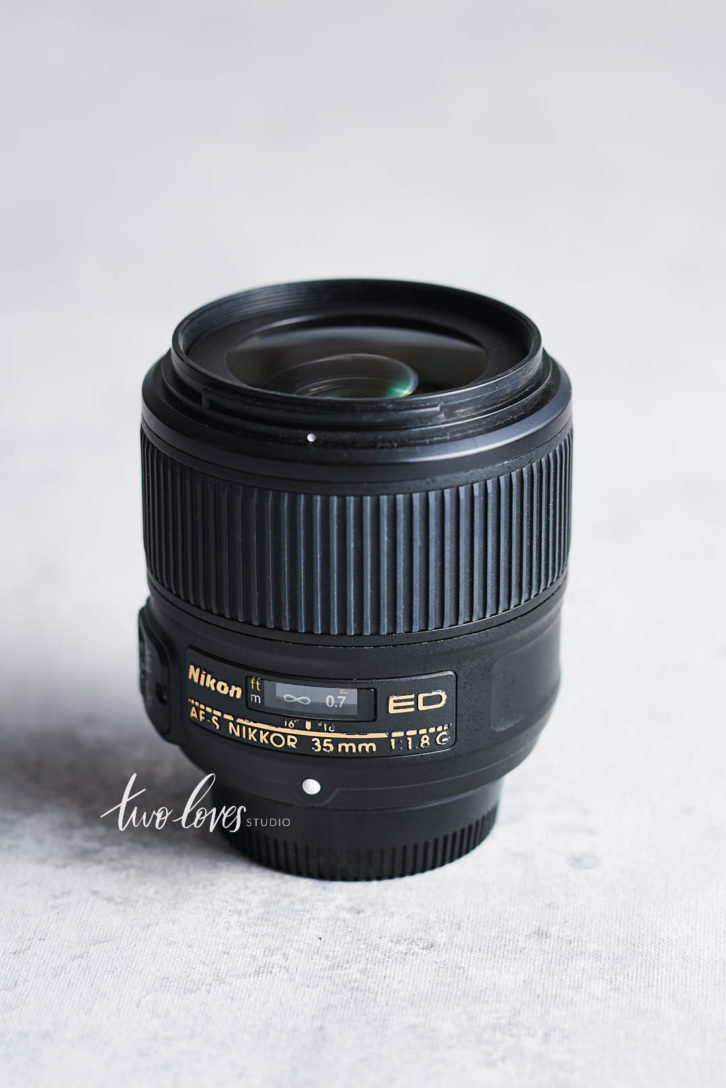
35mm 1.8 Lens (Cropped Sensor Cameras)
If you purchase a cropped sensor camera, you’ll want to get a 35mm focal length. You can read more about the difference between a cropped sensor and full-frame here.
On a cropped sensor camera, a 35mm lens is the equivalent of a 50mm. Which is a great focal length to get started. You’ll be able to capture flat lays (overhead) and 45-degree shots.
I recommend getting a lens that has a high aperture of 1.8 so that you can tackle low light conditions. In this post, I go through the two lenses I recommend for cropped sensor cameras.
TIP: make sure to buy a lens that will grow with you and can also work on a full-frame camera.
50mm 1.8 Lens (Full-frame Cameras)
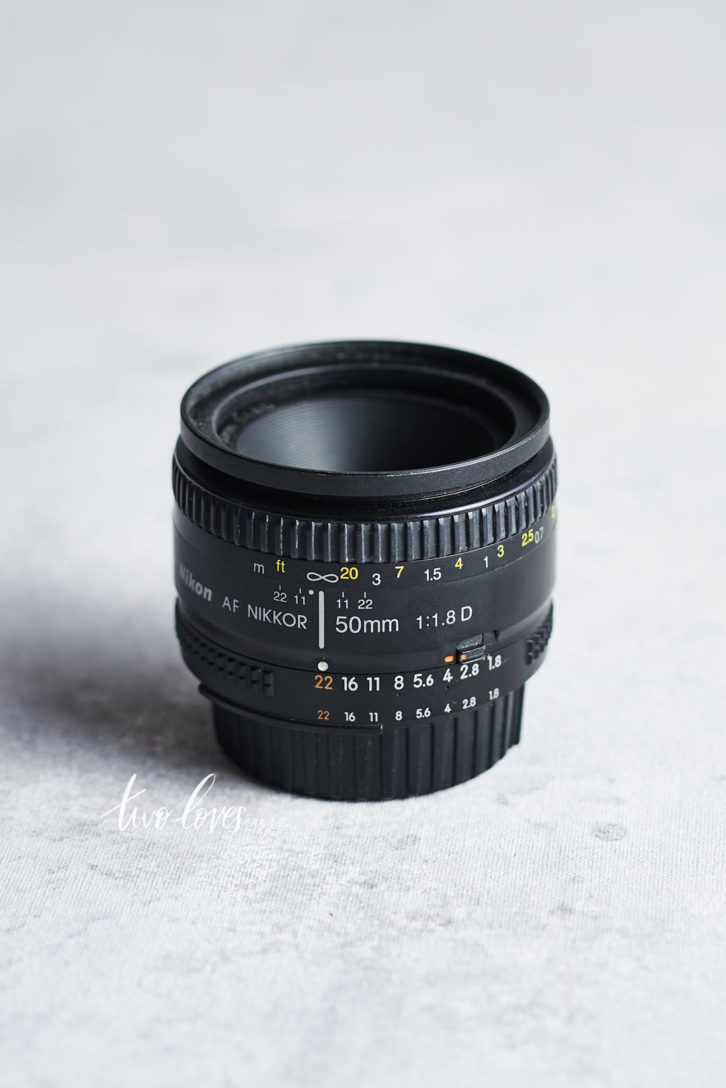
If you’re looking to purchase a full-frame camera to add to your food photography equipment, the lens I recommend getting started with is the 50mm 1.8. It’s called a ’nifty fifty’ because it’s inexpensive and of great quality for the price point.
TIP: make sure to buy a lens that will grow with you and can also work on a full-frame camera.
A 50mm on a full-frame camera is a great all-rounder and is wonderful for capturing flatlays. Read more about the 50mm and food photography.
Lightroom CC With Storage
As soon as you can, I recommend shooting RAW files (over jpegs). RAW files obtain all the data of your image which allows you full control over your post-production.
If you shoot RAW files, you will need to edit them in a RAW editor like Lightroom. Lightroom CC is a great way to get started. With a simple and intuitive interface, you can easily get started with editing.
Adobe also offers storage plans with Lightroom CC to help you store your files in the cloud. Check out their Photography package rates for the latest details.
To learn more about post-processing in Lightroom, check out my masterclass Lightroom Magic.
4′ x 6′ Diffuser For Lighting
Using natural light is the easiest way to get started with food photography. It’s free, beautiful and readily available.
RELATED: Basic Lighting Setup For Food Photography
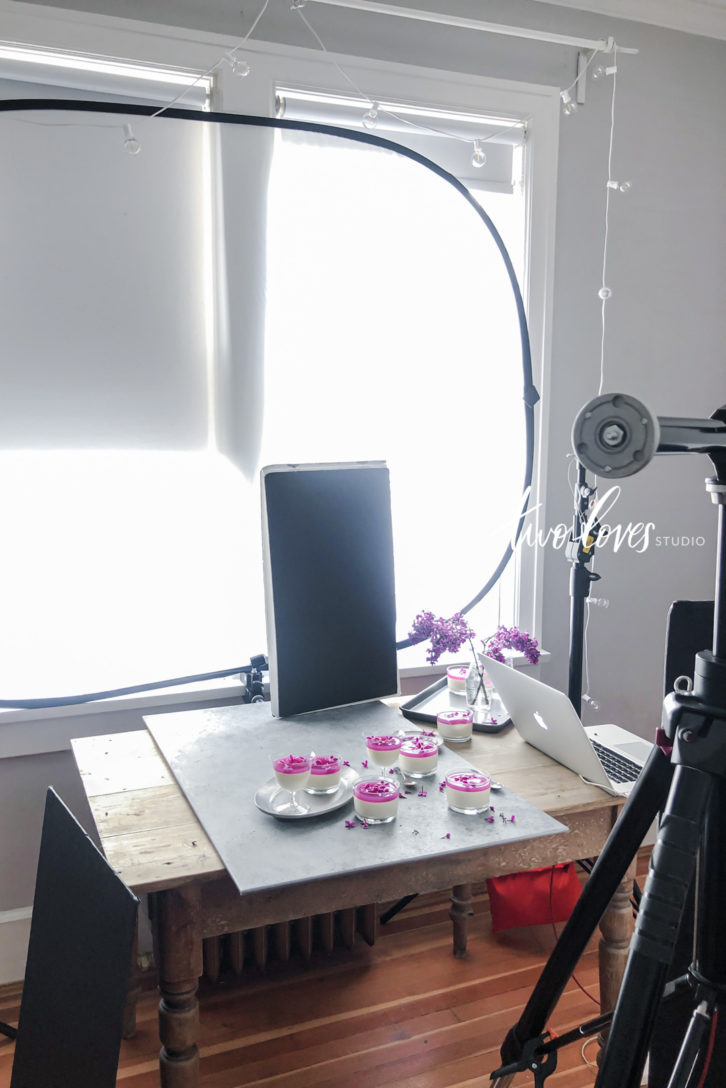
The one main piece of equipment for food photography I recommend to help you tame natural light is a diffuser. This will issue the light into something soft and pretty to photographing food.
I recommend a large 4′ x 6′ diffuser, this is the one I have, as it will provide you with better results. It will pack into a small(-ish) bag and is great to also use if you move to artificial light later on.
Get one that also has a black cover so you can block light when you need to.
Essential Food Photography Equipment: White & Black Foam Boards (2 of each)
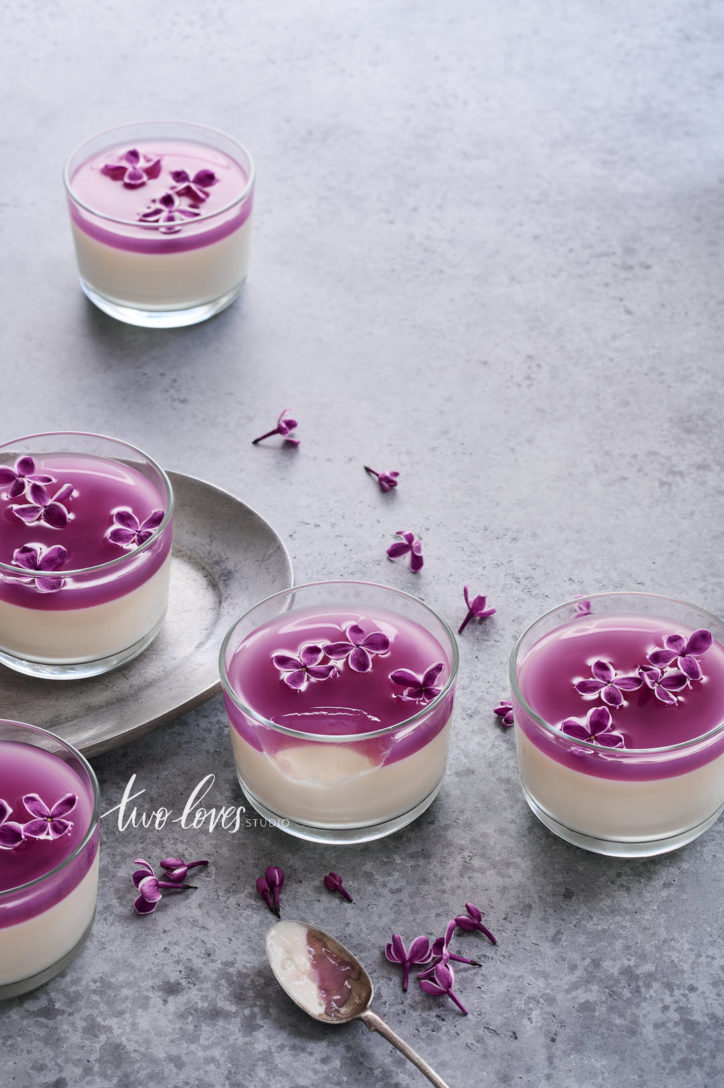
A very cheap staple that you will use throughout your photography journey. Even as a professional, white and black foam boards are essential. You can use them to reflect and block light as you need. This will help you get better depth in your images.
They are super cheap and readily available at craft or stationery stores. I recommend getting two of each.
Help Shape Light with Photo Clamps
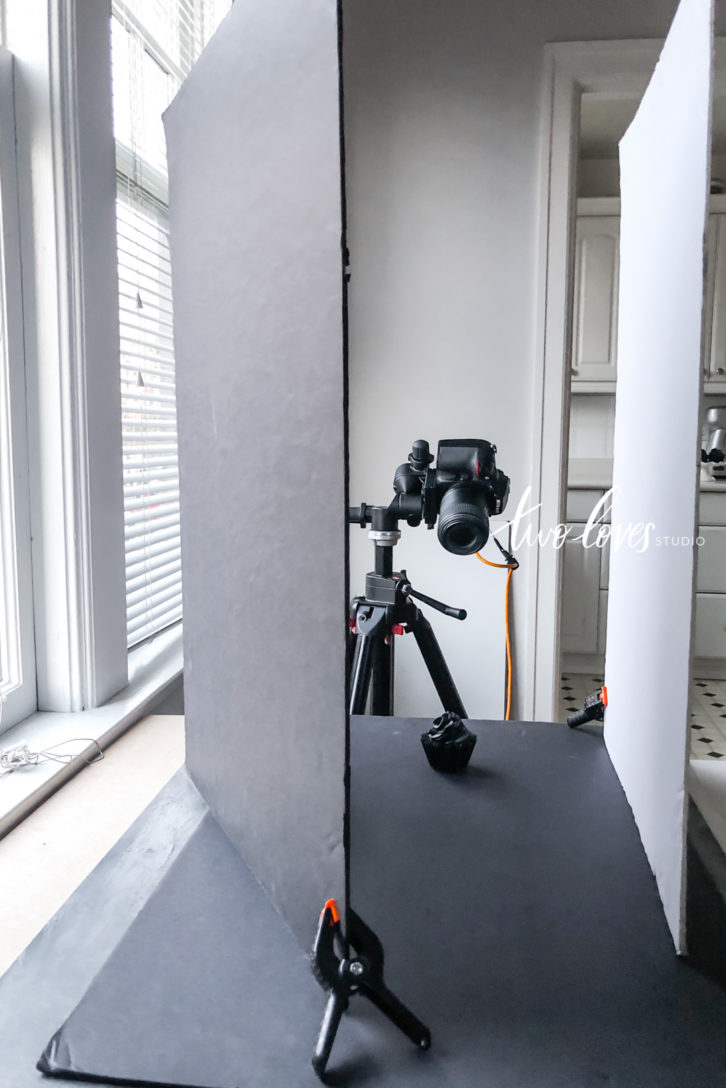
When it comes to food photography equipment, small plastic clamps are great for helping you fix and stand up foam boards so you can keep your hands free for taking photos. These are the ones I use.
If you attach them to the bottom edge of your foam boards, they can easily stand up to help you shape light.
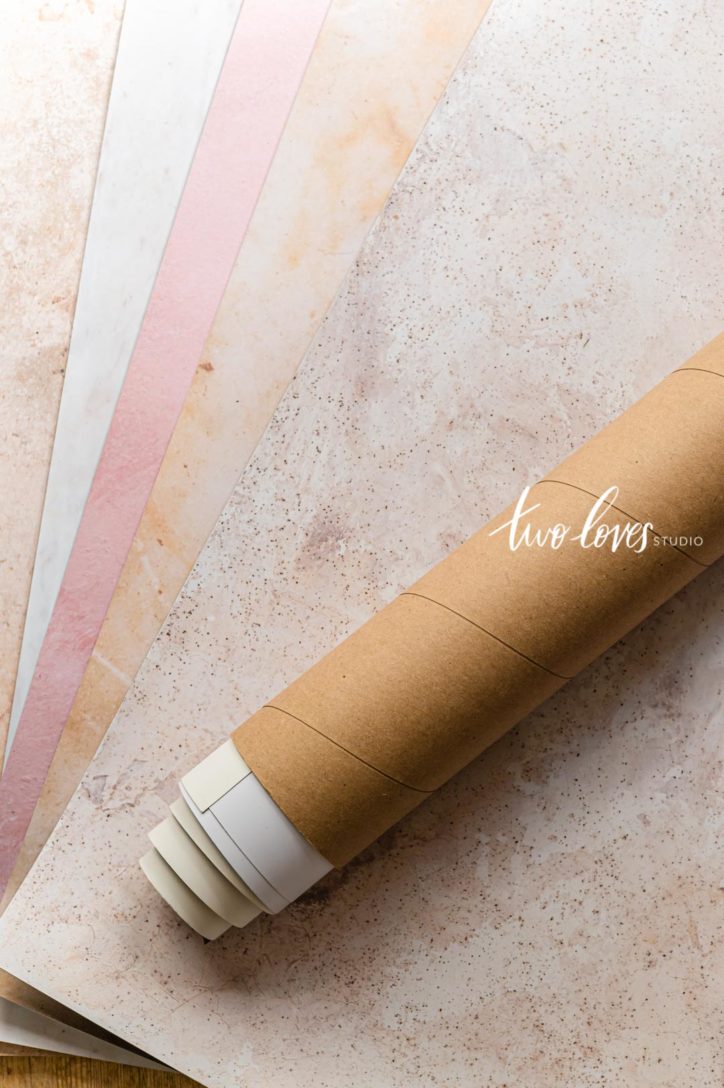
Must Have for Food Photography Equipment: Vinyl backdrops
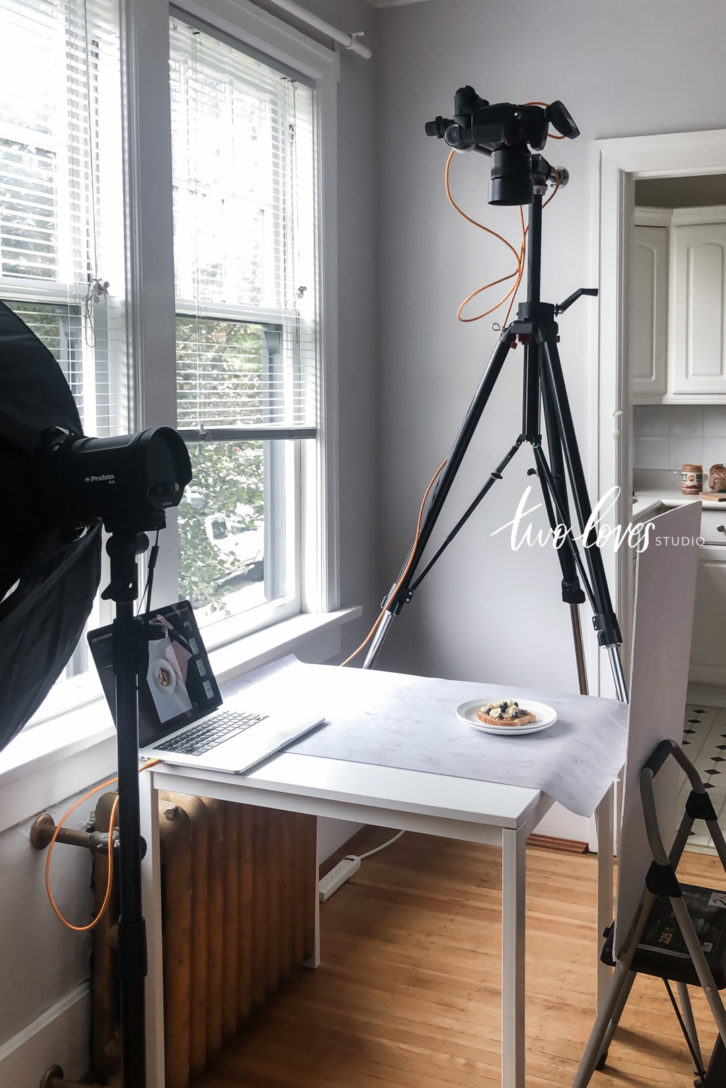
Backgrounds in food photography are a must. Using a backdrop with subtle colours and textures add depth and interest to our food story.
If you’re just getting started, then you might not have a lot of space to store your new gear. Good quality vinyl can be a great choice because you can roll it up and store it. Not all vinyl is created equal though. You’ll encounter really great vinyl or poor quality.
The vinyl backdrops for food photography that I recommend checking out are:
Now, if you have the budget or would like to add two items to your wish list, here are two things I recommend acquiring.
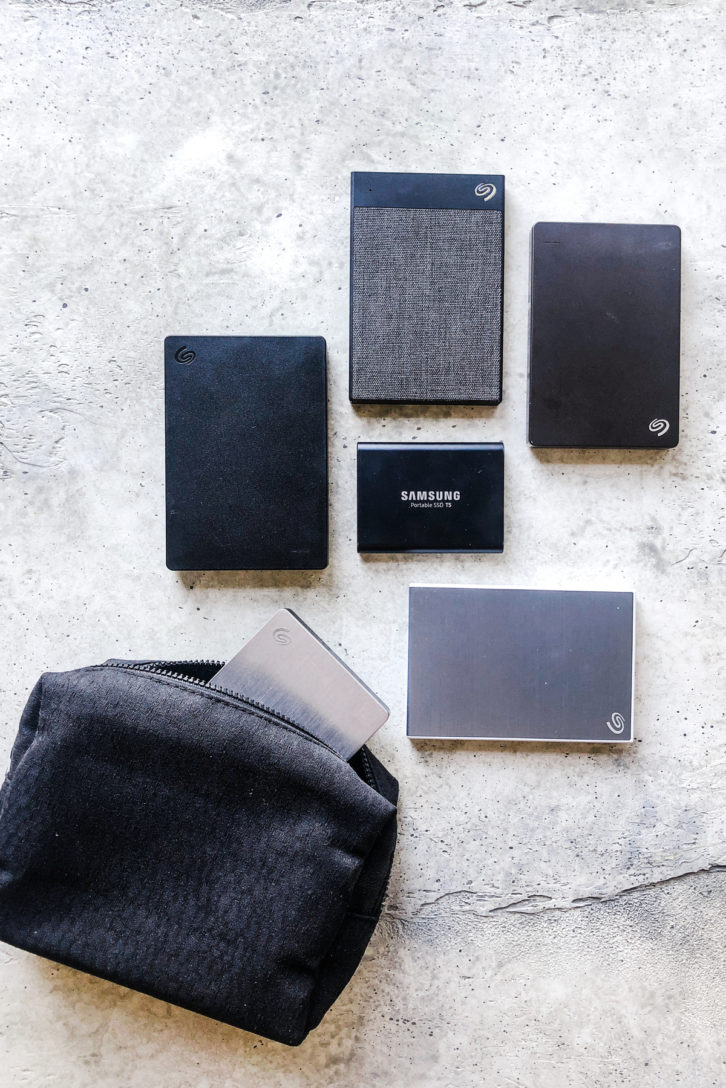
Seagate Slim Hard Drive 1TB
At some point, you will run out of space on your computer and entry-level cloud storage. You always want to have your photos backed up into two places.
I use these hard drives and always backup onto two external hard drives. To check out my backup and storage process, read this post I’ve just linked to.
Sturdy Tripod With Overhead Arm
Tripods are an essential piece of equipment for still life photography. You don’t need one immediately when you start taking photos of food, but as you progress and learn more composition skills, a tripod is a must.
Most people don’t want to spend the money a good quality tripod will cost. The mistake here is that you will end up spending just as much by getting two or three poor quality ones.
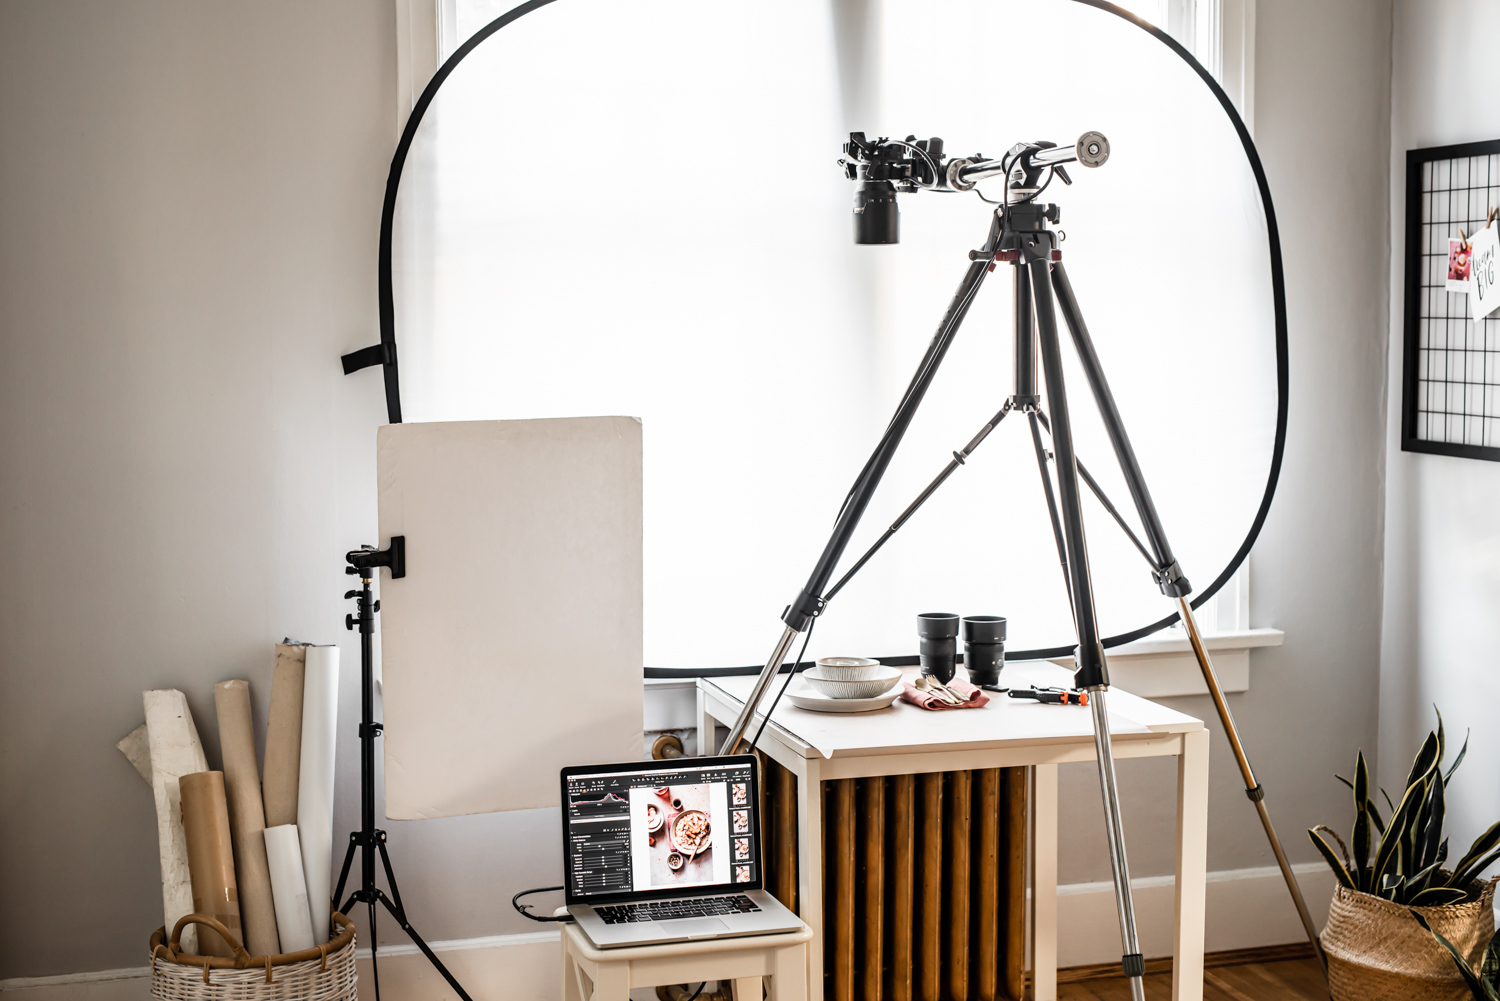
If you can, save up for a tripod that has some good height, is sturdy and can take a considerable payload, and also has an overhead arm.
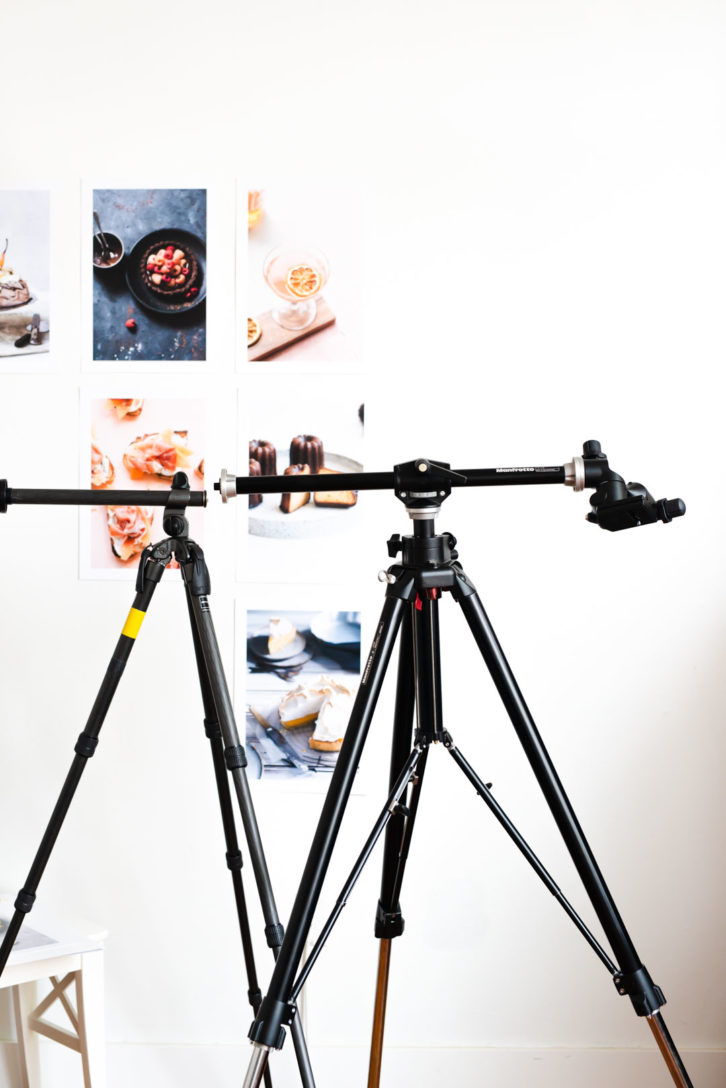
To learn more about tripods, check out my Ultimate Tripod Guide for Food Photographers.
I hope this post was helpful and gave you some great options of food photography equipment to buy. If you’re curious, check out the food photography gear I have. There are also links throughout this post to learn more about the gear I recommend.
If this was helpful, let me know in the comments below.
Two Loves Studio was not paid to write this post, however, it may contain affiliate links. If you purchase an item from an affiliate link, we do get a commission on the sale which helps us run this site. Only affiliates for products/services we believe in appear on this site.
Some equipment you need includes a camera, diffuser, foam boards, photo clamps, vinyl backdrops along with a selection of lenses.
You don’t need a brand new, expensive camera to take great shots. To start out, try borrowing or buying a second-hand DSLR camera.
The basic setup for food photography to produce soft light uses window light, diffusers and a reflector.



Heather
I love this! It’s very easy to follow and luckily I have a lot of the equipment mentioned. Getting started in a totally different type of photography than I’ve done is overwhelming so thank you.
One thing though – listing the diffuser as 4″x6″ is saying 4 by 6 inches – probably meant 40″x60″?
Rachel Korinek
Hey Heather! So glad to hear it. Sorry about the typo. It should be 4′ x 6′ for the diffuser.
Patricia Busch
That’s for the great ? information, will keep you posted ??
na7 whatsapp
Love this post! As a beginner food blogger, I’m always on the lookout for affordable and simple photography equipment that can help me take my photos to the next level. These recommendations are so helpful – thank you for sharing!
Rachel Korinek
I am so happy to hear that! Wishing your the best on your creative journey.